Beginner’s Guide to Parts Deco: Essential Tools and How to Start Fast with Kits
yassy
Crafters!

Hello, everyone! This is Yassy from Crafters! (・∀・)
I absolutely love making all kinds of handmade crafts, browsing gorgeous pieces in stores and online shops, and collecting work from my favorite makers.
If you enjoy creating crafts, you have almost certainly experienced that frustrating moment when a piece comes loose and falls off, or excess glue oozes out and spoils the entire piece.
The ultimate key that makes or breaks the quality of your handmade work is adhesion. No matter how stunning your materials are, if your bonding is weak, your creation will not withstand everyday use.
Many beginners focus solely on choosing the right type of adhesive. However, what is truly crucial is the selection of tools you use for the bonding process.
Trying to work using only your bare fingertips or a makeshift toothpick makes it practically impossible to craft sturdy, immaculate pieces.
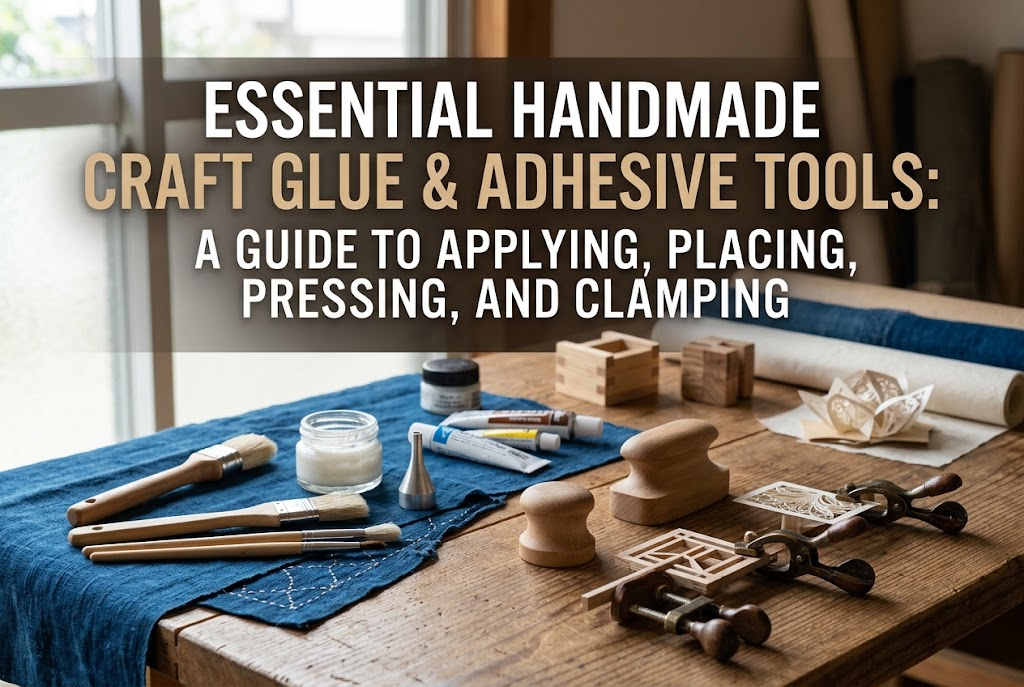
In this guide, I have broken down the essential adhesive tools into four clear practical categories: applying, placing, pressing, and clamping. Understanding these tools will clarify exactly what your current project needs and dramatically elevate the finish of your work.
In crafting, gluing is far more than simply sticking two objects together. It is a precise process that fills micro-gaps between materials, distributes pressure evenly, and preserves a clean, refined appearance.
When you rely only on bare hands or scrap items to apply adhesives, typical problems inevitably occur:
These issues are rarely caused by the adhesive itself; they happen because dedicated tools were missing from the process. Matching the right tool to the task prevents excess squeeze-out, misalignment, and weak bonds in an instant.
Adhesive tools can be organized into four core categories: tools for applying, tools for placing, tools for pressing, and tools for clamping/holding. Let us look closely at how each one works and why it matters.
The first step in any bonding task is getting the adhesive onto your material. Squeezing straight from a standard tube or dabbing with a toothpick usually leaves you with either an overflowing puddle or a thin swipe that dries before you can place the piece. Three tools ensure controlled, comfortable, and accurate application: glue guns, glue spreaders (spatulas), and fine dispensing nozzles.
A glue gun is an electric tool that melts solid resin sticks through heating, extruding a molten bond that sets rapidly as it cools.
Because it uses thermoplastic resin (hot melt sticks), its greatest advantage is sheer speed: it cures fully within seconds to a couple of minutes. It excels with non-flat, dimensional items such as dried and artificial flower arrangements, 3D fabric decor, wooden crafts, and decorative dimensional parts.
A common beginner mistake is assuming a glue gun is a universal fix that holds everything permanently. On smooth, cold, non-porous surfaces like polished metals, glass, or slick plastics, heat dissipates quickly, preventing deep adhesion and causing the resin to snap clean off under light stress.
Glue guns show their true strength on porous materials where molten resin penetrates fiber structures—such as fabric, wood, paper, and felt. In my own workshop, a glue gun is an absolute necessity whenever I assemble floral displays or larger dimensional items because the workflow efficiency outpaces standard liquid adhesives by a wide margin.
Both low-temperature and high-temperature models exist. When working with delicate materials or ribbons, using a low-temperature gun is a must to protect sensitive fibers and avoid burns.
When applying wood PVA glue or leathercraft contact adhesives across wide surface areas—in papercrafts, cartonnage, bookbinding, leathercraft, or fabric crafts—a glue spreader (glue spatula) is non-negotiable.
Applying adhesive across large planes without a spreader creates uneven thickness, causing paper to ripple from moisture or taking an excessively long time to dry.
The main purpose of a glue spreader is to smooth adhesive into a micro-thin, uniform layer. Bonding strength does not improve by applying glue thicker; it peaks when a thin, even coat allows the two adjoining surfaces to achieve intimate contact.
Spreaders are typically made of polypropylene or flexible silicone. They offer just enough bend for smooth gliding, and dried glue peels right off without sticking permanently to the tool. A spreader keeps your hands spotless while laying down an even coat, making it a staple for anyone handling paper or leather. Spreaders with notched or serrated edges allow precise control over application depth, making them especially effective for thick, heavy-duty materials.
For micro-scale detailing—such as bead jewelry, rhinestone embellishment, and miniature construction—fine-tip dispensing nozzles are a game changer.
These metal or plastic needle-point nozzles attach directly to the openings of standard squeeze tubes. Standard tube openings tend to release sudden globs no matter how gently you press, leaving ugly residue around tiny accents. A needle tip allows you to place a pinpoint droplet smaller than a sesame seed directly onto the back of a component without excess overflow.
Using a fine tip eliminates the tedious work of wiping away stray glue, keeping your surfaces pristine and clear. Because adhesive can solidify quickly inside narrow tips, you must keep them clear with an included cleaning pin right after use. Even with that quick cleaning step, the jump in craftsmanship quality makes them completely worthwhile for anyone handling delicate components.
If you pick up glue-coated parts with bare fingers, natural skin oils can compromise the bonding face, and stray glue on your fingertips will transfer to the visible front of your project. To seat parts accurately on the first attempt, precision picking tools are essential.
Tweezers do much more than simply pick things up. In gluing tasks, their role is to transport and position parts with sub-millimeter accuracy without contaminating the bonding face or the surrounding area. Adjustments that are impossible with bulky fingertips become effortless with tweezers.
Craft tweezers generally come in three forms: straight-tip, curved-tip, and cross-locking (reverse action, which stays clamped until squeezed). For positioning small stones and beads, curved-tip tweezers give the clearest line of sight down to the surface. Cross-locking tweezers maintain their grip automatically without sustained finger tension, preventing hand fatigue and subtle tremors when applying glue to tiny parts.
Cheap, misaligned tweezers often drop parts or send them flying across the room. Investing in a precise set of dedicated craft tweezers is one of the most reliable ways to avoid project mishaps. I keep three specialized pairs right on my workbench, switching between them depending on the part size and placement angle.
Simply laying glued surfaces together uses only a fraction of an adhesive's potential strength. You must apply direct pressure to drive out trapped air pockets and force the glue deep into the fibers and surface textures of the material. Specialized craft rollers make this pressing step consistent and dependable.
A craft roller delivers far more uniform downforce than bare hands could ever produce across a flat surface. It is primarily used for joining leather pieces, bonding fusible interfacing to fabric, and smoothing broad sheets in cartonnage and papercraft.
Smoothing materials with bare hands leaves uneven pressure, inevitably trapping air bubbles. Over time, those pockets cause lifting, bubbles, and peeling. A standard rubber brayer or craft roller smooths delicate paper and fabric without scratching or stretching the surface.
For heavy leathercraft, a solid metal or hard-resin pressure roller allows you to apply full body weight, flattening folded edges and securing laminated pieces firmly together. Rolling under solid downward force dramatically increases bond durability and longevity. If your projects involve broad surface-to-surface adhesion, adding a roller to your kit is essential.
Adhesives require curing time ranging from several minutes to hours. While drying, moisture evaporates or solvents escape, which often causes materials to warp or creep out of alignment under gravity. Clamps and clips hold assemblies firmly under consistent pressure until the bond sets completely.
Clamps use screw threads or lever mechanisms to apply substantial, steady pressure across stacked materials. They are indispensable for woodworking, multilayer leather laminations, and structural boxes.
Holding an assembly by hand for twenty minutes is unrealistic. Threaded clamps, such as F-clamps or C-clamps, allow fine adjustments to the applied clamping force. A standard professional practice is to place sacrificial scrap wood or thick cardstock between the clamp jaws and your project to prevent indentations and pressure marks on the finished piece. Proper clamping produces flush, seamless joins that look clean and structural.
When heavy clamping force is unnecessary, craft clips, binder clips, and mini spring clips provide quick, convenient holding for fabrics, papercrafts, and woven craft bands. They are widely used for securing edge bindings on bags or holding woven paper bands in place as glue sets during basket weaving.
Unlike sewing pins, clips never pierce holes in your material, and their quick-release action keeps work moving fast. Note that strong bare metal binder clips can leave deep, irreversible pinch marks on soft leathers or fine textiles. Using dedicated sewing and craft clips with flat, smooth plastic clamping pads, or slipping small fabric scraps under the jaws as protective cushions, will keep your pieces mark-free.
Even when crafters understand these tools, mistakes can happen in daily practice. Keeping these common errors in mind will save you wasted materials and unnecessary frustration.
Many makers hesitate to buy dedicated tools, assuming a toothpick is enough. However, toothpicks absorb liquid adhesives, deliver erratic dot sizes, and work slowly, allowing glue to skim over before positioning. Direct finger pressure also introduces skin oils that interfere with proper bonding. Dedicated spreaders, fine tips, and tweezers are inexpensive, and using them avoids ruined materials and failed bonds.
Believing that more glue equals a stronger bond is a widespread mistake. Thick puddles stay soft and unstable deep inside for hours. The proper rule of adhesion is to apply a thin, even coat, and then apply firm mechanical pressure using a roller or clamp. Wipe away any tiny bead of glue squeezed from the seam immediately, and allow the thin film to cure cleanly.
Leaving tools uncleaned ruins them for the next session. Glue dried inside a fine nozzle or caked onto a spreader makes future precise work difficult. Silicone and polypropylene spreaders can be peeled clean once dried, but metal tips and tweezers should be wiped down promptly with water or a damp cloth right after use. Caring for your tools directly reflects in the quality of your finished craftwork.
You do not need to buy every single tool at once. Focus on the core set that matches your main craft genre.
Start with three items: a glue spreader, a pressure roller, and sewing/craft clips. Spread a micro-thin layer of adhesive with the spatula, roll under even weight to push out air, and clamp the edges with clips while drying. This simple trio produces smooth, professional joints.
Pick up a glue gun, fine dispensing nozzles, and curved-tip tweezers. Use the glue gun for quick, rigid structural anchoring on dimensional pieces. For delicate details, use fine nozzles and curved tweezers to place minute drops and guide tiny components down with precision.
Producing dependable, beautiful handmade crafts requires matching the right tool to each phase of the bonding process:
If you have been doing all your assembly work with just your hands and toothpicks, trying even one of these specialized tools will show an immediate improvement in speed, ease, and finish. Equip your bench with the right tools, and enjoy making durable, beautiful handmade items!
If you found this guide helpful, please feel free to share it with your fellow makers. Until next time—happy crafting from Yassy!


For example, if you are looking for articles about mizuhiki, try searching for "mizuhiki"; if you are interested in tools, try keywords like "nippers" or "pliers."
