Can You Use a UV Nail Lamp for Resin Crafts? How to Repurpose It Without Mistakes
yassy
Crafters!

Hello, crafters! It’s Yassy! (・∀・)
As someone who loves making, exploring, and buying all kinds of handmade crafts, the circular needle was the very first tool that truly astonished me when I stepped into the world of knitting.
Many beginners believe that circular needles are specialized tools designed strictly for knitting seamless tubes like hats and socks. However, that is a big misconception.
Circular needles are actually an all-purpose tool capable of comfortably handling everything from tubular projects to large, flat-knit pieces like sweaters and shawls. Once you master this single tool, both your knitting efficiency and the finished quality of your work will improve dramatically.
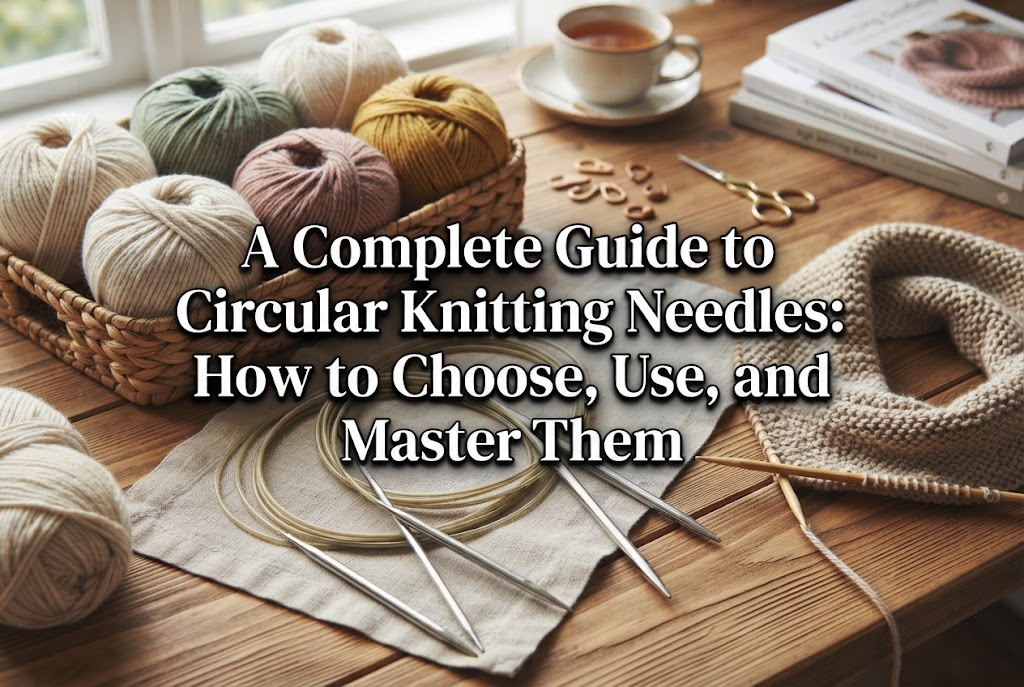
In this guide, I will share all the insights I have gathered from my own hands-on crafting experience—covering what circular needles are used for, how to use them, their features, types, differences from other knitting needles, key points for beginners when choosing their first pair, and precautions to keep in mind.
By reading this, you will clearly understand which circular needles you need right now and enjoy your knitting life without hesitation.
A circular needle consists of two shorter needle tips connected at the ends by a flexible cord made of nylon or plastic.
While they may look a bit unusual at first glance, the basic way you knit with them is identical to using traditional straight needles. Let’s examine why this specific shape offers such incredible advantages in knitting.
The defining feature of a circular needle is the thin cord connecting the two needle tips. Your knitting stitches (loops) rest on this cord as you work.
The needle tips themselves are relatively compact, usually around 10 cm to 14 cm (about 4 to 5.5 inches), compared to standard straight needles, which measure around 30 cm (12 inches). You manipulate the stitches with the tips, and the worked stitches slide smoothly onto the center cord.
The join between the needle tip and the cord is crafted seamlessly so yarn glides over it without snagging. This integrated design is the secret to a major boost in knitting efficiency.
Because of the name “circular,” beginners often assume these needles can only knit continuously in the round. That is simply not true. You can knit flat pieces back and forth just as easily.
When you reach the end of a row, you simply turn the entire piece around, switch the needles between your hands, and knit back in the opposite direction. It produces the exact same flat-knit fabric as a pair of straight needles.
In short, a single set of circular needles handles both tubular and flat projects. For anyone who prefers to keep their crafting kit simple and organized, there is no better choice.
Many knitters struggle with hand and wrist fatigue during long sessions. With straight needles, as a project grows larger, the full weight of the fabric hangs from the two long needles, forcing your wrists to support it constantly.
With circular needles, however, most of the knitted fabric rests on the flexible cord in the middle.
You can let the bulk of the fabric sit comfortably on your lap or on a table, reducing the strain on your hands and wrists almost to zero. This ergonomic advantage alone is a decisive reason to make the switch to circular needles.
Circular needles excel at tasks that other needle styles simply cannot replicate with the same ease. Here are the projects where they truly shine:
The greatest strength of circular needles is producing tubular items that require no seaming or sewing together at the end.
Knitted beanies, cowls, neck warmers, and wrist warmers can be worked by continuously knitting in one direction around the loop. This creates clean, seamless tubes.
Eliminating the step of sewing pieces together not only leaves a cleaner finish, but also cuts down total project time significantly.
When knitting large projects that involve hundreds of stitches—such as blankets, oversized shawls, or sweater bodies—straight needles quickly reach their limit. Stitches can become crowded, leading to the risk of them slipping off the ends.
With circular needles, using an 80 cm or 100 cm (32-inch or 40-inch) cord allows you to hold a huge number of stitches comfortably.
You are freed from the fear of dropped stitches and can knit large items comfortably and without stress.
It used to be said that you couldn’t knit a tube smaller than the needle’s cord length, but that is no longer the case. By using the “Magic Loop” technique, a single long circular needle lets you knit tiny tubes like sweater cuffs, socks, and glove fingers.
This method involves pulling excess cord out into loops on either side of the work as you knit. It is an essential modern knitting technique.
Mastering Magic Loop means you can complete tubular projects of virtually any circumference with just one circular needle.
When shopping for circular needles, you will notice different configurations and materials. They fall broadly into two categories: fixed and interchangeable, along with various needle tip materials.
Understanding their differences will help you choose the right tool for your needs.
Fixed circular needles have the tips permanently attached to the cord, meaning they cannot be disassembled.
Their biggest advantage is the smooth transition between needle and cord, as there are no screw mechanisms, making snagging extremely rare. Because of their simpler design, they are also generally more affordable.
While you are limited to a single needle size and cord length per pair, they are the ideal choice for frequently used sizes or when you want the smoothest possible glide.
Interchangeable systems allow you to detach the needle tips and cords, combining different sizes and lengths using screw threads or locking mechanisms.
For instance, you can combine Japanese size 6 (3.9 mm) needles with a 60 cm cord, or size 10 (5.1 mm) needles with an 80 cm cord, swapping configurations freely.
While the initial cost of a set is higher, owning one means you are instantly prepared for nearly any yarn weight or pattern. If you plan to stick with knitting over the long term, investing in an interchangeable set is ultimately the most practical and cost-effective route.
Circular needle tips are mainly made of three materials: bamboo/wood, metal, or plastic.
To better understand the role of circular needles, here is how they compare to other common tools:
Single-pointed needles with knobbed ends are the classic image of traditional knitting, with the stoppers preventing stitches from slipping off the back.
However, straight needles are long (roughly 30 cm to 33 cm), and their ends often bump into your body, armrests, or someone sitting next to you. Knitting on a train or in tight spaces is practically impossible.
Furthermore, because the full weight rests entirely on your wrists, circular needles offer far superior ergonomics. Today, there are very few practical advantages to choosing straight needles over circulars.
Traditionally, small items like socks, gloves, and hat crowns were worked in the round using sets of 4 or 5 double-pointed needles arranged into a triangle or square.
However, DPNs require frequent needle transitions, which can cause loose tension at the corners and leave visible vertical gaps or ridges (known as “ladders”). Stitches or needles can also slip out accidentally during handling.
Using a circular needle—especially with the Magic Loop technique—allows seamless knitting on a single continuous tool, avoiding the hassles of DPNs.
Crochet hooks and circular needles (knitting needles) produce fundamentally different fabric structures.
A crochet hook has a hook at the tip and completes one stitch at a time. The resulting fabric is typically thicker, firmer, and holds its shape well.
In contrast, knitting with circular needles holds many live stitches on the needle at once. The fabric produced is soft, stretchy, and pliable, making it ideal for drapey garments like sweaters and scarves.
Because each tool serves a different purpose, choose based on the desired texture and drape of your finished piece.
Here are reliable criteria to help beginners pick their very first circular needle without regrets.
When selecting a fixed circular needle, total length (including the cord and both needle tips) is critical. Length specifications (such as 40 cm, 60 cm, or 80 cm) measure the entire tip-to-tip span.
Choosing the wrong length can make it impossible to join and knit your project, so keep these guidelines in mind:
For your first purchase, a 40 cm needle is ideal for small accessories in the round, while an 80 cm needle (capable of Magic Loop) is the smartest choice for flat knitting or larger projects.
If you are buying your very first circular needle, bamboo is hands-down the best material to pick.
Metal needles are very slick, and inexperienced knitters can easily lose control, causing stitches to slide off the tips and unravel hard-earned work.
Bamboo provides natural friction that grips yarn fibers gently. This minimizes the risk of dropped stitches, giving you peace of mind as you practice. Look for a trusted manufacturer with finely polished, smooth bamboo tips.
Here is my take on whether you should buy an interchangeable set right away or stick to individual fixed needles:
If you are certain you want to pursue knitting as a long-term hobby, go ahead and invest in an interchangeable circular needle set. Having various tip sizes and cord lengths on hand means you can tackle new yarns and patterns right away without extra shopping trips. In the long run, it is much more economical than buying needles one by one.
On the other hand, if your goal is just to try knitting a single beanie or see whether you enjoy the craft, buy one fixed circular needle in the exact size and length needed for that pattern. You can experience the smooth comfort of circular knitting for a modest initial investment.
While circular needles are wonderful, their unique construction can sometimes lead to beginner stumbling blocks. Knowing how to prevent and resolve these issues will keep your knitting sessions frustration-free.
Newly purchased circular needles, or those stored coiled in their packaging for a long time, often have strong “memory” in the cord that makes them curl up tightly.
Knitting with a curled cord can cause it to catch on your hands or twist your fabric, creating unnecessary annoyance.
You can easily relax this curl using warm water:
This simple trick will relax stubborn curls and leave your cord smooth and pliable. Important: If your needle tips are made of wood or bamboo, never submerge the tips themselves, as moisture can cause warping or mold. Soak only the cord.
Sometimes stitches catch at the junction where the needle meets the cord when sliding loops back onto the tip.
This is usually caused by knitting with overly tight tension. Stitches that are drawn too tightly cannot glide smoothly over the slight step between the cord and needle.
Try consciously relaxing your hands and forming stitches that comfortably match the diameter of the needle tip.
If you are using interchangeable needles, check that the connection hasn’t loosened slightly. Use the tightening key provided with your set to ensure a firm, gap-free fit. On fixed needles with a slight manufacturing imperfection, applying a tiny, thin coat of clear nail polish over the join can smooth out the seam.
The most common pitfall when joining stitches in the round is accidentally twisting the cast-on edge around the cord.
If you join and knit a few rounds with a twist, the fabric forms a Möbius strip and cannot be straightened out. Your only option will be unraveling everything and starting over.
To prevent this, lay your needle down on a flat surface before joining. Carefully inspect every cast-on stitch with your fingers to ensure that the bottom ridge of the stitches points uniformly toward the center (or all outward) without looping around the cord. Once you have confirmed there are no twists, make your first joining stitch.
When working the Magic Loop technique, the stitches where the cord loops out on either side can sometimes loosen, creating faint vertical gaps known as “ladders.”
To prevent laddering, snug up your yarn firmly on the first and second stitches after switching sides. Giving the second stitch an extra gentle tug eliminates slack at the transition point, resulting in an even, seamless fabric.
Circular needles are far more than just tools for tubular projects. They improve stitch quality, reduce hand and wrist fatigue, and serve as the ultimate versatile tool in modern knitting.
Once you experience the comfort and ease of circular needles, it is hard to imagine going back to long, rigid straight needles.
Whether you are looking to take up knitting seriously or have struggled with straight needles in the past, use this guide to find the perfect circular needles for your craft.
Welcoming the right tool into your toolkit will make your handmade crafting time all the more enjoyable and fulfilling.
If you found this guide helpful, please feel free to share it with your fellow makers on social media! See you in the next article—this was Yassy from Crafters!



For example, if you are looking for articles about mizuhiki, try searching for "mizuhiki"; if you are interested in tools, try keywords like "nippers" or "pliers."
