How Calipers Can Transform Your Handmade Craft Precision: Buyer’s Guide and Studio Tips
yassy
Crafters!

Hello, everyone! It’s Yassy from Crafters! (・∀・)
Are you enjoying the world of floral and botanical crafts? Whether it’s dried flower swags and wreaths, preserved flower arrangements, or herbariums, crafting with real botanical elements brings an organic charm that instantly brightens any room.
Many crafters begin their journey with all-in-one starter kits or inexpensive tools from dollar shops. There is absolutely nothing wrong with that—starting simple is the easiest way to learn the basics without feeling overwhelmed. However, once you become familiar with the process and find yourself thinking, "I want my pieces to look polished enough to sell," or "I want to achieve that refined look I see from professional artists on social media," it’s time to upgrade your toolkit.
Here is the simple truth: In floral and botanical crafting, your final finish is determined far more by the precision of your tools than by raw technical skill alone. No matter how premium your blooms or materials are, dull scissors and awkward tweezers will keep your work from ever reaching that professional benchmark.
You do not, however, need to rush out and buy every expensive tool on the market all at once. There is a proven, definitive order for upgrading to specialized tools to get the highest return on your investment. In this guide, I will walk you through the ultimate roadmap for upgrading your gear so you can dramatically improve the quality of your botanical creations!
Before jumping into the list, it helps to understand why your choice of tools makes such a dramatic difference. Botanical materials are fundamentally unlike paper, fabric, or resin. Both preserved flowers (treated from fresh blooms) and dried flowers are exceptionally delicate, fragile natural elements.
Budget scissors and flimsy tweezers from beginner kits simply aren't designed to minimize stress on these fragile items. When you cut stems with dull blades, you crush and splinter the plant fibers. When you use tweezers that lack proper grip control, you risk tearing petals and bruising delicate leaves.
Switching to professional-grade tools keeps damage to an absolute minimum, allowing you to position and secure materials cleanly on the very first try. You eliminate frustration, cut down on unnecessary readjustments, and end up with finished pieces that look remarkably crisp, clean, and expertly assembled.
I personally love collecting craft supplies and tools, and over the years, I have tested countless options across different disciplines. From that experience, I can tell you with certainty: in floral and botanical crafting, investing in high-quality tools offers the absolute highest payoff in finished quality.
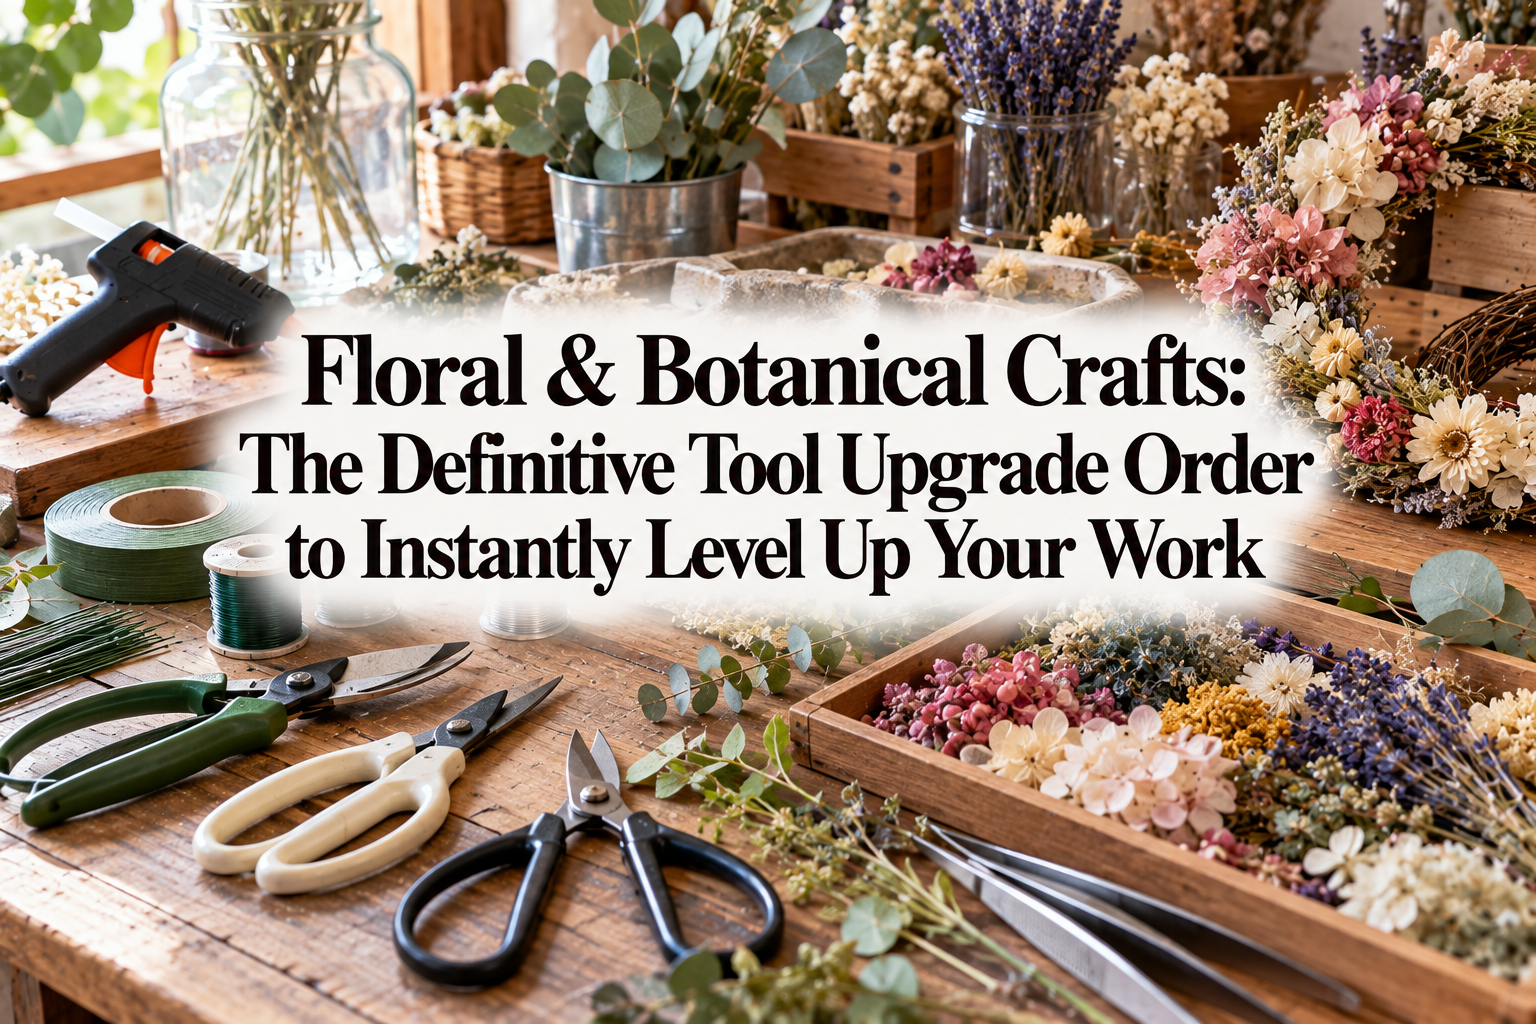
When graduating from starter kits, the very first tool you should upgrade is your cutting tool: a pair of dedicated florist scissors. If you are still using general household stationery scissors or cheap multi-purpose shears, set them aside immediately. An improper cutting edge is the single biggest cause of sloppy finishes.
Floral crafting demands two distinct capabilities at once: razor-sharp precision to slice through paper, floral tape, and delicate ribbon, along with rugged cutting power to snip through woody stems and metal craft wire. Cutting thick stems with ordinary household scissors forces the blades apart, crushing the plant's internal fibers. When stem ends are mangled like this, inserting them into dry arrangement foam tears large chunks out of the base, preventing your stems from holding their intended angle.
The ideal replacement is a pair of specialized craft floristry scissors equipped with a wire-cutting notch near the base of the blades. This tiny cutout allows you to snip florist wire and wired stems effortlessly without chipping or dulling the main cutting edge.
Make sure to choose shears coated with fluorine resin (PTFE) or titanium. These non-stick surfaces completely prevent plant sap and sticky floral tape residues from gumming up the pivot and blades. A razor-sharp pair lets you snip through brittle dried twigs in a single clean pass, minimizing the vibrations that cause tiny flower buds to scatter.
Personally, I always reach for floral shears crafted by established blade manufacturers from renowned cutlery regions. A quality pair becomes an indispensable lifelong partner. The moment you switch, your prep time will be cut in half, and you will be amazed at how neat and clean your stem ends look.
The next priority right after your shears is a pair of high-precision craft tweezers. The short, stamped tweezers found in starter kits or standard household first-aid boxes simply cannot reach into deep containers or give you fine control over tiny botanicals.
For herbariums, bottle gardens, glass dome arrangements, and delicate pressed flower work, the quality of your tweezers directly dictates your results. Cheap tweezers tend to flex open slightly at the tips when you squeeze them firmly, causing brittle dried flowers to slip, twist, or snap. That flex is the number one reason arrangements get knocked out of place right before completion.
When selecting your upgrade, look for these three key features:
It is best to have two styles ready: a straight fine-tip model and a curved gooseneck model. The straight pair is perfect for lowering stems vertically into tall bottles, while the curved neck allows you to tuck small accents behind existing blooms without disturbing the surrounding layers.
With high-precision tweezers, you can gently yet firmly secure a single grain of baby’s breath (gypsophila) or a fragile hydrangea petal without leaving indentations or crushing the structure. You can set each accent in its exact place with zero fuss.
Whether you are constructing wreaths, reinforcing swags, or building shadowbox frames, a hot glue gun is an indispensable bonding tool. It is also, unfortunately, the tool that causes beginners the most grief.
The glue guns found in dollar bins and cheap starter kits are almost always low-temperature units that lack consistent heat regulation or anti-drip mechanisms. They take ages to warm up, run excessively runny glue that drips everywhere, and cool into a hazy, cloudy white blob. Worse still, they leave a messy web of glue strings across your entire design.
To produce retail-worthy pieces, switch to a high-temperature (high-power) glue gun with a dedicated power switch. High-temperature glue melts cleanly with exceptional tack, locking floral stems in place the instant it contacts the base. Crucially, high-temp glue dries crystal clear, keeping your joint areas completely discreet.
Pay close attention to the nozzle design as well. Opt for a model fitted with an elongated, ultra-fine precision tip (or one that accepts interchangeable nozzles). Standard bulky nozzles make it impossible to reach deep into tight floral crevices, often dumping large globs on visible petals. A slender nozzle lets you direct a pinpoint droplet exactly where needed—deep into the base of a wreath frame or between hydrangea clusters.
You will be completely freed from stringy glue messes, and your joints will be both structurally sound and nearly invisible.
Wiring is the foundational technique in floral and botanical design that allows you to control the placement, angle, and curvature of your flowers. It involves attaching floral wire to short stems to create secure artificial picks.
Beginners often bend wire with their fingers or try to cut it using regular scissors. However, wire bent only by hand often lacks tension, causing heavy blooms to spin upside down under their own weight. Cutting wire with standard scissors will also quickly ruin the blades.
To upgrade your wiring technique, introduce precision jewelry or craft hand tools:
The difference between dedicated craft tools and hardware-store options lies in the tight jaw alignment and smooth internal springs. Choosing pliers with spring-action handles prevents hand fatigue, making long wiring sessions comfortable and efficient.
When your wiring is stable, assembling swags and binding wreaths becomes effortless. You gain the freedom to adjust a bloom just five degrees to the right and know it will stay firmly put, giving your work beautiful three-dimensional depth.
Once your core tool bench is equipped, your final step is upgrading your consumables and finishing products. Quality floral tape, premium wire, and specialized protective sprays are just as critical as the physical tools you handle.
Budget floral tape often lacks sufficient wax coating, feeling slippery rather than tacky when stretched, which causes wraps to unravel and loosen over time. Professional-grade floral tape activates its adhesive properties smoothly upon gentle stretching, clinging tightly to wire and stem surfaces like a second skin.
After upgrading your physical tools, I strongly suggest incorporating specialized dried flower hardener/protective sprays and UV-protectant clear coats into your workflow. Even the most meticulously arranged dried botanicals can absorb humidity over time, droop, shed petals, or fade under direct sunlight.
A gentle mist of dedicated protective spray forms a breathable, transparent protective shield over your blooms. It locks petal shapes in place, drastically reduces shedding, and slows natural color fading caused by ultraviolet light. This ensures your customers and gift recipients can enjoy your creations in their prime condition for months longer.
Investing in superior consumables and sealants is the ultimate dividing line between an amateur hobby project and a professional, marketable floral creation.
Here is a quick summary of the upgrade steps. Follow this order to get the greatest improvement at every step of your budget:
Upgrading in this sequence ensures you never waste money on redundant gear. With every new tool in hand, you will feel as though your own dexterity has leveled up overnight!
To save you time and frustration, here are three common pitfalls I have encountered in my own journey that you should avoid at all costs:
Avoid buying large utility pliers and heavy diagonal cutters from the general home improvement aisle. Those tools are built for thick electrical cables and construction materials; their jaws are far too bulky, and their weight makes delicate work exhausting. Always choose palm-sized precision tools designated for crafts, jewelry, or hobby work.
Some crafters keep a cheap low-temp glue gun and attempt to use high-grade glue sticks with it. This does not work. The melting consistency and flow of hot glue depend entirely on the gun’s heating element and thermal regulation. If the gun cannot reach and sustain optimal operating temperature, even the best glue stick will yield inconsistent, lumpy results.
Never use a single pair of scissors to cut paper, fabric, wire, and botanical stems interchangeably. Snipping wire with standard blades causes microscopic chips that tear dried stems. Meanwhile, cutting ribbon with blades coated in dried plant sap produces frayed, ruined edges. Keep at least two pairs clearly separated: one dedicated to stems and wire, and another strictly for paper and ribbons.
Even the finest tools will lose their edge if neglected. Here is how I maintain my gear so it lasts for years:
Working with plant stems leaves invisible residues of sap, dust, and tape adhesive on blades and tips. Over time, these build up, making blade action sluggish and inviting rust. Get into the habit of wiping your scissor blades and tweezer tips with rubbing alcohol or an alcohol wipe after every session. It instantly dissolves sap and stickiness, keeping your tools cutting like new.
Burned, crusted glue around the tip of your glue gun can dislodge and ruin your work. Once you turn off your glue gun at the end of a session, take a folded paper towel or scrap cloth and wipe the nozzle clean while it is still warm. (Be very careful to avoid burns—use tweezers or a thick cloth barrier.) This keeps the tip clean and ensures your glue flows smoothly and clearly the next time you power it on.
If you have already learned the basics using beginner kits, you have passed the first major milestone! Wanting to take your floral work to a higher aesthetic level is proof that your artistic eye is maturing.
Before you blame your own technique, look at what’s in your hands. Frustrating moments spent wrestling with dull shears turn into pure satisfaction with a dedicated floral pair. The difficulty of tucking tiny blooms into tight spaces vanishes with high-precision tweezers.
High-quality tools act as natural extensions of your hands. Follow this upgrade path one tool at a time, and you will see your botanical arrangements transform into refined, breathtaking works of art!
If you found this guide helpful, please share it with your fellow crafting friends on social media! Until next time, this was Yassy from Crafters—happy crafting!


For example, if you are looking for articles about mizuhiki, try searching for "mizuhiki"; if you are interested in tools, try keywords like "nippers" or "pliers."
