Level Up Your Japanese Tsumami Zaiku: The Ultimate Tool Upgrade Order Beyond Starter Kits
yassy
Crafters!

Hello, this is Yassy from Crafters! (・∀・)
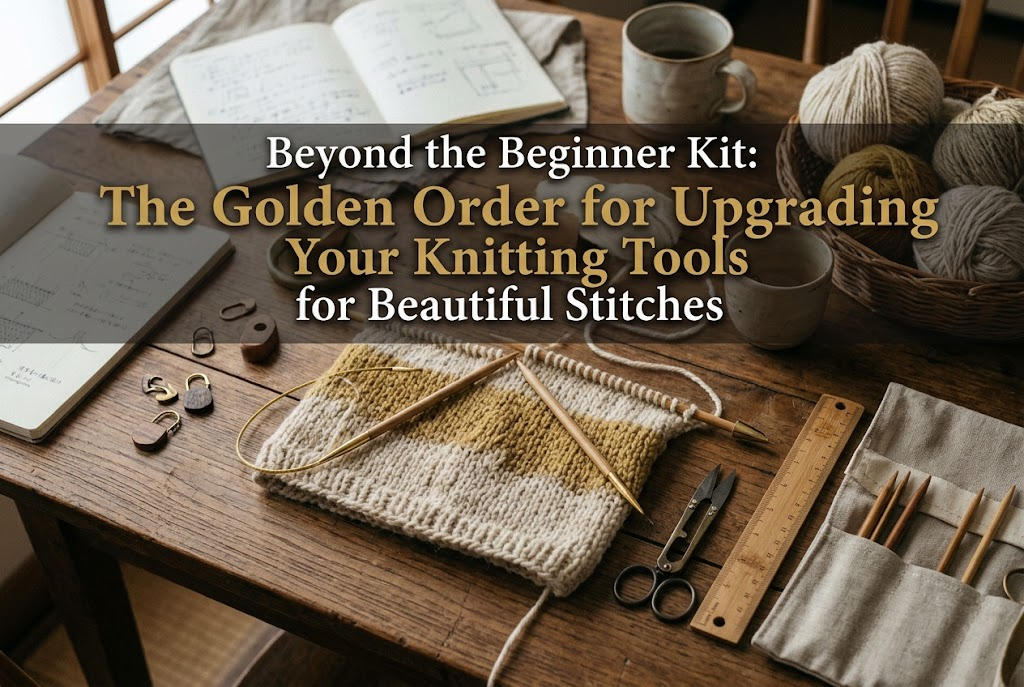
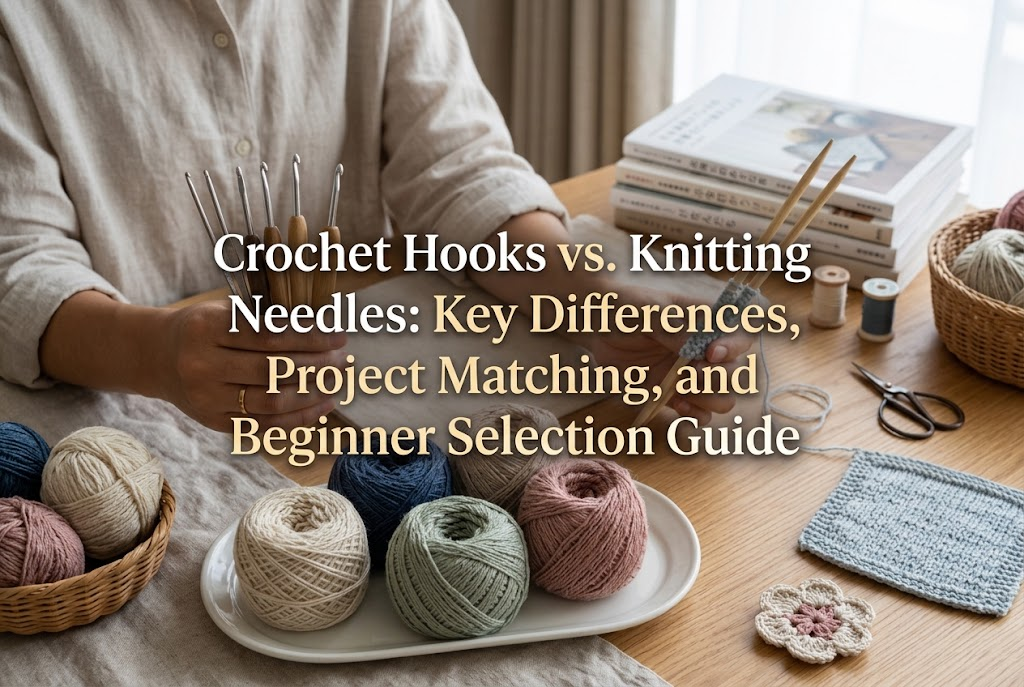
Once you start knitting and get comfortable making scarves, small pouches, or simple hats, knitting becomes more and more fun. Taking time to watch the stitches take shape row by row is pure bliss for any handmade enthusiast. Personally, I love everything about it: moving the needles, feeling the texture of the yarn, and wearing the finished knitted pieces.
However, after completing a few projects, almost every knitter hits a wall: "Why are my stitches uneven?" "Why do my hands tire so easily?" "Why doesn't this look as neat as store-bought knits?"
The cause isn't a lack of skill on your part. In reality, it is often because you are still using the beginner tools from your starter kit.
Tools included in starter kits are meant to provide the bare minimum set of equipment needed to learn basic procedures. They aren't engineered to elevate project quality or deliver a smooth, luxurious knitting experience. In hand-knitting, tool quality directly dictates both the beauty of your work and the comfort of your crafting session. By simply upgrading to better tools, your stitches will become amazingly neat, and your knitting speed will jump significantly.
In this guide, I will thoroughly explain the absolute golden order for upgrading your tools after graduating from your starter kit!
Before diving into the upgrade order, it is essential to understand why moving on from starter kit tools matters. Crucial differences exist between low-cost kit supplies and the high-quality tools cherished by seasoned craftspeople, though beginners might not spot them right away. Understanding these points is the first step toward confident tool selection.
Inexpensive starter kit needles often have unfinished bamboo or plastic surfaces with micro-roughness remaining. This roughness catches yarn fibers and impedes smooth gliding. When yarn doesn't slide effortlessly, you apply unnecessary force with your hands, resulting in overly tight or uneven stitches.
High-quality knitting needles are polished by master artisans or precise machinery to achieve an amazingly smooth finish. Yarn travels effortlessly across the needle, allowing you to maintain an even tension without straining. Additionally, precisely shaped tips insert smoothly into stitches without splitting the yarn, eliminating the stress of dropping or unravelling stitches.
Many circular needles in starter kits feature thick, stiff vinyl cables that retain harsh kinks. Rigid cables pull on your project as you work, placing extra pressure on your wrists. This is a direct cause of uneven tension and wrist pain.
Furthermore, noticeable ridges or gaps where the needle meets the cable catch stitches every time you slide them over. High-quality circular needles feature supple cables that resist kinking, along with completely seamless joins. Stitches glide smoothly across without snagging, letting you stay fully immersed in your work.
Accessories in starter kits, such as gauge rulers and stitch markers, are usually simple plastic items. Plastic stitch markers with rough molding burrs can snag delicate yarn strands and damage your work. Similarly, using low-precision finishing tools can distort your work at the very final stage, no matter how neatly you knitted the body. High-precision accessories are essential for elevating your work's durability and visual appeal to a professional standard.
When upgrading your setup, the main knitting needles themselves take absolute priority. No matter how nice your small accessories are, rough needles will prevent you from achieving pristine knitted fabric. The moment I switched to high-quality needles myself, I was amazed by how dramatically my stitch consistency improved. Selecting the right needles is your single biggest key to better quality.
If you are graduating from a starter kit, my top recommended investment is an interchangeable circular needle set. Interchangeable systems allow you to freely attach different needle tips to various cable lengths, letting you build the exact circular needle you need. You can handle both flat knitting (back-and-forth) and tubular knitting (hats, cowls, sleeves) with a single set—no need to buy numerous pairs of long straight needles.
Benefits of an interchangeable set include:
Look for sets from trusted, long-established craft manufacturers online or at specialty yarn shops. Owning one reliable set resolves virtually every needle issue for years of crafting to come.
When selecting upgrade needles, you might feel unsure about which material to choose. Each material offers distinct characteristics, so pick based on your personal knitting habits and the yarn you use.
Bamboo / Wooden Needles: Warm and Versatile with Gentle GripIn Japan, bamboo needles are the most familiar choice and are widely recommended for beginners and intermediate crafters. Bamboo and wood offer just the right amount of surface friction, preventing stitches from slipping off the needle accidentally. High-quality bamboo or wooden needles feature a silky smooth polish that balances glide and control. If you regularly work with common yarns like wool, acrylic, or mohair, start with high-quality bamboo or wooden needles.
Metal Needles: Designed for Speed and Ultimate SmoothnessNeedles made of brass, stainless steel, or nickel boast incredible smoothness and durability. Yarn glides with zero resistance, drastically boosting your knitting speed. Because metal tips can be machined very finely, they excel in intricate lace patterns or when working with fine yarns like sock yarn. Choose metal if you tend to knit tightly or prefer effortless glide, though you will need a bit of focus to avoid dropping slippery stitches.
High-quality needles come with different tip sharpish levels, which also affect your work's quality. For standard yarn weights and classic stockinette stitch, slightly rounded "standard point" tips are ideal because they prevent yarn splitting and support a steady rhythm. For complex cables, lace patterns, or intricate decreases, sharply tapered "lace point" tips are far superior. Their slender points slip effortlessly into tight stitches to pick up yarn cleanly.
Once you have a satisfying main needle, your next investment should be measuring tools and helpful accessories. Common frustrations—like projects coming out the wrong size or dropping stitches mid-project—can be completely prevented with proper helper tools.
Measuring your gauge (the number of stitches and rows in a 10cm / 4-inch square) is a vital step. Measuring casually with a basic ruler often leads to size discrepancies. Instead, upgrade to a sturdy metal or acrylic knitting gauge frame. Setting a dedicated square gauge frame over your knitted fabric lets you count stitches and rows accurately without slipping. Many frames also feature calibrated holes to double-check needle sizes when markings rub off.
Stitch markers are indispensable for marking increases, decreases, pattern repeats, and row counts. Cheap plastic markers from starter kits can be stiff to open or feature rough edges that catch yarn fibers. Upgrade to smooth, metal safety-pin-style markers or soft silicone ring markers. They open and close easily under your fingertips without snagging yarn, keeping your momentum going smoothly.
Tapestry needles used for seaming parts and weaving in yarn ends are equally important. Plastic tapestry needles from beginner kits are often too thick, forcing open stitches and distorting your fabric. Upgrading to smooth metal tapestry needles allows even thick yarn to thread cleanly. Selecting a needle with a slightly bent tip makes sliding under purl bumps on the back of your fabric effortless, creating invisible, professional finishing.
Do you use your knitted items immediately after binding off? Freshly knitted pieces often have uneven texture and curling edges due to variations in tension. "Blocking" (wetting, shaping, and drying) is the magic step that transforms homemade knits into store-bought quality items. Starter kits rarely include blocking supplies, making them an essential Step 3 upgrade.
Blocking involves soaking your finished piece, squeezing out excess moisture, pinning it into shape, and letting it dry. This allows yarn fibers to settle evenly, relaxing stitches and opening up lace or cable details. Acquire a set of interlocking blocking mats with grid lines, alongside rust-proof stainless steel T-pins or blocking wires. Aligning your garment edges along the grid lines ensures precise finished measurements. Avoid standard sewing pins, as moisture can cause them to rust and stain your yarn.
A strong steam iron is a handy tool for steam blocking. Instead of pressing the iron directly onto the knit, hover it a few centimeters above to release steam, gently smoothing the shape with your hands. Texture irregularities disappear, giving your knit a refined finish. Additionally, stock up on gentle wool/silk detergent (such as no-rinse formulas). It cleans your work while preserving the natural oils in the yarn for a soft, luxurious feel.
Buying new tools without a clear plan can lead to unnecessary spending. Keep these common traps in mind so you can make smart decisions.
Inexpensive full needle sets online might look like a deal, but their quality often matches starter kits, yielding no actual upgrade. You also end up with many extreme sizes you may never use. Instead, invest in a reputable interchangeable set from a recognized brand, or purchase high-quality individual needles in the specific sizes you use most.
Knitting needle sizes vary by region. For example, Japanese sizing uses numbers like No. 4 (3.3mm), No. 6 (3.9mm), and No. 8 (4.5mm), which differ slightly from US or metric (mm) standards. When buying international needles or following Japanese patterns, always check a size conversion chart to select the exact millimeter thickness required for your target gauge.
It is tempting to use one favorite set of metal needles for everything, but yarn texture matters. Slippery yarns like silk blends can slip off slick metal needles easily, causing dropped stitches. Conversely, sticky un-scoured wool on high-friction bamboo needles can feel heavy and sluggish. Keep this simple rule in mind: Use bamboo/wood needles for slippery yarns, and metal needles for sticky or stiff yarns.
Here are two straightforward upgrade roadmaps to help you plan your spending wisely:
Ideal if you want to experience better tool quality on a modest budget.
By upgrading only your primary needles and key finishing tools, your daily comfort and finishing quality will improve noticeably.
The ultimate setup for knitters ready to commit to long-term crafting.
With this setup, you can tackle everything from garments to accessories with maximum efficiency and top-tier finish.
Upgrading from starter kit tools to high-quality equipment is not a luxury—it is a worthwhile investment in your passion and time. Here is a quick recap of the golden order:
Once you experience yarn gliding smoothly across polished needles as even stitches form effortlessly, you won't want to go back. Upgrading your tools preserves the handmade warmth of your work while giving it a polished, professional look.
If you found this guide helpful, please feel free to share it with your fellow crafters! Until next time, happy knitting—this was Yassy from Crafters!

For example, if you are looking for articles about mizuhiki, try searching for "mizuhiki"; if you are interested in tools, try keywords like "nippers" or "pliers."
