Japanese Crafting Guide: How to Use Instant Glue Without Blooming or Damaging Materials
yassy
Crafters!

Hello, this is Yassy from Crafters! (・∀・)
From sewing fabric goods and assembling beaded jewelry to curing UV resin, I love dipping my hands into all kinds of creative crafts. I genuinely enjoy making things myself, just as much as I adore discovering and collecting pieces made by talented artisans. Among all the crafts I have explored, there was one discipline I had long admired from afar and eventually fell completely in love with: authentic leathercraft and hand stitching.
You might think, "Making genuine leather goods by hand sounds like artisan-level work, far too difficult for me," or "Specialized leather tools seem expensive and overwhelming to set up." Let me reassure you: that is a complete misconception. As long as you have the right tools and follow the correct steps, even a complete beginner can create stunning, professional-grade leather items right on their dining table starting today.
The luxurious feel of genuine leather, the rich patina that develops with daily use, and the profound joy of holding an item you hand-stitched needle by needle offer a deeply satisfying experience unlike any other craft.
In this guide, I will share a complete, straightforward roadmap for total beginners to dive into leathercraft without hesitation and successfully complete their first genuine leather project. Drawing from my personal hands-on experience and fundamental knowledge, here is everything you need to prepare and do.
When starting leathercraft, the two most important mindsets are: do not overcomplicate things, and aim to achieve your first completed project as quickly as possible. The primary reason beginners get discouraged is spending too much time overthinking during the preparation stage, or getting confused by dense, technical manuals before even making their first stitch.
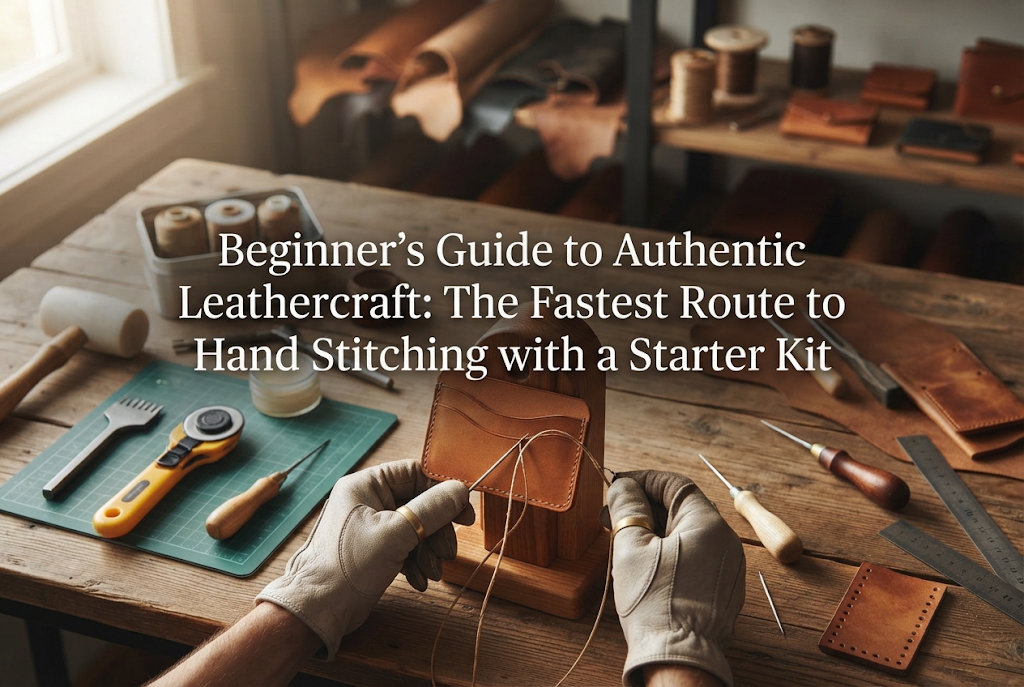
There is a proven shortcut to enjoying authentic leathercraft: purchase an all-in-one starter kit from an online retailer like Amazon, and begin stitching a small leather accessory right away.
Once you master the foundational stitching and finishing techniques of leathercraft, you can apply them to virtually any project imaginable—coin pouches, key cases, cardholders, and other everyday essentials can all be crafted by your own hands. Beyond personal use, handmade leather gifts are universally treasured. Let's unlock the door to this wonderful world together!
When newcomers decide to pick up leathercraft, many fall into a common trap: attempting to research and purchase every tool one by one. I strongly advise against this. For beginners, buying individual tools almost always leads to frustration.
Here are the three major pitfalls of sourcing tools separately, and why an all-in-one starter kit is the smartest way forward:
A curated starter kit solves all of these problems at once. The tools and materials are matched in compatible sizes, allowing you to open the box and start working immediately. A well-rounded starter kit should include the following essentials:
On online platforms like Amazon or Rakuten, starter sets containing these fundamental tools are readily available for around 3,000 to 6,000 JPY (approximately $25 to $45 USD). Achieving this level of cost performance by purchasing individual tools is simply impossible. Grasping the overall craft with a starter kit first is by far the wisest choice.
The true essence of leathercraft lies in the beauty, strength, and rhythm of hand stitching. Its structure and technique are fundamentally different from sewing fabrics with a machine. Understanding this distinction is your first step toward mastery.
When sewing cloth, a sharp needle pierces through the woven fibers, pushing them aside as thread passes through. Thick, dense genuine leather, however, cannot simply be pierced with a conventional sewing needle.
Instead, leathercraft requires pre-punching slanted diamond holes along your stitching line using stitching chisels (hishime-uchi). Hand sewing is then performed using a single length of thread with a blunt needle attached to each end, weaving the two needles through each hole from opposite sides in a technique known as saddle stitching (or flat stitching).
Unlike machine stitching, where a single broken loop can cause the entire seam to unravel, traditional leather saddle stitching interlocks both threads in a continuous figure-eight pattern. Even if one stitch wears through over years of use, the remaining stitches stay locked securely in place, giving leather goods their legendary durability.
Leather hand-sewing needles differ substantially from standard sewing needles. Their tips are rounded and blunt rather than pointed. Because they pass through pre-punched holes, they glide smoothly without splitting the leather fibers or pricking your fingers.
For thread, standard cotton sewing thread will not suffice. Leather stitching requires durable polyester or nylon thread coated with wax. The wax coating prevents fraying, reduces friction as the thread passes through dense leather, and locks each stitch firmly in place for a neat, uniform appearance. Starter kits include appropriately sized waxed thread, saving beginners from any guesswork.
Once your tools are ready, you will need your primary material: genuine leather. Walking into a leather supplier or browsing online can be overwhelming, but for beginners, there is one clear, definitive choice.
Tanning is the chemical or natural process that transforms raw animal hide into stable, durable leather. The two primary tanning methods yield very different characteristics:
The absolute best material for beginners is natural vegetable-tanned cowhide, commonly called nume-gawa (ヌメ革) in Japan. It provides the ideal balance of firmness, allowing stitching chisels to punch crisp diamond holes and groovers to score distinct guide lines.
Both the edges (koba) and the backside (toko-men) respond beautifully to burnishing, making it the perfect leather to master all fundamental techniques. Aim for a thickness between 1.5 mm and 2.0 mm. This thickness is sturdy enough to hold its shape while remaining easy to cut and stitch for small goods like coin cases and cardholders. You can easily purchase vegetable-tanned scrap bundles or pre-cut A4-sized sheets online at affordable prices.
With your starter kit and vegetable-tanned leather ready, it is time to craft. Leather construction follows five distinct, sequential steps. Never skip or alter this order; following it meticulously is the secret to achieving clean, artisan-level results.
The fibrous, fuzzy backside of leather is called the flesh side (toko-men), and the cut edges are called koba. Left untreated, loose fibers will fray and shed. Before assembling your piece, smooth and seal these surfaces.
Apply a small dab of burnishing agent (such as Tokonole) to the flesh side and spread it thinly and evenly with your fingers or a spatula. While it is semi-dry, rub the surface in gentle circular motions using a glass burnishing block or wood slicker until the fibers lay flat and the surface feels smooth and sleek.
Any interior edges that will become inaccessible after stitching—such as the opening of an interior card pocket—must also be burnished at this stage by applying a touch of burnishing compound and rubbing the edge with a wood slicker.
Next, mark a straight reference line on the smooth, outer surface of the leather (the grain side, or gin-men) where your stitching holes will go.
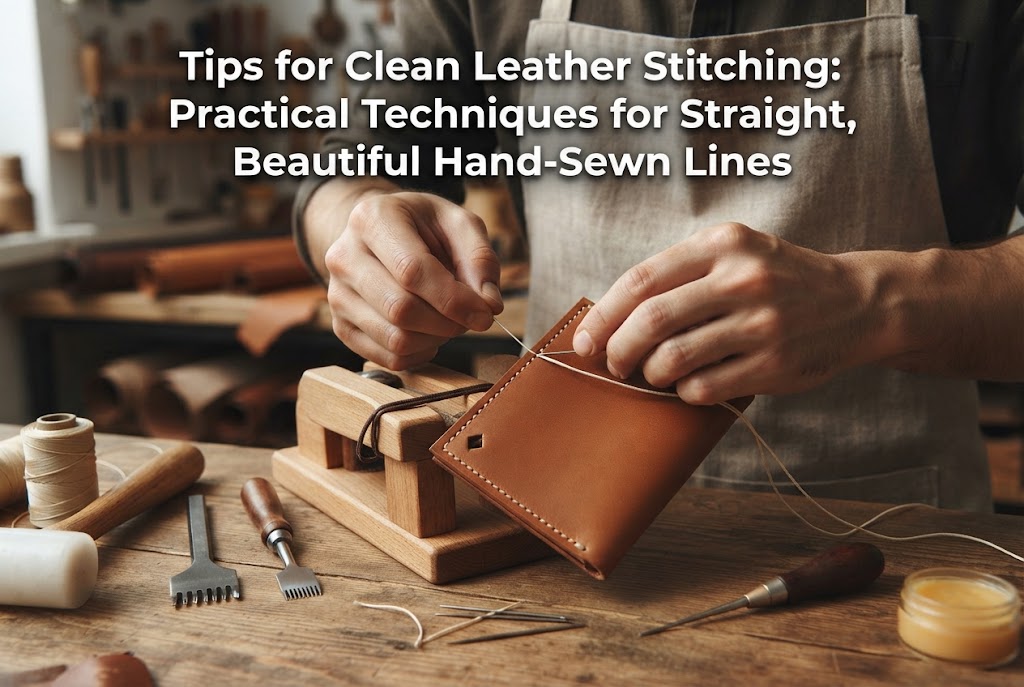
Using a stitching groover or edge creaser, score a consistent guide line parallel to the edge of the leather, positioned about 3 mm to 4 mm inward. If this line wanders, your entire row of stitches will turn out crooked. Take your time, hold your tool steady, and guide it along a ruler if necessary.
Punching holes is one of the most satisfying stages of leathercraft. Place your leather onto the cutting mat, align your diamond stitching chisel directly over the scribed guide line, and hold the tool strictly perpendicular (at a 90-degree angle) to the leather surface. If the chisel tilts, the holes on the backside will drift out of alignment.
Strike the top of the chisel firmly with your rubber mallet until the prongs penetrate through the leather and peek through the reverse side. When moving to the next set of holes, place the first prong of your chisel into the last hole you just punched. This overlap ensures equal spacing across the entire seam. Use a 4-prong chisel for straight runs and switch to a 2-prong chisel when navigating tight curves.
Once all holes are punched, you are ready to sew. Measure your thread to approximately four times the length of the seam you plan to stitch. If it is too long, it will tangle; if too short, you will run out midway.
Thread a needle onto each end of the thread. Lock the thread onto each needle by passing the needle tip through the core of the thread twice before pulling tight—a traditional leathercraft threading technique that prevents needles from slipping off while working.
Pass one needle through the first hole and pull until equal lengths of thread extend from both sides. Take the needle on the front side, pass it through the second hole to the back, and pull it through. Next, take the second needle on the back side and pass it through the very same hole toward the front, being careful not to pierce the thread already sitting in the hole.
Gently pull both threads taut with equal tension—one slightly upward and one slightly downward. Repeat this cadence for every hole. Keeping your pulling tension and needle sequence consistent is the single greatest secret to producing clean, uniform stitches.
To lock the seam at the end, backstitch two to three holes in reverse. Cut the thread ends on the backside leaving roughly 2 mm of tail. Carefully melt the thread tips with the flame of a lighter and press them flat against the leather with your finger or the handle of your scissors. The melted wax-thread bead will permanently prevent the seam from coming undone.
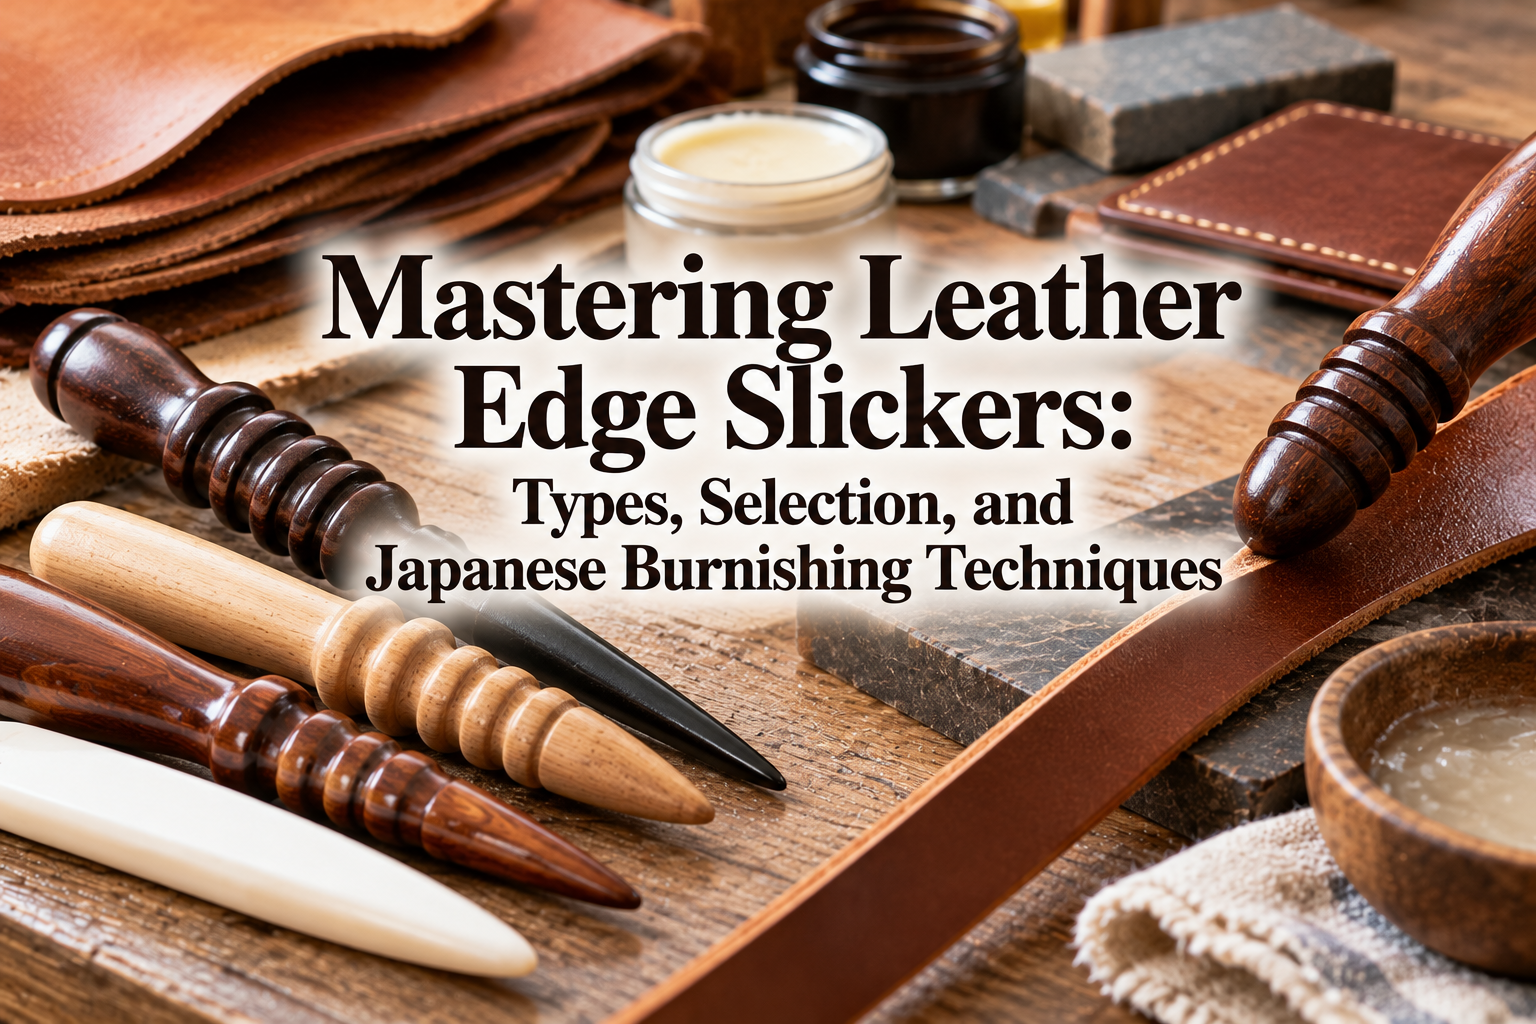
After your piece is assembled and stitched, sand the layered edges (koba) flush with fine-grit sandpaper so there are no uneven steps between layers. Apply a small amount of burnishing compound like Tokonole along the sanded edge, seat the edge into the matching groove of your wooden slicker, and rub briskly back and forth. Frictional heat tightens the fibers, leaving a beautifully rounded, glossy edge. Transforming a raw, fibrous edge into a sleek, professional finish delivers immense creative satisfaction.
While the steps might sound detailed on paper, the physical actions are intuitive and rhythmic once your hands are in motion. The key is to avoid getting stuck in research mode and start handling the tools as soon as possible.
Once your starter kit and vegetable-tanned leather scraps arrive, take a few minutes to prepare your workspace:
For your very first piece, I strongly recommend a simple rectangular folded coin pouch, a single-piece leather keychain, or a minimalist card sleeve.
Avoid complex patterns that require intricate curved cuts or 3D gusset assembly right away. Starting with straight cuts, straight stitch lines, and edge burnishing allows you to experience the complete workflow quickly. Simple designs showcase the natural elegance of hand stitching and polished edges best, providing an immediate sense of accomplishment.
Here are two frequent stumbling blocks newcomers face, along with easy fixes to keep your work looking pristine:
This is the most common issue for beginner leathercrafters. It happens for two reasons: holding the chisel at a slight angle instead of 90 degrees while hammering, or switching the sequence of which needle goes into the hole first.
Solution: Always keep your chisels perfectly vertical when striking. When stitching, establish a strict rule—for instance, always insert the right needle into the bottom of the hole and the left needle into the top. Maintaining identical needle orientation and tension throughout the entire seam ensures the backside stitches line up just as beautifully as the front.
Vegetable-tanned leather readily absorbs oils and liquids, making it vulnerable to fingernail marks and liquid splatters during assembly.
Solution: Always wash and thoroughly dry your hands before handling veg-tanned leather to remove excess skin oils. When applying burnishing agents like Tokonole, use small amounts dabbed onto your fingertip rather than pouring or scooping large quantities. If a stray drop touches the grain surface, wipe it away immediately with a tightly wrung, damp towel before it dries. Finally, designate a safe parking zone on your desk for sharp chisels so they never rest directly on top of your leather.
Leathercraft is not an exclusive discipline reserved for master artisans. Equipped with an accessible starter kit and the proper sequence of steps, anyone can produce handsome, durable leather accessories at home.
To recap the essential blueprint for success:
An item hand-stitched with your own hands and polished with care carries a personal connection that store-bought goods simply cannot match. Watching the pale leather slowly evolve into a deep, glossy caramel patina over months and years of use is a rewarding luxury unique to this craft.
Take that exciting first step, gather your starter tools, and discover the sheer joy of bringing your own leather creations to life!



For example, if you are looking for articles about mizuhiki, try searching for "mizuhiki"; if you are interested in tools, try keywords like "nippers" or "pliers."
