How to Plan Seasonal Handmade Collections: Stay Ahead of Trends and Never Miss Peak Sales
yassy
Crafters!

Hello! This is Yassy from Crafters! (・∀・)
Whenever a seasonal event approaches, my crafting spirit completely explodes! As Halloween items start appearing in stores, I get so excited just looking at them and shopping. But what brings me the greatest joy is spending time creating decorations with my own hands to brighten up my living space. Crafting isn't just for people with special talents. You don't have to give up just because you think you're clumsy!
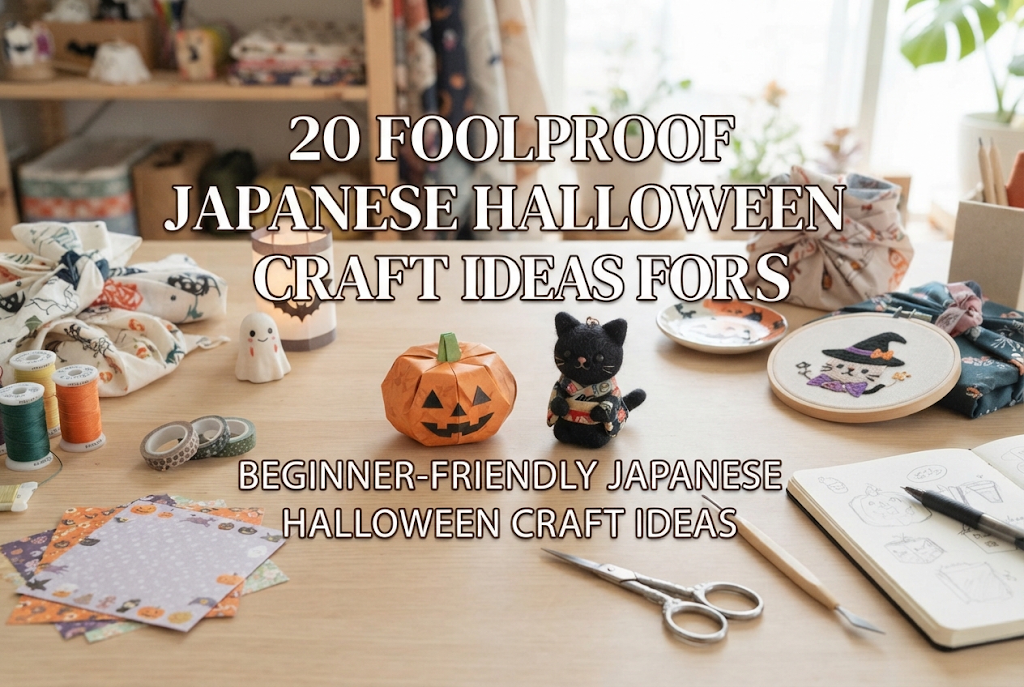
In this article, I have carefully selected 20 Halloween craft ideas that craft beginners can tackle right away today, resulting in high-quality creations that look like they were bought at a boutique. By the time you finish reading, your desire to make something will be at an all-time high! I'll also teach you foolproof tips to avoid failure, so follow along with confidence!
Before introducing the project ideas, I want to share three golden rules for success that every beginner must master. Knowing these three points alone will make a world of difference in how polished your finished work looks.
Halloween has so many enticing colors: orange, purple, black, white, green, and gold. However, if a beginner tries to cram every single color into one piece at once, the overall look becomes cluttered and disorganized. When making a project, narrow your main palette down to just three colors, such as "Orange x Black x White" or "Purple x Black x Gold." This simple choice instantly gives your work a sophisticated, professional touch.
Creating a shape entirely from scratch takes time and skill. The smartest way for beginners to craft is to utilize plain base materials available at 100-yen craft stores (Japanese budget retail stores). Use simple bases like wooden boxes, plain wreath frames, plain pouches, or clear glass jars as they are, and add your own Halloween decorations onto them. This technique drastically reduces crafting time while guaranteeing a clean, great-looking result.
The most common craft blunders are pieces falling off midway through making them, or messy glue oozing out and ruining the appearance. Use fabric glue for cloth items, and a glue gun (hot glue) for 3D objects or joining different types of materials. A glue gun in particular dries quickly and can be purchased at 100-yen stores, making it an essential item for Halloween projects.
Here, I will explain each of the 20 specific craft ideas in detail. I'll thoroughly dive into points where beginners tend to get lost, how to avoid mistakes, and my own personal customization ideas!
Felt is a beginner's best friend because it doesn't fray, even when left raw. Make a simple drawstring pouch using orange felt, then cut out eyes, a nose, and a mouth from black felt and attach them.
Common Beginner Pitfall: Trying to sew the facial parts on right away, causing the face to warp. The correct method is to stick the face parts on using fabric glue. Even sewing beginners can create a neat, clean facial expression this way.
Yassy's Customization Tip: Instead of just making a simple jagged mouth, glue it at a slight angle to give your pumpkin an adorable, charming look!
This is an easy plushie made by layering two pieces of white fleece or felt cut into a ghost shape, sewing around the edges, and filling it with fiberfill stuffing.
Common Beginner Pitfall: Overstuffing with polyfill, which pulls on the seams and distorts the ghost's shape. Aim to fill it to about 80% capacity to keep it light and fluffy.
Yassy's Customization Tip: Take a cotton swab with a little bit of pink blush (real makeup works fine!) and gently blend it onto the cheeks to instantly boost its cuteness!
Cut black felt into a cat silhouette and attach a brooch pin to the back. Attaching this to your bag or hat instantly brings out a fun Halloween vibe.
Common Beginner Pitfall: Using thin, flimsy felt, which ends up looking cheap. Use thick felt, or if using thin felt, layer two pieces together and stitch the edges for a luxurious feel.
Yassy's Customization Tip: Tie a small red or purple ribbon around the neck as a bright, eye-catching accent!
Make many tiny triangular witch hats using black and purple origami or construction paper, thread them onto twine, and hang them as wall decor.
Common Beginner Pitfall: The hat sizes end up uneven, making the garland look sloppy. Make one master template out of thick cardboard first before mass-producing the parts.
Yassy's Customization Tip: Glue a tiny star-shaped sequin onto the peak of each hat to catch the light and brighten up the room!
Wrap Halloween-patterned fabric over a 100-yen shop canvas board or foam board, pulling it taut, and secure it on the back using a staple gun or tape.
Common Beginner Pitfall: Not pulling the fabric tight enough, causing wrinkles on the front surface. Make sure to pull firmly in crosswise directions (top, bottom, left, right, and diagonals) while securing it.
Yassy's Customization Tip: Wrap the board in plain black fabric, then glue felt ghosts and pumpkins onto it in 3D for a lavish, dimensional art panel!
Cut several narrow strips of orange construction paper, then fasten the top and bottom ends with eyelets or pushpins to spread them out into a spherical paper lantern.
Common Beginner Pitfall: Uneven paper strip widths preventing a nice round shape. Use a ruler to cut strips accurately to a uniform width (around 2 cm / 0.8 inches is optimal).
Yassy's Customization Tip: Place an LED tea light candle inside from a 100-yen shop to illuminate your room fantastically at night! *(Always use flame-free LED lights for safety.)*
Cut bats, castles, or witches out of black construction paper and attach them to your walls using double-sided tape for simple, quick wall decor.
Common Beginner Pitfall: Using strong adhesive tape without considering wall material, which rips the wallpaper off when removing it. Always roll removable painter's or masking tape into loops and attach them to the back.
Yassy's Customization Tip: Make bats in various sizes and stick them flying from a corner of the room up toward the ceiling to create a dynamic, cool atmospheric display!
A dimensional greeting card where a bat spreads its wings and pops out from the center when opened.
Common Beginner Pitfall: Folding the V-shaped pop-up mechanism in the wrong direction, making the card impossible to close flat. Be sure to score and set the folds firmly when assembling the mechanism.
Yassy's Customization Tip: Write a sweet message offering treat treats right on the pop-up section for a fun party invitation or hospitality gift!
A gift bag made by stamping Halloween motifs onto craft paper bags, decorated with paper lace doilies and ribbons.
Common Beginner Pitfall: Adding too much decoration around the top so that opening the bag to put treats inside becomes difficult. The rule of thumb is to concentrate decorations on the lower half of the bag.
Yassy's Customization Tip: Tie the top of the bag with jute twine and attach a small tag reading "HAPPY HALLOWEEN" to give it a stylish, boutique-bought feel!
Attach tiny black paper witch hats to the ends of toothpicks or bamboo skewers to decorate party dishes and cupcakes.
Common Beginner Pitfall: Weak glue between the toothpick and paper causing the hat to fall off when inserted into food. Use a glue gun to secure them firmly.
Yassy's Customization Tip: Wrap an ultra-thin purple ribbon around the brim of the hat to dramatically improve its appearance!
Roll colorful resin/polymer clay (available at 100-yen stores) into balls, press lines into them with a toothpick to form pumpkins, and place them on top of miniature craft cakes or tarts.
Common Beginner Pitfall: The clay drying out and cracking while working on it. Take out only the amount you need and keep the rest sealed tightly in plastic wrap as you work.
Yassy's Customization Tip: Once dry, coat the miniature with varnish (matte or gloss type) to give it a realistic dessert texture!
Use oven-bake clay to craft white ghost-shaped chopstick rests (hashi-oki).
Common Beginner Pitfall: Uneven thickness, leading to cracks after baking. Keep the thickness uniform at around 7 mm (approx. 0.28 inches).
Yassy's Customization Tip: Curve the ghost's hands slightly forward to keep chopsticks from rolling off, vastly improving their practical everyday use!
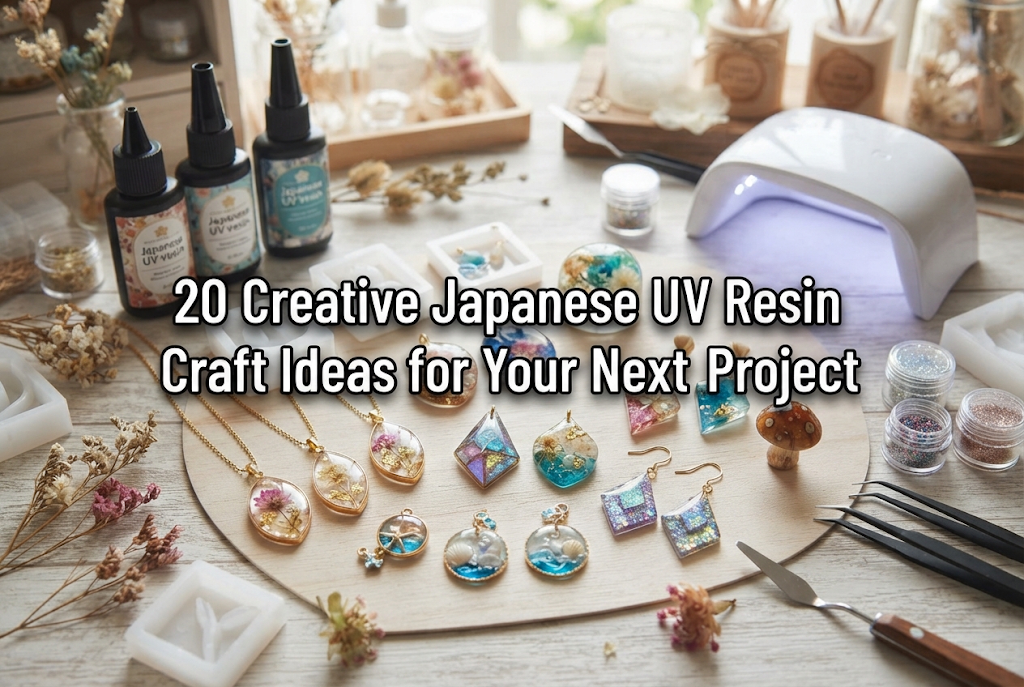
Pour UV resin liquid into a silicone mold, add spiderweb charms along with purple and black glitter, and cure it under a UV light.
Common Beginner Pitfall: Pouring all resin liquid in at once, leaving trapped bubbles or uncured centers. Pour resin in 2 to 3 thin layers, curing between each layer.
Yassy's Customization Tip: Lay a jet-black colored resin layer at the bottom, then layer clear resin with glitter on top to create a gorgeous sense of depth!
A home decor craft where orange or purple-dyed slime, pumpkin charms, and sequins are sealed inside a small clear glass bottle.
Common Beginner Pitfall: Poor seal on the bottle cap causing contents to leak out while displayed. Apply glue along the cap's inner threads to seal it completely tight.
Yassy's Customization Tip: Tie black tulle lace around the neck of the bottle to create a mysterious potion bottle look worthy of a witch's lair!
Paint collected pinecones (or 100-yen shop craft pinecones) white or green with acrylic paint, attach them to tiny flower pots, and decorate as mini trees.
Common Beginner Pitfall: Using uncleaned pinecones picked up outdoors, leading to insects emerging or mold growing later. Always boil and thoroughly dry gathered pinecones before crafting with them!
Yassy's Customization Tip: Glue small orange beads onto the tips of the pinecone scales to complete a pop-art style Halloween tree!
Mix aroma plaster/stone powder with water, pour it into Halloween-shaped silicone molds, and let it harden into diffusers.
Common Beginner Pitfall: Guessing the water-to-powder ratio, causing the mix to fail to harden or end up crumbly. Always measure the weights precisely using a kitchen scale.
Yassy's Customization Tip: Add a few drops of your favorite essential oil (like lavender or orange) to the back of the finished aroma stone to enjoy both cute looks and relaxing scents!
Fluffy, round charms made by wrapping yarn around a pom-pom maker or cardboard template.
Common Beginner Pitfall: The center binding knot being too loose, causing yarn strands to fall out as soon as you cut the loops. Use a strong thread like cotton twine for the center, pulling and tying it as tightly as possible.
Yassy's Customization Tip: Trimming the surface neatly with scissors into a smooth sphere is the biggest secret! Careful trimming produces a clean, perfectly round pom-pom without fuzziness.
Arrange black and purple preserved or dried flowers inside a slim glass bottle, then fill it with dedicated herbarium oil.
Common Beginner Pitfall: Overcrowding flowers so that the bottle turns pitch black and unreadable once oil is added. Keep negative space in mind so light can shine through the arrangement.
Yassy's Customization Tip: Insert a single gold skeleton leaf (transparent leaf) to add an elegant shimmer amidst the dark aesthetic, elevating the overall feel!
Layer black satin ribbon and purple tulle fabric to make a large bow, then attach a tiny pumpkin charm to the center for a festive hair accessory.
Common Beginner Pitfall: The ribbon knot unraveling over time. Secure the center knot with a few hand stitches using needle and thread before covering it with the central charm.
Yassy's Customization Tip: Leave the tails of the ribbon longer and cut them at an angle to create a chic, mature impression!
A full, voluminous door decoration made by continuously tying short strips of orange, purple, and black tulle fabric around a wreath base.
Common Beginner Pitfall: Uneven tulle lengths causing a bumpy, irregular outer surface. Pre-cut all tulle strips to the exact same length (about 15 to 20 cm / 6 to 8 inches) before starting.
Yassy's Customization Tip: Nesting a few plastic pumpkin ornaments from a 100-yen store into the tulle with hot glue creates a luxurious wreath that rivals store-bought decor!
With 20 ideas to choose from, you might be wondering, "Which one should I start with?" If I were to go back to being a beginner with the knowledge I have today, I would choose 20. Halloween Color Tulle Wreath without hesitation.
The reason is simple: this project requires no needles or thread whatsoever. All you do is tie pre-cut fabric strips around a base frame in simple knots. There is physically no way to mess it up! Yet, the final volume and sense of accomplishment are among the top tier of all 20 ideas. Hanging it on your front door or living room door instantly shifts your entire home into Halloween mode. If you're on the fence, start with the tulle wreath—you won't regret it!
In this article, I shared 20 foolproof Halloween craft ideas for beginners with tons of enthusiasm!
The most important thing when starting a craft project isn't making it perfect. It's about thoroughly enjoying the time spent making something with your own hands. You don't need to aim for perfection right off the bat. A slightly crooked ghost expression becomes a charming, lovable charm unique to your handmade piece—the only one like it in the world!
Pick up a material that catches your eye at a 100-yen shop or local craft supplier, and spread it out on your table. That small step will turn your daily routine into a creative, exciting adventure. This Halloween, move beyond just hanging up ready-made store decorations. Make special autumn memories accompanied by the warm, handmade pieces you created yourself! Nothing would make me happier than if my tips help kickstart your crafting journey.
Until next time! This was Yassy from Crafters!

For example, if you are looking for articles about mizuhiki, try searching for "mizuhiki"; if you are interested in tools, try keywords like "nippers" or "pliers."
