Beginner’s Guide to Sewing Small Fabric Goods: Zero-Failure Essentials, Fabrics, and Starter Kits
yassy
Crafters!

Hello, this is Yassy from Crafters! (・∀・)
I love making all kinds of handmade items, looking at beautiful artisan work, and collecting unique pieces from online shops and craft fairs. Making things myself is wonderful, but the excitement of receiving a piece filled with a maker's care and passion is truly special!
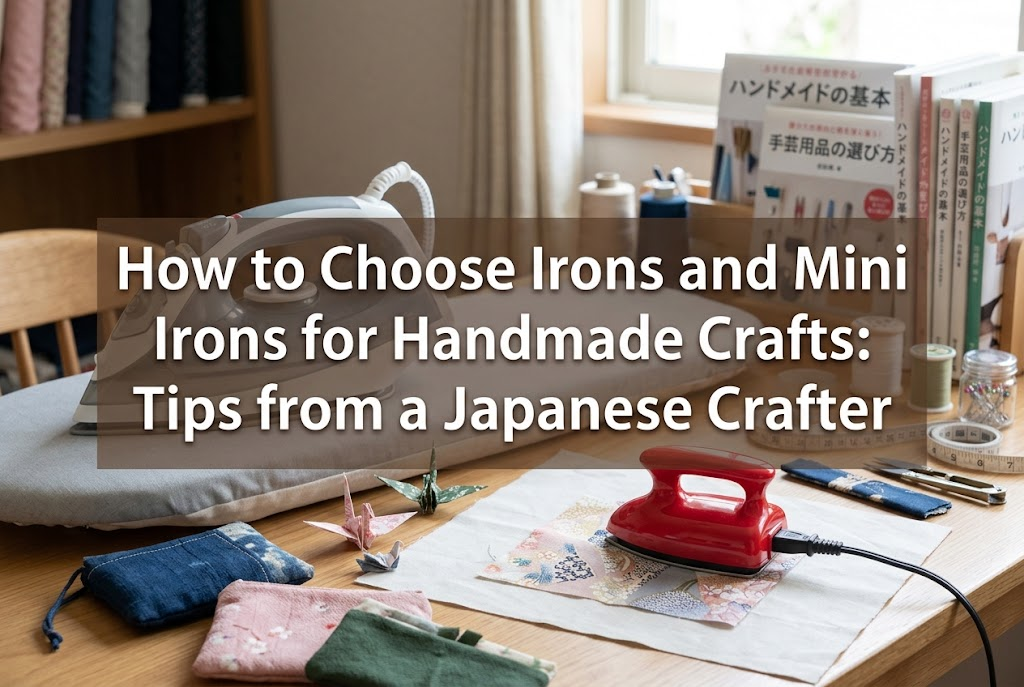
Today, I want to talk thoroughly about a tool I consider essential: irons and mini irons. Whether you are sewing fabric goods, attaching fusible interfacing, or finishing fuse beads and knitted projects, an iron is an absolute must-have in the craft room.
However, I often receive questions from beginner crafters like: "Is my standard household iron enough?", "Do I really need a mini iron?", "Why isn't my fusible interfacing sticking?", or "Help, I scorched my fabric!"
To put it simply, how you choose and use your iron will dramatically transform both the quality of your finished work and your crafting efficiency. Based on my experience and technical knowledge, I will break down the differences between standard and mini irons, proper techniques for various crafts, and foolproof criteria for choosing the right iron.
An iron used for household laundry pressing serves a completely different purpose from an iron used in craft production. If you view an iron merely as a tool to remove wrinkles, it is time to rethink its role! In handmade crafting, an iron is a thermal processing tool designed for shaping, reinforcing, and giving your work a professional finish.
Here are the four main craft applications where an iron plays a key role:
When starting out, many crafters wonder whether they can get by with a regular household iron or if they should invest in a mini craft iron. Here is my clear breakdown of how they differ.
In short: standard household irons are fine for everyday fabric sewing, but a mini iron is essential if you work on intricate details or small three-dimensional components.
The main advantages of a standard household iron are its large soleplate and substantial weight. When applying interfacing across large bag panels or ironing out large cuts of fabric before cutting, a standard iron's wide surface and built-in weight work efficiently. The iron's weight applies pressure automatically without requiring extra hand effort.
The drawbacks of a standard iron are its lack of maneuverability and limited visibility. When working on tight corners inside pouches, small inner pockets, or delicate patchwork seams, the large soleplate blocks your view of the exact target line. This often leads to accidentally applying heat to adjacent areas and flattening folds you wanted to keep.
In contrast, a mini iron (or patchwork iron) features a soleplate ranging from fingertip to palm size. Many models feature a sharp, pointed tip that targets exact seam lines and curves. Because your workspace remains clearly visible, mini irons are indispensable for precise tasks like folding fabric for tsumami zaiku (traditional Japanese cloth origami), making doll clothes, or assembling intricate patchwork.
Note on Emboss Heat Tools: Craft heat guns (embossing tools) blow hot air and are ideal for popping bubbles in resin or drying craft clay. However, they cannot press fabric flat or apply direct pressure. Because their function is entirely different from contact pressing irons, they cannot be used as substitutes for pressing fabric.
Irons differ by heating mechanism and structure. Choosing a type suited to your specific craft prevents project failures and elevates overall quality.
Dry irons lack steam vents and rely strictly on dry heat to press. Because the soleplate is completely flat without holes, it delivers even heat and uniform pressure across the entire surface.
Dry irons are the best choice for applying fusible interfacing. Steam holes on a steam iron create pressure gaps and temperature inconsistencies, leading to weak adhesion or bubbling. A solid dry iron ensures flawless, smooth bonding every time.
Equipped with a water tank, steam irons release high-temperature steam to smooth out stubborn wrinkles. In crafting, steam irons excel at prepping natural fabrics (such as cotton and linen) through pre-washing and steam-straightening fabric grain before cutting, preventing shrinkage later. They are also ideal for steam-blocking knitted or embroidered pieces.
Mini irons include compact palm-sized irons and stick-style wand irons featuring tiny heating heads. They provide precise temperature control while pressing very small areas. They excel at pressing corners on 3D fabric items, shaping ribbons, folding tiny doll collars, and setting glue for delicate textile work. They heat up quickly and occupy minimal space on your craft desk.
For handmade crafting, a corded iron is unequivocally the right choice. While cordless irons offer freedom of movement, they lose heat the moment they leave their charging base. Fusible interfacing and fuse beads require consistent high heat maintained over 10 to 20 seconds. Cordless irons cool down during pressing, leading to incomplete bonding. A corded iron provides continuous, steady temperature control.
Here are frequent mistakes beginner crafters encounter with ironing, along with straightforward solutions based on my own early crafting trials.
The most common mistake when applying fusible interfacing is sliding the iron back and forth horizontally, as if pressing a shirt. Sliding drags the melted adhesive across the fabric, creating wrinkles and uneven spots. Furthermore, insufficient vertical pressure leaves the glue only partially attached, causing it to peel off later.
Solution: Apply the iron straight down with vertical pressure using your body weight. Hold it stationary for 10 to 15 seconds per area. Lift the iron completely off the fabric before repositioning it to the next spot, and press down again. Remembering to lift and press completely eliminates interfacing failure.
With fuse beads, pressing down too hard in one spot crushes the center beads while outer beads remain unbonded.
Solution: Set your iron to medium heat. Place ironing paper over the beads, and gently glide the iron in continuous circular motions without pressing down hard. Periodically check through the paper to ensure even fusing across the entire design.
Direct heat on synthetic fibers (like polyester or nylon) or dark-colored cotton can crush the fibers, creating an unsightly shine, or worse, melt the fabric onto the soleplate.
Solution: Always use a pressing cloth. Place a thin, 100% cotton cloth (such as a plain cotton handkerchief or lawn fabric) over your project before ironing. This buffers the direct heat and protects delicate materials.
When selecting an iron or mini iron for your craft setup, keep these four key points in mind:
Because irons reach high temperatures, maintaining a clean workspace and regular tool care is crucial for safety and project quality.
A cluttered desk increases the risk of snagging cords, dropping hot irons, or accidentally scorching nearby plastic or synthetic materials. Always use a stable, heat-resistant ironing board or thermal mat. Using a dedicated silicone iron rest prevents accidental tipping and burning hazards.
Fusing interfacing regularly can leave sticky resin residue on the soleplate, which darkens into scorched spots over time. Pressing fabric with a dirty soleplate risks transferring brown stains to your projects.
To clean glue residue, wait until the iron cools to a warm, touchable temperature, then wipe the soleplate gently with a tightly wrung damp cloth. For stubborn scorched spots, use a commercial iron cleaner or gently rub with a damp melamine sponge to restore a smooth, clean surface.
In handmade crafting, an iron is far more than a household appliance—it is a vital finishing tool that transforms good work into professional-quality items. Choosing the right iron for your craft, using proper temperature settings, and applying vertical pressing techniques will noticeably improve your seam definition, interfacing durability, and overall product structure.
By combining the broad pressing power of a standard iron with the pinpoint accuracy of a mini iron, you can take your handmade creations to the next level. Master these simple techniques, and your crafting process will become even more enjoyable and rewarding!
If you found this guide helpful, please share it with your fellow crafting friends on social media or messaging apps! See you in the next article—Yassy from Crafters signing off!



For example, if you are looking for articles about mizuhiki, try searching for "mizuhiki"; if you are interested in tools, try keywords like "nippers" or "pliers."
