Handmade Craft Cutting Machines: Types, Features, and How to Choose the Perfect Model
yassy
Crafters!

Hello, this is Yassy from Crafters! (・∀・)
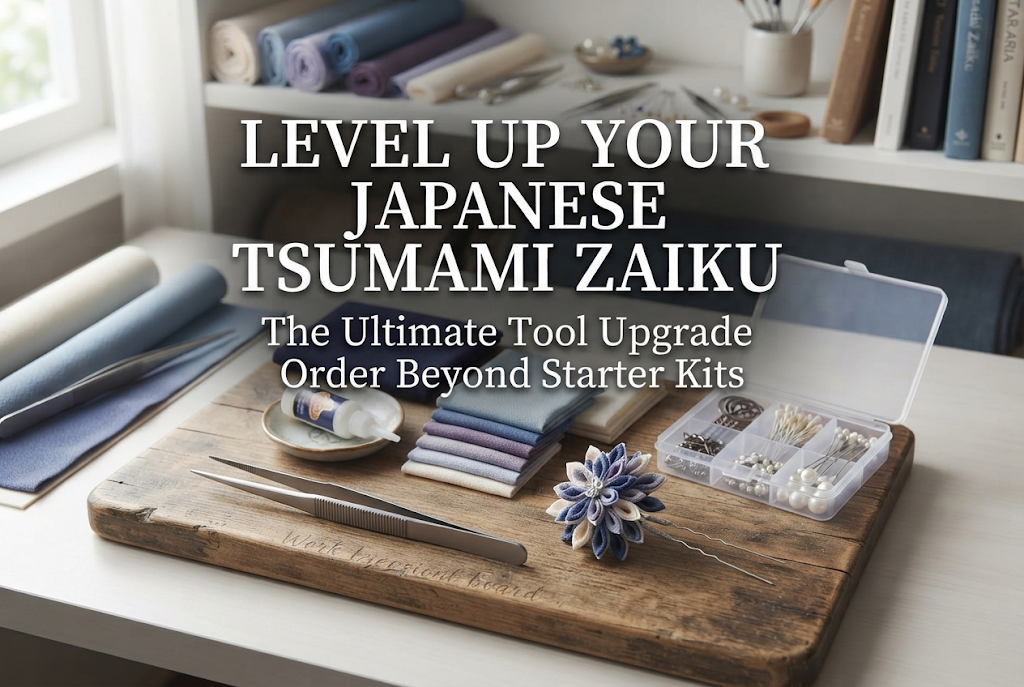
Once you get used to making Japanese Tsumami Zaiku—the traditional craft of pinching and folding small fabric squares into delicate flowers—it is only natural to want to create cleaner, more exquisite petals that look like professional works of art. When I first started out, I kept using the basic tools that came in my initial starter kit for a long time.
However, no matter how much I practiced, I struggled every day with uneven petal sizes and crushed tips on my pointed petals (kaku-tsumami). The issue wasn't a lack of technique—it was entirely due to the accuracy of my tools.
The moment I upgraded my equipment to specialized tools in the right order, the quality of my Tsumami Zaiku completely transformed. Suddenly, I could produce breathtakingly uniform petals one after another without forcing my hand or stressing over control.
In this guide, I will thoroughly explain the definitive tool upgrade order for crafters ready to graduate from their starter kits and reach pro-level results as quickly as possible. From why you need to upgrade to how to choose each tool, I'm sharing all my personal experience and insights!
Tools included in starter kits are designed primarily to let beginners experience the basic process of Tsumami Zaiku at a low cost. Consequently, their precision during delicate work is quite limited.
Tsumami Zaiku is an ultra-fine craft where you fold tiny pieces of fabric measuring just a few centimeters and shape them with sub-millimeter precision. If your tool precision is low, your artwork will hit a ceiling no matter how much your personal skill improves.
By simply switching to high-quality, specialized tools, tasks that used to feel like a struggle become remarkably smooth. Investing in fine tools is the single most reliable way to elevate the quality of your finished flowers.
In my case, leaving starter kit tools behind doubled my production speed and dramatically boosted the beauty of my creations. Don't hesitate—take the step up to proper tools!
In Tsumami Zaiku, tweezers are your most critical tool and the very first thing you should replace. Tweezers act as an extension of a craftsperson's fingertips, determining roughly 80% of the final quality.
Most tweezers found in starter kits have loose alignment at the tips, which warp under slight pressure. This makes it impossible to hold tiny fabric squares securely, creating misaligned folds.
Your first investment should be a pair of high-precision stainless steel tweezers manufactured for medical or electronics use. Upgrading this single item will instantly transform your finish.
Professional precision tweezers close flush across the entire surface of their tips without a hairbreadth of gap. As a result, they grip small chirimen (rayon/silk crepe fabric) gently without slippage, requiring minimal grip strength.
Because the fabric doesn't slip, you can form pointed petals (kaku-tsumami) with needle-sharp tips. You can also shape round petals (maru-tsumami) beautifully without squishing their soft volume.
Spring tension is equally important. Stiff starter tweezers tire your hands quickly, but high-end tweezers close effortlessly, preventing hand fatigue even during long crafting sessions.
When purchasing, prioritize bent-nose tweezers (known as tsurukubi or "crane-neck" in Japan). The angled tips keep your hand out of the way when looking down at your work, dramatically opening up your line of sight.
Clear visibility allows you to place each petal onto the base during the mounting step (fuku) with millimeter-perfect accuracy. Straight tweezers are best kept as a backup pair.
I recommend starting with one pair of high-precision, fine-tipped bent-nose tweezers from a trusted tool manufacturer. An investment of around $10 to $20 will make your work look remarkably professional.
After tweezers, the next tools to upgrade are your fabric cutting tools. In fact, 90% of failures in Tsumami Zaiku stem not from folding mistakes, but from squares that were not cut perfectly square.
Cutting chirimen fabric with small starter scissors often causes the fabric to shift, distorting the square or fraying the edges. It is impossible to form neat petals from a distorted square.
To achieve maximum precision when cutting squares, introduce a trio of tools: a rotary cutter, a clear acrylic grid ruler, and a cutting mat.
A rotary cutter slices cleanly through fabric in a straight line without lifting or pulling it. Unlike scissors, you don't need to raise the fabric off the table, preventing any distortion.
By pairing a thick acrylic grid ruler with a cutting mat, you can slice dozens of identical, crisp squares in just a few minutes.
When your squares match perfectly, their edges line up seamlessly when folded. This removes distortion entirely and creates a balanced, harmonious flower.
After rough-cutting squares with a rotary cutter, you need small, nimble fabric shears for fine edge work and trimming the extra fabric tails (ashi) at the base of folded petals.
Invest in a pair of compact, high-grade Japanese fabric scissors with ultra-fine tips that cut cleanly all the way to the point. Crisp cut lines at the petal bases ensure that all petals sit at an even height when placed on the ochirin (fabric-covered cardboard base).
Once you have precision tweezers and cutting tools, upgrade your adhesive setup. Starter kits often rely solely on crafts glue (PVA), but authentic Japanese Tsumami Zaiku relies heavily on traditional rice starch paste (denpun-nori).
Standard craft glue dries quickly, leaving no time to fine-tune petal shapes. Rice starch paste, on the other hand, allows you to arrange folded petals on a paste board and adjust their contours slowly and carefully.
By equipping yourself with traditional rice starch paste, a dedicated wooden paste board (nori-ita), and a bamboo spatula (take-hera), the delicacy and elegance of your work will reach a professional standard.
Move away from mixing glue in plastic dishes or paper cups. Instead, use a flat wooden paste board and a flexible bamboo spatula.
Spreading (noshi) the starch paste evenly over the board using the bamboo spatula is a key technique that defines Tsumami Zaiku quality. Uniform paste thickness ensures consistent absorption by the fabric, preventing discoloration or unsightly spots.
Placing pinched petals onto the smoothed paste allows the fabric to absorb moisture and settle softly, setting the plump shape of round petals and the crisp definition of pointed ones.
Introducing rice starch paste doesn't mean abandoning craft glue entirely. Knowing when to use each adhesive is a major milestone in advancing beyond the beginner stage.
Use craft glue for 3D structures, items combined with metal fittings or mizuhiki cords, and quick accessory assembly. On the other hand, use traditional rice starch paste for authentic hair ornaments made with delicate silk (such as habutae) or fine chirimen fabric.
Mastering both adhesive methods allows you to choose the ideal technique for any project, dramatically broadening your creative options.
The final step in your tool upgrade journey involves the tools used for backing and foundation work—specifically, creating the ochirin base and securing metal hardware.
No matter how lovely your petals look on top, a wobbly or messy backing immediately gives away an amateur finish. Acquire tools that boost both durability and aesthetic perfection.
Cutting thick cardboard bases for your ochirin using hand scissors often results in uneven ovals. An uneven base causes the mounted petals to tilt or look misaligned.
A craft circle punch or rotary circle cutter allows you to punch out perfectly round cardboard disks every single time. A pristine circular foundation acts as an accurate guide for arranging petals at equal angles.
Additionally, applying specialized fusible interfacing to the fabric wrapping the base creates a sturdy foundation that resists warping over time.
When securing completed flowers to hairpins, combs, or kanzashi hardware, standard household pliers from starter kits can scratch metal surfaces, ruining their commercial value.
Use smooth-jawed jewelry flat-nose pliers (hira-yattoko) that grip metal without leaving marks, alongside precision wire cutters for clean wire snips.
A secure connection eliminates wobble, giving your handiwork professional durability that lasts through years of use.
When upgrading equipment, many crafters fall into common traps. To ensure your investment pays off, keep these three guidelines in mind:
Avoid brightly painted tweezers or cheap multi-packs. Thick paint coatings frequently impair tip alignment.
Look for unadorned, functional stainless steel precision tools. Evaluate tweezers strictly on tip precision and gentle spring action rather than visual appeal.
Never use high-grade fabric scissors to cut paper, wire, or tape. A single cut can nick the blade and ruin its edge for fabric.
Keep dedicated scissors strictly separate for fabric versus paper/wire. Proper tool care ensures long-lasting precision.
You don't need to replace every tool on day one. Replacing everything simultaneously makes it hard to feel which tool improved your work.
Upgrade step-by-step starting with precision tweezers. Experiencing the impact of one tool at a time builds both skill and appreciation for your craft equipment.
Even the finest tools lose their edge without proper care. Here are simple maintenance habits I practice to keep tools working like new for years:
Glue and starch paste naturally build up on tweezer tips during work. Left unattended, this residue can stain delicate fabric or throw off tip alignment.
Keep a damp towel nearby to wipe tweezer tips frequently while crafting. Store tweezers with protective rubber caps over the tips to guard against accidental drops.
Rotary blades are consumable items. The moment you notice a dip in sharpness, replace the blade without hesitation.
A dull blade pulls on fabric fibers, fraying edges and sacrificing square precision. Maintaining a sharp edge is essential for pristine cut squares.
Let's recap the ultimate upgrade order to elevate your Japanese Tsumami Zaiku creations:
By upgrading your equipment step by step in this sequence, your handcrafted flowers will gain incredible neatness, elegance, and professional quality.
Working with high-grade tools makes crafting far more enjoyable—it feels almost as if your skills leveled up overnight! I hope you enjoy discovering the true pleasure of making Tsumami Zaiku with proper equipment.
Graduate from your starter kit, embrace your new craft companions, and create stunning Tsumami Zaiku pieces that are uniquely yours!
If you found this helpful, please share this guide with your craft friends on social media. See you in the next article! This was Yassy from Crafters!




For example, if you are looking for articles about mizuhiki, try searching for "mizuhiki"; if you are interested in tools, try keywords like "nippers" or "pliers."
