Level Up Your Japanese Parts Deco Craft: The Golden Tool Upgrade Order for Beginner Crafters
yassy
Crafters!

Hello everyone! This is Yassy from Crafters! (・∀・)
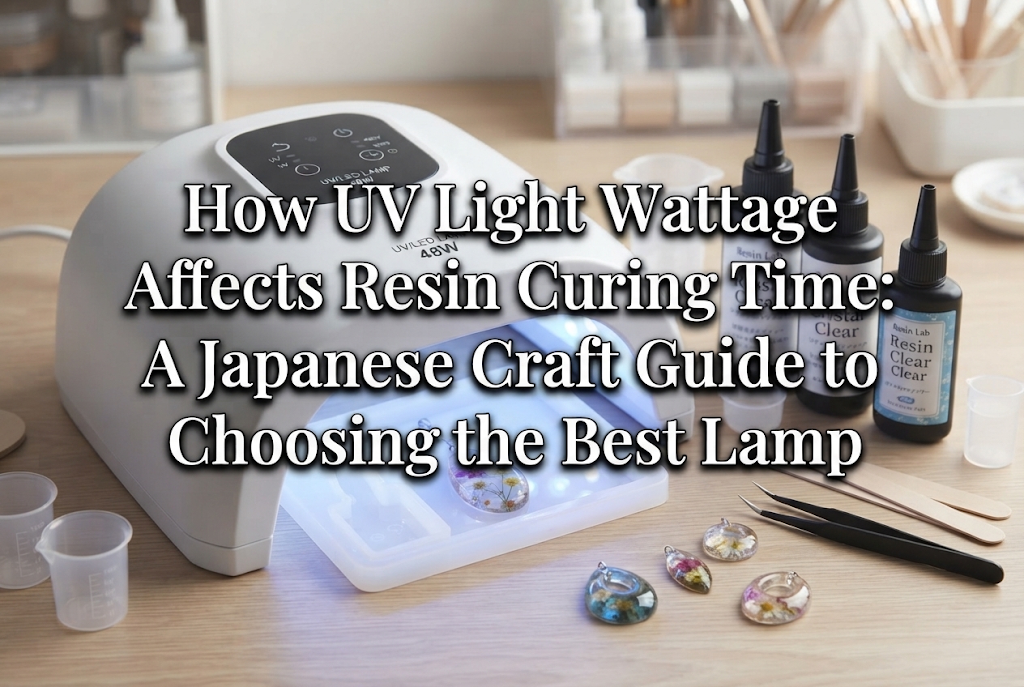
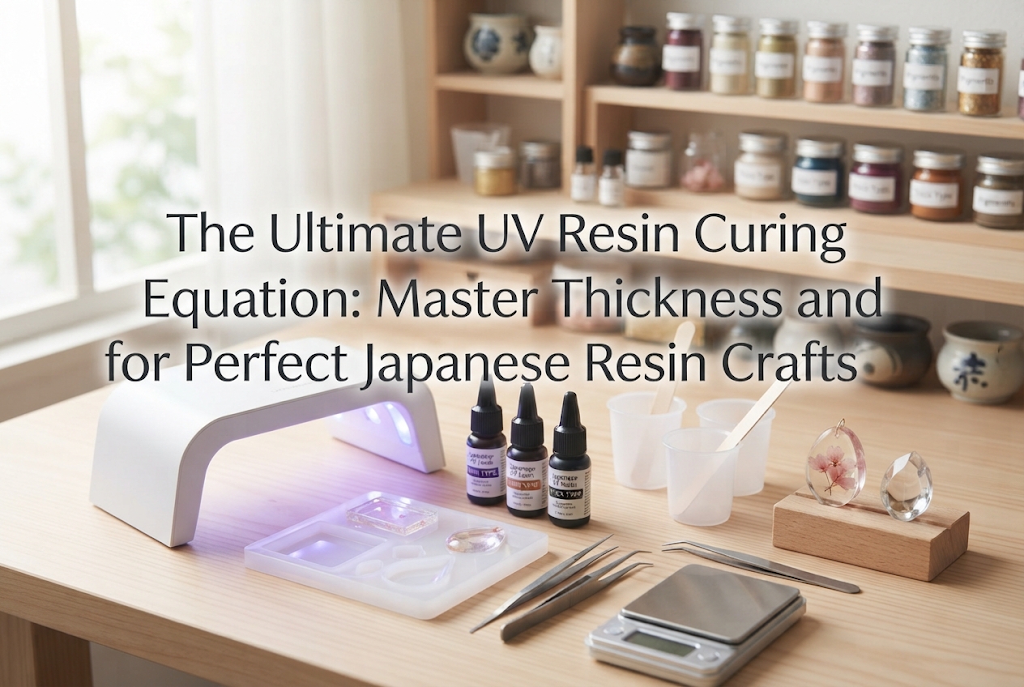
When searching for resin curing lamps at craft supply stores or online shops, you inevitably encounter specifications like 6W, 36W, 48W, or 54W. Over the years, I have purchased and tested virtually every type of UV lamp imaginable, ranging from tiny handheld models to heavy-duty, high-power units. As someone who loves making resin pieces, admiring completed crafts, and collecting new tools, choosing the right lamp is a crucial step that directly impacts the quality of your resin projects.
A common question every beginner encounters is: "How much difference does wattage actually make in curing time and final finish? Should I invest in an expensive, high-power lamp, or is a compact, low-wattage light enough?"
To put it clearly: changing your UV light's wattage dramatically changes resin curing times. It is not uncommon for curing times to be reduced by more than half. However, simply choosing the highest wattage available is not always the best approach. High-wattage lamps carry specific risks that can cause project failures, while low-wattage lights offer unique benefits for specific crafting situations.
In this guide, I will thoroughly explain how wattage impacts curing speed and finish quality. Based on my practical experience in Japanese resin crafting, I will break down the characteristics of each wattage range, compare curing times, and share techniques to avoid common pitfalls so you can confidently pick the ideal lamp for your workspace!
What does the "W" (wattage) on a lamp's package actually signify? Understanding this fundamental concept is the first step toward preventing curing issues.
Simply put, wattage measures electrical power consumption. In the context of curing lamps, it represents the electricity consumed by the light source (UV fluorescent tubes or UV-LED chips), which directly correlates to the intensity of light energy emitted during operation.
A higher-wattage lamp delivers a greater total amount of ultraviolet energy within a set period. Photoinitiators contained within UV resin react to ultraviolet energy through a chemical process, transitioning from liquid to solid. Therefore, stronger energy accelerates this chemical reaction, resulting in shorter curing times.
The UV lamps widely available in today's craft market generally fall into four wattage categories:
An important distinction to keep in mind is the difference between traditional UV fluorescent lamps and modern UV-LED lamps. Due to higher energy conversion efficiency, UV-LED lamps output significantly stronger light energy at lower wattages. For example, a 6W UV-LED lamp delivers performance equivalent to a 9W–18W traditional UV tube lamp. The explanations in this article focus on UV-LED compatible lamps, which are the current standard in resin crafting.
How much does curing time actually vary across different wattages? Below is a comparison based on curing a standard layer of clear UV resin (approximately 2 mm thick). Note: Actual curing times may vary depending on room temperature, resin brand, and specific lamp specs. Use these figures as a practical guide.
With a compact 6W lamp, a 2 mm layer of clear resin takes approximately 120 to 180 seconds (2 to 3 minutes) to cure completely. Because the light coverage area is small and the energy density is modest, continuous exposure over a longer period is required. Additionally, curing the back side for an extra 60 to 120 seconds is essential.
With a standard 36W lamp, the same 2 mm layer of clear resin cures hard in approximately 30 to 60 seconds. Compared to a 6W lamp, curing time is reduced to roughly one-third. Surface tackiness is minimized, allowing for a smooth workflow.
With a high-power lamp of 48W or higher, clear resin cures in an impressive 15 to 30 seconds. Curing happens almost instantly, making high-wattage lamps exceptionally efficient for batch production or rapid crafting sessions.
Comparing 6W to 48W reveals a 5 to 10-fold difference in curing speed. Looking strictly at speed, high-wattage lamps win easily. However, resin craft is not purely about fast curing; failing to account for the unique characteristics of high wattage can damage your projects.
High-power lamps (48W and above) dramatically shorten curing time, helping you work quickly. They reduce the risk of uncured, tacky surfaces and penetrate deeply into thicker pieces.
However, high-wattage lights come with specific risks that crafters need to manage carefully.
Resin naturally releases heat as it polymerizes upon UV exposure. Exposing resin to intense UV energy from a high-wattage lamp causes its temperature to spike rapidly. Under certain conditions, temperatures can reach 80°C to 100°C (176°F to 212°F), posing a burn hazard.
This sudden heat spike can degrade silicone molds over time or cause delicate inclusions, such as dried flowers or pressed botanical elements, to discolor.
Resin shrinks slightly as it hardens. When cured too rapidly under high wattage, the rate of contraction between the outer surface and the inner core becomes uneven. This imbalance causes wavy wrinkles on the surface or causes flat pieces to warp and bend. If you are aiming for a flawless, flat mirror finish, this type of heat warping can be difficult to fix.
When resin heats up too quickly, microbubbles trapped inside expand and rise toward the surface, hardening in place. This can leave tiny pinholes or a rough texture across the surface of your work.
When using high-wattage lamps, techniques such as flash-curing in short intervals or positioning the piece farther from the light source initially are essential.
Given the speed of high-wattage lamps, you might wonder if low-wattage lights like 6W models are necessary. However, low-wattage lamps offer distinct advantages that high-power units cannot replicate.
The main benefit of a low-wattage lamp is gentle, gradual curing. Because light energy is delivered softly, extreme heat spikes and rapid shrinkage are avoided. This significantly reduces the risk of surface wrinkles or warping, allowing intricate arrangements to remain securely in place.
Additionally, compact lights are lightweight, portable, and easy to store. Their affordable price point also makes them accessible entry-level options for beginners.
In my own studio, I keep both a 48W stationary lamp and a 6W handheld light on my workbench, choosing between them based on the task:
If you choose to complete entire projects using only a 6W compact light, follow these essential rules:
To help you select the right wattage for your crafting style, here are my recommendations based on project type:
Recommended Wattage: 36W to 48W
If you make molded items like orgonites, spherical keychains, or thick block-style pieces, select a 36W to 48W high-power lamp. Deep layers of resin require strong UV penetration; low-wattage lights may leave liquid or gooey resin uncured in the center.
Recommended Wattage: 24W to 36W
For domed accessories, metal bezels, or sealed paper/shrink-plastic crafts, a 24W to 36W lamp offers the best balance. It provides efficient curing speed while keeping heat shrinkage and warping manageable.
Recommended Wattage: 6W to 9W (Handheld or Foldable Type)
For crafting in limited spaces, teaching off-site workshops, or keeping a dedicated handheld tool nearby for tack-curing, a 6W to 9W compact light is ideal. USB-powered models running off portable power banks work great for outdoor craft fairs.
Crafters sometimes report that their resin remains sticky even when using a high-wattage light. Wattage alone does not determine curing efficiency; three additional factors play an equally critical role.
Resin formulations react to specific light wavelengths, typically 365 nm (UV range), 405 nm (LED range), or both. Regardless of how powerful a 48W lamp is, if its emitted wavelength does not match the photoinitiators in your resin, chemical polymerization will not occur and the resin will stay liquid. Always ensure your lamp supports dual wavelengths (365 nm + 405 nm UV-LED hybrid). Most modern lamps offer dual capability, but double-check specifications on budget models.
Interior design significantly influences light efficiency. Lamps featuring reflective interior walls or mirror-finish base plates bounce light back onto the bottom and sides of your work. A 36W lamp with a reflective interior delivers far more effective energy to your piece than a lamp with matte black interior plastic. Choosing lamps with removable stainless steel or mirrored base plates helps ensure even curing.
Adding dark or opaque liquid colorants (especially black, deep navy, or dense white) blocks UV rays from penetrating beneath the surface. Similarly, heavy layers of glitter, foil, or metal charms obstruct light pathways. Increasing wattage alone will not cure blocked areas. When working with opaque resin, pour in thin layers and cure each layer step-by-step.
Here are practical curing techniques I use in my studio to achieve smooth, glass-like resin finishes without wrinkles or tacky spots.
The primary challenge with high wattage is sudden heat spikes. Use a phased curing approach to manage temperature:
The primary challenge with low wattage is insufficient energy reaching the piece. Use a close-proximity extended method:
No. Japanese 100-yen store resin liquids cure fine under 6W to 36W lamps. However, certain budget resin formulas tend to retain a thin tacky layer on top. While higher wattage helps clear this surface tackiness faster, you can also achieve smooth results with a low-wattage light by extending curing time and wiping the surface gently with ethanol or polish remover afterward, or applying a glossy topcoat layer.
Not at all. Running a 48W lamp for an hour a day across an entire month adds only a few cents to your power bill. Since lamp exposure lasts only seconds or minutes per session, energy cost differences between wattages are negligible.
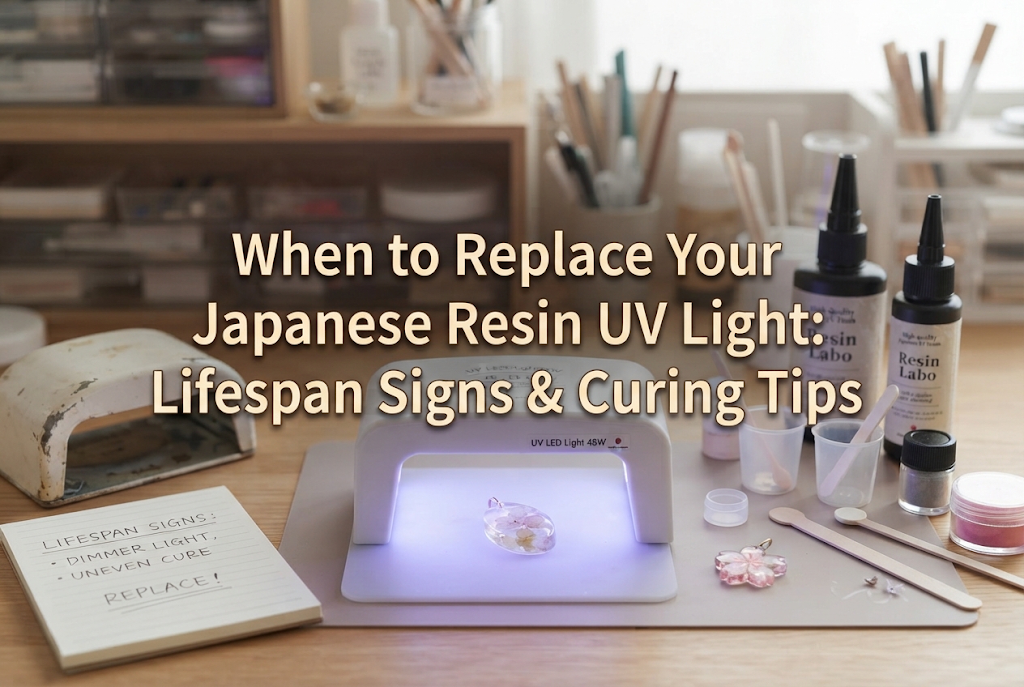
Modern UV-LED chips have long operational lifespans regardless of wattage, typically rated for 40,000 to 50,000 hours. For personal crafting, a lamp lasts for years. Heat buildup caused by leaving lamps running continuously shortens component life far more than wattage ratings. Turning your light off between steps ensures long-term performance.
Here is a summary of our key points on UV lamp wattages:
Understanding your tools allows you to craft confidently without struggling with sticky surfaces or warped shapes. Enjoy creating clear, beautifully finished resin pieces! Happy crafting, and see you in the next article!
This was Yassy from Crafters!


For example, if you are looking for articles about mizuhiki, try searching for "mizuhiki"; if you are interested in tools, try keywords like "nippers" or "pliers."
