Power Drill and Drill Bit Basics for Crafters: Choosing, Using, and Mastering Step Drills
yassy
Crafters!

Hello, everyone! This is Yassy from Crafters! (・∀・)
That moment when you demold a cured piece from a silicone mold after casting Jesmonite is always exhilarating, no matter how many times you experience it. Holding a freshly popped piece, admiring its smooth surface and feeling its solid, porcelain-like weight is truly captivating.
However, do you think your piece is completely finished the moment it leaves the mold? If you stop right there, you are missing out on more than half of Jesmonite's true beauty.
The ultimate key to elevating your Jesmonite creations to a professional level lies in sanding and polishing. Beyond simply removing flashings (excess material along the mold seams), grinding and polishing the surface in progressive stages yields a silky-smooth tactile feel and refined look. Furthermore, for popular terrazzo (composite marble effect) designs, sanding is the essential step that exposes and highlights the vibrant embedded chips.
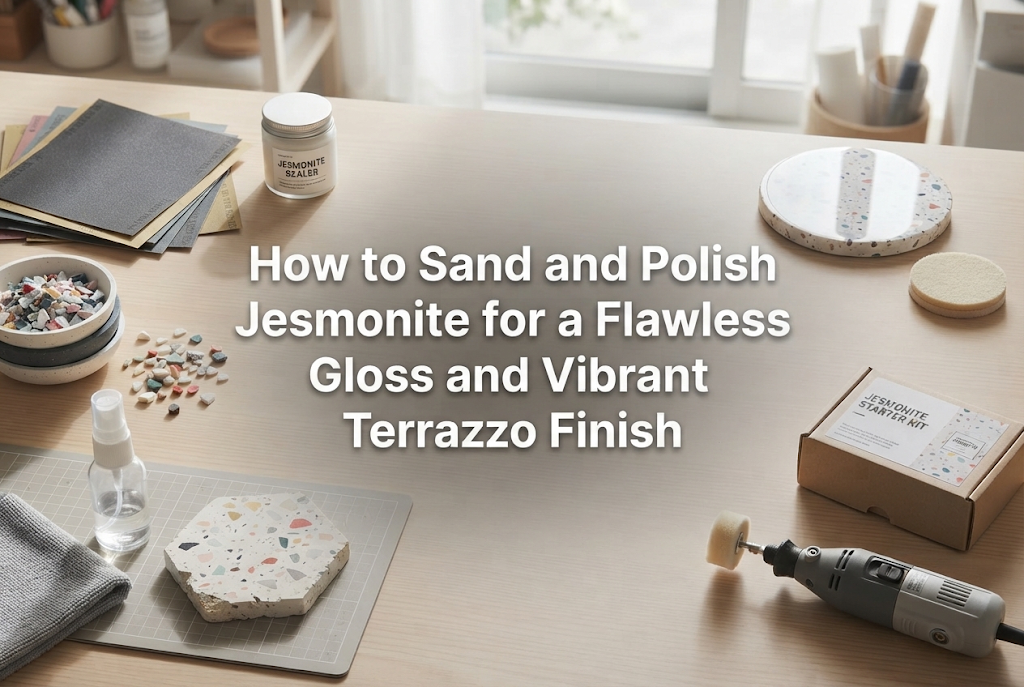
In this guide, I will share the absolute rules of sanding and polishing Jesmonite to give your pieces a dramatic transformation. From choosing sandpaper grits to mastering the zero-fail wet sanding routine, terrazzo techniques, and switching between matte and glossy finishes, here is my complete practical workflow.
Freshly demolded Jesmonite pieces might look smooth at first glance. However, looking closer usually reveals sharp burrs along mold seams or pour gates, as well as microscopic films and subtle surface irregularities.
Sanding isn’t just about fixing defects—its main purpose is to bring out Jesmonite’s full, substantial texture on the surface.
When Jesmonite cures, a fine resin-rich film forms on its outer layer. Carefully removing this layer through proper sanding exposes the dense, mineral-based core beneath, transforming the feel into something remarkably close to genuine stone or ceramic.
This step is particularly crucial for terrazzo designs made with cured, colored Jesmonite chips. Without sanding, the chips remain hidden under the base surface. Only by grinding down the outer layer do the colorful cross-sections of the chips reveal themselves, completing the stone-like mosaic pattern.
In short, sanding is not merely repair work—it is an active design process that gives life and polish to your craft. Dedicating time to thorough sanding is the secret to producing retail-ready creations.
Choosing the correct tools is crucial for sanding Jesmonite safely and effectively. Using improper tools can scratch your piece or ruin flat surfaces. Here are the essential items I rely on in my workspace:
Always use wet/dry waterproof sandpaper designed for wet sanding. Standard dry woodworking sandpaper breaks down quickly when exposed to water and should be avoided.
Here is the recommended progression of grit sizes:
Using these grits in precise numerical sequence is the golden rule for scratch-free results. Skipping grits leaves deep scratches behind, causing the finished surface to look hazy or cloudy.
Never hold sandpaper directly with your fingers alone. Finger pressure is uneven, which causes flat surfaces to warp and crisp edges to round off unintentionally.
Wrap your sandpaper around a firm rubber or plastic sanding block for flat surfaces. For curved shapes, use a firm sanding sponge block with moderate flexibility. Using rigid blocks on flats and sponge blocks on curves ensures crisp, professional lines.
Jesmonite sanding should always be done as "wet sanding" submerged in or rinsed with water. Keep a shallow tray or deep bowl filled with clean water at your workspace. Sanding under water prevents dust from scattering into the air and keeps the sandpaper from clogging.
Even though Jesmonite is an eco-friendly, water-based material, inhaling airborne particulate dust during dry prep or post-sanding cleanup should always be avoided. Protect your lungs and eyes by wearing a proper dust mask and safety glasses.
Keep lint-free microfiber cloths nearby to wipe away residual slurry before coating. If you want a mirror-like sheen, prepare an ultra-fine liquid polishing compound designed for acrylics or automotive clear coats.
Once your tools are ready, follow this systematic workflow to achieve perfect results every time:
A common mistake is starting to sand immediately after demolding. Although Jesmonite can be demolded in roughly 30 to 60 minutes, it still contains internal moisture and has not reached full structural strength. Sanding too early can gouge the soft material or pull terrazzo chips out from their base, leaving pit marks.
Allow your demolded piece to rest in a well-ventilated area for at least 24 hours to dry and fully cure. Waiting until the piece rings solid and completely dry is essential.
Fill your tray with clean water. Cut your wet/dry sandpaper into manageable sizes, wrap it around your sanding block, and soak both the sandpaper and your Jesmonite piece in the water.
Sanding dry clogs sandpaper almost instantly and can damage the surface through friction heat. Water acts as a lubricant and flushes away loose particles. Keep both the paper and piece thoroughly wet throughout the process.
Start with your coarsest chosen grit: #400 for standard smooth pieces, or #240 if you need to level heavy flashings or expose terrazzo chips. Hold the sanding block flat against the surface and move it in steady, straight strokes. Move back and forth vertically, then horizontally—avoid rubbing in circles, which creates uneven gouges.
Let the abrasive paper do the work without pressing down excessively. Continue until uneven seams are flat and overall burrs are smoothed out.
Rinse the piece thoroughly with clean water before changing grits. Carrying coarse residual grit onto the next step can cause deep, unwanted scratches.
Switch to #800 sandpaper. The job of the #800 grit is to erase the scratches left by #240 or #400. Sanding at a 90-degree angle relative to your previous sanding direction makes it easy to see when older scratches disappear. Continue until the surface feels smooth to the touch with no scratchy feedback.
Rinse the piece again, then proceed to #1200 grit. At this stage, you are polishing rather than removing material. By the time you finish with #1200, the surface will feel remarkably smooth, similar to unglazed porcelain.
If you prefer a natural stone matte texture, you can stop at #1200. If you plan to apply a glossy sealer or polish the piece to a high shine, continue refining the surface with #2000 grit.
Once sanding is complete, wash the piece gently under running water using a soft cloth or sponge to remove fine mineral slurry trapped in microscopic pores. Towel dry with a clean cloth, then let the piece dry completely in a airy spot. Sealing damp Jesmonite can trap moisture inside, leading to white haze or coating failure.
Terrazzo effects involve mixing crushed, pre-cured colored Jesmonite chips into a liquid base matrix. When demolded, a film of base resin covers the surface, hiding the embedded chips. Sanding unveils the vibrant slice of each chip.
Here are three crucial tips for terrazzo sanding:
Don't hesitate to use #240 grit wet/dry sandpaper to reveal terrazzo chips. Attempting this with fine sandpaper takes an excessive amount of time and often rounds off flat surfaces unequally. Use firm, level strokes with a backing block until the chip cross-sections appear clearly across the entire face.
Because cured terrazzo chips and the fresh base matrix can vary slightly in hardness, sanding by hand without a block erases soft areas faster than hard chips. This leaves raised bumps around chips, known as an orange peel effect.
Always use a flat, rigid sanding block to ensure that both the chips and base matrix are ground down to the exact same flat plane.
Occasionally, a chip might dislodge during heavy sanding, leaving a small hole or void on the surface. Rather than grinding down the entire piece to remove the hole, stop sanding, wash, and dry the piece.
Mix a tiny batch of Jesmonite matching your base color (or clear matrix). Use a toothpick to fill the pinhole slightly above the surrounding surface. Let it cure completely, then sand it flush using #400 grit before resuming your normal grit progression.
Avoid these common pitfalls to keep your finishing process stress-free:
Cause: Skipping sandpaper grits or sanding with insufficient water allows fine dust to pack into deeper scratches.Solution: Always follow the grit order sequentially (#240 → #400 → #800 → #1200). Thoroughly wash the piece with fresh water between each grit change to remove abrasive residue.
Cause: Holding sandpaper with unbacked fingers or tilting the sanding block over edges.Solution: Keep the sanding block flat across the surface. To maintain razor-sharp straight edges on tray bottoms, place a sheet of wet sandpaper flat on a sturdy table, wet it, and slide the piece across the stationary paper with light, uniform downward pressure.
Cause: Sanding too briefly or using worn-out, clogged sandpaper.Solution: Sandpaper is a consumable supply. Worn-out paper stops cutting efficiently. Replace dull paper promptly, and check the texture with your fingertips regularly while wet sanding.
Jesmonite can adapt to different design styles depending on your final polishing steps:
Ideal for Scandinavian-inspired home decor, minimalist coasters, or rustic trays where a natural stone tactile quality is desired.
Perfect for vibrant jewelry trays or high-contrast terrazzo items where you want colors to pop like polished marble.
Unsealed Jesmonite remains slightly porous and can absorb oils or liquids over time. Protecting your polished surface ensures long-lasting durability.
Applying an official water-based acrylic sealer creates a subtle protective barrier against stains and moisture. Dilute the sealer slightly with water and apply it quickly in thin, smooth strokes using a soft flat brush. Applying two to three thin coats yields a clean finish free of brush marks.
After your acrylic sealer has dried completely, applying natural carnauba wax or beeswax adds water repellency and a soft lustre. Rub a tiny amount of wax onto the surface using a soft cloth, let it sit for about 5 minutes, then buff vigorously with a clean microfiber cloth. Friction heat helps the wax melt into the surface, creating a smooth feel you will want to touch again and again.
Here is my step-by-step routine when working on a new Jesmonite tray project:
Sanding and polishing are transformative steps in Jesmonite crafting. Taking the time to properly sand your demolded pieces elevates simple handmade items into refined, professional crafts.
By selecting the right tools, sticking to systematic wet sanding progressions, and applying appropriate protective sealers, you gain full control over texture, patterns, and sheen. Give these golden rules a try on your next creation!
If you found this guide helpful, please feel free to share it with your craft friends or on social media. Happy crafting, and see you in the next article! — Yassy





For example, if you are looking for articles about mizuhiki, try searching for "mizuhiki"; if you are interested in tools, try keywords like "nippers" or "pliers."
