A Japanese Crafter’s Guide: How to Avoid Making Too Much Inventory in Handmade Sales
yassy
Crafters!

Hello, everyone! It’s Yassy from Crafters! (・∀・)
After finishing a handmade piece, do you ever struggle with taking photos for your online shop or social media? No matter how carefully and lovingly you craft your work, poor photos can easily cut its appeal in half. In online craft sales, over 80% of a customer’s decision to purchase comes down to the photography.
I personally love making crafts, looking at them, and buying them from online shops. Because of that, both as a buyer and as a maker, I feel every single day just how tremendous the impact of a photo really is. When a piece instantly makes someone think "How cute!" or "I want that!" through a screen, there are consistent golden rules at play behind the lens.
There is absolutely no need to worry that you must buy an expensive DSLR camera. With just your smartphone, everyday items around your house, and the right techniques, anyone can take striking, professional-quality photos right now. Today, I'll walk you through the essential photography know-how to bring out 100% of your work's charm and dramatically boost your sales!
The definitive difference between physical stores and online shops is whether or not customers can hold your creations in their hands. Online, buyers cannot directly check the physical texture, weight, exact color, or actual size. The handful of product images on their screens are their sole source of information when making a purchase decision.
No matter how flawless your stitching is or how high-grade your components are, if the photo is dark and blurry, customers will simply scroll right past it. If the image quality is poor, it can even give people the false impression that the piece itself was carelessly made. Product photography is not just an afterthought; it is an essential part of the crafting process, every bit as important as making the piece itself.
Conversely, clean and beautiful photos instantly elevate trust in your entire brand. Photography's most vital role is creating peace of mind, making buyers feel: "This maker is likely very attentive and reliable," and "The real piece will definitely meet my expectations." By mastering the art of presentation, you can properly share the true beauty of your handmade items with the world!
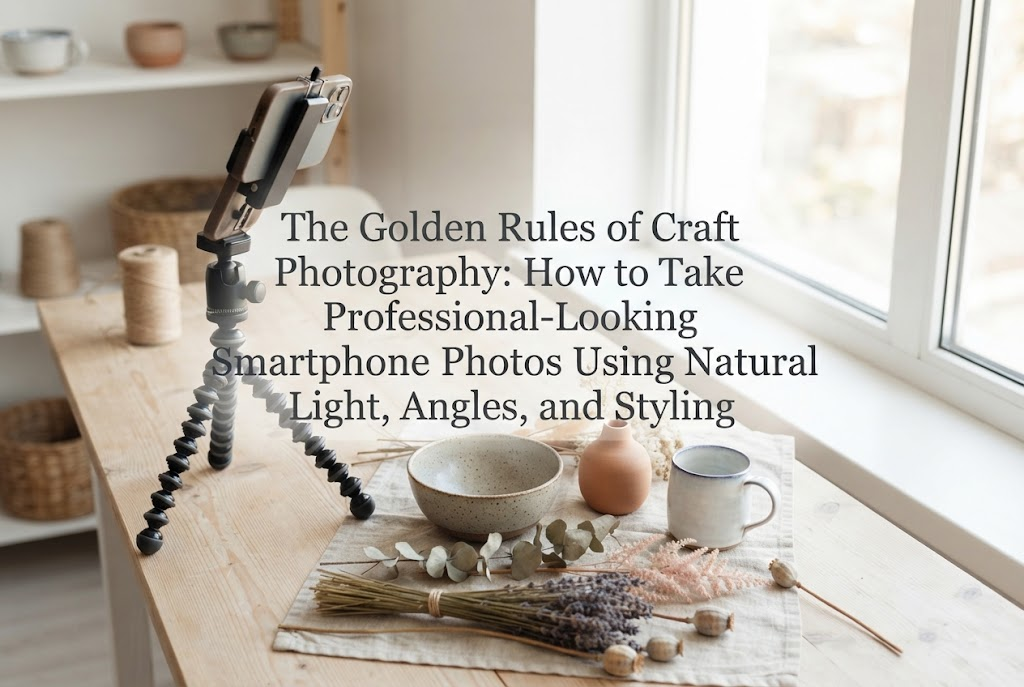
You don't need to spend hundreds or thousands of dollars on high-end cameras. Modern smartphone cameras are incredibly powerful. With the right settings and steps, you can capture photos that are more than good enough for commercial listings. Let's start by adjusting your smartphone settings before shooting.
Open your smartphone's camera settings and always turn on the "Grid" (the guide lines that divide the screen into a 3×3 grid). Photos that are tilted horizontally or vertically give viewers a strong impression of instability and an amateur look.
Especially when taking flat lays (shooting straight from above) or tabletop shots, use the grid lines to align the frame edges parallel with your craft piece. Just this simple step creates a dramatic difference in how neat and refined the shot feels, instantly giving it a polished look.
When trying to shoot small accessories or intricate details, do you pinch out on your screen to zoom in? Digital zoom merely enlarges and crops the image digitally, which degrades resolution and leaves you with a grainy, noisy photo.
Furthermore, placing your phone too close to your craft causes optical distortion around the edges of the lens, altering the true shape of your item. The proper approach is to take a high-resolution photo from a slight distance and crop out the excess margins later, or switch to your phone's dedicated 2x or 3x optical telephoto lens. This is an essential technique for keeping your item's proportions true and undistorted.
If you press and hold on the most important part of your piece on the screen, your phone will lock both focus and exposure (AE/AF Lock). If you shoot without locking them, slight hand movements can cause the focus to drift to the background, or automatic adjustments may suddenly make the frame too bright or dark.
After locking focus, slide the brightness icon (often a sun symbol) up/down or left/right to fine-tune your exposure manually. The golden rule is to lock in the setting where details appear sharpest and colors look most natural before you tap the shutter.
It might sound unbelievable, but the number one culprit behind hazy, cloudy photos is fingerprints and natural skin oils on the camera glass. Because we handle our phones constantly, the lens is almost always smudged.
Before you begin shooting, always wipe your lens thoroughly with a microfiber cloth or an eyeglass cleaning cloth. This alone will noticeably boost the clarity and crispness of your photos. It is a fundamental step you must never skip.
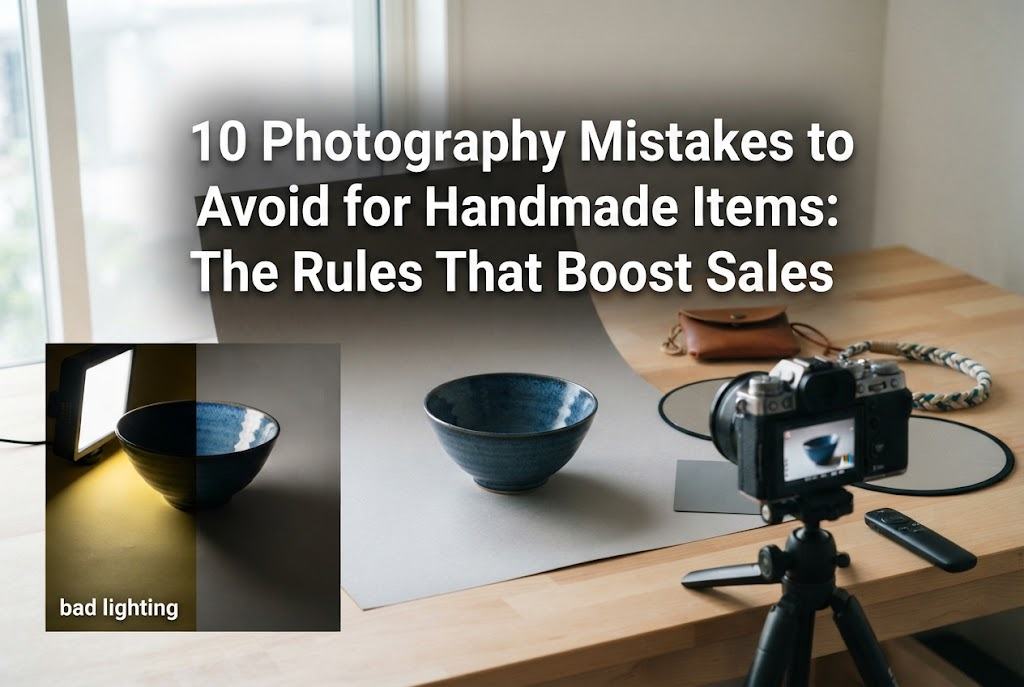
Lighting is the single most critical factor determining how your photos turn out. Nearly 100% of beginners who struggle with photography are misusing light. Let's lock in how to choose and manage proper lighting.
Please stop photographing your pieces under standard household room lights at night. Harsh overhead lighting casts dark shadows of your hands and phone right over your work.
In addition, common household bulbs have strong color casts (color temperatures), appearing either too yellow or too cool blue. As a result, the true colors of your craft are lost, leading to photos that look completely different from reality. In online craft sales, color discrepancies between photos and the real product are the primary cause of customer complaints and returns.
The definitive best lighting for handmade crafts is natural sunlight. Sun creates honest colors with remarkable clarity and transparency.
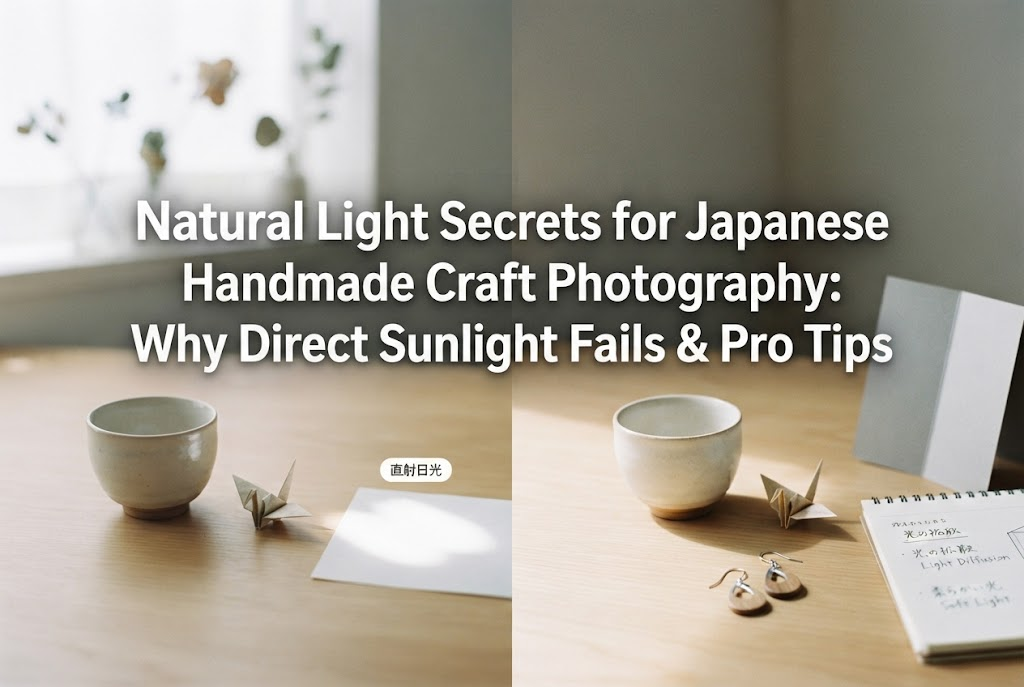
The ideal shooting window is between 10:00 AM and 2:00 PM, when daylight is consistent. However, shooting under direct, blazing sunlight through a window creates harsh, heavy shadows and causes delicate highlights to blow out completely.
The ultimate sweet spot is a bright window area out of direct sunlight, or a spot where daylight is gently filtered through sheer lace curtains.
The direction from which light hits your piece changes its personality completely. Primarily rely on these two directions:
Direct front light or light coming from straight above tends to flatten your work, making it look dull and two-dimensional. Prioritizing side light or semi-backlighting is standard practice for pro-level results.
When light comes from the side or back, dark shadows naturally form on the opposite side. To gently fill these shadows, a reflector board is an absolute must.
You don't need professional studio gear. A simple white foam board, a sheet of thick white cardstock, or a foldable tabletop board from a 100-yen shop (or local craft store) works wonderfully.
Place this white board opposite the window, facing your craft item. The window light will bounce off the white surface and gently bounce soft illumination back into the shadowed areas. This single step lifts harsh shadows, letting your entire piece look bright, balanced, and evenly lit.
The background beneath your work and the styling props you place around it define your brand's aesthetic. Choosing the wrong props or background will dilute the presence of your craft or make the photo look messy and cluttered.
A background exists solely to highlight your craft, never to compete with it. A common beginner mistake is placing items on busy patterns, loud colorful fabrics, or heavy decor. This distracts the viewer's eyes from the craft itself.
Here are reliable background materials to keep on hand:
Backgrounds you should avoid at all costs include everyday hardwood floors, tatami mats, busy work desks, and wrinkled, neglected cloth. Laying down a single clean backdrop sheet instantly transforms your photo.
Styling props should be kept minimal, serving only to suggest how the item is used or the atmosphere of its creation. For instance, for botanical resin earrings with dried flowers, placing a tiny sprig of dried baby's breath at the edge of the frame reinforces that natural botanical narrative.
For antique-style leather accessories, an old book or a brass spoon makes an elegant supporting element. However, limit props to 1 or 2 items per shot, and ensure they are smaller and less saturated than your main craft. A prop that outshines the actual piece defeats the entire purpose.
Browsing shoppers always have lingering questions and uncertainties: "How big is this really?" "What does the back look like?" "How will it look when worn?" Clearing up these questions through photography alone is the secret to converting interest into sales.
Most online handmade platforms allow multiple photos per listing. Don't try to cram everything into a single image; instead, provide these five distinct shots:
Having these five shots gives buyers the confidence of holding the physical item in their hands, allowing them to click "Buy" without hesitation.
The angle at which you position your camera changes the entire impression of the item:
Are you placing a coin or a ruler next to your crafts to show size? While it shows dimensions, it completely ruins the refined aesthetic you worked so hard to build.
A graceful, smart way to communicate scale is to include human hands. Holding the craft in an open palm or gently holding it between fingertips provides an immediate, intuitive sense of scale. Hands also add warmth and underscore the handmade nature of your work.
For bags and larger accessories, stage them next to recognizable everyday items like a smartphone, a key case, or a paperback book. Choosing tastefully designed everyday items communicates interior capacity and size accurately without introducing messy clutter.
Even with great composition, basic technical mistakes can ruin your photos. Here are the five common traps craft makers fall into, along with straightforward solutions:
A dim, grayish photo instantly makes a creation look aged or unappealing. In a crowded marketplace feed, dark images will inevitably get buried under bright, vibrant listings.
Solution: Increase exposure while shooting or lift the "Brightness" and "Highlights" using an editing app. Be careful not to over-brighten to the point where white details wash out completely. Aim for clean, bright visuals right up to that threshold.
Holding your smartphone by hand can introduce slight camera shake when tapping the shutter. In indoor lighting, slower shutter speeds make tiny blur moments very common, even if you don't notice them right away.
Solution: Use a compact smartphone tripod. Mount your phone securely and set a 2-second self-timer. This completely eliminates the vibration of your finger touching the screen, yielding razor-sharp, crystal-clear results.
When trying to shoot from above, your head, hands, or phone often cast a shadow over the craft, darkening colors and ruining clarity.
Solution: Position yourself so you do not block the window light. If you stand too close, your shadow will fall onto the scene. Step back slightly and use your phone's 2x or 3x optical zoom, or crop the image later to keep shadows completely out of the frame.
When photographing glossy resin, glass, or polished metal hardware, your room ceiling, light fixtures, or your own face and clothes can reflect like a mirror onto the piece.
Solution: Pay attention to your camera surroundings and your clothing. Wearing black clothes minimizes reflections on reflective surfaces. Alternatively, create a simple DIY reflection shield by cutting a small lens hole in a sheet of white cardstock or foam board, shooting through it to block ambient clutter.
Having a buyer say "The color looks completely different from the photo" is the most critical issue to avoid in online sales. Blues, greens, purples, and subtle neutral shades (like beige or greige) frequently shift due to smartphone auto-processing.
Solution: Turn off all indoor lighting and rely exclusively on clean daylight. Later, during the retouching stage, adjust the white balance (color temperature) while comparing the on-screen photo side by side with the real item in your hands until the match is exact.
Rather than uploading raw photos directly to your shop, finish them with gentle retouching. Retouching isn't about faking your photos; it is the process of restoring the true beauty of your item that was lost through automated camera algorithms.
Your phone’s native Photos app or free tools like Lightroom Mobile, Snapseed, or Foodie are more than enough. When opening the editor, adjust these five core settings:
Applying heavy trendy filters that add strong pink tints or vintage grain may look chic on personal feeds, but they should never be used on sales listings. Filters distort the actual colors, causing major discrepancies for buyers.
Product photography exists to show your work accurately and attractively. True pro makers stick to editing only as far as it faithfully reproduces the real texture and hue.
An easily overlooked detail is the aspect ratio of your photos. Mixing portrait, landscape, and square images across your shop listings makes the gallery feel disheveled.
Check the recommended format for your selling platform and crop all primary photos consistently. A 1:1 square ratio is standard across many platforms. Keeping your shop grid uniform instantly gives your entire storefront a cohesive, professional brand feel.
We've walked through the key rules and practical techniques to make your handmade items look their best. While photography might seem intimidating at first, the core principles are straightforward and logical.
Here is a quick recap of the essentials:
The pieces you poured so much time and heart into deserve to be seen at their very best. Improving your photography is the strongest bridge connecting your work to future fans and appreciative customers around the world.
Try putting just one of these techniques into practice during your next shoot. You will love seeing your work come alive and shine through the camera! I’m cheering you on!
If you found this guide helpful, please feel free to share it with your fellow makers! See you in the next post—this was Yassy from Crafters!





For example, if you are looking for articles about mizuhiki, try searching for "mizuhiki"; if you are interested in tools, try keywords like "nippers" or "pliers."
