Level Up Your Sewing: The Ultimate Upgrade Order for Japanese Sewing Tools
yassy
Crafters!

Hello, everyone! It’s Yassy from Crafters! (・∀・)
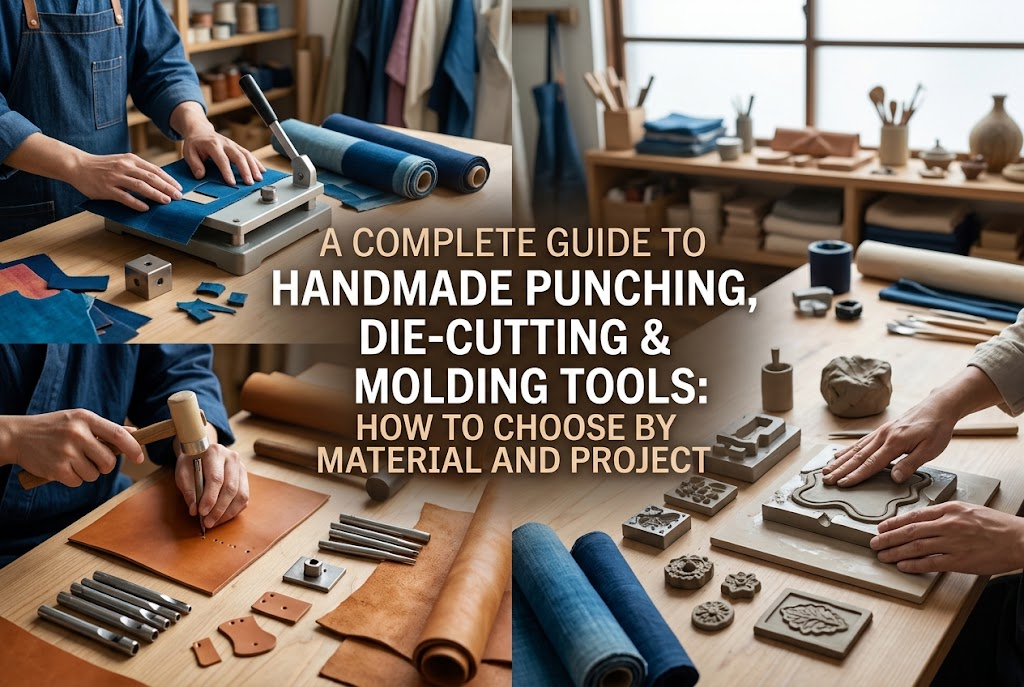
When making handmade items, have you ever felt the urge to cut out a crisp, perfect star shape, or create a dozen identical 3D elements with clean uniformity? While hand-cutting and shaping piece by piece offers a lovely handmade warmth, using dedicated tools is by far the most reliable way to achieve crisp symmetry, repeated accuracy, and intricate detailing.
I personally love making all kinds of crafts, browsing gorgeous finished pieces in shops, and buying specialized tools made with artisan care. Because of that, I have experienced firsthand countless moments where the right tool dramatically elevated the quality of a project.
There is a vast world of tools designed to punch shapes and mold forms. However, using a tool that does not match your material or intended application can lead to rough, messy cuts or even permanently damage your valuable equipment. The most common hurdle for beginners is simply knowing which tool is required for the specific project they want to create.
In this guide, I will walk you through the most commonly used die-cutting, punching, and molding tools in crafting, organized neatly by role and material. After reading this, you will have a crystal-clear understanding of what each tool does and how to use it. Let’s find the perfect companion for your creative projects and make crafting even more enjoyable!
First, let’s look at mold-based tools used to pour liquid materials or press soft clays into solid, three-dimensional elements. These are fundamental items when crafting accessory parts, miniatures, and interior decor.
In crafting, the term “mold” generally refers to any hollow container used to pour in and cure materials such as resin, plaster, Jesmonite, clay, candle wax, or soap.
Molds are typically made from rigid plastic, metal, or flexible silicone. The golden rule is to choose the mold material based on the properties of your casting medium and how you plan to release the cured piece.
Rigid plastic molds have the advantage of holding their shape without warping, creating perfectly uniform results. However, cured materials can easily adhere tightly to rigid walls, leading to failed releases. When working with rigid molds, applying a mold release agent (such as dedicated wax or spray) beforehand is an absolute necessity.
If you are just starting out, my personal recommendation is to begin with flexible, soft molds. Experiencing the pure satisfaction of popping out a piece cleanly and smoothly is the fastest way to fall in love with craft-making.
The most widely adopted casting tool in the modern craft world is the silicone mold. Made from pliable silicone rubber, it is remarkably flexible, allowing you to bend and peel the mold away to release your piece with ease.
Silicone molds work with an astonishing range of materials: UV/LED resin, two-part epoxy resin, polymer and air-dry clays, plaster, aroma wax sachets, and handmade soaps. They support virtually any casting project.
One common misunderstanding among beginners is assuming that silicone molds last forever. In reality, silicone molds are consumables. Repeated resin curing, exposure to chemical reactions, and intense heat will gradually degrade the silicone, causing the surface shine to dull or making resin stick to and tear the mold walls.
To extend the life of your silicone molds, store them inside bags away from dust and keep them out of direct sunlight. Routine maintenance, such as gently lifting dust away with low-tack adhesive tape, is essential.
Among silicone molds, those designed specifically for resin crafting are known as resin molds. Their standout feature is a mirror-finish interior surface.
Resin faithfully replicates the exact surface texture of the mold it cures against. Therefore, using a resin mold with an ultra-smooth, mirror-polished interior yields brilliant clarity and gloss the moment it is demolded—no polishing or sanding required.
Additionally, resin molds are usually translucent or clear to allow UV or LED light to penetrate fully. If light cannot reach the core, the resin will not cure properly, resulting in sticky surfaces. Choosing clear, high-transparency molds designed specifically for resin is key to avoiding failures.
A frequent stumbling block with resin molds is curing with trapped air bubbles. Taking time to pop bubbles with a toothpick or gently pass an emboss heater over the liquid ensures a professional, store-quality finish.
Next, let’s explore blade-based tools designed to press downward onto sheet materials—such as leather, paper, fabric, or rolled clay—to cut clean silhouettes with crisp edges.
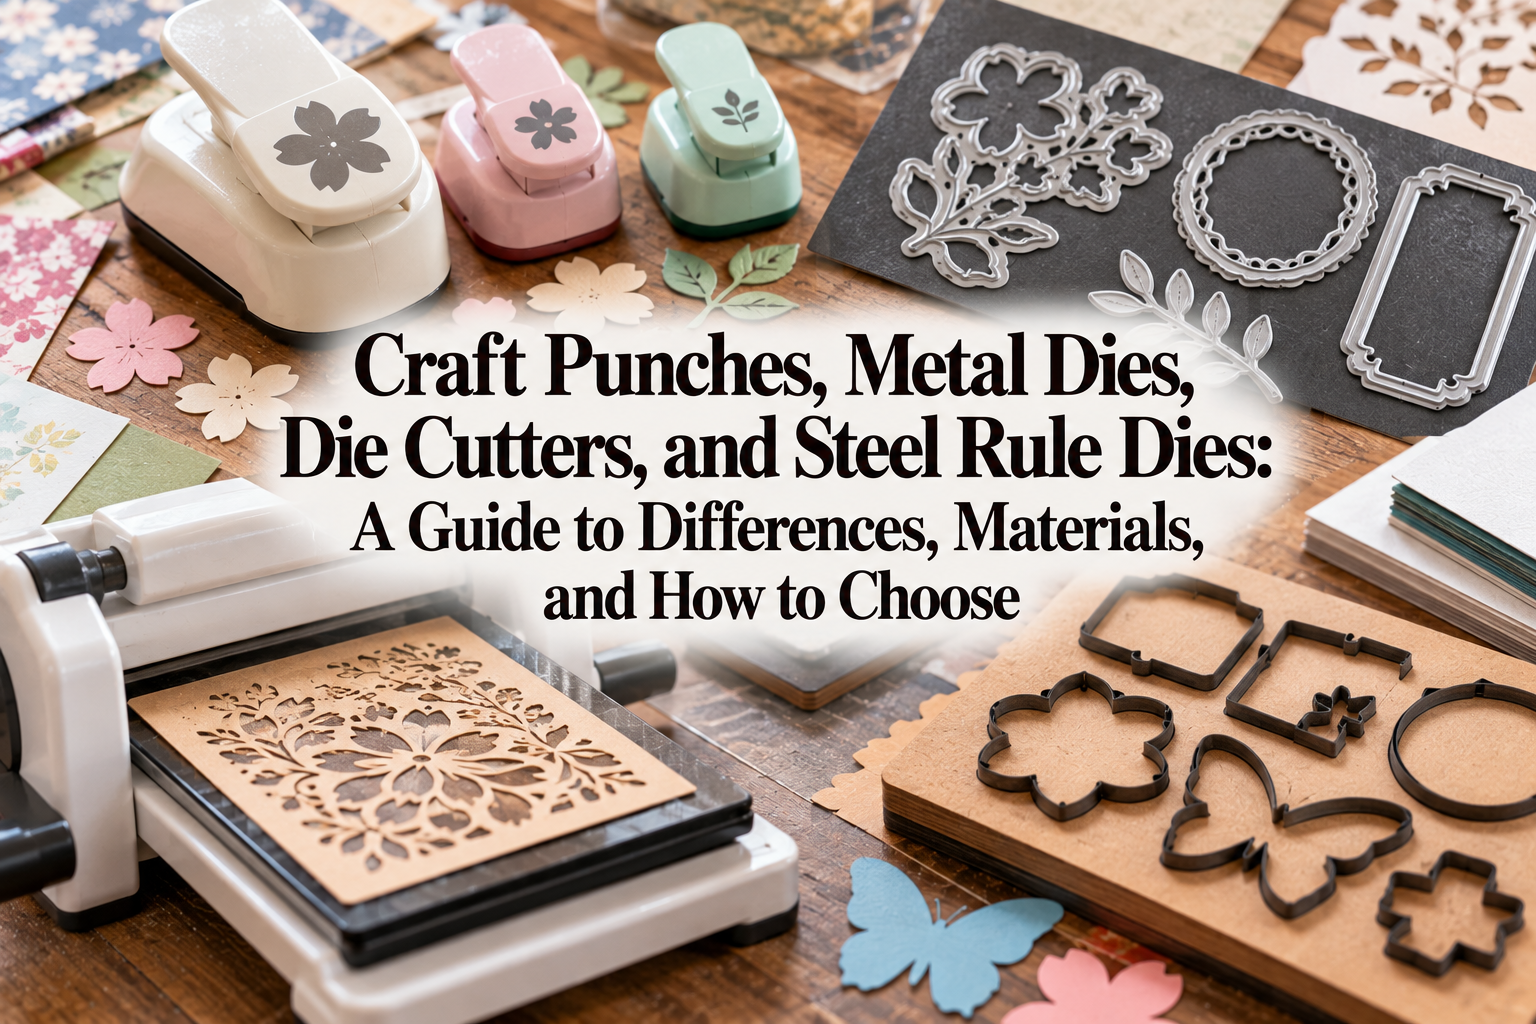
Craft cutting dies (often called steel rule dies or punch cutters) consist of sharp metal blade strips bent into specific shapes like stars, hearts, petals, or tags. While they resemble cookie cutters, their cutting edges are significantly sharper and built specifically for craft and industrial materials.
They are primarily used in leathercraft to stamp out identical pieces, or in clay work to cut consistent shapes from rolled slabs. You place the die onto the material and apply firm pressure downward by hand, or strike it using a wooden mallet or a manual press machine.
Cutting complex shapes by hand with scissors or utility knives often leads to slight distortions and variations between pieces. With cutting dies, however, you can produce dozens of identical pieces in an instant.
Beginners often run into trouble trying to force dies through thick leather or stiff materials using only hand pressure. Having a mallet or a suitable pressing plate matched to your material thickness is the secret to clean results.
A hole punch (drive punch) consists of a solid metal shaft with a sharpened circular edge at the tip, designed to cut clean holes when struck with a mallet. In addition to circles, punches are also available in rectangular, oval, and star shapes.
In leathercraft, they are used to punch belt holes and prepare pilot holes for eyelets and hardware, but they are equally valuable for working with heavy paper, fabric, and rubber sheets. They deliver crisp, undistorted circles that scissors simply cannot achieve.
The single most crucial factor when using a hole punch is your backing surface. Striking directly on a tabletop will not only ruin the table, but it will also immediately flatten and ruin the sharp cutting edge of the punch. Always place a resilient rubber pound board or a heavy-duty cutting mat beneath your work.
My favorite creative tip: don't just use punches for making holes—use the small cut-out leather circles as design pieces! Combining punched leather dots in different colors creates adorable, miniature collage accents.
For cardmaking, papercrafts, scrapbooking, and custom packaging, specialized tools that slice delicate patterns efficiently are indispensable.
A craft punch allows you to slide a sheet of paper into a slot and press down on a top button or lever to cut out an intricate shape in one quick motion. Think of it as an artistic evolution of the standard two-hole office punch.
They come in a wonderful variety of designs, from cherry blossom petals and autumn leaves to animals and delicate lace borders. Because both the punched-out shape and the paper with the silhouette cut-out can be used in your projects, a single punch offers two distinct ways to decorate.
Keep in mind that craft punches are strictly designed for specific paper weights. Inserting soft materials like felt, fabric, or leather will jam the mechanism. Conversely, trying to force thick cardboard through a craft punch will break the internal metal die.
If your craft punch begins to feel dull over time, try punching through a sheet of thin aluminum foil a few times. This simple trick cleans the edges and helps restore its cutting sharpness!
In papercrafting and fabric arts, the pairing of thin metal dies and a manual or electronic die-cutting machine expands creative possibilities immensely.
A “die” in this context is a wafer-thin metal plate chemically etched with an intricate cutting design. A “die-cutting machine” is a press mechanism where you sandwich the die and material between heavy acrylic plates and roll them through high-pressure rollers by turning a handle.
This method easily cuts lacy filigrees, fine script lettering, and 3D box templates that would be impossible to cut cleanly by hand or with standard punches. Certain heavy-duty dies can cut not only paper, but thin felt, fabric, leather, and shrink plastic as well.
A common beginner mistake is purchasing dies without realizing they cannot be used on their own. Thin metal dies do not have handles and cannot apply cutting force independently; they require a compatible machine. While it requires an upfront investment, it is an invaluable tool for anyone wanting to craft polished paper and textile elements.
These versatile tools are easy to find outside of specialty craft stores and offer tremendous flexibility depending on your imagination.
Stainless steel and plastic cookie cutters made for baking make outstanding shaping tools for clay crafts and candle making.
Simply roll polymer clay or lightweight air-dry clay flat with a rolling pin and press a cookie cutter down to create cute fake sweets or base pendants for brooches. In candle crafting, pressing a cutter into partially set wax allows you to form custom wax sachet shapes effortlessly.
The biggest advantages of cookie cutters are their wide variety of shapes, seasonal themes (like Halloween and Christmas), and affordable prices.
The main frustration when cutting clay is having the clay stick inside the cutter, distorting the shape as you remove it. To prevent this, lightly dust the inside of the cutter with baby powder, or place a layer of plastic wrap loosely over the clay before pressing down. Using plastic wrap also softens the edges, giving your clay pieces a charming, rounded, puffy look!
Unlike tools that physically cut or cast 3D forms, a stencil sheet features cut-out designs used to transfer patterns onto flat surfaces with paint or ink.
You secure the sheet onto wooden boxes, canvas tote bags, leather goods, walls, or clay surfaces, and dab paint (such as acrylics or fabric ink) over the openings using a sponge or a dedicated stencil brush. Peeling away the sheet reveals crisp, beautifully aligned typography and graphics.
Even if you are not confident in freehand drawing, stencils allow you to produce clean, graphic patterns and industrial-style lettering that look professionally printed.
The most common stencil pitfall is paint bleeding underneath the edges of the sheet, leaving blurry, jagged outlines. The golden rule to avoid bleeding is to minimize paint moisture. After loading your sponge with paint, always blot off the excess onto a palette or paper towel until the sponge feels nearly dry before lightly dabbing it onto the stencil.
With so many tools available, you might wonder which one to invest in first. Here is a quick reference guide matching tools to common craft projects:
My advice is to pick just one tool that aligns closest with your most frequent crafting style. You do not need everything all at once. Using a single tool thoroughly teaches you its handling quirks and strengths better than anything else.
Once you have chosen your tools, keeping them in prime condition ensures safe, long-lasting performance. Keep these fundamental maintenance principles in mind:
The primary cause of broken tools is forcing them through unsuitable materials. Trying to punch sheet metal or leather with a paper punch, or jamming hard, sharp objects into delicate resin molds, will destroy them immediately.
Always check the manufacturer's recommended materials and thickness limits. When cutting tough, thick materials, rely strictly on heavy-duty metal dies and punches designed for that density.
Cutting tools (hole punches, cutting dies, craft punches) are susceptible to moisture. Leaving them with moisture or oils from your hands will cause rust, quickly dulling the cutting edges. Wipe them down with a dry cloth after use, and apply a light coat of anti-rust oil for long-term storage.
Silicone molds, on the other hand, are vulnerable to dust and skin oils. Handling them with dirty hands dulls their smooth casting surfaces. When cleaning silicone, wash gently with warm water and mild dish soap, then air dry in a well-ventilated, shaded area. Avoid wiping aggressively with paper tissues, as fibers can stick and cause micro-scratches; instead, let them air dry or pat them with a clean microfiber cloth.
When striking hole punches or dies with a mallet, the strength of your table and the quality of your pound board are paramount. Striking on a flimsy table absorbs the impact, preventing clean cuts while risking damage to your furniture.
Work on a sturdy workbench over a thick rubber pounding board or a marble slab. If noise is a concern in apartments, using a manual hand-press machine rather than a mallet is a smart, quiet alternative.
We’ve explored a wide range of shaping, punching, and molding tools that bring efficiency and elevated quality to your handmade work.
From casting molds to heavy-duty cutting dies, delicate craft punches, versatile cookie cutters, and graphic stencils—each tool has its own strengths and ideal materials. Choosing the right one allows you to translate the designs in your imagination into reality with precision.
While freehand work has its own unique charm, leaning on well-designed tools expands your creative horizons infinitely. If you find a tool that sparks your interest, give it a try and enjoy discovering new possibilities in your craft journey!
If you found this guide helpful, sharing it with your fellow makers is always deeply appreciated!
See you in the next article! This was Yassy from Crafters!




For example, if you are looking for articles about mizuhiki, try searching for "mizuhiki"; if you are interested in tools, try keywords like "nippers" or "pliers."
