A Guide to Crafting Rulers: How to Choose and Use Grid, Metal, and Japanese Bamboo Rulers
yassy
Crafters!

Hello, this is Yassy from Crafters! (・∀・)
Whether you are making small leather goods or crafting adorable paper tags, punching holes is an inevitable part of handmade crafting.
From pilot holes for attaching metal hardware onto fabric or leather to punching holes for threading string through shop tags or attaching keychain parts, hole punching appears in virtually every craft project.
If you try to force a hole using scissors or a craft knife, the cut edges end up jagged or the material can tear. To create polished, professional-looking pieces, using dedicated hole punching tools is an absolute must.
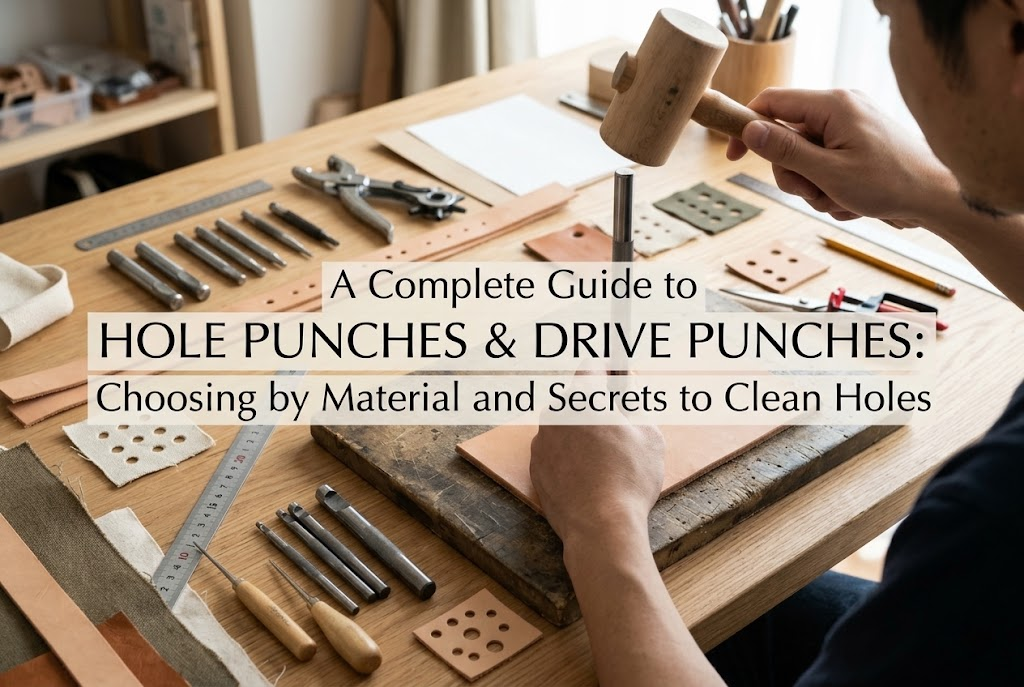
In this guide, I will thoroughly explain the hole punching tools that make a real difference in crafting—including drive punches, Japanese screw punches, and craft lever punches. I will share all of my hands-on knowledge, covering tool characteristics, when to use which, and pro techniques for punching clean, crisp holes!
The quality of handmade craftwork is determined by the finishing touches. In particular, the cross-section of a punched hole dramatically influences the overall impression of your finished piece.
Dedicated hole punch tools do not simply slice material; they press a circular cutting blade against it to cleanly cut out a disc. As a result, you get a clean, perfectly round hole in an instant without stretching fibers or distorting cut edges.
I personally switch between different punch tools depending on what I am making—whether working with leather, paper, vinyl, or fabric. Just picking the right tool for the job increases your working speed and vastly improves the durability of your finished creation.
Hole-punching tools come in several distinct types. Even when they look somewhat similar, their mechanisms and the thickness of materials they can handle vary widely. Let's look closely at their structures and features.
This is the most standard punch: a solid metal rod with a circular blade at the tip, struck on the top end with a wooden mallet or hammer. It is an indispensable tool in leathercraft.
Because the construction is so simple, it is exceptionally durable. It can easily cut through thick genuine leather, stiff belts, and heavy canvas.
Drive punches come in an extensive range of sizes, from micro diameters under 1 mm to large openings measuring several centimeters across. Since direct impact transfers full force straight to the cutting edge, a drive punch is the ultimate choice for heavy, thick materials.
With a screw punch, you simply position it vertically and push down firmly. An internal helical screw mechanism rapidly spins the cutting tip, cleanly coring out the material.
Because it requires zero hammering, it creates virtually no noise. For crafters working late at night or living in apartments, this tool is an absolute lifesaver.
Since the blade cuts smoothly without forceful impact, it cleanly punches thin leather, paper, fabric, and plastic films without snagging or pulling the grain. Another huge advantage is that you can switch tip diameters simply by swapping out the interchangeable blade bits.
These are familiar lever-action tools where you slip in the material and press down on a handle or lever. While they share the principle of standard 2-hole office punches, craft versions include single-hole models and designs with adjustable margin depth guides.
They are ideal for quickly and consistently punching thin materials such as paper, light plastic sheets, and thin leather.
Hand-plier rotary punches—where rotating wheel cylinders let you choose hole sizes—also belong to this family. Keep in mind that because material must fit inside the jaws of the tool, you cannot punch holes far away from the edges of a piece.
Rather than simple circles, shape punches cut out intricate designs like hearts, stars, flowers, and decorative motifs. They are primarily used in paper crafting and scrapbooking.
Equipped with internal precision metal dies, they create complex silhouettes in a flash when you insert paper and push the button.
However, their usable materials are generally limited to paper of a specific thickness. Forcing leather, heavy cloth, or flexible vinyl into them will jam and damage the cutting mechanism.
Apart from punches, crafters often encounter tools like awls, manual pin vices, and power drills. Mixing these up can ruin your materials. Here are the clear distinctions to keep in mind:
An awl creates a hole by pushing aside material fibers with its sharp pointed tip. It does not cut out a plug of material.
When you pierce fabric or leather with an awl, the hole naturally tends to contract once the needle is pulled out. Because of this, awls are great for making guide holes for hand stitching or temporary positioning marks.
On the other hand, if you want to install metal fittings like rivets or eyelets, an awl hole leaves the full bulk of the material intact, preventing the hardware from sitting flush and clean. When you need a clear, open round void, always reach for a punch instead.
A pin vise holds a spiral drill bit that rotates to shave away material, creating tiny precision holes. It is primarily used on cured UV resin pieces, plastic scale models, woodwork, and metal craft findings.
A pin vise excels on hard, non-stretching materials. If you strike cured resin or hard acrylic with a punch and hammer, the piece will crack or shatter.
The golden rule is: use punches for soft, pliable materials like leather and fabric, and use a pin vise for hard, brittle materials like resin and wood.
A power drill is a motorized tool designed for high-speed drilling into heavy timber, sheet metal, or thick blocks of cast resin.
If you touch a spinning power drill bit to paper, thin leather, or woven fabric, the spinning bit will catch the fibers and rip your material apart. Never use a power drill on pliable or delicate craft surfaces.
The punch you need depends entirely on the material you are working with. Here is a breakdown of the best options for popular crafts:
For genuine leather or faux leather, a drive punch (direct-strike type) or a Japanese screw punch is ideal.
Because leather fibers are dense, you need a sharp cutting edge to excise the plug cleanly. Prepare a 2 mm to 3 mm punch for setting rivets (double-cap studs) and a 4 mm to 5 mm punch for eyelets or grommets.
If you need quiet operation, a screw punch is your best bet. If you are punching through heavy, vegetable-tanned tooling leather, a solid metal drive punch struck with a mallet provides the cleanest, most reliable cut.
For paper, cardstock, or packaging tags, a single-hole craft punch or a screw punch is the easiest to handle.
When punching tag holes near the edge for stringing twine, a single-hole punch with a visible alignment guide is quick and efficient. If you need to punch deep inside a journal page or in the center of a wide sheet of paper, use a screw punch, which has no throat-depth limitations.
For securing eyelets or snaps to fabric products and ribbons, I strongly recommend a screw punch.
Because woven textile fibers shift easily, striking them with a traditional drive punch often leaves uncut threads clinging to the hole. The rotating motion of a screw punch catches the fibers and slices them neatly, delivering a crisp opening.
For unbaked shrink plastic (shrink film) or thin sheets like clear file folders, use a single-hole hand punch or a screw punch.
Because these plastics can crack under sudden shock, striking them forcefully with a drive punch risks shattering the edges. Apply steady pressure with a hand lever punch, or slice cleanly using a screw punch.
Even with good tools, improper technique can cause frayed edges or off-center holes. Follow these steps and professional tricks for clean results every time.
Mark your hole center precisely using a leather silver pen, an awl prick, a small dot sticker, or a fine pencil.
When using a drive punch, look straight down over the tool to make sure the blade circle aligns perfectly over your mark, holding the punch completely upright.
When punching, what lies beneath your workpiece is just as vital as the blade itself. Never strike a punch directly over a bare wooden or metal desk; you will damage the surface and ruin the blade edge instantly.
Always place a high-density rubber punching board (such as a leathercraft pound board) or a specialized self-healing cutting pad underneath. An underlay that allows the cutting blade to bite in slightly ensures the underside of your material cuts cleanly through.
When punching cloth, thin garment leather, or sticky vinyl, the bottom edge sometimes fails to sever, leaving the plug hanging. The ultimate fix for this is sacrificial paper.
Simply place a sheet of standard copy paper underneath (or sandwich your material between two sheets) and punch through both together. The paper acts as a stabilizer, preventing distortion and allowing the blade to shear cleanly with zero frayed edges.
Here are frequent pitfalls beginners run into, along with safety guidelines to keep in mind before you start punching:
When striking a drive punch with a mallet, tilting the punch even slightly means only one side cuts through while the other remains connected. Tugging on the uncut plug can rip the surrounding material and ruin your work.
Keep the punch strictly perpendicular (at a 90-degree angle) to the work surface. Build the habit of checking your vertical alignment from directly above before hammering.
Striking a steel drive punch with a steel claw hammer produces a harsh, ringing metallic clatter and quickly mushrooms the strike head of your punch.
Always use a wooden mallet, rawhide mallet, or synthetic dead-blow/rubber hammer. They cushion the strike sound and reduce impact shock on your hands and wrists.
The hammering sound of a drive punch travels farther through floors and walls than you might expect. As a rule of thumb, avoid hammering late at night.
If you must hammer, place a heavy marble slab, granite block, or thick felt pad directly on your sturdy work table, topped with your rubber punch board. This absorbs vibration and muffles the percussion noise significantly. If zero noise is required, switch directly to a screw punch.
Hole punches are cutting tools. After repeated cuts, waste plugs (cutout circles) accumulate inside the barrel.
If waste builds up inside without discharging, pressure cannot transfer to the blade edge, preventing clean cuts and potentially bulging or cracking the punch barrel. Clear out stuck waste regularly with an awl or wire pin. Occasionally wiping the blade with a drop of sewing machine oil or tool oil prevents rust and keeps cuts smooth.
If you are wondering where to begin among all these choices, here is straightforward buying advice:
If your main focus is paper crafting, scrapbooking, or light gift wrapping, pick up a single-hole craft punch (either 3 mm or 6 mm / approx. 1/8" or 1/4"). It is incredibly versatile and perfect for shop tags.
If you want to make leather crafts, fabric accessories, or projects involving hardware, I strongly suggest investing in a Japanese screw punch set. A handle paired with interchangeable bits (such as 2.0 mm, 2.5 mm, and 3.0 mm) will cover more than 80% of typical handmade craft needs.
While drive punches and paper punches are readily available at budget 100-yen shops, their steel edges dull quickly and struggle with thicker materials. If you plan to enjoy crafting over the long term, investing in well-made punches from reputable tool makers will noticeably elevate the finish of your work.
Here is a quick overview comparing the primary punching tools covered in this guide:
Hole punches might seem humble compared to flashy craft supplies, but choosing and using them properly makes them invaluable allies in raising your work's quality.
A sharp, perfectly circular hole instantly transforms a handmade piece, giving it the refined look and feel of a commercial product.
Consider both your project materials (paper, leather, fabric) and your crafting environment (sound restrictions), and find the punch that fits your needs best! Working with the right tools makes every crafting session that much more rewarding.
If you found this guide helpful, sharing it on social media or with fellow crafters means the world to me. See you in the next guide! This was Yassy from Crafters!


For example, if you are looking for articles about mizuhiki, try searching for "mizuhiki"; if you are interested in tools, try keywords like "nippers" or "pliers."
