How to Use an Airbrush for Professional-Level Handmade Crafts: Types, Techniques, and Buyer’s Guide
yassy
Crafters!

Hello, crafters! It’s Yassy from Crafters! (・∀・)
As someone who loves making all kinds of handmade crafts, admiring inspiring creations, and collecting craft supplies, there have been countless moments in my studio where I thought, "I really wish I had started using this tool sooner!"
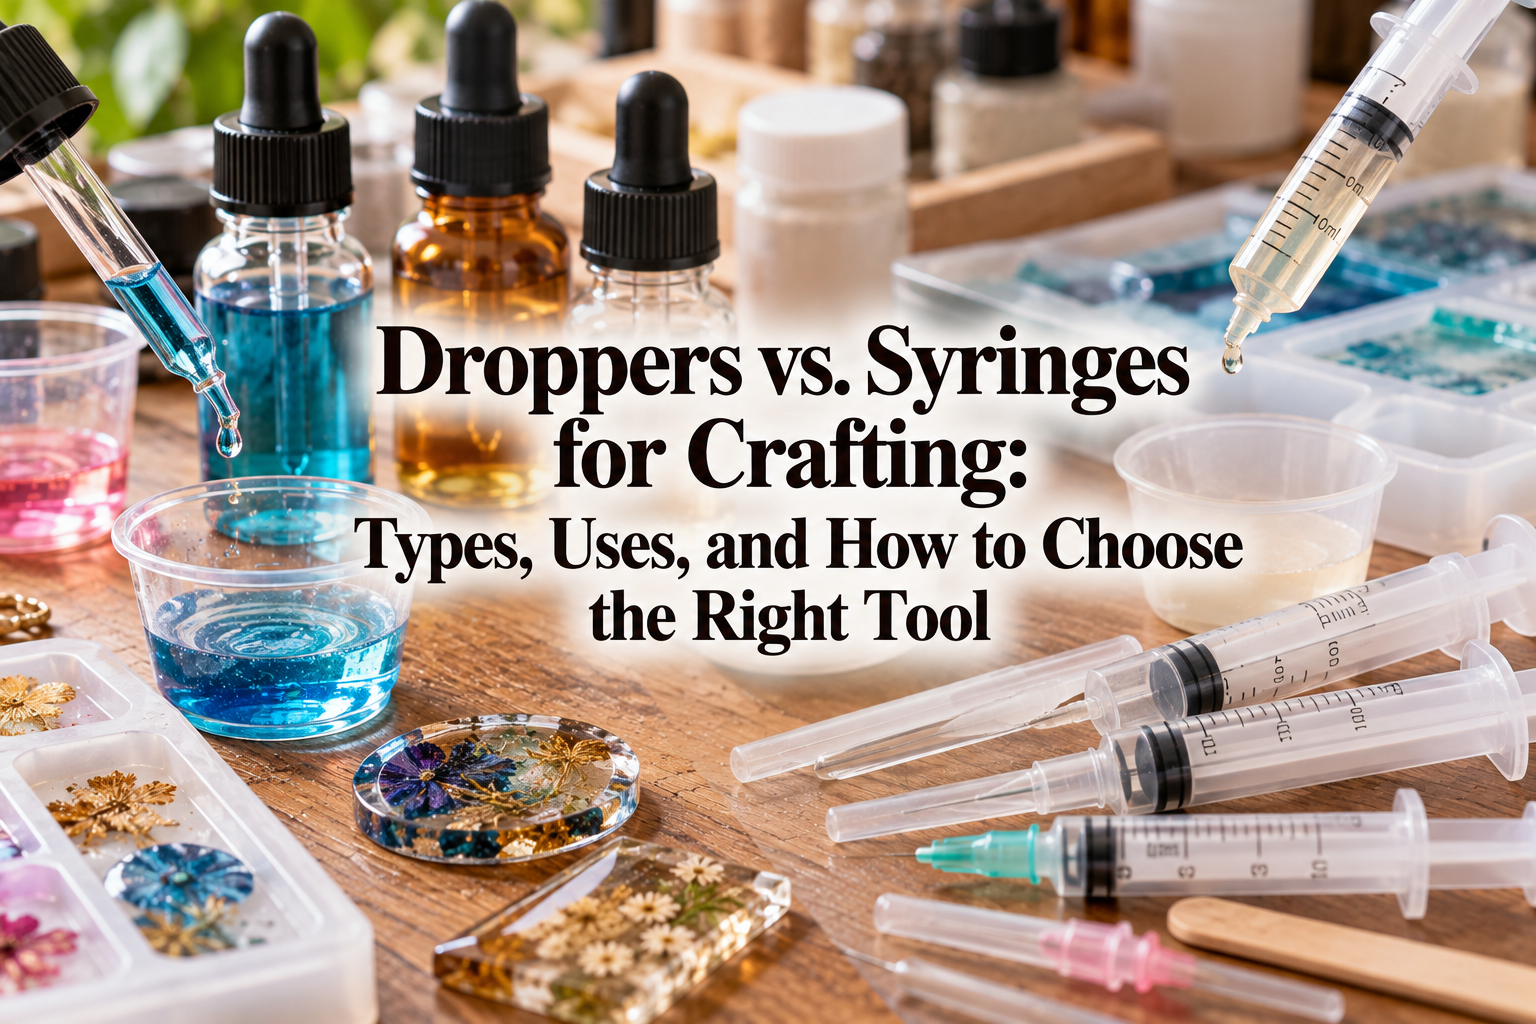
At the top of that list are droppers (pipettes) and syringes—the unsung heroes designed for drawing up liquids and dispensing them with pinpoint accuracy.
From injecting resin into intricate mold crevices and measuring tiny drops of liquid colorants to transferring essential oils or herbarium mineral oils, working with liquids is an everyday part of handmade crafting. Yet, many beginners struggle by relying on toothpicks, bamboo skewers, or pouring directly from the bottle. The inevitable results? Overflows, sticky messes, and dreaded air bubbles.
While droppers and syringes may look like simple everyday tools, understanding how to use and choose between them can elevate the quality of your finished craftwork dramatically. In this guide, I’ll share my hands-on knowledge and experience—explaining the key differences between the two, material properties, project-specific recommendations, and professional techniques to help you work cleanly without mistakes.
In crafting, placing liquids in precise amounts, exactly where you want them, and without creating a mess directly impacts the overall quality of your work. The greatest advantage of using a dropper or syringe is that it completely removes the inconsistency of manual pouring.
When you pour straight from a bottle or container, surface tension often leads to dribbling down the side, or an accidental burst of liquid ruins your piece. Moving liquid bit by bit with the tip of a toothpick takes forever and increases the risk of trapping lint or dust.
With a dropper or syringe, you can control anything from a fraction of a drop to several milliliters with a simple adjustment of fingertip pressure. You can complete delicate tasks in less time, keep your hands and workspace clean, and protect nearby delicate components from being disturbed.
This control is especially crucial in resin crafts—where clarity is everything—and in color mixing, where a single extra drop can completely alter the shade. Beyond boosting work efficiency, these tools are indispensable for cutting down on wasted, expensive materials.
If you think droppers and syringes are essentially the same because they both draw and dispense liquid, it is time to rethink that assumption! Their inner mechanisms, operating principles, and compatible materials are entirely different. Using the wrong one can make your work frustrating, trap excess air bubbles, or even cause your tool to burst under pressure.
A dropper operates using the suction created when a flexible air bulb or bellow is squeezed with your fingers and allowed to expand back to its original shape. In crafting, single-piece disposable polyethylene (PE) transfer pipettes are the most common style.
The biggest advantage of a dropper is its intuitive, fast one-handed operation. Thanks to their simple construction and low cost, they are ideal for tasks where you go through tools in bulk.
Droppers excel at handling thin, low-viscosity liquids and making general droplet additions. They provide unmatched speed and convenience when transferring herbarium oils, adjusting water levels in watercolor paint, or dispensing blending fluid and dyes in alcohol ink art.
However, droppers have weak sealing and low dispensing thrust. They are not built for pulling up thick, viscous liquids. If you force a dropper to draw heavy resin, you will suck in air pockets that turn the resin cloudy, or your fingers will tire out from squeezing without success.
A syringe features a plunger fitted tightly inside a cylindrical barrel. Moving the plunger changes the volume inside the barrel to draw or eject fluids, just like a medical syringe. Many craft syringes also allow you to attach specialized dispensing tips or needles to the end.
The defining strength of a syringe is its airtight seal and high mechanical thrust. The pulling force (negative pressure) and pushing force (positive pressure) transfer directly into the fluid, allowing you to draw up heavy, thick liquids reliably and push them out with complete control.
Syringes are the top choice for injecting high-viscosity UV or epoxy resin into tight corners of silicone molds, measuring liquids down to the fraction of a milliliter, and applying adhesive into micro-gaps between delicate parts. Because most syringes come with clearly printed volumetric markings, they are the only reliable option when managing strict mixing ratios or repeatable color recipes.
The drawbacks? Syringes take a bit of practice to operate smoothly with one hand. Furthermore, once filled with materials that cure or harden inside (such as resins or glues), they are very difficult to clean and generally need to be discarded.
Let’s look at specific craft genres to see how to pair the right tool with the right task. Match these with your own projects to optimize your workflow!
In resin crafting, a syringe is a game-changing tool. When delivering resin into narrow mold grooves or the hollow interiors of 3D bezels, simply pouring from above inevitably traps pockets of air underneath.
By attaching a slender dispensing nozzle to a syringe, you can insert the tip all the way to the deepest point of the mold and gently depress the plunger. Filling the cavity from the bottom up pushes air out ahead of the liquid, achieving a bubble-free fill on the first try.
As a rule of thumb: reach for a syringe when handling thick, high-viscosity resin, and use a dropper when you only need to dispense thin, runny resin or small amounts of pre-tinted liquid into open trays.
When tinting UV resin, polymer clay, or gypsum composites like Jesmonite, consistent color reproduction requires adding the exact same number of drops every single time.
A dropper allows you to add liquid colorants in uniform drop sizes. Liquid pigments and inks can easily gush out if poured straight from the bottle, turning a batch too dark in an instant. Drawing the colorant into a dropper first lets you dispense it drop by drop to hit that subtle nuance you want.
When blending liquid paints or fabric dyes in strict formulas to create custom shades, a small syringe marked with sub-milliliter increments offers the greatest precision.
Droppers and syringes are equally valuable when adding essential oils or fragrances in candle making and aroma stone crafts, or when pouring mineral oils into herbarium bottles.
Because essential oils are highly concentrated, they often need to be measured in 0.1 ml increments. A calibrated small-capacity syringe lets you reproduce fragrance recipes faithfully.
In herbarium bottle crafts, pouring oil too fast often dislodges or crushes dried and preserved flowers. By placing the tip of a long transfer pipette against the inside wall of the bottle and letting the oil glide down gently, you can preserve the arrangement of your botanicals perfectly.
When painting miniatures, illustrations, or craft surfaces with watercolors or acrylics, the ratio of water to pigment determines your final look.
Using a dropper to add water to your palette one drop at a time prevents paint from turning overly watery. In addition, dropping clean water onto Japanese washi paper or canvas before adding liquid pigments is a classic technique for creating soft bleeds, gradients, and blurring effects—a process made effortless with a dropper.
To get the most out of these tools, consider their material build and chemical compatibility with your crafting liquids. Using the wrong plastic can cause it to crack, melt, or dissolve into your project.
The most common disposable droppers and pipettes found in craft stores and 100-yen shops across Japan are made from polyethylene (PE).
Polyethylene is flexible and provides excellent resistance to solvents and chemicals. It will not melt or degrade when exposed to rubbing alcohol, uncured resin, or mild acids and bases. Because PE pipettes are inexpensive, using them as disposables keeps costs low while ensuring clean, uncontaminated work.
On the other hand, rigid syringes made of polystyrene (PS) offer high transparency and easy-to-read lines, but they are vulnerable to pure essential oils, strong alcohol, and organic solvents, which can cause clouding, cracking, or crazing. When working with solvent-heavy materials, check the packaging to ensure the tool is made of polyethylene (PE) or polypropylene (PP).
For longevity, chemical resistance, and top-tier accuracy, glass tools are second to none.
Glass droppers consist of a glass tube and a removable rubber or silicone bulb. They never degrade or leach chemicals when used with pure essential oils, aroma extracts, or solvent-based paints. Because glass withstands solvents and hot water, you can clean it completely and reuse it hundreds of times.
Glass syringes also feature high measurement precision and an airtight plunger fit for micro-measurements. Their downsides are the risk of breakage if dropped and higher initial costs. However, if you want a reliable long-term studio staple or specialize in aromatherapy crafts, glass is well worth the investment.
When choosing a syringe, pay close attention to the tip connection. The two primary types are Luer Lock and Luer Slip.
Dispensing tips range from blunt metal needles and plastic taper nozzles to flexible tips. For reaching deep into intricate molds, a blunt, narrow metal tip or a bendable nozzle works best.
Let's clarify how droppers and syringes differ from other similar accessories found on the workbench:
Here is my quick checklist to help you pick the right tool without second-guessing when shopping online or at craft supply stores:
If strict mixing ratios matter, choose a syringe marked with 0.1 ml increments. Small syringes in the 1 ml to 3 ml range are the easiest to control for micro-measuring.
For filling large molds or transferring herbarium oil, opt for larger 10 ml to 20 ml droppers or syringes. Using a tiny tool for large volumes forces you to refill constantly, slowing down your process.
When handling reactive liquids like acetone, alcohol, epoxy hardeners, or essential oils, always check the material. For disposables, choose PE (polyethylene) or PP (polypropylene). For reusable lifetime tools, choose glass. Avoid cheap PS or PET syringes that can dissolve or fog when exposed to aggressive solvents.
Once you have your tools, practicing good technique will transform your results. A few subtle habits make a huge difference in precision and cleanliness.
The most common frustration is pulling air bubbles into your tool or transferring them into your piece.
When drawing liquid, compress the dropper bulb or push the syringe plunger all the way in before submerging the tip into the liquid. Keep the tip completely submerged, then slowly release pressure to draw the fluid up. If the tip peeks above the liquid surface, it will suck in air instantly, frothing the inside of your barrel.
When dispensing, keep the nozzle tip touching the bottom of your mold or submerged inside the existing pool of liquid while pressing gently. Dropping liquid from high above traps air upon impact. Filling smoothly from the bottom up is the golden rule for zero bubbles.
Depressing a syringe plunger requires steady, delicate pressure. Pushing solely with your thumb can cause your hand to slip or jerk, spurting liquid out all at once.
Instead, hold the syringe in a classic two-finger grip: support the flange (the wings of the barrel) with your index and middle fingers, and rest your thumb against the plunger head. Cradle the barrel securely, and use your other hand to steady the nozzle tip for millimeter-level accuracy.
When pushing thick fluids, apply slow, sustained pressure and let the liquid emerge at its own pace. Rushing will only risk dislodging the tip.
Lifting the nozzle straight up after dispensing often leaves a trailing string of liquid or a drop that soils the rim of your piece.
To prevent this, release all forward pressure on the plunger the moment you finish dispensing, then pull the plunger back by just 0.1 mm. This subtle back suction draws the remaining liquid drop back inside the nozzle opening for a crisp cutoff.
When removing the tip, avoid pulling straight up. Instead, touch the tip lightly against the interior wall of your mold or flick your wrist in a tiny circular motion to break surface tension cleanly without stringing.
To keep your workspace clean and make your tools last, follow these practical care rules:
If you plan to reuse your tools, clean them immediately after use before the liquid has a chance to dry or set.
For water-based liquids, pump warm water with mild dish soap in and out of the barrel repeatedly. For oils, draw up isopropyl alcohol or cleansing oil to dissolve residues, then flush thoroughly with soapy water.
After washing, disassemble all components and allow them to air-dry completely. For syringes with rubber plunger gaskets, prolonged exposure to moisture or alcohol can cause the rubber to swell and stick. Applying a microscopic trace of silicone oil around the rubber edge after drying will restore smooth, brand-new plunger glide.
A frequent beginner mistake is sharing one dropper or syringe across multiple liquids.
Dipping a syringe that held clear resin into a bottle of blue pigment can contaminate the entire dye bottle or cause it to start curing prematurely. Similarly, mixing essential oil droppers muddles pure scents.
Always designate one tool per liquid. When using disposable polyethylene pipettes, wrap a strip of masking tape around each one labeled "Red Ink," "Resin," or "Oil" to keep your studio organized like a pro.
Far from being boring utility items, droppers and syringes are reliable partners that elevate the precision, speed, and overall finish of your handmade projects.
Remember the golden rule: reach for a dropper when moving thin, runny liquids quickly, and turn to a syringe when you need bubble-free precision injection for thick materials or micro-measurements down to the fraction of a drop. Mastering this distinction will instantly solve common headaches like trapped bubbles, messy dribbles, uneven tints, and ruined pieces.
Whether you choose convenient disposable packs or invest in high-precision glass tools, tailoring your choice to your creative style will make your crafting sessions smoother and far more enjoyable.
If you found this guide helpful, please share it with your fellow crafters on social media! See you in the next article—happy crafting from Yassy! (・∀・)





For example, if you are looking for articles about mizuhiki, try searching for "mizuhiki"; if you are interested in tools, try keywords like "nippers" or "pliers."
