Level Up Your Macrame: The Ultimate Tool Upgrade Order for Flawless Knots and Fringe
yassy
Crafters!

Hello everyone, Yassy from Crafters here! (・∀・)
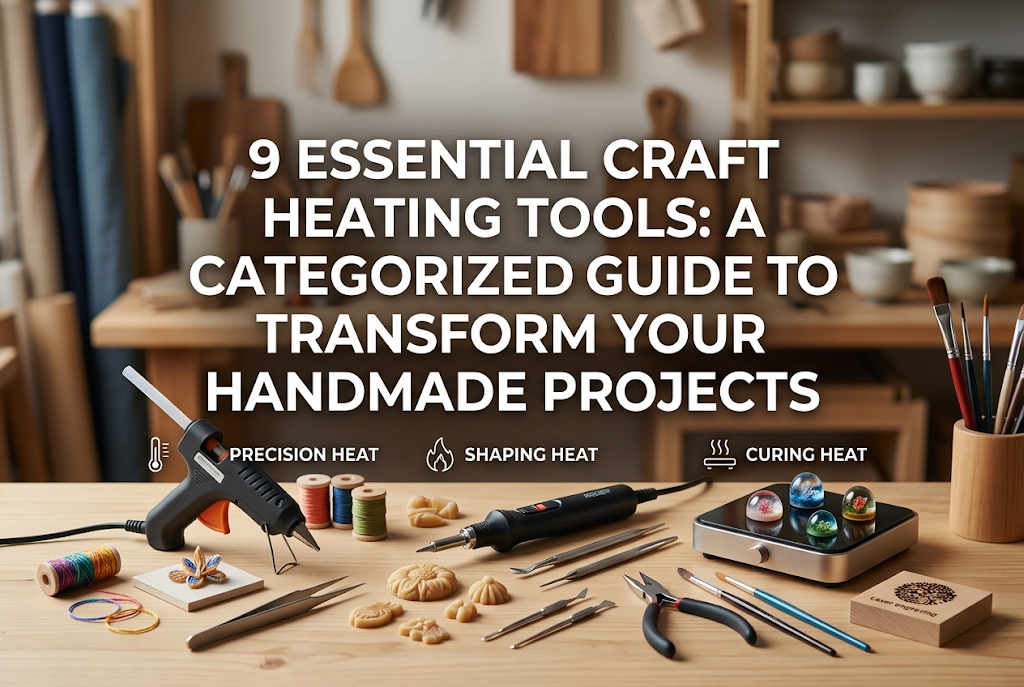
In the world of handmade crafts, there are many tools that can dramatically elevate the quality of your work. Among them, heating tools—which utilize direct heat or thermal effects generated by light—are essential for processes like material processing, curing, and adhesion.
In my daily craft routine, I love using tools that apply heat for all kinds of projects: curing resin, shrinking plastic sheets (shrinkles/プラバン), bonding fabrics, and creating pyrography burn marks on wood. As someone who loves watching, making, and buying craft goods, these heating tools are where I feel the true power of crafting equipment the most.
However, I frequently hear questions like these from beginners in the crafting community:
At first glance, heating tools might all seem like they do the same thing—just warming items up. However, they differ completely in temperature, airflow, light wavelength, and tip shape. Using the wrong tool for your intended purpose can cause resin not to cure, burn your materials, or blow away delicate components.
In this article, I will introduce 9 representative heating tools widely used in crafting, categorized by their specific functions! By the end of this guide, you will clearly understand which tool is right for the projects you want to create. Think of this as your central hub for understanding heating tools!
Applying heat in handmade crafts serves very specific purposes. It is not just about making things warm; heat is used to trigger physical changes or chemical reactions.
The first step in choosing the right tool is clarifying what kind of process you want to perform. In crafting, heat application generally falls into four main categories:
Once you understand these four categories, choosing the right tool becomes effortless. Let's look at all 9 key heating tools under these classifications!
First, let's explore three tools used when curing liquid craft materials or removing bubbles from them. These are essential for UV resin, epoxy resin, and embossing crafts.
A UV light is a specialized device that emits ultraviolet radiation (specifically UV-A wavelengths around 365nm) using internal fluorescent UV bulbs to cure compatible UV resin liquids via chemical reaction.
This is a classic staple that has been used since the early days of resin crafting, and it is necessary for curing traditional resin formulas tuned to 365nm wavelengths. The unit features a box-shaped dome; placing your project inside for a specified period hardens liquid resin into a solid state.
However, fluorescent bulbs degrade over time and require periodic replacement. Additionally, some modern LED-compatible resins do not cure easily under traditional UV lamps, so checking compatibility with your resin supply is essential before buying.
I personally started my resin journey with a UV light. The sense of security from placing larger pieces inside a closed chamber to cure is still very appealing to me.
Currently, UV-LED lamps are the dominant standard in the craft industry. Equipped with LED chips, they typically feature a hybrid output emitting both UV (365nm) and LED (405nm) wavelengths simultaneously.
Compared to traditional UV lamps, UV-LED lights cure resin remarkably fast—often in just a few seconds to a couple of minutes. The units themselves are extremely compact, lightweight, and sleek, frequently available with fold-out legs or as convenient handheld designs.
LED chips have an extremely long lifespan, meaning almost no bulb replacement hassle. For beginners starting resin jewelry today, choosing a UV-LED light is definitely the right move. They offer high versatility, compatible with nearly all modern resins on the market.
An embossing heat tool (embossing heater) blows a focused stream of hot air at around 200°C to 250°C (392°F to 482°F). Originally designed to melt embossing powder over stamped images to create raised 3D effects, it also works wonders in resin craft.
When you apply gentle heat from an embossing tool to liquid resin, the resin's viscosity drops, making it thin and fluid. As viscosity decreases, tiny, frustrating air bubbles trapped inside naturally float to the surface and pop instantly due to the heat.
Because the airflow is intentionally low, there is no risk of blowing liquid resin or fine pigment powders all over your desk. For anyone aiming for maximum clarity and a glassy finish in resin work, this is an indispensable tool.
Next, let's cover tools that blow warm or hot air to warm materials directly, prompting them to shrink, shape, or dry. While both blow air, their temperature and air volume are completely different!
A heat gun is a heavy-duty, high-temperature tool also used in industrial work and home DIY. Air exiting the nozzle reaches extreme temperatures from 300°C up to over 500°C (572°F to 932°F+).
In crafts, heat guns are used to rapidly shrink thick plastic sheets (shrink plastic/puraban) or shape heat-moldable thermoplastics. Because it reaches high temperatures so fast, it softens materials quickly.
However, because the heat is so intense, using it on thin or delicate parts will instantly burn or warp them. Due to the high burn risk, heat-resistant gloves and proper room ventilation are mandatory. It is often over-spec for small accessory crafts, making it a tool for advanced makers doing 3D sculptures or heavy DIY.
The standard household hair dryer found in most bathrooms is also a heat tool! Its airflow temperature generally sits between 80°C and 120°C (176°F to 248°F), calibrated safely so as not to damage human hair or skin.
Its primary uses in crafting are forced drying for water-based paints, varnishes, clay surfaces, or dyed fabrics. Because almost everyone already owns one, it requires zero initial cost and can be used immediately.
However, hair dryers feature very strong airflow. If you point a hair dryer at liquid resin or embossing powder, the contents will fly everywhere. Furthermore, at ~100°C, it lacks the temperature required to shrink plastic sheets or melt embossing powder cleanly. Remember the golden rule: use it strictly for drying purposes!
These tools feature a flat heated plate that presses onto materials, achieving fixing or bonding through the combined power of heat and physical pressure. They are heavily used in sewing, paper craft, and applying fusible interfacing.
A standard clothes iron does far more than remove clothing wrinkles—it is immensely versatile in handmade crafting. The soleplate temperature can usually be adjusted between low (~110°C / 230°F), medium (~150°C / 302°F), and high (~200°C / 392°F), applying uniform heat across broad surfaces.
Key crafting uses include backing pouches and bags with fusible interfacing, applying iron-on transfers, adhering appliques, and setting fabric glues with heat. Its natural weight allows you to lean into the press, perfectly bonding heat-adhesive backing sheets.
If you make sewn items, achieving a beautiful finish without an iron is nearly impossible. It is a critical tool for pre-sewing prep work, such as pressing seams open or creating crisp folds.
A mini iron packs the utility of a household iron into a palm-sized tool. Featuring a very small soleplate, it excels at pressing tiny seam allowances in patchwork, pressing delicate petals in tsumami zaiku (traditional Japanese fabric folding), or ironing doll clothes.
Where standard irons are too bulky to see detail or reach into deep structural corners, a mini iron applies targeted heat precisely. It is lightweight, easy to maneuver, and takes up minimal workspace.
While not suited for fusing interfacing over large fabric pieces, once you try a mini iron for small accessories, miniatures, or ribbon crafts, you won't want to work without it. Personally, I always rely on my mini iron when pressing collars and cuffs on doll garments!
Finally, let's look at tools that heat narrow metal tips or electrical wires to high temperatures to cut by melting, scorch patterns onto surfaces, or weld metal parts together. These are invaluable for structural or technical crafts.
A soldering iron heats a small metal tip to approximately 300°C to 450°C (572°F to 842°F) to melt solder wire and join metal components. In handmade crafts, it is essential for stained glass and glass art assembly.
Additionally, by swapping in pen-style tip attachments, it functions as a pyrography tool for wood burning (woodcrafting) or branding/creasing leather. Creating rich brown scorched lines on wood or leather surfaces using heat is immensely popular among craft enthusiasts.
Because the bare metal tip reaches temperatures that cause instant severe burns, using a dedicated soldering iron stand is mandatory. You must pay close attention to where you set it down and ensure the cord won't trip anyone.
A hot wire cutter passes an electric current through a thin nichrome wire, heating it to glide through styrofoam and certain plastic materials smoothly by melting them as it cuts.
If you cut styrofoam with scissors or a utility knife, the edges end up jagged and messy white static crumbs scatter everywhere. Using a hot wire cutter allows you to slice through foam like butter with light pressure, leaving a smooth, clean cross-section instantly.
It is ideal for making diorama bases, shaping large miniature structures, or sizing flower arrangement bases (floral foam/styrofoam). Available in tabletop jigsaw-style models or handheld units, it is highly recommended for 3D modeling fans.
Here is a summary of the 9 heating tools, their primary functions, heat transfer methods, temperatures, and typical craft uses for easy comparison:
When getting started, many crafters wonder, "Can I just substitute this with something I have at home?" Here are three common wrong substitutions that lead to project failures and why you should avoid them.
If you think, "They both blow warm air, right?" and point a hair dryer at liquid resin, disaster will strike! Hair dryers are engineered to push out high volume air to dry human hair quickly.
Pointed at liquid resin, the strong air pressure will blast the resin out of molds or bezels, ruining your workspace and clothes. It will also scatter fine pigment powders or embossing powders all over the room. An embossing heat tool is specifically engineered to minimize airflow while delivering high heat—which is why it clears resin bubbles without a mess. They are totally different tools!
I am often asked, "Can't I just cure resin in the sun without buying a light?" The short answer is yes, sunlight will eventually cure UV resin. However, if you want high-quality results, buying a UV lamp is essential.
Sunlight intensity fluctuates wildly depending on weather, season, and time of day. On cloudy days or in winter, curing can take hours or an entire day—during which dust and floating particles settle onto the sticky surface. Furthermore, uneven sunlight exposure causes incomplete curing inside, leading to warping and distortion. A UV-LED light ensures complete, consistent curing in minutes every single time.
Attempting to shrink plastic craft sheets (shrinkles/puraban) with a hair dryer is another common mistake. Standard polystyrene plastic sheets require temperatures around 120°C to 140°C+ (248°F to 284°F+) to soften and shrink evenly.
Because hair dryer air drops to ~80°C–100°C as it travels, it never reaches the necessary shrinking temperature. Furthermore, the strong wind blows the light plastic sheet around, making controlled heating impossible. Use a toaster oven, or a heat gun/embossing tool while holding the plastic down safely with tweezers.
If you are overwhelmed by having 9 options, here is my recommended purchase order based on craft genre:
Because heating tools involve high temperatures, misusing them carries burn or fire risks. Follow these safety habits to keep crafting safely for years to come:
When operating an embossing tool, heat gun, soldering iron, or craft iron, always lay down a silicone craft mat or heat-resistant sheet on your work surface. Accidental contact between a hot tool tip and your desk can cause scorching, warping, or fire risks.
Also, trip-and-fall accidents involving power cords can pull a burning-hot tool down onto your lap or hands. Arrange your workspace cord path safely before starting, and get into the habit of unplugging tools immediately after use.
Tools like soldering irons, heat guns, and irons remain dangerously hot for many minutes after being turned off. Accidents often happen when crafters assume a tool is safe just because the switch is off.
Always rest a soldering iron in a sturdy metal stand. Place irons and embossing tools upright in safe locations clear of flammable paper or fabric, and only store them away after confirming they have cooled down completely.
Today, we explored 9 essential heating tools used in handmade crafts, categorized by their distinct functions!
Let's do a quick recap of what each tool does best:
By understanding each tool's temperature, airflow, light wavelength, and shape characteristics, you can boost the quality of your craft projects dramatically! Avoiding incorrect substitutions and selecting dedicated tools tailored to your craft is the fastest route to stress-free, successful creations.
When I first learned how these tools worked and began using them properly, my joy in crafting multiplied! Even when looking at handmade items in stores or online, I started noticing fine details: "Ah, this resin piece was bubble-cleared with an embossing heater!" or "These tiny miniature seams were pressed with a mini iron!" Understanding tools makes making, viewing, and buying crafts so much more fun!
Find the ideal heating tools for the projects you want to create and enjoy a richer handmade crafting life!
If you found this guide helpful, please share it with your fellow craft friends! Thanks for reading, and see you in the next article! This was Yassy from Crafters!


For example, if you are looking for articles about mizuhiki, try searching for "mizuhiki"; if you are interested in tools, try keywords like "nippers" or "pliers."
