Choosing Craft Brushes for Handmade Projects: A Guide to Japanese Hira-bake, Menso-fude, and Essential Brush Care
yassy
Crafters!

Hello, everyone! It’s Yassy from Crafters! (・∀・)
Once you learn the basic macrame knots and start creating pieces like coasters or simple keychains, this craft becomes addictively fun! I still remember when I bought my very first starter kit and got completely hooked, watching simple cotton cord transform into beautiful shapes right in my hands. I lost track of time as I knotted away in a meditative flow.
However, after completing a few projects, almost every maker hits a frustrating wall. You might notice your knots aren't looking completely even, your fringe stays messy and doesn't have that crisp, shop-worthy finish, or your larger wall hangings warp out of shape as you work.
If you're experiencing these issues, let me reassure you: it is not due to a lack of skill on your part!
In reality, it's simply a sign that you've outgrown the basic beginner tools that came with your starter kit. Starter kit tools are designed with one goal in mind: to let you try out the basic motions at a minimal cost. But if you want to elevate your craftsmanship, create stunning pieces like the ones you admire on social media, or even sell your creations in the future, upgrading your tools is an essential step you cannot skip.
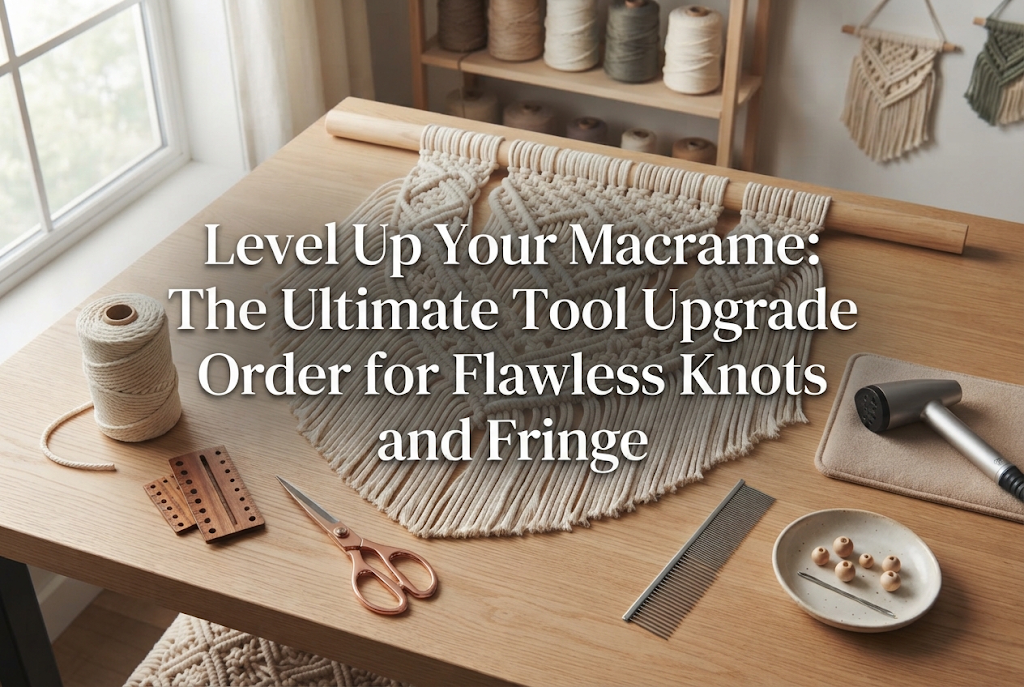
In this guide, I will walk you through the precise, golden order for upgrading your macrame tools once you've mastered the basics. Based on my own hands-on experience, I'll share the exact selection criteria to show you just how dramatically the right tools can transform your finished pieces!
Before jumping into the upgrade order, let’s look at why keeping your beginner kit tools puts a ceiling on your quality. Understanding the core mechanics of macrame makes tool selection much clearer.
The overall beauty of a macrame piece comes down to two main elements:
When using a tiny board, flimsy pins, or dull craft scissors from a starter set, controlling these two elements becomes nearly impossible.
Knotted on a lightweight, wobbly board, your base shifts every time you pull a cord, resulting in inconsistent tension. Likewise, trimming cords with dull scissors crushes the cotton fibers instead of slicing them, leaving flattened ends that refuse to lay neatly into a lush fringe, no matter how much you brush them.
Investing in higher-quality tools isn't just about making the process easier—it is the fastest route to making your handmade work look truly professional!
When upgrading your macrame supplies, avoid buying random items without a clear plan. The smartest strategy is to invest first in the tools that directly impact your final visual quality.
Here is the exact upgrade order I recommend with complete confidence:
By following this step-by-step order, you can gradually elevate your craft to a professional level without making costly mistakes. Let's look closely at each item!
If you only upgrade one item today, make it your scissors! They are absolute priority number one because no other tool affects the visual polish of your work as dramatically.
If you're currently using starter kit scissors or basic 100-yen/dollar store stationery scissors, it's time to retire them. Have you noticed that when you try to trim several strands of thick cotton cord at once, the cut ends look crushed, slanted, or frayed?
Switching to sharp dressmaking shears or heavy-duty craft scissors allows you to slice cleanly through multiple thick cords in a single, effortless stroke without flattening the fibers.
Crisp cuts give tapestries and bag fringes perfectly straight, razor-sharp lines. This crispness is the secret element that removes the "amateur look" and imparts a premium, high-end feel.
When choosing your upgraded scissors, look for models that meet these exact conditions:
Look online or at craft suppliers for dressmaking shears or thick-material craft scissors made by reputable craft tool brands. A price range around 2,000 to 4,000 yen (roughly $15–$30 USD) will give you excellent quality that lasts.
A single pair of good shears takes your work to a completely different level. When I teach macrame, I always tell my students, "Change your scissors first!"—that is how important this step is.
Coming in second is the foundation of your work: a macrame board paired with sturdy mounting pins.
Boards included in starter kits are often too small and soft. Soft cork or thin foam yields when you insert pins and pull cords tightly, causing the pins to lean or pop out and the board itself to bend.
When your base is unstable, even if you think you are tying a firm knot, the cord tension slackens, leaving you with uneven knot sizes throughout your design.
The solution is a high-density foam macrame board measuring at least 40 cm x 40 cm (16 x 16 inches).
High-density boards provide incredible pin retention. Even when pulling thick cords with firm pressure, your pins won't budge.
Choose a board printed with a 1 cm grid surface. Having built-in measurements allows you to check symmetry and measure knot spacing accurately without picking up a ruler every few minutes.
Pair your board with stainless steel T-pins (macrame pins) rather than ordinary office pushpins. The T-shaped head holds cord loops securely and is much easier on your fingers when repositioning.
Working on a firm, stable surface keeps square knots and diagonal clove hitches tight and consistent, giving you neat, beautifully aligned rows!
Third on the list is a dedicated metal macrame comb designed for unraveling fringe.
Fluffy, perfectly brushed fringe is one of the most delightful features of macrame. Starter kits, however, often provide plastic hair combs or pet slicker brushes.
Plastic combs generate static electricity, making fibers cling together and frizzy. Meanwhile, sharp wire pet brushes can shred cotton fibers, leading to excessive fuzziness and damaged cord.
This is where a specialized metal macrame comb made of stainless steel or brass comes in!
Specialized metal combs feature smooth, rounded tooth tips that gently unravel cord twists from root to tip without damaging the fibers. Thanks to their natural weight, you can simply glide the comb down through the fringe with minimal effort for remarkably straight, beautiful results.
The best choice is a dual-density comb that features both coarse and fine teeth. Use the coarse side first to break apart tight cord twists, then switch to the fine side to align individual fibers smoothly.
This simple step drastically increases the sheen and fluffiness of your fringe, turning coarse cord ends into a silky, professional finish.
Fourth is setting up a vertical hanging environment, which becomes indispensable when making wall hangings or plant hangers.
While small items like coasters can be knotted flat on a desk board, making a hanging piece longer than 50 cm flat on a table almost guarantees distortion. Working flat prevents you from accounting for how gravity will pull on the piece, leading to that disappointing moment when you hang it up and realize one side is noticeably longer than the other!
For larger creations, the golden rule is to work vertically from start to finish.
Many professional makers use dedicated clothing racks to hang their work. You can easily create an efficient setup using these simple items:
Using anti-sway or rubber-coated S-hooks prevents your wooden bar from shifting around as you knot.
Working vertically lets you check overall symmetry and balance constantly. Gravity works with you, making tension discrepancies obvious right away and completely preventing lopsided finished pieces!
Fifth in our upgrade order are finishing materials designed to preserve the shape of your completed work over time.
Even after combing and trimming fringe meticulously, ambient humidity, handling, or gentle breezes can cause fibers to spread out or lose their shape over time. Delicate feather motifs and wide tapestry fringes are particularly vulnerable.
Professional makers always apply finishing products to set and fix the fringe shape securely.
Here are three recommended supplies:
After combing and trimming your fringe, hold the spray about 20 cm away and apply an even mist. Once completely dry, do a final light trim with your sharp shears. This creates crisp, picture-perfect fringe lines that hold their shape even in a breeze.
Adding a touch of clear fabric glue to the back of key knots adds long-term durability, ensuring your piece stays intact through years of use. This final finishing touch is what separates beginner crafts from professional creations!
Alongside upgrading your tools, there is another key concept to keep in mind: the type of cord you choose changes the demands placed on your tools.
Most starter kits include 3-ply twisted cotton cord, where three strands are tightly twisted together. This cord type is beginner-friendly because it holds structure easily and resists unravelling while you practice.
However, as you move beyond the beginner stage, you'll likely want to work with single-strand (single-twist) cotton cord, which offers a incredibly soft, delicate, and luxurious feel.
Single-strand cord is very soft and delicate. Slicing it with dull scissors causes the ends to crush into messy clumps, and combing it with a rough plastic comb will shred the fibers.
In short, the higher the quality of your cord, the more you will appreciate ultra-sharp shears and a smooth metal comb. Once you have upgraded your toolset, try experimenting with premium single-twist organic cotton cords. The synergy between quality tools and fine materials will yield breathtaking results!
Once you have good tools, tweak your workspace slightly to boost efficiency and precision. Here are three studio setup tips I rely on in my own daily work:
Overhead room lights cast shadows from your head and hands across your knots, making subtle gaps and uneven tension hard to spot. Position a desk lamp or floor lamp to illuminate your hands and project from the front to eliminate shadows.
Even a heavy macrame board can slide around on a smooth tabletop. Placing a cheap mesh non-slip drawer liner under your board locks it firmly in place, freeing both hands to apply steady, balanced tension.
High-grade shears have delicate, finely ground edges. Leaving them flat on a messy table where they bump into metal pins or metal rings can nick the blades. Store your shears upright in a dedicated holder with the blades closed to preserve their razor-sharp edge.
Here are clear answers to common questions beginners ask when considering tool upgrades!
Q. Isn't buying all these tools at once expensive?A. You don't need to buy everything at once! Simply start with Priority #1: a great pair of scissors. Just changing your scissors will give you an instant boost in quality. After that, upgrade step-by-step—board next, then comb—according to your budget.
Q. Can I keep using budget/100-yen store tools instead?A. They are fine for initial practice, but if you want to create truly beautiful, high-quality work, it's best to graduate from them. Budget scissors and combs lack the precision and durability needed for refined work. What you invest in proper tools will pay you back directly in faster work and superior craftsmanship.
Graduating from starter kit tools and stepping up to professional-grade equipment is one of the most exciting milestones in a maker's journey!
Crisp, perfectly straight cuts from sharp shears. Uniform, flawless knots anchored on a dense board. Lush, silky fringe smoothed out with a precision metal comb.
The moment you hold the right tools in your hands, your macrame transforms from a casual pastime into captivating fiber art.
Trust your tools, upgrade step by step, and enjoy a smoother, stress-free creative process. Grab the right gear and bring your dream macrame designs to life!
If you found this guide helpful, please feel free to share it with your fellow crafting friends on social media! See you in the next article—this was Yassy from Crafters!




For example, if you are looking for articles about mizuhiki, try searching for "mizuhiki"; if you are interested in tools, try keywords like "nippers" or "pliers."
