Why Pottery Warps: A Complete Japanese Craft Guide to Perfectly Shaped Ceramics
yassy
Crafters!

Hello, everyone! It’s Yassy from Crafters! (・∀・)
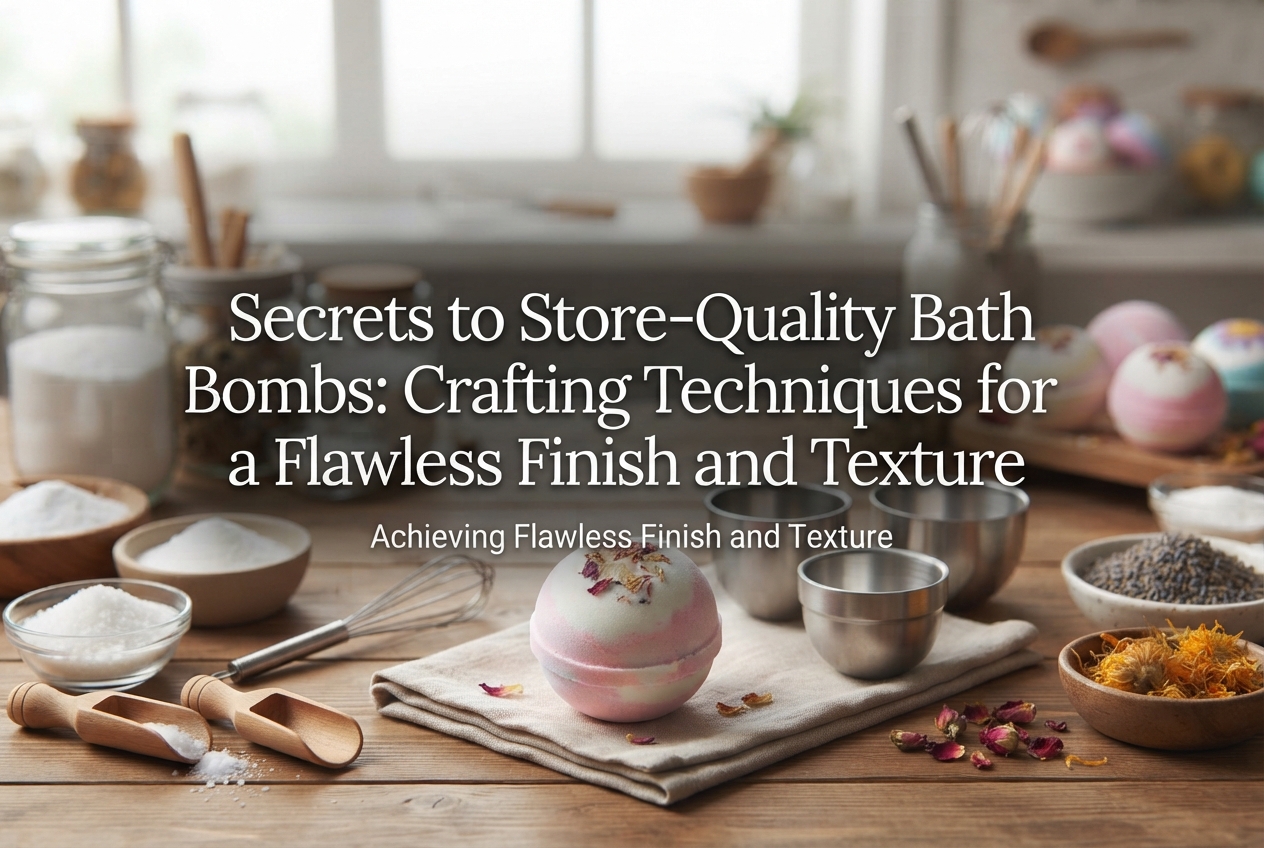
Bath bombs can instantly turn an ordinary bath into a luxurious self-care ritual. But if you’ve ever tried making them at home, have you run into frustrating problems like a gritty, powdery surface, a dull finish that doesn’t look smooth like store-bought ones, or lovely botanical toppings that end up buried and invisible?
When you pour your heart into a handmade project, you naturally want the final piece to look polished, refined, and worthy of a boutique shelf. The secret to achieving that flawless aesthetic doesn’t just come down to packing mix into a mold. It relies on a series of small, mindful techniques—from how you treat your powders and manage moisture, to demolding finesse and proper drying environments.
In this guide, I will share the definitive rules for elevating the texture and visual quality of your homemade bath bombs to professional standards. From common pitfalls that trip up beginners to the refined techniques I use in my own workshop, here is everything you need to know!
When you compare a casual DIY bath bomb with an artisan, high-end product, the most noticeable differences lie in surface smoothness, precision of shape, and overall cohesion. Bath bombs that look somewhat amateurish usually share a few distinct traits:
To achieve a professional finish, you need to eliminate each of these issues systematically. Moving beyond simply mixing and compressing ingredients, let’s adopt a crafting process centered around intentional texture and clean aesthetics.
About 80% of your success in achieving a silky-smooth bath bomb surface is determined before the mixture ever touches a mold. No matter how carefully you pack your mold, any undispersed powder lumps will emerge as unsightly craters or uneven color splotches on the finished surface.
Key dry ingredients—baking soda, citric acid, and cornstarch (or Epsom salt)—naturally form tiny, invisible clumps from humidity during storage. Kneading them with your hands alone isn't enough. Always run your dry ingredients through a fine mesh sieve or flour sifter right into your mixing bowl.
This extra step transforms your dry mix into a uniform, silk-like consistency. When adding colorants, evenly sifted powder prevents speckling and produces a deep, beautifully consistent hue that looks completely seamless.
The easiest way to compromise both the structure and look of a bath bomb is adding too much liquid or applying it unevenly. If direct droplets hit the dry powder, an immediate fizzing reaction starts, leaving behind tiny pockmarks and rough bubbles on the finished piece.
Instead of water, I strongly recommend using anhydrous ethanol (or high-proof rubbing alcohol) as your binding liquid. Ethanol evaporates far more rapidly than water, minimizing unwanted fizzing while still activating just enough cohesion to bind the particles together firmly.
When applying it, never spray directly in one concentrated spot. Continuously fluff and toss the powder with one hand while misting from a distance with an ultra-fine spray bottle, letting the mist settle gently over the mixture. Aim for the texture of damp beach sand that holds its shape cleanly when squeezed—that is your golden rule for crisp molding.
Once your mixture reaches the ideal damp-sand consistency, it’s time to fill the molds. Simply forcing the mix in with brute strength will not yield a clean finish; this step calls for a delicate touch and steady technique.
When working with two-piece round molds (plastic or stainless steel), fill both halves. Avoid packing the mixture too tightly with your thumbs. At the very bottom of the mold (which becomes the top and bottom poles of your sphere), pack smoothly and gently. Then, generously heap extra loose mixture onto both halves so they are overflowing into fluffy mounds.
Bring the two halves together by cupping them in your palms and pressing firmly in a straight, direct line. Never twist or rotate the mold halves while joining them; twisting creates internal shearing that leads to cracks. Press straight together in one clean, decisive motion.
If you are using silicone molds with delicate relief designs—such as floral motifs or animal shapes—you must prevent air pockets from getting trapped in the crevices. Start by pressing a small pinch of mixture firmly into the fine details using your fingertips to ensure the pattern is fully captured.
Once the details are filled, add the remaining mixture and level off the back smoothly using the back of a spoon or a stiff card. This ensures crisp edges and stunning 3D definition when unmolded, without broken corners.
When you release a sphere from a two-part mold, an equator seam or a thin raised ridge (burr) almost always appears around the center. Leaving this line intact immediately gives away a rough, homemade look.
Freshly unmolded bath bombs still hold slight moisture, making them pliable enough for minor adjustments. Take advantage of this window to tidy up the seam. Gently buff the raised line with the pad of your finger in tiny circular motions; you will see it blend seamlessly into the surrounding surface.
If a slight groove remains, take a tiny pinch of leftover damp mixture, press it into the crevice, and smooth it over. For an ultra-refined, porcelain-like sheen, gently glide the curved back of a clean teaspoon along the surface as if polishing it. It produces a remarkably smooth texture that looks machine-finished.
Decorative touches give bath bombs personality, and a few styling considerations can elevate them into designer-grade creations.
If you want to embellish your bath bomb with rose petals, chamomile, or lavender buds, trying to press them on after molding usually results in them shedding off. Instead, place a small pinch of dried herbs directly into the base of the mold before adding your powder mixture, then pack the mix over them gently.
The key to an elegant look is moderation. Overpacking botanicals weakens the bond between the powder particles, which can cause your bath bomb to split right along the herb layer. A single delicate flower head in the center or a subtle crescent accent maintains structural integrity while highlighting clean negative space.
For a radiant, gem-like glow, mineral-derived mica powder is exceptionally effective. While you can blend it directly into the base mix, try dusting a light coat over the finished bath bomb using a soft makeup brush right after unmolding.
This imparts a delicate, pearlescent sheen across the surface, giving the piece an instant touch of luxury. Brushing a hint of gold mica along the seam of a color gradient also creates an eye-catching, professional accent.
Even after crafting a flawless sphere, it is heartbreaking to find that the bottom has flattened under its own weight during drying, or that an unsightly wire rack pattern has stamped into the surface. Protecting the shape while it cures is essential.
Placing a freshly formed, soft bath bomb directly onto a hard tray will cause the resting point to cave in. On the other hand, placing it on a cooling rack leaves distinct grid marks.
My favorite solution is filling a shallow tray with dry, uncooked rice, laying a sheet of parchment paper over it, and resting the bath bombs on top. The rice grains shift to cradle the curve of the sphere perfectly, completely eliminating flat spots.
Alternatively, you can use high-density soft foam sponges (such as plush makeup or car-washing sponges) with a slight depression pressed into the center. Both methods are accessible and highly effective.
If the ambient humidity is too high during drying, the baking soda will absorb moisture from the air and swell, resulting in noticeable cracks across the surface. Conversely, placing them directly under an air conditioner's blast causes the exterior shell to shrink faster than the core, also leading to fractures.
The ideal curing condition is a well-ventilated, shaded spot with relative humidity below 50%. On rainy days or during humid seasons, run a dehumidifier in the room. Let your bath bombs cure undisturbed for 24 to 48 hours until they are solid to the core.
Once your bath bombs are completely dry, leaving them exposed to ambient air will gradually draw moisture back in, causing the surface to dull and degrade. To preserve their pristine look, wrap them promptly.
For a true retail presentation, heat-shrink film is unmatched. Place the bath bomb inside a shrink wrap bag, seal the open edge with an impulse heat sealer, and gently apply heat with an embossing tool or hair dryer.
The film contracts snugly around the contours, preventing surface friction and dust shedding while acting as an airtight barrier against moisture. The crystal-clear finish beautifully showcases delicate colors and botanical details inside.
If you prefer boxing your bath bombs with ribbons for gifting, enclose an individually wrapped bath bomb together with a small silica gel packet inside an ultra-clear OPP bag or a pillow box.
The golden rule for keeping bath bombs pristine is absolute moisture protection. No matter how gorgeous your finish is, humidity will undo your hard work if allowed in. Maintain an anti-moisture mindset from mixing all the way to final packaging.
Here are answers to a few frequent cosmetic troubles that crafters encounter, along with practical fixes:
Q: Parts of the surface crumble or stick to the mold during release. Why?A: This usually stems from two issues: either the mixture was slightly too wet, causing it to cling to the mold walls, or it was left inside the mold too long. Try cutting back slightly on moisture, and demold within 1 to 2 minutes by gently tapping the mold with the back of a spoon to break the vacuum before sliding it off.
Q: Tiny white crystals or spots appear on the surface after a few days. What happened?A: This indicates that the dry powders were not fully sifted and blended, or that ambient humidity triggered micro-fizzing reactions. Thoroughly sifting dry ingredients and using anhydrous ethanol instead of water will dramatically resolve this issue.
Let’s recap the essential keys to crafting flawless bath bombs:
Bath bomb making is a wonderful craft that combines the precision of science with the joy of visual design. By adding just a little extra care to each step of the process, your finished pieces will reach an entirely new level of beauty.
Give these techniques a try, and enjoy creating smooth, stunning bath bombs that look just like artisan treasures!
If you enjoyed this guide, feel free to share it with your fellow crafters. See you in the next article—this was Yassy from Crafters!


For example, if you are looking for articles about mizuhiki, try searching for "mizuhiki"; if you are interested in tools, try keywords like "nippers" or "pliers."
