How to Use an Airbrush for Professional-Level Handmade Crafts: Types, Techniques, and Buyer’s Guide
yassy
Crafters!

Hello, this is Yassy from Crafters! (・∀・)
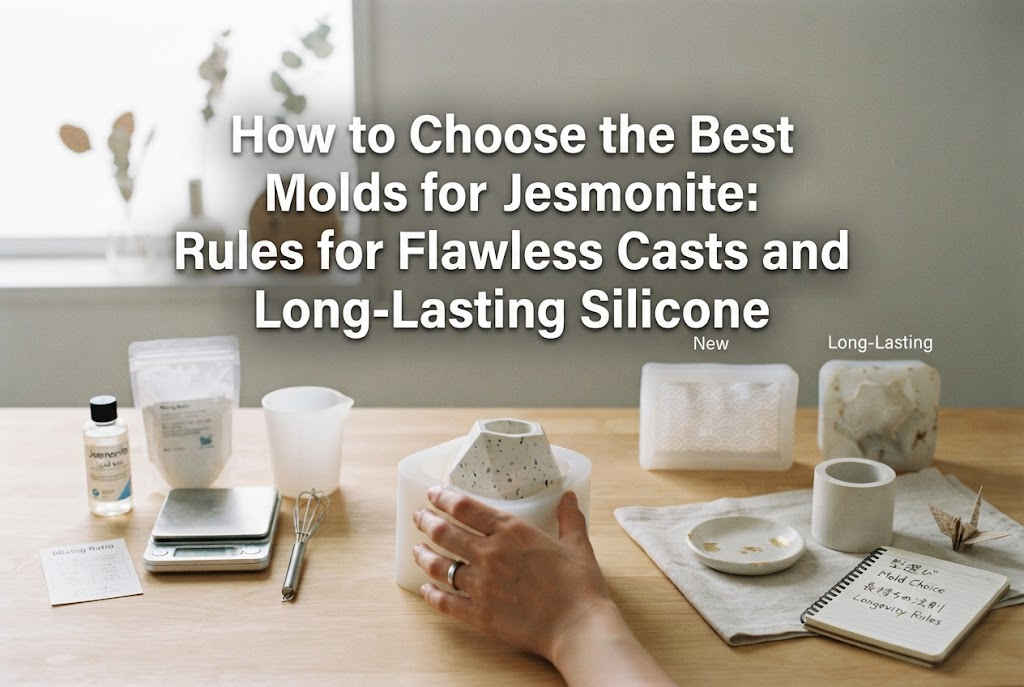
As someone who loves crafting and handmade arts, I have recently fallen completely head over heels for Jesmonite, the eco-friendly water-based resin!
With its satisfying substantial weight, smooth-to-the-touch finish, and environmentally friendly nature, it truly is a dream material. I not only love casting with it myself, but I also enjoy admiring and collecting gorgeous pieces made by other artists.
However, when beginners dive into Jesmonite casting, the most common challenge they run into is choosing the wrong mold.
"I used a regular silicone mold meant for resin, and the sides bowed out completely.""My cured piece was stuck tight, and when I pulled hard, the silicone tore apart.""The bottom of my cured piece puffed out, so it wobbles whenever I set it down."
All of these common issues happen for one reason: using a mold that does not suit the physical properties of Jesmonite.
Jesmonite has entirely different physical characteristics compared to standard resin. If you pick your molds assuming they behave the same way, casting mistakes are practically guaranteed.
In this guide, I will break down the essential rules of mold selection to help you achieve flawless, distortion-free results every time. I'll skip the confusing technical jargon and explain everything from a practical crafter's perspective, so you can build the confidence to choose the right mold for every project!
Let's start with the core takeaway: using the ultra-thin, very soft silicone molds widely sold for craft resin is a recipe for trouble with Jesmonite.
This is because Jesmonite and resin differ fundamentally in two major ways: liquid density (weight) and their curing mechanisms.
Standard resins (like UV resin or epoxy resin) are relatively lightweight liquids that do not exert heavy outward hydrostatic pressure against mold walls. Jesmonite, by contrast, is created by blending a base liquid with a high ratio of dense mineral powder. Even in its liquid pourable state, it is heavy and dense.
What happens when you pour this heavy mixture into a soft, thin-walled silicone mold? The sheer weight of the liquid forces the sidewalls outward, creating a noticeable bulge in the middle of your piece.
Furthermore, when casting flat items like coasters, the center of a flimsy mold base sags under the weight. Once fully cured, the bottom becomes uneven, causing your coaster to wobble on the table.
Additionally, as Jesmonite cures, it generates a slight amount of exothermic heat as internal crystallization takes place. During this process, an overly thin silicone mold suffers from both the heat and the physical weight, leading to warping and drastically shortening the lifespan of the mold itself.
I can say with certainty that the very first step to elevating your Jesmonite work is choosing a mold with enough structural strength to withstand its weight.
So, what should you look for when picking a silicone mold? There are three crucial checkpoints: hardness, wall thickness, and surface texture. Get these three right, and your failure rate will drop dramatically.
Silicone firmness is measured on the Shore A hardness scale. For Jesmonite casting, silicone with a Shore hardness around A20 to A30 is ideal.
If the silicone is too soft (Shore A10 or below), the weight of the mixture will distort the mold walls, as explained earlier. Conversely, if you choose silicone that is too rigid (Shore A40 or above), demolding your cured piece becomes an exhausting battle.
Once Jesmonite cures, it becomes rock-hard with zero flex. Without a mold that offers the right balance of elasticity and flexibility, releasing your piece without causing damage becomes nearly impossible.
When purchasing dedicated Jesmonite molds or custom handmade silicone molds online, always check the Shore hardness. You want a mold with solid elasticity—firm enough that pressing firmly with your thumb doesn't easily collapse the wall.
The overall thickness of the mold is your most important defense against distortion.
Aim for side and base thicknesses of at least 3 mm. For taller pieces or projects exceeding 10 cm in width or height, choose molds with a thickness of 5 mm or more.
The base thickness is especially critical. Molds with paper-thin bases will flex the moment you pick them up. If the bottom flexes when you move your freshly poured mold across your workbench, you risk cracking the setting Jesmonite or ending up with an unlevel surface.
If you have a favorite thin-walled mold design that you simply must use, build a supportive outer shell (cradle) around it using wooden blocks, clay, or stiff cardboard. This external bracing will prevent the sidewalls from bowing out under the weight of the pour.
In resin crafting, mirror-gloss molds are prized because they impart a crystal-clear, shiny finish. For Jesmonite, however, molds with a matte (satin) finish are the far better choice.
When you pour Jesmonite into a high-gloss silicone mold, the two surfaces come into microscopic contact, creating an intense vacuum-like seal.
When this happens, the piece sticks stubbornly during demolding. Trying to pull it out by force can tear away the delicate silicone surface—a heartbreaking accident known as silicone tear.
Molds with a matte surface have microscopic texture that allows tiny pathways for air, facilitating smooth, clean releases with far less effort. If you desire a glossy sheen on your finished Jesmonite piece, the professional rule of thumb is to polish the cured item with wet/dry sandpaper and seal it with a topcoat, rather than relying on the mold surface.
Jesmonite is versatile and can be cast into materials other than silicone. Plastics, acrylic, wood, and even paper cartons can serve as functional molds. However, unless you understand each material's properties and prep them properly, your casting will end up stuck forever.
Here is an overview of alternative mold materials and the required release methods.
Containers made from polypropylene (PP) or polyethylene (PE) make fantastic alternative molds because Jesmonite does not naturally adhere to them. Common kitchen food storage containers or small portion cups from 100-yen shops and discount stores fall into this category.
Because rigid plastic molds do not flex, they completely eliminate the problem of bulging sidewalls.
However, since they lack flexibility, they must have draft angles (a tapered shape where the opening is wider than the base) to allow release. Always pick containers that taper outward, and apply an even coat of silicone spray or wax-based mold release before pouring.
Fabricated acrylic sheets or smooth glass vessels produce impeccably crisp lines and dead-flat surfaces. When you want to craft sleek, architectural-style decor trays, nothing rivals an acrylic form.
However, Jesmonite bonds strongly to both acrylic and glass. Pouring without a release agent will result in a 100% chance of breakage.
When working with an acrylic mold, seal all corner joints thoroughly, apply a solid paste wax release agent, and buff it out with a dry cloth. Repeat this waxing-and-buffing routine at least three times. Skipping this preparation will destroy both the mold and your cast.
3D-printed molds have grown tremendously popular in the handmade community because they let you fabricate custom geometries at will. However, pouring Jesmonite directly into a raw 3D print will end in disaster.
Jesmonite easily seeps into the microscopic layer lines characteristic of 3D printing, creating a mechanical anchor that locks the cast firmly in place.
Prepping a 3D-printed mold requires careful surface treatment. Sand down the stepping ridges and seal the surface completely with epoxy resin coating or sandable spray primer. Once the print is coated smooth and slick, apply your mold release—only then is it ready for casting.
Paper milk cartons are surprisingly handy for test batches or simple geometric blocks. Because the interior of a milk carton is lined with a thin polyethylene film, Jesmonite does not adhere to the flat walls easily.
However, moisture from the Jesmonite mixture will soak into raw paper edges, cut seams, and folded corners. As the paper absorbs water, it swells and creates wavy irregularities on the cast surface.
When using carton molds, tape any cut edges with waterproof tape and apply a light wipe of wax release inside. You will be amazed at how easily clean, crisp blocks pop out.
Here are five representative mold mistakes that beginners frequently encounter. Recognizing these patterns beforehand will save you both money and ruined supplies!
This is by far the most frequent issue. Pouring Jesmonite into a shallow, thin resin coaster mold causes the center of the base to bow downward under the weight, resulting in an uneven base that rocks back and forth on flat surfaces.
Solution: For wide, flat projects like coasters, select a heavy-duty mold with a base thickness of at least 4 mm. If you only have a thinner mold, place it on a sheet of glass or a thick, flat acrylic board before pouring to ensure rigid, level support throughout the cure.
Shapes that flare outward at the base with a narrow opening at the top—such as bulbous vases or gourd shapes—feature what is known in molding as an "undercut."
Because Jesmonite cures into a rigid solid, a narrow mold opening traps the cast inside. Forcing it out will snap the narrower neck instantly.
Solution: When casting 3D pieces with undercuts, avoid single-piece cavity molds. Instead, use split molds that have a vertical slit or a two-part mold system. Secure the seam tightly with heavy-duty rubber bands during pouring; after curing, release the bands and peel the mold sides apart for an effortless, break-free release.
When making pen holders or tall vessels in slender molds, pouring the mixture in all at once traps air pockets in the bottom corners with nowhere to escape. Demolding reveals a bottom riddled with unsightly voids.
Solution: Choose molds with wider openings where a brush or spatula can reach the bottom corners. Rather than filling the mold in a single continuous pour, pour roughly one-third of the mix, tap and vibrate the mold firmly to force trapped bubbles to the surface, and then pour the remaining batch.
As mentioned earlier, pouring Jesmonite into high-gloss molds meant for resin can form a tenacious bond, ripping chunks out of the silicone mold when demolding.
Solution: If you must use a glossy mold, lightly mist the cavity with a Jesmonite-compatible release agent or pure silicone spray before pouring, gently dabbing away any excess pool with a tissue. This simple barrier improves lubricity and safeguards your mold against tearing.
Budget two-part molds for 3D objects often have shallow alignment notches (registration keys). Under the hydraulic weight of Jesmonite, the halves part slightly, leaking liquid and leaving thick, unsightly flash along the parting line.
Solution: Invest in two-part molds that feature pronounced, interlocking registration keys. When assembling, do not be gentle—wrap them tightly with several wide, heavy rubber bands or clamping tape until the seams are pressed firmly shut without gaps.
Here is a practical breakdown to help you match the right mold type to your specific project ambitions.
Coasters and oval catch-all trays are classic Jesmonite favorites.
These pieces feature taller profiles and hollow centers formed by an inner core.
These are intricate, fully dimensional decor objects meant to look stunning from every angle.
Tiny wearable pieces and components with intricate surface details.
Once you've built up a collection of favorite molds, you naturally want them to last as long as possible. While silicone molds are consumables, proper care and mindful storage can easily triple their working life.
Jesmonite is mildly alkaline. If residual mineral powder and dampness remain inside the mold cavity for extended periods, they draw out the silicone's natural plasticizers, accelerating brittleness.
As soon as you demold your project, wash the mold gently with warm water and mild dish soap using a soft sponge or your fingers. Avoid scrubbing with rough pads or digging in with fingernails, as microscopic scratches will compromise your mold release on future casts.
Trapped moisture inside stored molds invites mold growth and gradually breaks down silicone stability.
After patting off excess moisture with a soft towel, let the molds air-dry thoroughly in a well-ventilated, shaded spot. Never use hot air from a hair dryer held close to the mold, as direct heat can warp the silicone.
There are two non-negotiable rules for storing silicone molds.
First, never stack heavy items on top of your molds. Continuous pressure over time causes permanent structural deformation that silicone cannot bounce back from. Always store them laying flat on shelves or inside shallow trays.
Second, silicone degrades quickly under UV rays. Storing molds on a sunlit windowsill will cause yellowing, loss of elasticity, and premature cracking. Keep your collection inside opaque storage boxes or shaded drawers away from direct sunlight to maximize their durability.
Choosing the right mold is the secret foundation of clean, professional-looking Jesmonite work. Let's do a quick recap of the vital rules we covered:
When paired with the right knowledge and tools, Jesmonite allows crafters of all experience levels to make pieces with boutique-level finishes. Keep these guidelines in mind, and you won't have to worry about warped edges or damaged molds again.
Find yourself some well-made molds, and enjoy bringing your unique Jesmonite creations to life!
I'm rooting for your creative journey! If you found this guide helpful, please feel free to share it with your fellow crafter friends on social media. See you in the next post—this was Yassy from Crafters!





For example, if you are looking for articles about mizuhiki, try searching for "mizuhiki"; if you are interested in tools, try keywords like "nippers" or "pliers."
