Beginner’s Guide to Macrame: Zero-Fail Tips & Starter Kit Essentials
yassy
Crafters!

Hello, everyone! It’s Yassy from Crafters! (・∀・)
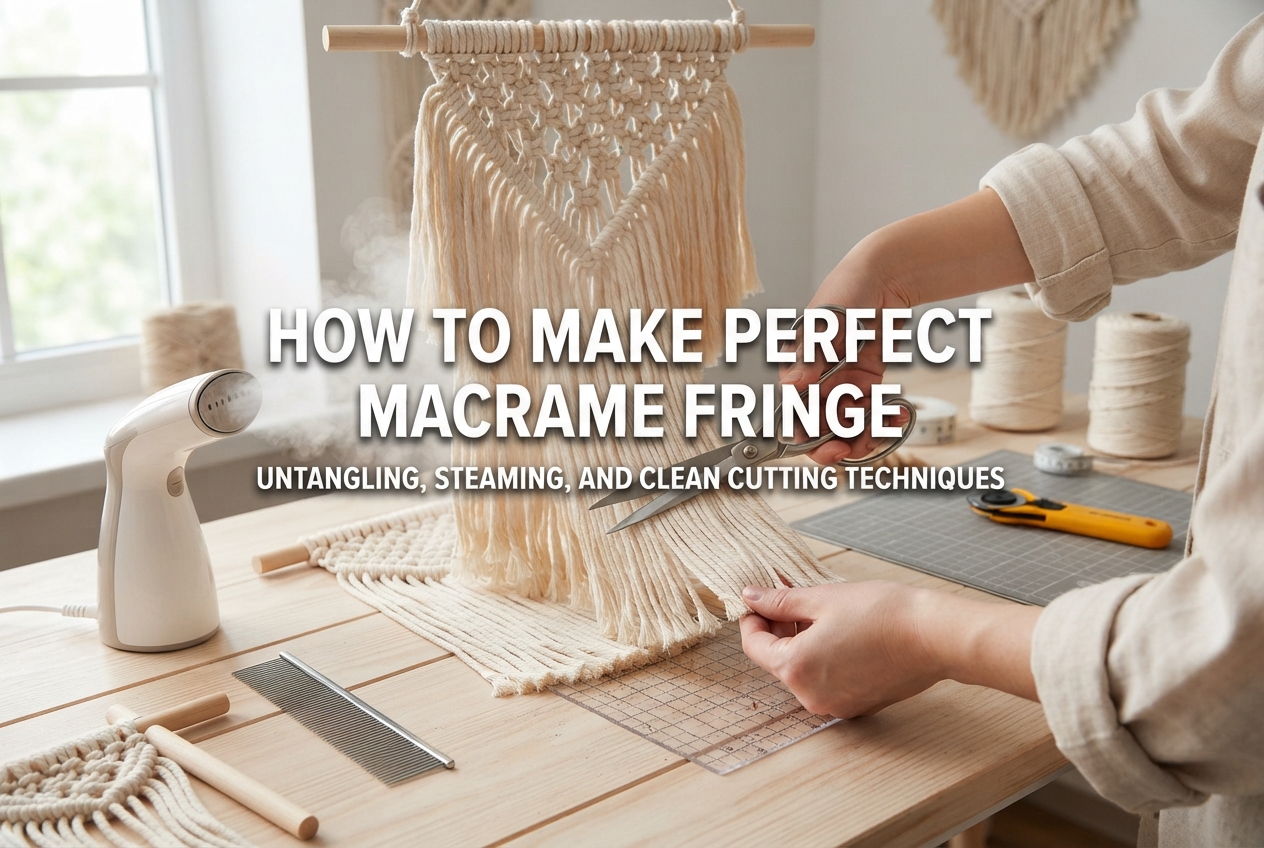
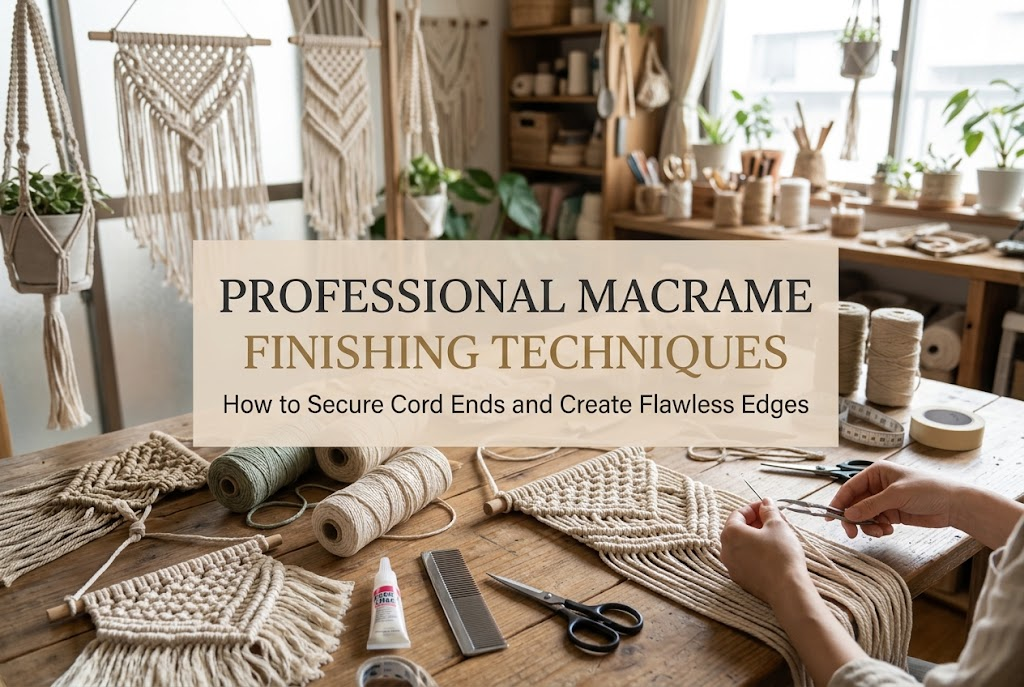
When it comes to giving macrame projects that soft, charming character, the fluffy fringe is an essential finishing touch. Whether you are making coasters, wall tapestries, keychains, or bag charms, fringe is almost impossible to skip. However, I often hear common frustrations from crafters: “Whenever I cut the fringe, the line turns out crooked,” “The unraveled fibers look messy and tangled,” or “Over time, the fringe gets wavy and unruly while hanging on the wall.”
No matter how neat and even your knots are, an uneven fringe can make the entire piece look unfinished. On the other hand, when the fringe is trimmed straight and combed out silky-smooth, your handmade piece instantly achieves a high-end, professional look worthy of a boutique display.
In this guide, I will walk you through practical, step-by-step techniques to create beautiful macrame fringe every time. From selecting the right tools and untangling cord correctly to eliminating wavy crimps, trimming clean lines, and setting the shape for long-lasting beauty, here is everything you need to know!
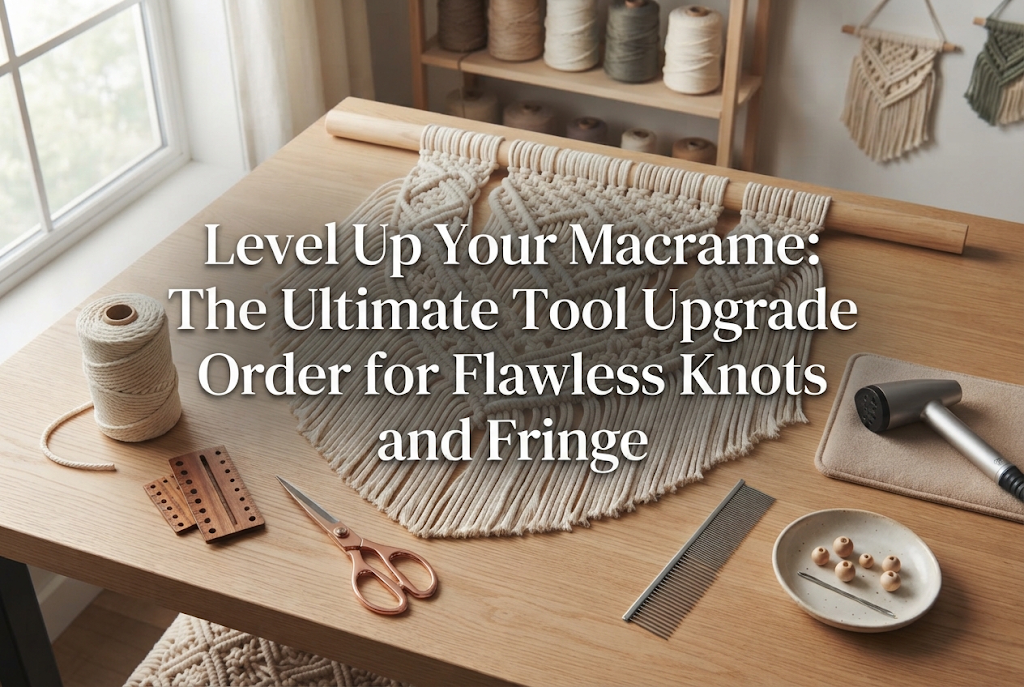
Getting a clean finish starts with using the right tools. A few thoughtful adjustments to your crafting kit will dramatically improve both your workflow and the final result. Here are the tools I personally use and recommend.
The most common reason for uneven fringe cuts is using dull scissors that push the threads away instead of cutting them cleanly. Blunt blades lead to slanted lines and frayed, fuzzy edges.
You will need a brush to untangle twisted cord into fine, individual fibers.
Trimming freehand often leads to crooked lines. Applying masking tape across the cord serves as a firm visual guide and holds the fibers in place, completely preventing jagged edges.
Placing your work on a grid cutting mat also allows you to align perpendicular and parallel cutting lines accurately against the body of your piece.
Right after unraveling the cord, strong twists, kinks, and wave patterns remain in the fibers. Applying heat and moisture from steam relaxes the tension in the cord, smoothing the fringe out straight and uniform.
These help your finished fringe maintain its crisp shape over time. Extra-hold hair spray, fabric stiffener, or wood glue diluted with water all work wonderfully.
Once your tools are ready, it is time to unravel the cord. Combing haphazardly can snap the threads or pull out the final rows of your knots, so following the correct sequence is critical.
The ease of making fringe depends heavily on the structure of your macrame cord:
The golden rule of combing fringe: Never comb straight down from the base of the knots.
Placing your comb at the top puts excessive tension on snagged fibers, which can warp the knots or yank cords completely out of the woven piece.
Correct Combing Sequence:
Holding the base firmly and working upward from the tips will completely prevent thread breakage and maintain the structural integrity of your knots.
Even after thoroughly brushing out the cord, freshly unraveled fringe tends to retain wavy, crimped bends. If you trim your fringe while these waves are present, the cut line will turn uneven later once humidity relaxes the fibers. Always straighten out any bends before cutting.
Steam heat relaxes stubborn kinks almost instantly:
Handling or moving the fringe while it is still warm and damp can introduce new kinks. Be sure to apply plenty of steam, then let it cool and dry completely untouched.
Trimming is often the most nerve-wracking step. Relying on visual estimation or cutting freehand almost always results in accidental over-trimming or tilted lines. Using physical guides guarantees a straight result.
This is the most reliable technique, especially for beginners:
For wide tapestries or thick fringe layers, a rotary cutter provides unmatched efficiency and precision:
Because this cuts through the bundle of fibers at once, the cut ends remain crisp and uncrushed, just like a professionally manufactured item.
When cutting decorative shapes instead of straight lines, guides are equally helpful:
A fringe that looks pristine immediately after cutting can still curl or spread apart over time due to humidity and handling. Here is how to keep it looking crisp for the long haul.
This is the quickest and most effective method:
This lightly bonds individual fibers together, keeping them intact even if exposed to gentle drafts or light contact.
For items that are handled frequently, such as coasters or keychains, reinforcing the back provides excellent durability.
Dilute standard wood glue or fabric glue with an equal amount of water (roughly a 1:1 or 1:2 ratio), dip a flat brush into the mixture, and paint a thin layer strictly onto the back side of the fringe. Once dry, the glue becomes transparent, adding solid support without altering the front appearance. Brushing a small amount along the knot line also prevents the fringe from loosening.
Here are three frequent stumbling blocks and practical solutions to prevent them:
It is very common to keep trimming tiny uneven spots until the fringe ends up several centimeters shorter than intended.
Solution: Do not aim for the final length on your first cut. Make an initial rough cut leaving an extra 1.5 to 2 cm of length. Steam, comb, and let it dry, then perform the final trim. Adopting this two-stage trimming approach prevents irreversible length accidents.
Brushing aggressively can pull out the final rows of your woven knots.
Solution: Before combing, apply a tiny dab of quick-drying craft glue to the cord ends or knot backs on the reverse side of the project. Let it dry completely before beginning to comb. The reinforced knots will hold firm even under tension.
Threads slip between the blades, leaving jagged, uneven tufts.
Solution: This happens when cutting too thick a bundle of cord with dull scissors. Spread the fringe out thin and flat, sandwich it securely between masking tape, or switch to a rotary cutter and acrylic ruler.
When designing my own macrame pieces, I always consider the visual proportion between the woven section and the fringe length.
As a general guideline, a piece looks most balanced and stylish when the fringe accounts for approximately one-third to one-half of the total vertical length.
For example, if the knotted pattern of a wall hanging measures 20 cm in height, setting the fringe length between 10 cm and 15 cm creates an elegant balance between visual weight and airy lightness.
On the other hand, for circular items like coasters, leaving a generous fringe roughly equal in length to the woven center emphasizes a fluffy, bohemian texture. Adjust your fringe proportions intentionally to match the mood of the piece you want to create!
From tool selection and untangling to steaming, precision trimming, and final shape retention, creating clean macrame fringe comes down to a few deliberate steps.
Let’s recap the key points:
Trimming fringe into a flawless straight line might seem intimidating at first, but taking a moment to use masking tape guides and steam will transform your results. A crisp, well-groomed fringe gives your macrame creations an undeniable sense of quality that you can feel proud of.
Give these techniques a try on your next project and enjoy creating silky-smooth, boutique-quality fringe!
If you found this guide helpful, sharing it with your fellow crafters on social media would mean the world to me!
See you in the next article! This was Yassy from Crafters!





For example, if you are looking for articles about mizuhiki, try searching for "mizuhiki"; if you are interested in tools, try keywords like "nippers" or "pliers."
