A Guide to 5 Essential Craft Needles: Differences and How to Choose for Sewing, Embroidery, Leather, and Knitting
yassy
Crafters!

Hello, everyone! It’s Yassy from Crafters! (・∀・)
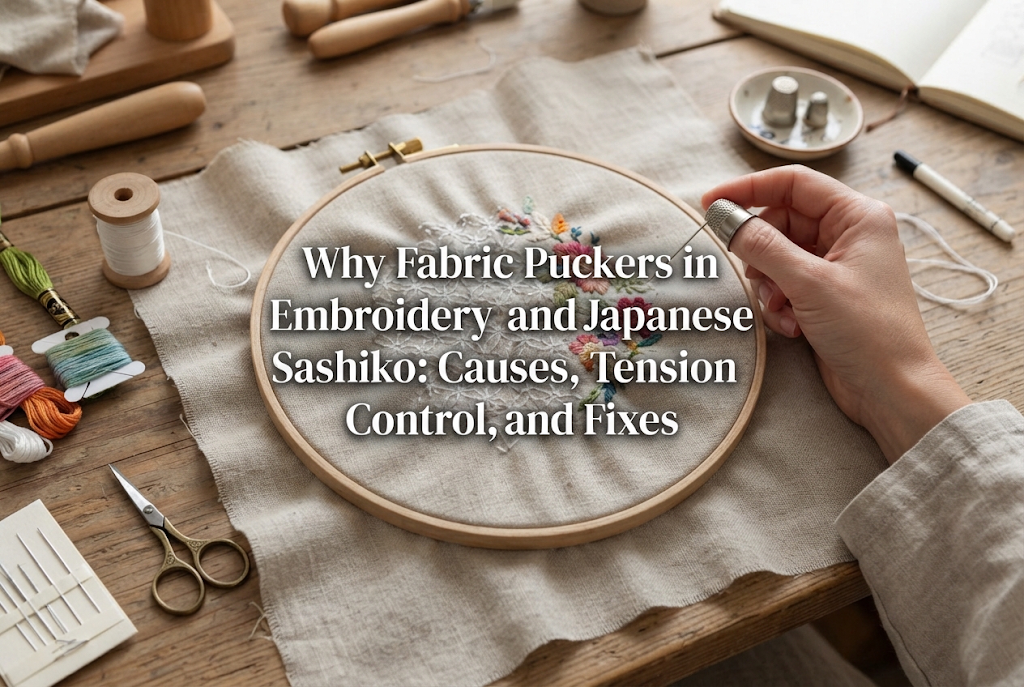
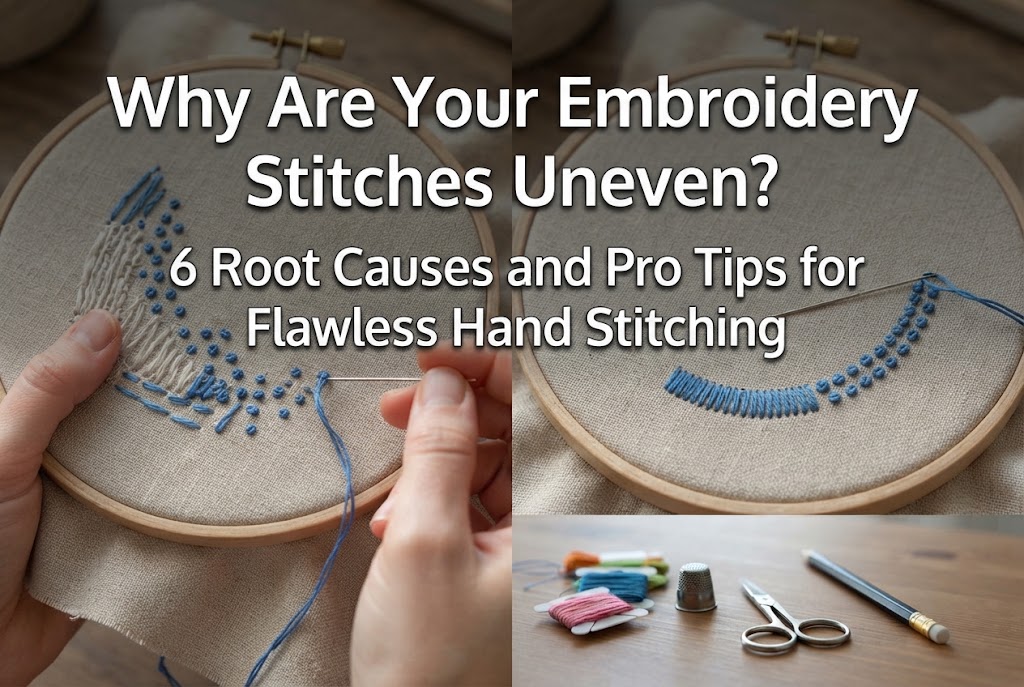
Have you ever spent hours stitching an embroidery piece, Japanese sashiko project, or cross stitch pattern, only to find that the fabric wrinkled and puckered? It is truly heartbreaking when you take your work out of the hoop or finish the final stitch, only to discover that the fabric around your design is warping in waves after all your careful effort.
In fact, fabric puckering is one of the most common hurdles beginners encounter in needlework. Maintaining a flat, even surface on your fabric has an even greater impact on the finished look than keeping individual stitches perfectly uniform. No matter how lovely each stitch looks, if the underlying fabric gathers and pulls, the finished piece will not turn out the way you envisioned.
In this guide, I will explore the fundamental causes of fabric puckering across embroidery, sashiko, and cross stitch. We will look at how to control thread tension for smooth results, how to prep your materials beforehand, and how to rescue your work if puckering does occur!
Fabric puckering does not happen by accident; there is always a clear reason behind it. Pinpointing where the issue occurs in your workflow is the first step toward fixing it. Here are the three primary culprits.
The most common cause is simply using too much force when pulling the needle and thread through. In an effort to keep stitches neat and secure, many stitchers unconsciously yank the thread far too tight.
Embroidery floss and sashiko thread cinch the weave of the fabric tighter the harder you pull. While a single tight stitch might not seem like much, repeating that tension across dozens or hundreds of stitches compounds into significant distortion, pulling the whole fabric in toward the center. It helps to think of the thread as resting gently on top of the fabric rather than pulling tightly to lock it down.
The second cause is mounting the fabric too loosely in your embroidery hoop, or using a hoop that cannot hold tension firmly. An embroidery hoop does not merely hold the fabric in place—it acts as a counterbalance against the pulling force of your stitching to keep the fabric plane stable.
If the fabric is not stretched taut like a drumhead, it will flex every time you push the needle through and draw the thread. Tightening a stitch on flexed fabric means that the moment you release the hoop, the fabric tries to spring back, resulting in pronounced ripples. Similarly, if the hoop screw slowly loosens while you work, the same puckering will occur.
The third cause comes down to the order in which you stitch your pattern and how densely your stitches are placed. Concentrating dense stitching in one isolated area causes that specific zone to shrink locally.
For instance, when filling an area with satin stitch, working randomly from the outline inward or completing one side entirely before addressing the rest disrupts the overall balance of tension. Much like ripples spreading from a drop in water, heavy tension concentrated in one spot tugs on the surrounding fabric, throwing the entire piece out of alignment.
While surface embroidery, sashiko, and cross stitch all involve working thread into fabric, each craft uses different tools, fabric structures, and stitch types. Consequently, the approach to preventing puckering differs slightly for each medium.
Surface embroidery often relies on outline stitches, satin stitch, and long-and-short stitch to fill shapes. Among these, satin stitch is especially prone to puckering.
The trick to keeping satin stitch flat is to avoid pulling the thread straight up away from the fabric after pulling the needle through. Instead, guide the thread in the direction of your stitching line, letting it glide smoothly. Stop pulling the moment the thread rests gently against the fabric surface. Pausing just before the thread pulls tight is the secret to creating plump, dimensional satin stitches without distorting the fabric.
When covering larger areas, laying down a sparse base layer of straight stitches (padding) inside the outline beforehand provides internal support. This foundation keeps the top satin stitches from tugging directly on the base fabric.
In traditional Japanese sashiko, an embroidery hoop is generally not used. Instead, the fabric is held by hand while stitching with a distinctive technique called unshin (rhythmic running stitch). Because of this freehand handling, sashiko fabric can wrinkle easily if not managed properly.
The indispensable technique in sashiko is itokoki (thread smoothing). After loading several to a dozen stitches onto your long needle and pulling the thread through, use your thumb and forefinger to stroke firmly along the stitched line to smooth out and stretch the fabric. Pull the fabric slightly taut as you do this, ensuring there is ample slack in the thread.
When stitching sashiko patterns across an entire cloth (such as a fukin dishcloth) or when turning corners, leave a tiny loop of slack at the turning point. This extra thread margin allows the piece to remain flat even after washing, accommodating any shrinkage in the cotton.
Cross stitch typically uses evenweave fabrics with distinct grids, such as Java canvas or Aida. While these fabrics have natural body and stiffness, the crisscrossing "X" shape can easily cause stitchers to pull too hard and crush the fabric holes.
The golden rule for preventing puckering in cross stitch is to avoid distorting the open holes of the fabric. If you pull the needle and notice the grid opening shrinking or cinching shut, you are pulling too tight.
Aim for a tension where the floss simply drapes relaxed over the fabric surface. As long as every "X" shares consistent tension, the overall pattern will look balanced and clean, even if the thread feels slightly loose. Rather than checking tension on every single stitch, finding a steady, gentle stitching rhythm is the best safeguard against puckering.
Proper preparation and tool selection before you take your first stitch are just as important as watching your tension. In fact, addressing these factors beforehand can eliminate about 80% of puckering issues.
When stitching on soft or stretchy materials—such as lightweight linen, cotton sheeting, or jersey knit—the fabric will often pucker no matter how careful you are. The bare fabric simply lacks the structure to support the weight and pull of the thread.
In these cases, iron an ultra-lightweight embroidery interfacing onto the wrong side of the fabric before transferring your design or starting to stitch. This simple step adds crisp body to the fabric and dramatically curbs distortion from thread tension. It also helps finished items hold their shape, which is especially helpful when making pouches or other small sewn goods.
When working with an embroidery hoop, once the fabric is positioned, use a screwdriver to tighten the screw until it cannot turn any further. Tightening by hand alone often leads to screws slipping loose from stitching vibrations and hand pressure.
I also highly recommend wrapping the inner wooden hoop with cotton bias tape or masking tape. Wooden hoops can be slick, causing fabric to slip and lose tension over time even if clamped tightly. Wrapping the ring adds friction that grips the fabric securely, turning your hoop into a reliable, slip-free tool.
An easily overlooked detail is the relationship between your needle, thread, and fabric. Using a thick embroidery needle on delicate fabric, or using too many strands of floss at once, creates significant friction every time the needle passes through.
A needle that is too thick forces the fabric threads apart, tugging the surrounding weave and causing puckers along the stitch line. Selecting the right needle size for your fabric weight and avoiding unnecessarily heavy thread bundles will ensure smooth, flat stitching.
Here are some personal habits and recovery methods I (Yassy) use in my own projects to keep puckering at bay, as well as how to handle issues if they arise.
Whenever I stitch sashiko without a hoop or work on small freehand embroidery sections, I make a habit of gently pulling the fabric along its bias (diagonally) every few minutes.
As you work, gently stretch the fabric vertically, horizontally, and diagonally. This simple motion helps the newly laid stitches settle into the fabric weave, evenly dispersing any localized tension. Even when using a hoop, whenever you finish a section and reposition the frame, gently massaging the fabric with your hands to ease out wrinkles will make a noticeable difference in the final result.
Puckering risks do not end with the stitches themselves; starting and ending threads can also be traps. When tying off on the back or weaving the tail through existing stitches, do you pull hard on that final knot or thread pass?
Yanking aggressively at this stage can cinch the fabric from the backside, ruining all the gentle tension you maintained on the front. When fastening off, weave the tail through the back stitches without pulling tight, leaving the thread relaxed before trimming the excess.
If you were careful but still notice some rippling after taking your work off the hoop, do not give up! Minor puckering can often be smoothed out with proper pressing and blocking.
Here is my go-to pressing routine:
By moistening the fibers, cushioning from the front, and pressing firmly from the back, you reset the tension between the thread and fabric. It brings the piece back to a flat, beautifully balanced finish, so be sure to try it!
Puckering in embroidery, Japanese sashiko, and cross stitch can be reliably prevented once you understand the underlying mechanics and apply a few key habits.
Here is a quick recap of the essentials:
At first, you might wonder exactly how much tension to apply, but after working through a few projects, your hands will naturally find the right touch.
Relaxing your grip and stitching with an easy rhythm is the true secret to creating stunning work. I hope you will use these preparation and tension techniques to enjoy creating smooth, flat, and beautiful textile art!
If you found this guide helpful, please consider sharing it with your crafting friends on social media! See you in the next article—this was Yassy from Crafters!



For example, if you are looking for articles about mizuhiki, try searching for "mizuhiki"; if you are interested in tools, try keywords like "nippers" or "pliers."
