Level Up Your Macrame: The Ultimate Tool Upgrade Order for Flawless Knots and Fringe
yassy
Crafters!

Hello, fellow makers! I'm Yassy from Crafters! (・∀・)
When working on a macrame piece, the part that causes the most hesitation right at the finish line is dealing with the cord ends. No matter how evenly spaced and pristine your knots look throughout the project, uneven frayed fringe or ends that slip loose will instantly degrade the overall quality of your work.
When I first started macrame, I remember the bitter disappointment of repeatedly trimming ends that wouldn't line up, only to end up with a piece that was far shorter than intended. I also once hastily finished a handmade bracelet that unraveled completely after just a few wears.
The ultimate key to the durability and polished look of any macrame piece lies in how you treat the ends. Once you master the correct finishing techniques, you can reliably produce sturdy, boutique-quality pieces built to last.
In this guide, I'll walk you through professional techniques to make your macrame cord ends look beautiful while preventing any risk of unraveling, covering common beginner mistakes and practical secrets from my own studio work.
In macrame, the approach you take to finishing cord ends generally falls into three basic categories, depending on the design and how the item will be used. Deciding which method to employ is something to consider before you even cast on your first knot.
Knowing how to select the right approach among these three is your first step toward durable and visually stunning macrame work. Let's explore the step-by-step methods and key pointers for each.
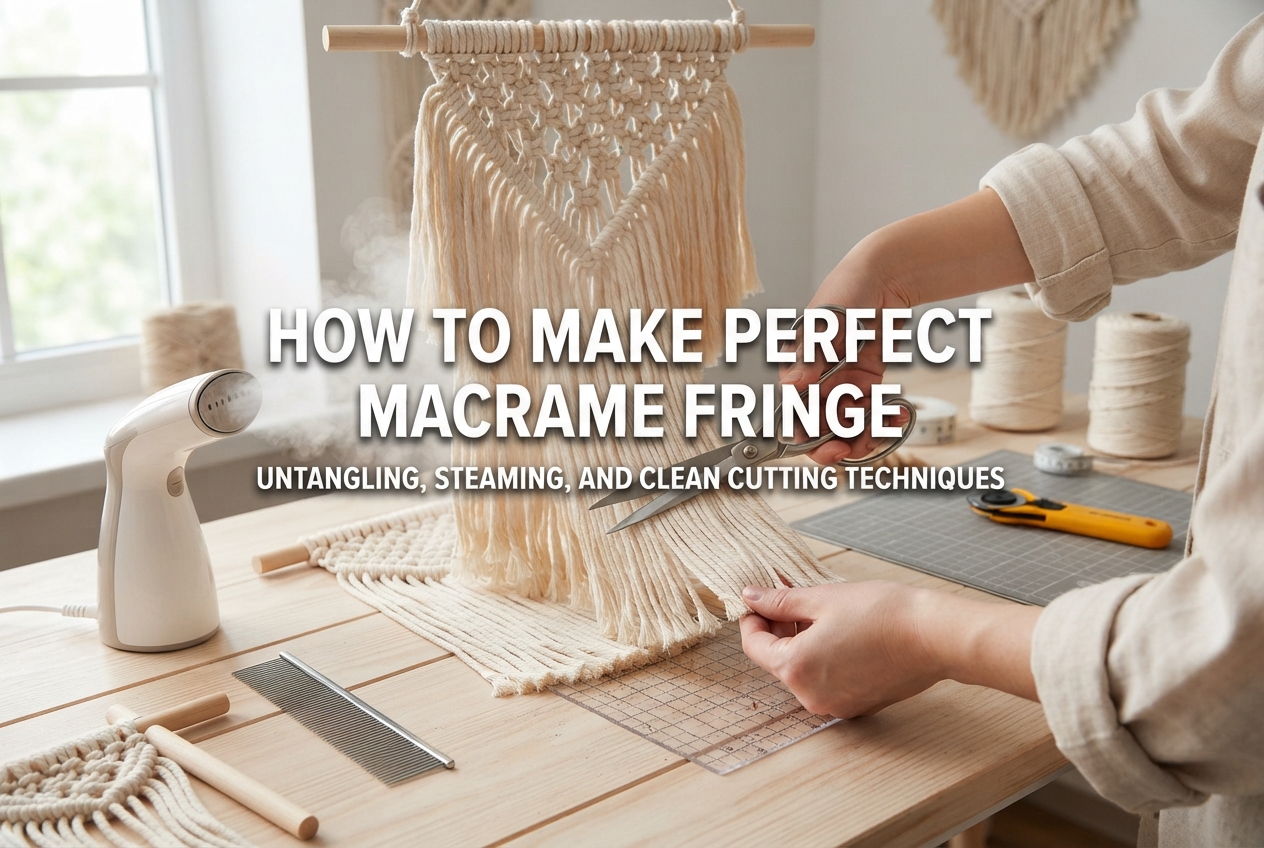
Fringe highlights the organic appeal of macrame, but simply cutting with scissors and running a comb through the fibers will not create a crisp line. Flawless fringe requires a disciplined sequence of steps.
Immediately after finishing your knots, cord lengths will vary. Never attempt to cut directly to your final target measurement right away. Always perform a preliminary rough cut—a Japanese crafting step known as aradachi—leaving the cords roughly 1.5 to 2 cm (about 0.6 to 0.8 inches) longer than your intended finished dimension. This buffer prevents irreversible cutting mistakes later on.
After your rough cut, manually untwist the plies of each cord end. Once separated by hand, use a fine-toothed comb or a pet slicker brush to comb through the fibers gradually from the tips toward the base.
Never tug aggressively from the roots in one stroke. Heavy pulling stretches the cotton fibers unevenly and distorts the tension of adjacent knots. The golden rule is to hold the base of the knot firmly with your non-dominant hand while gently teasing out the fibers from tip to root in stages.
Once the fibers are completely separated and fluffy, move on to the final trim. This is where most mistakes happen: attempting to trim fringe in mid-air while holding the piece upright almost guarantees an uneven, slanted hem.
To cut fringe as straight as a ruled line, you must secure the piece flat onto your work surface.
The most reliable technique I recommend is the masking tape guide method:
The tape stabilizes every individual strand, preventing fibers from shifting away from your scissor blades as you cut. Simply glide your scissors along the bottom edge of the tape line to achieve an impeccably straight edge.
Your choice of cutting tool is equally critical. Dull scissors will crush the fibers instead of cutting cleanly, resulting in chewed, messy tips. Use dedicated fabric shears or ultra-sharp multi-purpose craft shears, cutting through the tape and cord in deliberate, clean strokes along the blade length.
After trimming, gently peel away the masking tape to reveal a laser-sharp fringe. You can also apply this technique to pointed V-shapes or angled edges simply by laying the tape at your desired angle.
Even a precisely cut fringe can clump or frizz over time due to ambient humidity. If you want to maintain a neat silhouette over the long term, consider applying a shaping treatment.
A convenient and effective solution is a craft-grade fabric stiffener or hair setting spray. Mist the fringe lightly from a distance of about 30 cm (12 inches) and let it dry. This keeps the fibers tame without making the piece look artificial. Be careful not to over-saturate, as heavy application can leave the fringe unpleasantly stiff.
If you prefer a softer, natural feel, brush a diluted mixture of water and craft glue lightly onto the very tips of the fibers using a flat brush. Applying adhesive solely to the ends stops fraying while keeping the bulk of the fringe flexible and soft.
When working with synthetic cords such as polyester or nylon (including waxed cord and paracord), the most durable and discreet method for securing ends is heat-sealing, widely practiced in Japanese cord making under the term yakidome (焼き留め).
Yakidome involves melting the cut cord tip using controlled heat and pressing the molten bead into the surrounding knot structure to fuse it solid. Done properly, it creates a bond that will never unravel. However, improper technique will leave charred black marks that ruin your piece.
A standard lighter flame consists of an outer yellow/red flame and a cooler, cleaner blue inner flame at the base. If you touch the yellow tip of the flame to your cord, carbon soot will coat the fiber, turning it pitch black.
Always position the cord near the blue base of the flame. Do not plunge the cord directly into the flame; instead, hold it just close enough for the ambient heat of the blue flame to gently melt the synthetic fibers.
When the cord end melts into a bubbling, translucent bead, quickly press it firmly against the knot using the metal side of your lighter or a flat metal burnishing plate. Never press molten cord with bare fingers, as hot synthetic resin causes severe burns.
Compressing the molten resin forces it into the crevices of the knot, fusing everything together as it cools. For the best result, leave about 1.5 to 2 mm of cord extending from the knot before applying heat. Leaving too much cord creates an unsightly glob of melted plastic, while trimming too close leaves insufficient material to form a secure weld.
Pure 100% cotton cords will not melt; exposure to open flame simply burns and chars the fiber. Therefore, cotton ends must be secured using appropriate adhesives.
A common beginner mistake is using standard glues that dry cloudy, or applying so much adhesive that the exterior of the knot turns chalky, hard, and discolored.
For cotton cord, always choose a fabric glue that dries completely clear, or a fast-drying PVA wood glue. Technique matters just as much as glue selection:
By nesting the cord end deep into the reverse side of a knot and depositing glue strictly inside the structure, the adhesive remains completely invisible from the exterior while anchoring the strands permanently. Pinch the knot gently for about 15 seconds to bond the fibers, then leave it undisturbed until fully cured.
If you want to maintain the completely natural feel of cotton without fire or glue, burying cord ends through existing knots using natural friction is an excellent technique.
When you finish your pattern, trim the working cords with some working length remaining. Thread the tail into a blunt tapestry needle or use a fine macrame latch hook, and guide the tail through the backside loops of at least three adjacent knots (roughly 1.5 to 2 cm). Pull the cord with moderate tension so the weave stays flat without puckering, then snip the end flush against the knot base.
Gently tug the piece horizontally and vertically. The slight elastic rebound of the surrounding knots will pull the cut end inside the knot structure, hiding it from view. The friction generated by adjacent cords holds the end securely during normal handling.
For high-stress items such as bag straps or handles, combining this weave-in technique with a tiny drop of toothpick-applied glue at the insertion point provides unmatched security.
On larger pieces, you may occasionally miscalculate yardage and run out of cord mid-pattern. How you join a new cord also affects the cleanliness of your finished edges.
Never tie the short end and the new cord together in a bulky overhand or square knot. This creates an unappealing lump on the surface that ruins the rhythm of your knotwork.
The correct method is to blend the new cord directly into the ongoing structure:
This method leaves the front surface completely seamless, making it impossible to detect where the cord was replaced.
Here is a quick reference guide to help you choose the best technique for your specific project:
Here are three additional habits from my own daily studio practice that can raise your finishing quality to the next level:
In macrame, finishing cord ends is not an afterthought—it is the defining final step that brings cohesion, beauty, and longevity to your craftsmanship.
Crisp, deliberate fringe lines and tidy, concealed ends on the reverse side are the subtle hallmarks that elevate a handmade project into a professional-grade piece. Take your time, treat each cord end with care, and give your macrame the polished finish it deserves!
If you found these studio tips helpful, please share this guide with your fellow makers. Until next time, happy crafting from Yassy!


For example, if you are looking for articles about mizuhiki, try searching for "mizuhiki"; if you are interested in tools, try keywords like "nippers" or "pliers."
