Coating Resin vs. Molding Resin: The Essential Guide to Stop Sticky Residue and Uneven Surfaces
yassy
Crafters!

Hello, this is Yassy from Crafters! (・∀・)
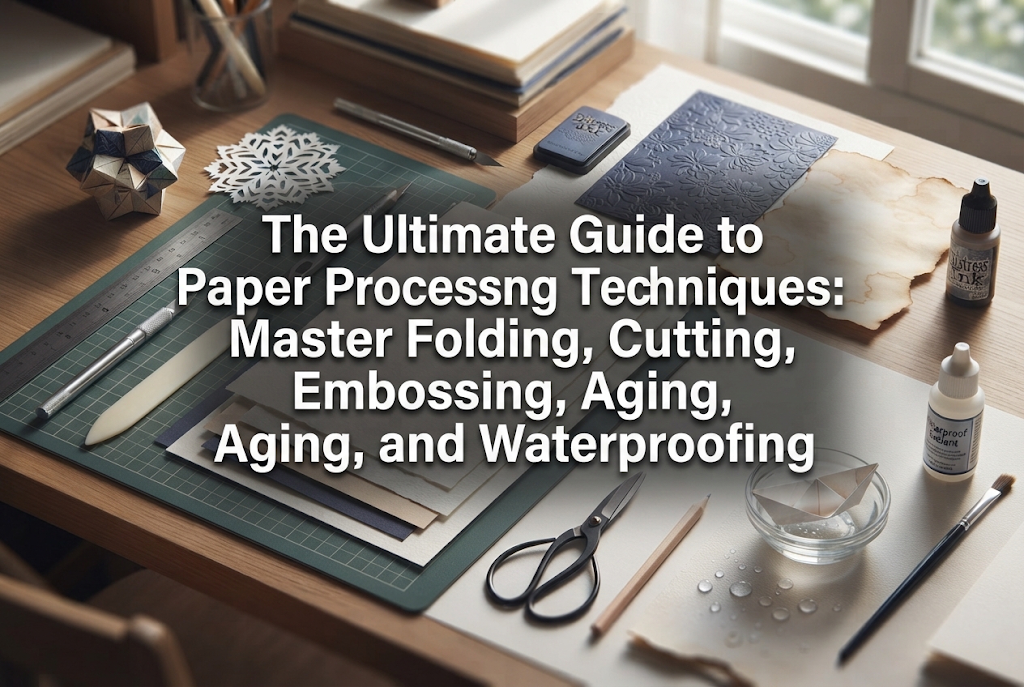
When working with paper in crafting, do you simply cut and paste? Paper is an amazingly versatile material. While raw paper has its own humble charm, applying proper processing techniques can dramatically transform it, giving it the luxurious texture of high-end boutique gifts or the deeply characterful look of vintage antiques.
I personally love the process of paper treatment itself. Seeing a flat sheet turn three-dimensional under my hands, or watching it take on a glossy finish or a rich, aged patina, never fails to thrill me no matter how many times I experience it.
However, many beginners face frustrating setbacks: paper gets wrinkly, folded edges crack awkwardly, or applying paint causes the paper to warp and curl into a tube. But there are clear, reliable rules and techniques in paper processing that guarantee success if you know them.
In this guide, I will share my full knowledge on paper processing techniques to elevate your handmade paper crafts to a professional standard. By the end of this article, you will overcome common paper crafting issues and be able to create pieces exactly as you envision.
The real appeal of paper processing lies in dramatically upgrading the appearance and durability of your work with minimal tools and cost. Whether you are making greeting cards, gift wrappings, boxes, general paper crafts, or collage materials, the extra care put into paper treatment makes all the difference in quality.
Paper processing techniques can be broadly categorized into five types:
Understanding these techniques correctly and combining them according to your project's goal is the fastest path to crafting success.
Folding paper seems simple enough at first glance. But have you ever tried folding heavy cardstock or specialty paper, only to end up with cracked, frayed, or jagged edges? This happens when force is applied without considering the internal structure of the paper. Here is the golden rule for creating crisp, beautiful folds every time.
Paper always has a direction in which its fibers flow, known as the kamime or paper grain. Just like wood has a grain, paper folds cleanly along the grain. However, folding across the grain meets strong resistance, causing the surface fibers to snap and crack untidily.
Finding the grain direction is very simple: gently bend the paper in both directions. The direction that bends smoothly without resistance is along the paper grain. The direction that feels stiff or resists bending goes across the grain.
When you need to fold across the grain, or when working with thick paper exceeding a basis weight of 100 g/m², you must perform "scoring" beforehand to get a clean fold. Never fold thick paper directly with your fingers or fingernails; oils from your fingers can cause discoloration, and uneven pressure will result in crooked lines.
When folding heavy paper or cardstock, always use dedicated tools to create a score line before bending.
Tools needed for scoring:
Step-by-step scoring procedure:
The most common mistake beginners make is folding inward toward the grooved line. The correct method is to fold so that the grooved side bulges outward. Scoring stretches the surface fibers beforehand; folding outward prevents surface cracking entirely. In my own card making and box making, I always use a scoring board and a bone folder. This simple step creates sharp, professional folds that look store-bought.
Cutting paper into intricate shapes adds elegance and delicacy to your crafts. Whether cutting by hand, using craft punches, or using manual die-cutting machines, specific techniques can dramatically boost your precision.
When using craft punches or die-cutting machines, paper can sometimes tear at the corners or jam inside the blades. This issue stems mainly from two causes:
If you attempt to punch extremely thin paper (like origami paper or glassine paper), the thin sheet gets pulled into the gap around the blade and tears. The foolproof fix for this is to layer a sheet of standard copy paper underneath and punch them together. This adds thickness and tension, allowing the blade to bite cleanly and yield a crisp edge.
Conversely, forcing overly thick cardstock through a punch will break its internal mechanism. Always check the recommended paper weight (g/m²) for each punch.
If you notice your craft punch losing its sharpness, perform this simple maintenance:
These two quick steps restore surprisingly smooth cutting action.
When cutting paper manually, the key lies in how you move your hands.
When cutting complex curves with a detail craft knife, do not try to guide the blade around the curve. Keep the hand holding the knife fixed at a steady angle, and rotate the paper itself. By holding the blade still and turning the paper smoothly, you avoid jagged, angular cuts and produce clean, flowing curves.
The same applies to using scissors. Use the middle-to-lower portion of the blades, moving the paper continuous while opening and closing the scissors smoothly. Avoid making small, choppy snips with the tips of the blades, as this guarantees a jagged cut.
Embossing creates raised lettering or patterns on paper, adding a tactile sense of luxury and depth. There are two main types: Dry Embossing and Wet Embossing. Choose the method based on the texture you want to achieve.
Dry embossing physically raises a pattern from behind without heat or liquid ink.
Tools needed:
Steps:
The key to successful dry embossing is paper weight. Paper that is too thin will tear under the pressure of the stylus, while paper that is too thick won't show clear dimensional detail. Choosing paper with appropriate flexibility and weight, such as high-quality drawing paper or textured watercolor paper, is ideal. To help the stylus glide smoothly and prevent paper tearing, lightly rub wax paper or tracing paper over the back of the project paper before starting.
Wet embossing uses slow-drying ink stamped on paper, covered with embossing powder, and melted with heat to create a glossy, raised effect. The finish looks so luxurious it is hard to distinguish from commercial specialty printing.
Tools needed:
Steps:
There is one crucial rule here: Never use a hair dryer for wet embossing. Hair dryers produce too much air volume, blowing the loose powder off the paper and scattering it around the room before it melts. Always use a dedicated embossing heat tool, which delivers high heat with low airflow.
Also, if you skip prepping the paper with the anti-static bag, stray powder particles will stick to un-stamped areas, melting into permanent specks. This prep work is a professional essential for clean wet embossing results.
Aging processing transforms fresh, bright white paper into charming vintage paper that looks like it survived decades. It is an indispensable skill for junk journaling, collages, and vintage-style tags.
Distressing just the edges of paper immediately elevates the overall mood of a project.
Tools needed:
Steps:
By randomly roughening the edge before applying ink, the ink settles deeper into the torn fibers, creating an authentic, aged appearance. Avoid coating the entire surface evenly; focus on building a soft gradient around corners and edges for a natural finish.
Staining paper with coffee or tea is a classic method to give entire sheets a warm, aged tan color.
Materials needed:
Steps:
The main reason coffee staining fails is paper tear. Paper loses its structural strength when wet and tears easily if handled roughly. When lifting soaked paper, support it gently with both hands at the edges. Using sturdy papers like watercolor paper or heavy drawing paper rather than thin copy paper yields far better durability and produces beautiful, natural color rings ("coffee rings").
Adding a small pinch of salt to the coffee solution improves color vibrancy and helps suppress mold growth during storage—a trick I rely on often in my studio work.
The primary weaknesses of paper are its vulnerability to water, tearing, and warping from moisture. If you plan to turn paper into wearable accessories or everyday items, surface coating is essential. Using proper sealants protects the surface while turning lightweight paper into practical, water-resistant pieces.
Select your coating material based on the desired strength and finish texture:
Regardless of which material you choose, there is one non-negotiable step you must never skip.
What happens if you apply resin or liquid varnish directly onto raw paper? The liquid sinks into the paper fibers, making the paper translucent, causing dark spots, or leaving oil-like stains that ruin the design.
To prevent this, you must apply a primer coat (sealing process). Before applying your final finish, coat the front, back, and cut edges of the paper thoroughly with paper sealer, matte decoupage glue, or craft glue slightly diluted with water. Allow it to dry completely.
This pre-sealing seals the paper's surface pores and creates a protective barrier. Once dry, applying varnish or resin over the top will not soak into the paper, preserving the vibrant original colors perfectly.
Pay special attention to the raw edges of the cut paper, as cut fibers absorb liquid fastest. Apply sealer carefully along all edges. When applying resin, avoid thick single coats; applying 2 to 3 thin layers and curing between each layer prevents trapped air bubbles and warping.
Every paper crafter encounters a few classic mistakes when starting out. Knowing how to handle them in advance saves precious materials and guarantees success.
When wet paint, ink, or glue is applied to paper, the paper expands and then contracts as moisture evaporates, causing it to warp or curl.
Three methods to prevent and flatten warped paper:
Coating the reverse side is remarkably effective. When liquid is applied to only one side, uneven expansion causes curling. Quickly applying a light coat of sealant or paint to the hidden back side keeps tension balanced. When pressing, sandwich the paper between wax paper and heavy books for at least a full night.
When stamping or coloring, ink sometimes bleeds through to the back of the paper or feathers out, blurring sharp lines. This occurs when paper is overly absorbent.
The primary fix is to select papers treated with sizing agents designed to control absorbency, such as watercolor paper or smooth Bristol board.
If you want to stamp or color on highly absorbent sheets like handmade paper or tissue paper, lightly spray the surface with a clear fixative spray before starting. This forms a subtle barrier on the surface that blocks excessive ink absorption, keeping stamped lines crisp.
In this guide, we explored essential and advanced paper processing techniques to dramatically boost the quality of your handmade crafts.
Let's review the key rules to remember:
Paper is an accessible and friendly material, yet with the right processing techniques, it can mimic metal, ceramics, or rich leather. Start small by treating tiny gift tags or greeting cards. By working thoughtfully and using tools correctly, your paper crafts will achieve a beautiful, professional finish.
I hope you enjoy every moment of bringing paper to life with your own hands!
If you enjoyed this article, sharing it with your crafting friends on social media would mean the world to me and keep me inspired! See you in the next article—this was Yassy from Crafters!





For example, if you are looking for articles about mizuhiki, try searching for "mizuhiki"; if you are interested in tools, try keywords like "nippers" or "pliers."
