Professional Sewing Techniques for a Flawless Finish: From Fabric Prep to Final Pressing
yassy
Crafters!

Hello, everyone! This is Yassy from Crafters! (・∀・)
Creating miniature food, fake sweets, adorable dolls, and floral accessories using resin clay or lightweight clay is such a joyful craft, isn't it? I love zoning out while kneading clay, and I equally enjoy admiring completed pieces and shopping for craft supplies.
If you have been crafting with clay for a while, you might be thinking, "I'm ready to move past simple rolled-ball projects and create sophisticated, high-quality works!"
However, despite all your hard work, many crafters hit a wall. You might notice issues like a slightly clumsy finish, fingerprint impressions or dust stuck to the surface, crushed cut edges, or an inability to sculpt delicate details.
The cause of these struggles is not a lack of technical skill. The biggest culprit is simply continuing to rely on starter kit tools or dollar-store supplies!
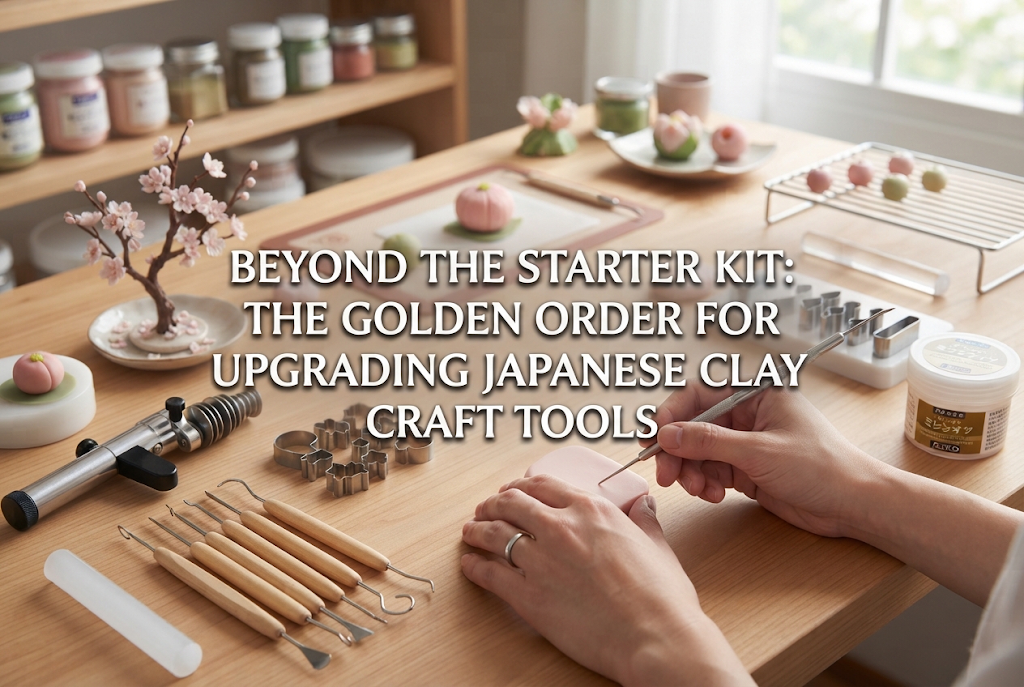
In clay crafting, your tools act as true extensions of your hands. The precision of your tools directly influences the final quality of your piece. I still vividly remember the moment I swapped my trial kit's plastic spatulas for professional-grade precision tools—the sudden leap in my work's beauty was truly inspiring.
In this article, I will explain the "golden order for upgrading your tools" to help you bypass costly trial and error and dramatically raise your piece's finish. You do not need to buy everything at once. By upgrading your equipment in order of impact, you can achieve a flawless, professional finish step by step!
Tool sets included in beginner kits or budget stores are wonderful for experiencing the basic mechanics of clay work. However, when it comes to creating polished pieces, they have clear limitations.
The plastic spatulas and rolling pins in basic kits often have "burrs" (uneven seams from manufacturing) and are made of materials that stick easily to clay. These subtle imperfections leave unwanted scratches on the clay's surface, ruining its natural sheen and smoothness.
Furthermore, plastic tools flex slightly when pressure is applied, making it difficult to transmit the exact amount of force you intend. This slight give is a major reason delicate details get flattened.
In contrast, specialized professional tools are carefully designed with high material precision, smooth finishes, proper weight, and excellent clay-release properties. Simply changing your tool prevents fingerprints, sharpens edges, and yields a beautiful, mirror-smooth surface.
Upgrading your tools before attempting to master advanced techniques is the ultimate shortcut to improving your clay craft skills!
When upgrading, avoid buying items randomly. The golden rule is to replace tools in order of their impact on the final quality of your piece.
Here is the sequence I recommend with absolute confidence:
By building your collection in this order, you can refine your work dramatically while avoiding unnecessary spending. Let's look at the role and selection points for each step in detail!
The very first items you should acquire are a solid acrylic clay roller and thickness rulers (guides).
The factor that most influences clay artwork quality is the uniformity and surface smoothness of the base shape. If the base is uneven or inconsistent in thickness, no matter how intricate your decorative details are, the entire piece will look amateurish.
The hollow plastic rollers in starter kits are too light, scratch easily, and tend to stick to clay. They also warp slightly under pressure, making a perfectly flat surface impossible.
Switching to a solid acrylic roller with some weight allows you to roll clay evenly using its natural weight without forcing it. Because its surface is extremely smooth, it will not leave stray textures or marks on your clay.
Pair this with thickness rulers (metal or acrylic strips of 1mm, 2mm, or 3mm). Placing these rulers on both sides of your clay while rolling guarantees a perfectly uniform sheet every time. For fake sweets like cookie dough or miniature parts, having identical thickness instantly elevates your piece to a professional, store-bought standard. Make this your top priority!
Once you master foundation prep, upgrade the tools responsible for sculpting the clay itself.
Plastic spatulas from starter kits have thick tips and seam burrs, leading to rough results when carving fine grooves or blending clay seams. They also tend to drag the clay, ruining shapes.
The ultimate combination here is a stainless steel spatula paired with a silicone color shaper (silicone brush).
Stainless steel spatulas provide the sharpness and weight characteristic of metal, allowing you to carve crisp lines effortlessly. Intricate details—like realistic lines on fake fruit, miniature food textures, or doll hair and faces—become surprisingly easy to execute.
Silicone brushes, on the other hand, feature flexible silicone tips. These are incredible for seamlessly erasing joins between clay pieces or gently smoothing out fingerprints across the surface. Because clay never sticks to silicone, you eliminate dragging marks entirely. Use metal spatulas to carve sharp lines and silicone tips to smooth out surfaces to instantly elevate your sculpting quality.
Your third upgrade should focus on cutting tools like blades and knives.
Are you using standard stationery cutters or household scissors to trim pieces or slice dried clay? Standard cutter blades are relatively thick, which squashes the clay downward as you cut, distorting the edges and bulging the profile.
Instead, introduce ultra-thin flexible blades made specifically for clay alongside a precision craft knife.
Ultra-thin flexible blades are made from paper-thin, bendable steel. Gliding this micro-thin edge through clay lets you create razor-clean slices without deforming the shape or leaving cutter marks. This tool is essential when making cross-sections for miniature layer cakes, sandwiches, or multi-layered clay patterns.
For cutting intricate shapes, choose a high-quality craft knife with an acute angle (such as a 30-degree blade) rather than standard office utility knives. A sturdy blade tip lets you cut precise paths down to the millimeter without wobbling.
Once your sculpting tools are set, invest in paintbrushes and tools for applying paints and soft pastels.
Avoid cheap nylon brushes from basic kits when painting clay. Their stiff bristles leave streak marks on surfaces and tend to shed hairs directly onto your work.
Instead, choose fine-detail lining brushes (such as Japanese menso detail brushes) or soft synthetic flat brushes from art supply stores. A well-shaped detail brush allows you to paint intricate patterns on tiny miniature parts with a steady hand. Because the bristles stay aligned, you can place color precisely where intended.
For soft shading, such as applying pastels for baked effects on fake pastries, high-quality makeup brushes or cosmetic sponges work brilliantly. Their ultra-fine bristles blend color edges seamlessly, creating natural gradients that mimic real life.
Finally, upgrade your working surface with a dedicated non-stick clay mat and an acrylic press plate.
Working on standard craft cutting mats or plastic folders often causes soft clay to stick, distorting the piece when pulled away. Mat scratches or grid lines can also imprint onto the back of your piece.
Specialized clay mats coated with silicone or fluorine solve this completely. Clay peels away smoothly regardless of how soft it is, preventing back-side textures and warping.
Adding a thick, transparent acrylic press plate speeds up work dramatically. You can apply even downward pressure to flatten clay instantly or roll clay into perfect cones. Because the plate is clear, you can monitor the clay's shape from above while pressing.
Resin clay and lightweight clay possess very different characteristics. Depending on which material you work with most, you can tailor your tool upgrade order slightly.
Resin clay dries dense, firm, slightly translucent, and durable, making it ideal for miniature food and jewelry components. When working primarily with resin clay, prioritize the 2nd Priority (metal spatulas) and 3rd Priority (thin blades). Crisp detailing stays sharp in resin clay, so metal spatulas maximize precision, while thin blades produce clean, plastic-like sliced edges before drying.
Lightweight clay has a soft, airy texture that dries matte and lightweight. It is ideal for items like miniature macarons, bread, large floral displays, or doll bodies. For lightweight clay, focus first on the 1st Priority (acrylic roller & rulers) and 5th Priority (non-stick mats). Because lightweight clay is soft and records impressions easily, using a weighted roller and smooth mat is critical to preventing fingerprints and achieving uniform surfaces.
To ensure your tool investments pay off, watch out for these three common traps:
To recap the step-by-step order for upgrading your clay tools:
If you found this guide helpful, please share it with your fellow crafters! Until next time, happy crafting from Yassy!



For example, if you are looking for articles about mizuhiki, try searching for "mizuhiki"; if you are interested in tools, try keywords like "nippers" or "pliers."
