How to Choose and Use Craft Sponges and Foam Brushes: A Complete Guide to Flawless Finishes
yassy
Crafters!

Hello, this is Yassy from Crafters! (・∀・)
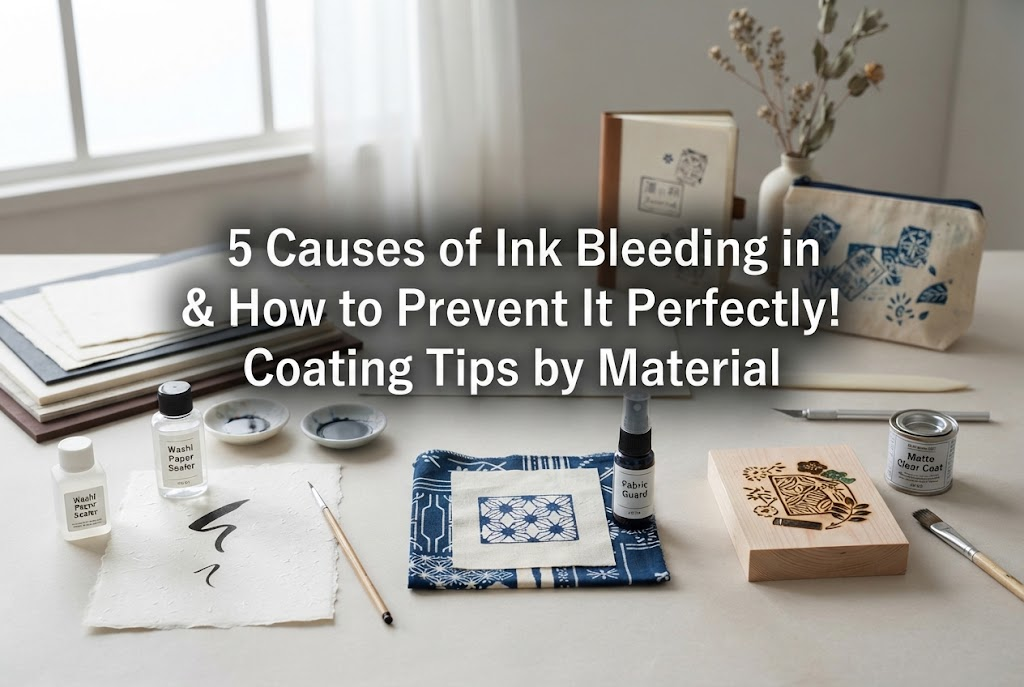
Have you ever been working on a handmade piece, put the finishing touches on it by writing text, stamping, or drawing an illustration, only to have the ink bleed out into a blurry mess? When you've poured your heart into crafting something, the shock of failing at the very last step due to ink bleeding is immeasurable.
I love making crafts myself, admiring the wonderful creations of other makers, and buying cute handmade supplies. That’s why I strongly want to reduce the number of crafters who end up crying over ink troubles!
Ink bleeding always happens for clear chemical and physical reasons. It doesn't bleed by accident—it bleeds because the conditions were right for it to happen. Once you understand the causes, you can prevent ink from bleeding 100% of the time, no matter what material you are working with.
In this ultimate guide, I'll help handmade beginners completely resolve ink bleeding issues from the ground up! This isn't just a list of random tips. I will thoroughly explain everything from the mechanisms behind why failures happen to specific countermeasures I personally practice, as well as optimal procedures for each material. By the end of this article, ink bleed stress will be gone from your crafting life forever!
Ink bleeding isn't an arbitrary phenomenon. It occurs as a result of the combined properties of materials, ink ingredients, and your working environment. Let's uncover the 5 root causes that beginners often fall into, so you can correctly identify which pattern is causing your mistakes.
The biggest reason ink bleeds is an incompatibility between the base material and the liquid properties of the ink. On absorbent materials like paper or fabric, "capillary action" comes into play. Liquid gets pulled into the tiny gaps between fibers and spreads rapidly outward. If you use ink with high water content on a highly absorbent surface, it will definitely bleed.
On non-absorbent materials like plastic or metal, the opposite happens. The ink gets repelled or mixes with surface oils and moisture, causing lines to thicken and break down. Choosing an ink that doesn't match the material's characteristics is the single biggest cause of failure.
Assuming "it looks dry on the surface" can lead to major disasters. Ink drying consists of two stages: the evaporation of moisture or solvents, and the bonding of fixing components to the material. Very often, even if the surface feels dry to the touch, internal solvents have not completely escaped.
If you proceed to the next step (topcoating or layering) before it is fully dry, the unfixed ink will reactivate and run. In particular, oil-based inks and solvent-based inks take longer to dry internally than water-based inks.
This is when ink runs the moment you apply varnish, topcoat, or resin to protect your piece. It happens because you are applying a coating that contains ingredients that dissolve the underlying ink. This process is called "redissolution."
For example, if you apply a water-based varnish directly over water-based ink, the moisture in the varnish will dissolve the ink. If you spray an oil-based clear coat over an oil-based pen, the organic solvents in the spray will dissolve the pen's ink. Remember this absolute rule: "Applying a topcoat of the same attribute will dissolve the layer underneath."
Pressing too hard while drawing with a pen or pressing down too firmly when stamping is another major cause. Applying unnecessary physical pressure releases more ink than the material can handle. Any excess liquid beyond what the material can retain has no choice but to spill sideways.
Especially with stamps, if you apply too much ink to the stamp surface and press down hard, ink squeezes out from the edges, leaving thick, unsightly bleeds.
Your working environment and material surface condition also heavily influence bleeding. In high-humidity environments, like rainy days, moisture in the air dramatically slows down the drying speed of ink. The longer drying takes, the longer capillary action has to spread the ink sideways, worsening the bleed.
Furthermore, invisible skin oils (sebum) adhere to material surfaces touched directly by hands. This oil repels ink unevenly, causing bleeds and patchy lines.
The inks used in handcrafts fall into several major categories. Let's organize their characteristics and relationship to bleed resistance. Understanding the properties of the inks we use is the first step toward preventing failures.
Water-based inks are widely used because they are easy to handle and have low odor. However, "dye-based" and "pigment-based" inks have opposite properties.
Water-based dye ink soaks into materials like colored water. While it produces vibrant colors, it lacks moisture resistance and dissolves instantly when exposed to water. I strongly advise against using water-based dye ink for lettering or stamping on handmade pieces.
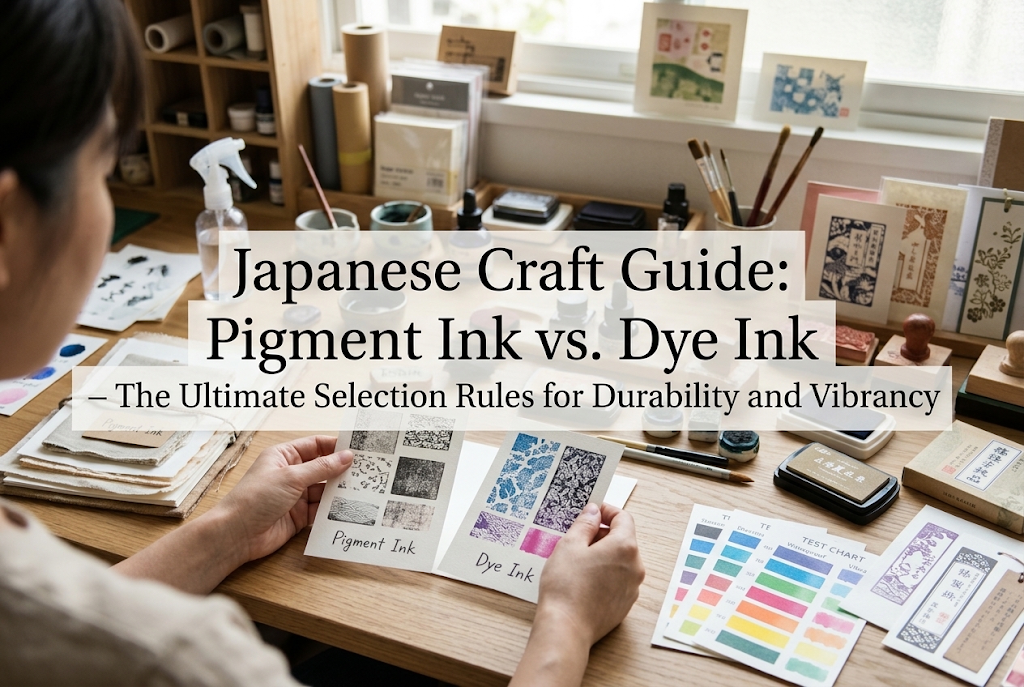
Water-based pigment ink consists of microscopic color particles that fix onto the material's surface. Once dry, it becomes water-resistant. When writing or stamping on paper or wood, always select pens or ink pads explicitly labeled "water-based pigment."
Oil-based ink dissolves colorants in organic solvents. It possesses strong adhesion that fixes even onto smooth surfaces like metal, plastic, and glass.
While extremely resistant to water, its weakness is that it easily dissolves in alcohol, varnish, or reactive monomers found in resin liquids. This is why line drawings made with oil-based pens bleed severely when resin liquid is poured directly on top and cured under UV light. Throw away the idea that oil-based inks never bleed—you must exercise extreme caution when pairing them with topcoats.
Alcohol ink art and alcohol-based markers offer bright colors and unique blending capabilities. However, in terms of bleed prevention, they are the most difficult to control. Alcohol-based inks dry extremely fast, but layering anything containing alcohol on top will instantly dissolve them. When coating them, it is essential to insert a water-based acrylic layer or a specialized barrier sealant that won't attack the ink.
Here are the ink selection standards I personally practice to guarantee success:
Handmade crafts utilize diverse materials. Here are concrete bleed prevention techniques tailored to each material's properties.
Paper and wood naturally absorb moisture from ink. Japanese Washi paper, textured cardstock, and unfinished wood present the highest risk of bleeding.
Painting or stamping on fabric is where beginners make mistakes most frequently, as ink spreads along the weave vertically and horizontally.
Plastic surfaces like shrink plastic sheets or acrylic parts don't absorb ink, so they might seem safe from bleeding. However, ink often beads up or smudges when touched after drying.
Using ink on genuine or synthetic leather requires caution, as absorption varies greatly depending on the tanning method.
"I drew a clean line! Now let's protect it with varnish or resin!" This is the most dangerous trap in crafting. Here are the perfect professional steps to ensure ink never runs during final coating.
If you apply varnish or glue directly with a brush, the friction of the bristles paired with moisture in the paint will dissolve the ink nearly 100% of the time. The one absolute way to prevent this is "mist coating with water-based acrylic spray."
Once this barrier film is formed, you can apply heavy brush varnish or pour UV resin right on top without the ink ever dissolving again! I thoroughly implement this "ultra-thin barrier method" on all my creations.
Here is the golden sequence for sealing text or illustrations in shrink plastic pieces or resin accessories.
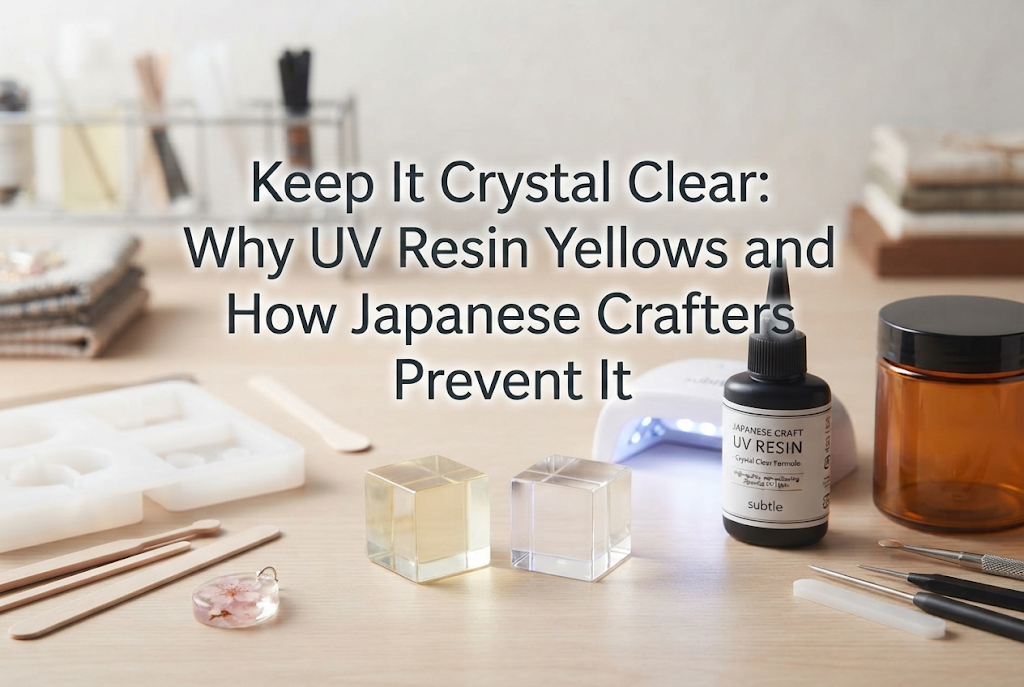
Many beginners make the mistake of pouring UV resin directly onto shrink plastic drawn with oil-based markers. The reactive monomers in resin liquid aggressively dissolve oil-based inks. Follow this foolproof sequence instead:
Taking too long under a weak light increases the risk of resin penetrating and bleeding the ink. Curing quickly with a high-output lamp is key!
If you don't have a spray environment and must apply varnish with a brush, follow these tips:
First, never stroke the brush back and forth over the same spot. Rubbing the same area destroys the underlying barrier and blends the ink into the varnish.
Load plenty of varnish onto your brush and glide the "wave" of liquid in a single direction without applying downward pressure. Imagine moving the thickness of the liquid without letting the brush tip physically scrape the surface.
Also, make drying times longer than you think necessary. Even if it feels dry, the golden rule is to leave it untouched for at least half a day.
No matter how careful you are, accidents happen. You don't need to throw your entire creation into the trash just because of a minor bleed. Here is professional restoration know-how that can save your work.
For Paper and Wood: If the bleed is tiny, trace the outlines with matching opaque acrylic paint or an ultra-fine white gel pen to cover the bleed. On wood, you can locally sand away small bleeds using fine-grit sandpaper (400 grit).
For Plastic, Metal, and Glass: Before it cures, dip a cotton swab in a small amount of anhydrous ethanol and pinpoint-wipe the bleed. If it is completely dry, hold a craft knife blade vertically and gently scrape off the bled ink to restore a crisp line.
If the bleed is too widespread to erase, shift your perspective!
Intentionally add water drops or paint splatters (a watercolor effect) around the smudged text so it looks like an intentional artistic design from the beginning. Layering lace tape, stickers, or placing decorative cabochons over smudged outlines are also extremely effective rescue solutions.
There are no "irrecoverable failures" in handcrafts. With a little ingenuity, mistakes can be transformed into new design highlights!
In this guide, we took a deep dive into the causes and solutions for ink bleeding—a problem that plagues many handmade crafters.
Let's review the golden rules to prevent failure once more:
Ink bleeding is a trouble you can 100% prevent with the right knowledge and a tiny bit of extra care. Pieces with crisp, sharp lettering and illustrations instantly emit a high-quality, professional finish. To create items you can confidently present to customers or loved ones, try incorporating these techniques into your crafting today!
I sincerely support your handmade life becoming more enjoyable and failure-free!
If you found this article helpful, I would be so happy if you shared it with your crafting friends on social media or messaging apps! Well then, see you in the next article! This was Yassy from Crafters!




For example, if you are looking for articles about mizuhiki, try searching for "mizuhiki"; if you are interested in tools, try keywords like "nippers" or "pliers."
