Gripping and Clamping Tools for Crafters: 12 Essential Tools to Boost Quality and Efficiency
yassy
Crafters!
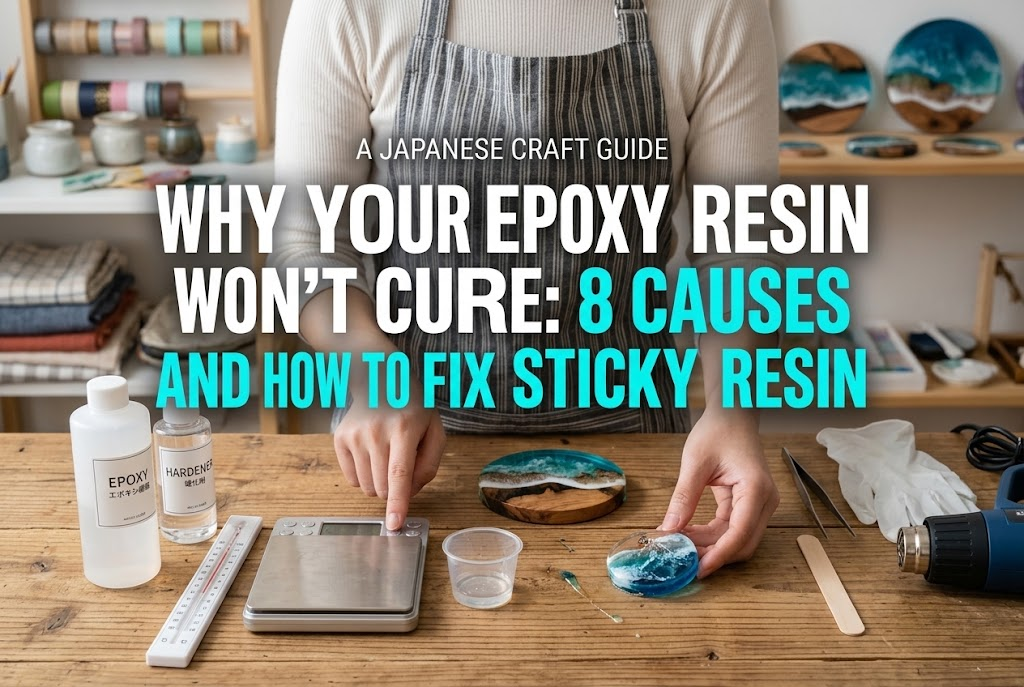

Hello, this is Yassy from Crafters! (・∀・)
As someone who loves making, admiring, and collecting handmade crafts of all kinds, today I want to give an in-depth guide on a very common headache: epoxy resin curing failures!
Two-part epoxy resin lets you create pieces with stunning, glass-like clarity. Yet so many crafters know the heartbreak of pouring a piece, waiting eagerly for days, and finding that the surface is still sticky or the entire piece feels like bendable rubber. It is incredibly frustrating.
Unlike UV or LED resins, which harden in minutes under a lamp, two-part epoxy resin cures through a chemical reaction between two components. That means curing failure is never a matter of luck or guesswork—it is governed entirely by specific physical and chemical rules. Once you understand these underlying causes, you can bring your failure rate down to zero!
In this guide, I will break down the 8 root causes of uncured epoxy resin, share rescue techniques if your piece has already turned sticky, and explain the foolproof setup I use in my own workspace. Read on to master getting rock-solid, crystal-clear resin results every single time!
Epoxy resin cures through an exothermic cross-linking reaction: Part A (the resin) and Part B (the hardener) are combined, generating heat as molecules bond together to form a solid plastic. This chemical process is fundamentally different from one-part resin that solidifies under UV light exposure.
Please let go of the thought: "If I leave it alone for a few more days, it will eventually harden." When the initial conditions for the chemical reaction are broken, epoxy resin will never fully cure, no matter how many weeks you wait or how much sunlight you expose it to. It will simply remain a sticky dust-magnet forever.
For the chemical reaction to proceed properly, the molecular balance between Part A and Part B must match accurately, and the temperature and environment must support the process. There is always a clear reason when resin fails to cure. Identifying that cause correctly is the only reliable way to ensure your next pour succeeds.
When epoxy resin fails to cure, the issue almost always traces back to one of eight root causes. Compare your workflow and workspace with the points below to identify what went wrong.
This is by far the most frequent issue, accounting for roughly 80% of all curing problems. Every epoxy resin brand specifies an exact ratio, such as 2:1 or 100:33. This ratio is mathematically calculated so that resin and hardener molecules link up with nothing left over.
The most common beginner trap is confusing weight (grams) with volume (milliliters). Resin and hardener have different specific gravities (densities). If you use measuring cup markings (ml or cc) to measure by volume when the instructions call for a weight ratio, the actual weight will be off, resulting in incomplete curing. If the label says "2:1 by weight," you must measure using a scale in grams, not by volume.
Even if you use a scale, an inaccurate instrument or sloppy weighing technique can cause failures. Using a standard kitchen scale that measures only in 1-gram increments is particularly risky when mixing small batches.
For example, if you need 10g of Part A and 5g of Part B, a 1g-increment scale displays anything between 4.5g and 5.4g simply as "5g." That rounding error alone can cause a ratio discrepancy of over 10%. Forgetting to tare (zero out) the container weight or placing the scale on an uneven surface will also throw off your proportions.
Even with a 100% accurate ratio, the reaction will stop midway if the two liquids are not thoroughly blended. Because Part A and Part B have different viscosities, giving them just a few quick stirs will not achieve a uniform mixture.
Another commonly overlooked spot is the inner walls and bottom of the mixing cup. If you only stir in circles around the center, unmixed resin clings to the sides and bottom. Pouring this straight into a mold dumps that unmixed residue onto your piece, leaving persistent sticky patches on the surface.
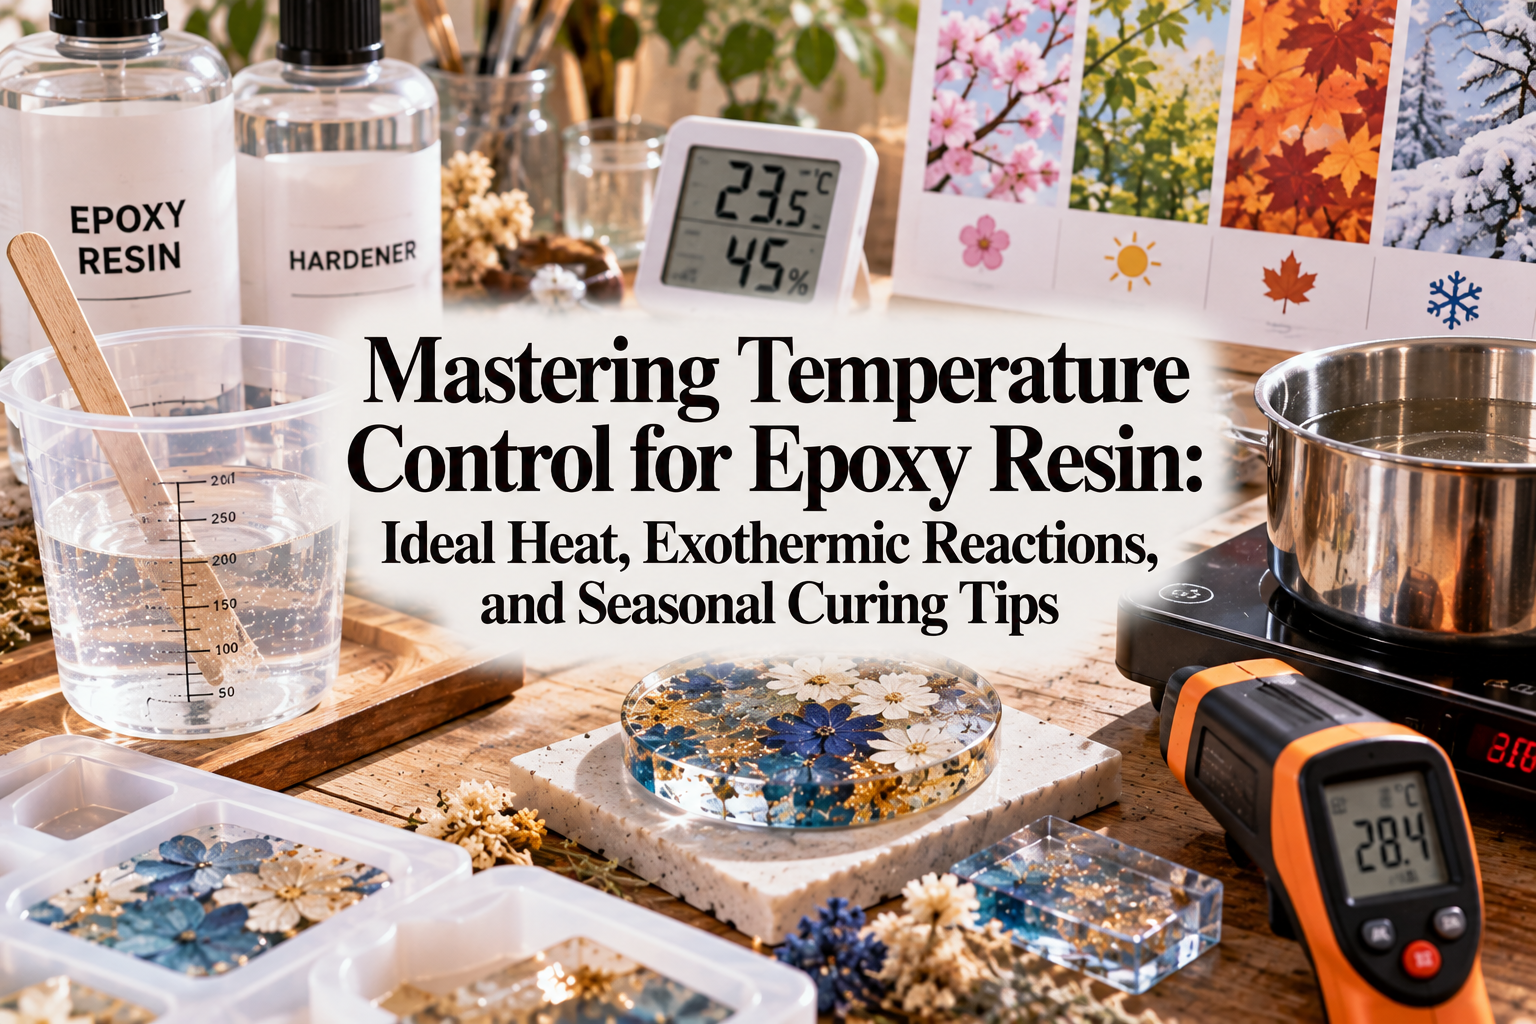
Epoxy resin cures faster at higher temperatures, whereas cold temperatures slow or completely stall the reaction. Most manufacturers recommend a working and curing room temperature between 20°C and 25°C (68°F to 77°F).
In winter or in rooms where heating is turned off overnight, dropping below 15°C (59°F) can cause the chemical reaction to halt. Because the mixture fails to generate reaction heat, the surface stays tacky or the entire cast remains in a soft, rubbery state. Maintaining a steady room temperature is essential not just while pouring, but throughout the 24 to 48 hours it takes to cure.
Epoxy resin is extremely sensitive to moisture. When curing resin reacts with high levels of atmospheric humidity, a cloudy film, greasy sheen, or sticky coating can form on the surface. This phenomenon is known as "amine blush."
Working on rainy days or during humid seasons where humidity exceeds 60% makes amine blush far more likely. Additionally, trace water droplets on stirring sticks or molds, as well as embedding fresh or insufficiently dried flowers, will introduce moisture that inhibits curing from within.
Tinting resin and adding decorative elements is exciting, but using the wrong type or amount of colorant causes curing failure. Colorants not formulated for epoxy resin—such as water-based paints or moisture-rich dyes—introduce water that directly disrupts the chemical bond.
Even with specialized resin pigments, adding more than 5% of the total resin volume interferes with molecular bonding. Similarly, inserts containing oils or incompletely dried plant matter will cause incomplete curing in the resin immediately surrounding them.
Epoxy resin relies on its own internal heat generation (exothermic reaction) to accelerate the cure. Having a certain depth and volume helps retain this heat, allowing the resin to cure efficiently.
Conversely, very thin castings like coasters or pendants (only a few millimeters thick), or extremely small batches of just a few grams, lose heat rapidly to the surrounding air. As a result, the reaction lacks sufficient thermal energy, causing the resin to cure much slower or leave a tacky surface.
Epoxy resin has a shelf life. Once opened, exposure to air causes oxidation, gradually degrading the product over 6 months to a year.
Part B (hardener) is especially prone to reacting with airborne moisture and carbon dioxide. Degraded hardener turns yellow and loses its curing ability. Using old resin that has been stored in direct sunlight or in hot, humid conditions will often result in a piece that refuses to cure, even when measured and mixed correctly.
Once you understand the root causes, the solutions are straightforward. Here are the professional-grade steps I use in my own workspace to guarantee a rock-solid cure every time.
First, evaluate your tools. For weighing epoxy resin, always use a precision digital scale accurate to 0.1g (or ideally 0.01g). Inexpensive precision scales work wonderfully, so retire your 1g kitchen scale immediately.
Use disposable silicone or plastic cups that resin will not stick to. Place your cup on the scale, press the tare button to display "0.0g," and pour the thicker Part A resin slowly. Next, add Part B hardener. Because a single excess drop can throw off the ratio in small batches, add the final drops very carefully as you near your target weight.
The single best technique to eliminate uncured spots from poor mixing is the "double-cup mixing" method. I use this every single time I pour epoxy resin.
This two-stage process completely prevents unblended resin on the sides of your first cup from making its way into your mold.
Strictly manage your room temperature. Use air conditioning or space heaters to maintain a consistent 20°C to 25°C (68°F to 77°F). If your room is cold during winter, place only the Part A bottle in a warm water bath (around 40°C / 104°F) to lower its viscosity before measuring and mixing.(Note: Keep the hardener away from water baths, as moisture ruins it. Only warm Part A.)
After pouring, place a cardboard box or insulated cover over your mold to trap warmth and keep dust off. You can warm the interior briefly with an embossing heat gun, or place the molds on an electric seedling heating mat to keep them above 20°C. Temperature control alone dramatically improves curing speed and clarity.
Managing humidity is equally vital. Check a room hygrometer before you begin, and ensure relative humidity is below 50%.
On rainy, stormy, or humid days, run a dehumidifier or air conditioner on dry mode to pull moisture from the air. If the humidity refuses to drop, choosing not to pour epoxy that day is an important professional call. Also, store dried flowers and organic elements in airtight containers with silica gel beforehand so they are completely dehydrated.
Always use pigments and inks clearly labeled for two-part epoxy resin. Avoid water-based craft paints or standard acrylics entirely.
As a strict rule, keep total colorant below 3% of the combined resin weight. For example, in a 50g total batch, use no more than 1.5g of colorant (often just a few drops). Adding excess pigment to achieve deep color will stall the reaction, leaving you with permanent stickiness. Add colorant gradually with the tip of a toothpick, aiming to maintain transparency.
Epoxy resins generally come in two formulas: low-viscosity, slow-curing "deep pour" resins for thick pieces, and higher-viscosity, faster-curing "coating / casting" resins for thin items. Picking the wrong type causes curing failures or severe overheating.
For small, thin items under 5mm (such as jewelry or coasters), choose a thin-pour resin with a ~24-hour cure time, as it generates enough localized heat to set properly. For deep castings several centimeters thick, like large paperweights or river tables, use a deep-pour resin with a 48- to 72-hour cure time to prevent dangerous thermal runaway. Always match your resin formula to the intended scale of your project.
Even with careful preparation, unexpected issues can leave a piece sticky or rubbery. Before giving up and tossing it out, assess the symptoms and try these rescue procedures.
If your piece is rock-solid underneath but the surface exposed to air feels sticky, the issue is usually low temperature or amine blush from humidity. Because the bulk of the piece cured properly, this is easy to salvage.
This process removes the tacky film and restores a flawless, glossy finish.
If your casting comes out flexible like a rubber bouncy ball or bends under light pressure, the ratio was likely correct, but curing stalled early due to cold room temperatures.
Because the reaction may simply be paused rather than ruined, apply gentle secondary heat. Place the piece into an insulated curing box, drying booth, or under a seedling heat mat set to 30°C–40°C (86°F–104°F) for 12 to 24 hours. The added heat often restarts the cross-linking reaction, allowing the piece to fully harden. If the resin remains soft after two days of warm curing, the issue was an inaccurate ratio or inadequate mixing, and the piece cannot be saved.
If days have passed and your resin remains runny or sticky like syrup, the project unfortunately cannot be salvaged. This indicates a catastrophic ratio error, forgotten hardener, or severe moisture contamination.
Uncured epoxy resin is a skin irritant and harmful to the environment. Never wash uncured resin down a sink drain! Absorb all liquid resin into old newspapers, scrap fabric, or paper towels, seal them in a plastic bag, and dispose of them with household combustible waste according to local guidelines. Wipe contaminated molds and cups with ethanol or acetone on a paper towel before washing them with dish soap and warm water.
Get into the habit of reviewing this checklist before every pour. Following these points keeps your failure rate near zero.
When I first started working with epoxy resin, I made my share of mistakes—cutting corners with kitchen scales or leaving projects in chilly winter rooms only to find sticky messes. But ever since adopting a 0.1g digital scale, double-cup mixing, and strict 20°C+ climate control, I haven't had a single failed cure!
Epoxy resin is an incredible medium. As long as you respect the chemical principles and follow the right steps, anyone can achieve glass-like clarity and diamond-hard durability.
Curing failures are never random. Behind every sticky surface or rubbery piece is a clear culprit: ratio discrepancies, under-mixing, temperature and humidity swings, or excessive colorants. Approaching epoxy as a chemical material that demands precise rules is the secret to consistent success.
If you do run into sticky spots, don't panic. Try the rescue methods covered above—wiping with alcohol, re-coating, or gently warming the piece in a heat box.
The deep gloss and crystal clarity of properly cured epoxy resin are unmatched. Keep these rules in mind, and enjoy creating flawless, rock-solid resin crafts!
If you found this guide helpful, sharing it with your fellow crafters on social media means the world to me! Until next time, happy crafting—this has been Yassy from Crafters!




For example, if you are looking for articles about mizuhiki, try searching for "mizuhiki"; if you are interested in tools, try keywords like "nippers" or "pliers."
