What Is Jesmonite? Characteristics, Differences from Resin, and a Complete Handmade Crafting Guide
yassy
Crafters!

Hello, everyone! It’s Yassy from Crafters! (・∀・)
As someone who loves making handmade items, browsing for inspiring creations, and shopping from independent makers, today I want to share a crucial topic with all of you. When you list your work online or prepare an order, do you treat your maker profile and the shop cards you include as mere afterthoughts?
In reality, your artisan bio and your shop cards are vital branding assets that influence your sales and repeat-customer rate just as much as the pieces you create. No matter how exquisite your craftsmanship is, if your profile reads blandly or your package arrives without a shop card, your brand risks fading from the buyer’s memory almost instantly.
As an avid customer myself, I purchase from many different makers. When I open a package and discover a tasteful shop card paired with a warm, genuine bio, I immediately fall in love with that brand. On the other hand, when an item arrives sitting alone in a box without any introduction, it is easy to forget where I even bought it.
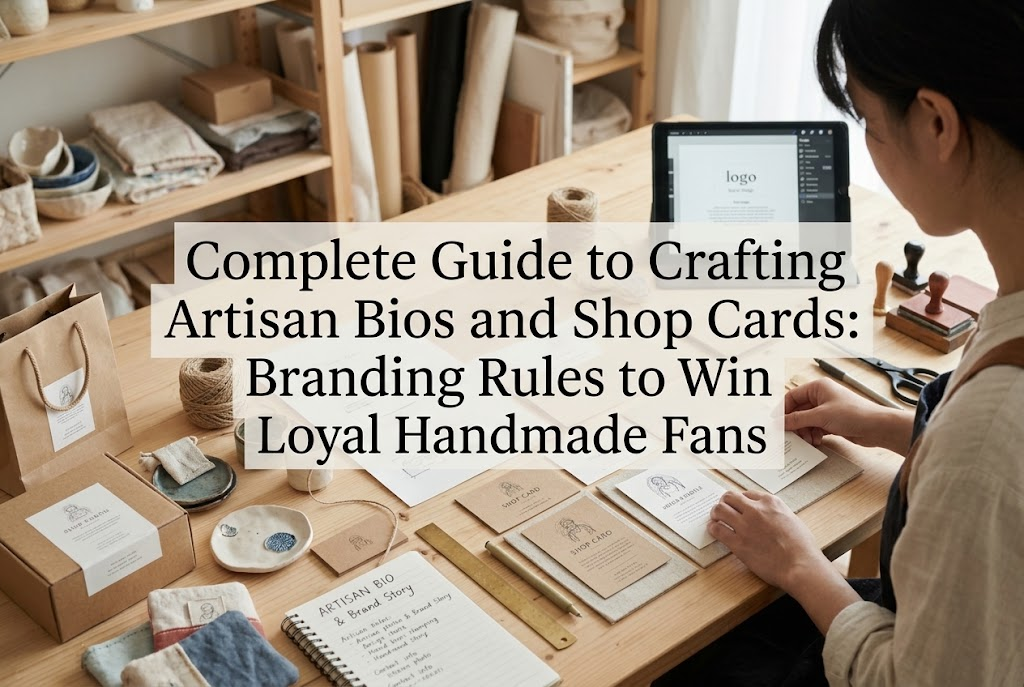
In this guide, I will walk you through the essential formula for writing a compelling maker bio and designing professional-grade shop cards so that beginner crafters never feel lost. Instead of vague theory, I’ve gathered actionable, practical techniques you can put into practice today to elevate your handmade brand!
In the world of handmade sales, your profile and shop cards are far more than a basic introduction or a contact note. They are powerful storytelling tools that convey your brand’s worldview, turning one-time shoppers into lifelong supporters.
Online handmade marketplaces and social media platforms are overflowing with countless items. When potential buyers are comparing two pieces with similar aesthetics and prices, the deciding factor always comes down to who they want to support—an emotional connection with the maker and their ethos.
Think of your profile text as your online customer service. In a physical boutique, a warm smile and a friendly conversation build instant trust. In an online shop, your written words must handle that entire responsibility on their own. A thoughtful, polished profile eliminates pre-purchase doubts and gives customers the reassurance they need to press the checkout button.
Meanwhile, a shop card is the face of your brand handed to the customer at the pinnacle of their journey: the moment they unbox their purchase. When a physical card remains in their hands alongside the piece, it quietly reminds them of your shop every time they see or wear your work in daily life. Mastering both elements is the very first step toward building a sustainable, thriving handmade brand.
Let’s begin with the profile text featured on your shop storefront or social media bio. Here is how to avoid the most common beginner pitfalls and master a winning narrative structure.
The single most frequent mistake among beginners is treating their bio purely as an outlet for their personal hobbies or self-satisfaction. You may often see profiles written like this:
“I started making accessories as a hobby. I am an amateur, but I make each piece with love. Since I work between taking care of my children, my replies might be slow, but thank you for your patience.”
If your profile looks like this, it needs immediate revision. From a buyer’s perspective, phrases like “amateur” or “replies might be slow because of childcare” only create anxiety. Because customers are paying real money for your work, they rightly expect professional dedication and quality.
Never downplay your work out of modesty by saying “I’m just a beginner” or “I’m an amateur.” While modesty is a familiar cultural habit, in business it undermines trust. You must reframe your words to reassure the buyer and accurately communicate the true value of your craft.
A compelling profile follows an intentional structure. By including these four elements in order, anyone can craft a professional and engaging artisan bio:
If you are unsure where to begin, feel free to adapt this universal profile template to match your creative genre:
Thank you for visiting! I am [Your Name], the creator behind [Brand Name].At [Brand Name], I handcraft each piece around the concept of “[Brand Concept: e.g., delicate floral accessories that bring a spark of joy to everyday life].”Our Craft & Materials:I place utmost care on harmonious color combinations and delicate textures that instantly brighten your look the moment you wear them. Every finding and fitting is carefully selected for skin-friendliness and tarnish resistance, ensuring a piece you can cherish for years to come.Perfect for These Moments:Our pieces are designed for both daily wear and memorable occasions, and they are also loved as thoughtful gifts. I hope my work serves as a gentle, comforting companion in your busy everyday routine.My Promise to You:Each order is carefully wrapped in our signature gift packaging and shipped with the utmost care. If you have any questions or custom requests, please feel free to reach out anytime.
Following this framework instantly delivers a reliable, polished profile that reads smoothly and builds credibility.
Once your online bio is set, turn your focus to the shop card that goes inside your shipping box. A well-designed card heightens unboxing excitement, boosts repeat purchases, and encourages buyers to share their haul on social media.
Many new makers mix up business cards, shop cards, and thank-you notes. Understanding their distinct roles allows you to select the right approach for your shop:
For independent crafters working with limited resources, a “hybrid card” that merges the shop card and thank-you note onto a single piece of cardstock is by far the smartest choice. Designing an elegant brand visual on the front and placing your gratitude note along with social links on the back keeps costs low while maximizing impact.
When assembling your card, curate the information carefully. Separating the roles of the front and back is the golden rule of clean design:
Front Side (Brand Visual):
Back Side (Practical Information & Engagement):
The most common design blunder is trying to say too much, resulting in a card crammed edge-to-edge with tiny text. A cluttered card loses its visual appeal, and overwhelmed customers simply will not read it.
A shop card’s primary goals are intuitive visual beauty and guiding the customer online. Detailed care instructions or long brand stories belong on a dedicated web page accessed via a printed QR code. Always preserve plenty of breathing room and embrace clean, spacious margins.
Once your content is outlined, you move to the physical creation phase. The choices you make here make an immense difference in perceived luxury and brand presence.
Roughly 80% of a card’s tactile impression comes from the weight and texture of the paper. Including a flimsy, copy-paper-thin insert can make even extraordinary work feel cheap. Always select a sturdy stock with sufficient weight—ideally 200 g/m² or heavier (roughly equivalent to standard postcard stock).
Here is how to match popular paper stocks to your brand style:
If my own work favored an organic, natural aesthetic, I would reach for uncoated stock or kraft paper. For modern elegance and transparency, an extra-thick matte board or vellum is wonderful. Paper quality sets the perceived standard of your craftsmanship, so choose thoughtfully.
Even without formal graphic design training, adhering to simple typographic rules will yield professional results.
First, restrict your layout to a maximum of two font families. Mixing script, display, serif, and playful fonts in one small space causes visual chaos.
For a delicate, luxurious brand, lean into classic serifs or Japanese Mincho typefaces. For a friendly, approachable feel, opt for soft rounded sans-serifs or subtle hand-lettered styles. For a sleek, contemporary impression, crisp geometric sans-serifs (Gothic type) are unbeatable.
When laying out the design, embrace whitespace. Never push text to the very edge of the card, as it creates an unpolished look. Keep all text elements at least 5 mm inside the cut line, and align your elements carefully using a central axis or clean grid.
You generally have two production paths: printing on your desktop printer at home or outsourcing to a commercial online printing company. In the long run, professional printing services are unequivocally the better route.
Home Desktop Printing:
Professional Online Printing:
A smart strategy is to test your layouts at home first. Once your dimensions and fonts are locked in, order batches of 100 from an online printing platform. An amateur card that smears from a drop of rain will dampen a customer’s excitement, so upgrading to professional printing early on is well worth the investment.
Once you have a stunning shop card, the next step is how you place it inside your parcel. Simply tossing it haphazardly into a shipping envelope cuts its charm in half.
When a recipient opens your shipping box, what do they see first? It should be your shop card or an exquisitely finished top layer.
After wrapping your handmade piece safely in protective wrapping or tissue, place the shop card directly on top or right in front where it cannot be missed. Presenting the card’s beautiful front side first ensures the customer’s very first impression is: “This came from a truly lovely shop!”
Advanced techniques include using the card directly as an accessory display backing, or layering it with translucent vellum and securing it with a fine ribbon. Turn the physical act of unboxing into a memorable experience.
While a pristine digital card is attractive, the greatest strength of the handmade community is human connection. I strongly encourage leaving a dedicated blank spot on the back of your card for a brief handwritten note.
Using a smooth-flowing black or navy pen, write just one or two sentences tailored to the customer:
“Dear [Customer Name], thank you so much for bringing my work into your life! I hope this piece accompanies you on many wonderful outings.”
Addressing the recipient by name and writing a personalized line makes an extraordinary difference. You do not need to write an essay. A clean printed card combined with a brief, genuine handwritten note is the most time-efficient and emotionally resonant formula for building loyalty.
Your shop card should also act as a gentle bridge to post-purchase engagement. Consider adding an encouraging line alongside a QR code on the back of the card:
“If you share a photo wearing or using your new item, please tag us on Instagram! We would love to see it: #[YourBrandTag]”“Once your parcel arrives safely, leaving a quick review in our shop lets us know it reached you and brightens our day!”
Giving clear, specific suggestions makes it effortless for customers to post photos or submit five-star reviews. Positive user-generated feedback builds undeniable social proof, creating a healthy cycle that welcomes your next wave of buyers.
We have covered everything from formulating a resonant artisan bio to the golden rules of paper selection and shop card presentation. Let’s recap the core takeaways:
Pouring love into your handmade creations is fundamental. But framing your work with intention and curating the unboxing experience from start to finish is what elevates a talented crafter into an admired, sustainable brand.
Refining a sentence in your bio or upgrading the paper stock of your insert are improvements you can make today. I sincerely hope these steps help your cherished creations find their way into the hands of loyal fans who truly treasure them!
If you found this guide helpful, please consider sharing it with your fellow makers. See you in the next article! This was Yassy from Crafters!


For example, if you are looking for articles about mizuhiki, try searching for "mizuhiki"; if you are interested in tools, try keywords like "nippers" or "pliers."
