Japanese Shrink Plastic & Resin Crafting: The Ultimate Coating Guide for a Domed, Warp-Free Finish
yassy
Crafters!
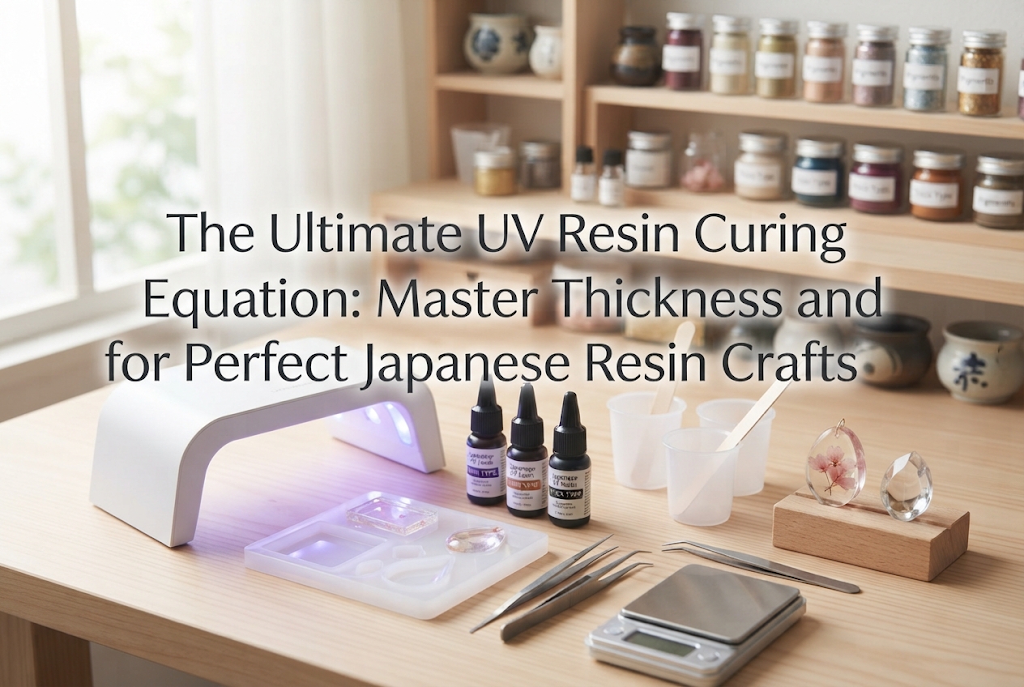

Hello, everyone! It’s Yassy from Crafters! (・∀・)
As someone who absolutely loves creating, looking at, and buying all kinds of handmade crafts, I’m back again to share some serious know-how that will dramatically elevate your crafting journey!
Have you ever experienced this while working with UV resin? You cured your piece for the exact amount of time listed on the bottle, yet the surface still feels sticky—or worse, when you removed it from the silicone mold, the back was a slushy, liquid mess?
In reality, instructions like "Curing time: approx. 2 to 3 minutes" printed on resin bottles are merely baseline estimates assuming a specific environment and very thin layers.
The time required for UV resin to cure completely into a rock-hard finish depends entirely on the combination of two factors: the thickness of your piece and the performance of your UV lamp.
If you don't fully understand this relationship, no matter how meticulously you remove bubbles or how cute your embedded charms are, you’ll end up with a ruined project. In this guide, I’ll break down the science and hands-on experience behind resin thickness and light power so you never have to cry over sticky resin failures again!
Understanding how UV resin transforms from a liquid to a solid is the fastest way to prevent mistakes.
UV resin liquid contains ingredients called "photoinitiators." When exposed to ultraviolet light of specific wavelengths, these photoinitiators react, causing the resin molecules to cross-link and harden into a solid form.
In short, if UV light cannot reach deep into the interior of the liquid resin, the chemical reaction stops right in its tracks.
This is where two main obstacles come into play: the thickness of the resin layer and the quality of the light emitted by your lamp.
Light naturally loses intensity as it passes through a material. The thicker the resin layer, the harder it is for UV rays to penetrate all the way to the bottom. Furthermore, if your lamp's wavelength or wattage is insufficient, no matter how many hours you shine the light, the photoinitiators won't trigger, and curing will simply stall.
Instead of blindly following generic package instructions, it’s vital to assess your project and think: "Given this thickness and my current lamp, how many minutes do I actually need?"
Don't fall into the trap of assuming a piece is finished just because the top feels hard. A piece that is only surface-cured leaves a wet or gooey center inside a hardened shell. Over time, it can warp, crack, or leak uncured liquid resin that gets all over your hands. Aiming for "full curing"—where the piece is completely hardened to its core—is the only way to ensure safe, high-quality handmade crafts.
Thickness has an exponentially larger impact on curing time than most crafters expect. Because light penetration drops drastically as depth increases, curing time does not scale linearly—it increases closer to a squared proportion.
Here is a helpful reference guide for estimating curing times based on layer thickness. (Please note that actual times will vary depending on your environment, resin brand, and equipment, so use these as general guidelines.)
If you try to pour a 5mm deep piece all in one go and blast it with light, the surface will shrink and harden rapidly, blocking light from reaching the center. This also generates intense heat (an exothermic reaction), which can warp your finished piece or damage your silicone mold.
When crafting dimensional resin pieces, pouring 2mm and curing for 1 minute—repeated 3 times—is significantly faster and yields far superior results compared to pouring 5mm at once and attempting to cure it for 10 straight minutes.
Whenever I work on 3D pieces, I always strictly follow this layering technique, building up from the base a few millimeters at a time. This is my absolute secret to eliminating uncured centers completely!
The second major factor controlling cure time is your choice of light. Generally, resin crafters use either UV-LED hybrid lamps ( wavelengths: 365nm + 405nm) or traditional UV lamps (365nm fluorescent tube style).
Today, UV-LED hybrid lamps are the standard. Hybrid models covering both 365nm and 405nm wavelengths can cure almost all modern UV resins and LED resins at ultra-fast speeds, ranging from seconds to a couple of minutes.
On the other hand, classic boxy UV lamps using 365nm fluorescent tubes take much longer. A piece that takes 1 minute under a UV-LED lamp might require 3 to 5 minutes under a traditional UV box.
Also, beware of common misconceptions regarding wattage (W)!
The idea that "higher wattage always means faster curing" is only partially true. Wattage measures electrical power consumption; it doesn't directly measure light intensity (irradiance) or how well the wavelength matches your resin.
Always know your lamp's exact specifications—whether it is UV-only or UV-LED hybrid, and what its wattage output is—before setting your curing timer.
Clear resin lets light pass through directly, but adding colorants, glitters, or charms changes everything. Inclusions absorb, reflect, or block light. Once you mix anything into your resin, plan to extend your cure time by 1.5 to 3 times compared to clear resin.
Pay extra attention to opaque pigments and deep colors:
The type of decorative element embedded inside also alters light flow:
When working with colored resin, I always follow one of two rules: either keep the pigment mix slightly sheer, or pour in ultra-thin layers of around 1mm and build them up. If you pour a 5mm layer of dense, opaque resin, no amount of top-side exposure will cure the bottom. Layering is your best friend!
The type of mold or frame you pour resin into determines how light enters your project. Adjust your technique based on your container:
Since bezels have no built-in bottom, they are placed on masking tape or silicone tape during the pour. After curing the front side under the lamp, always peel off the tape, flip the piece over, and cure the reverse side directly for at least 2 minutes. The side touching the tape is prone to remaining tacky, but direct exposure to the back creates a smooth, crystal-hard finish.
Immediately after curing under a lamp, resin gets very hot from the chemical reaction. While hot, resin remains slightly soft and pliable. If you force it out of a mold immediately, you risk warping the piece or leaving unsightly fingerprints.
Always let your cured piece sit untouched for 1 to 2 minutes until it completely cools to room temperature. As it cools, the resin contracts slightly and reaches its full hardness. Once cool, pop it out of the mold and give the entire bare piece a final 1-minute "finish cure" under the light for perfect results!
Here is my foolproof 5-step process for curing resin perfectly every single time without any residual tackiness:
By following these 5 steps, all surface tackiness disappears, leaving you with a sleek, glass-like finish that feels amazing to touch!
Here are clear answers to frequent questions beginners ask when troubleshooting resin curing issues:
Q1: I cured my piece under the lamp for over 5 minutes, but the surface is still tacky and sticky. What should I do?A1: This is usually caused by either "oxygen inhibition" or a wavelength mismatch between your resin and lamp.UV resin can struggle to cure on surfaces directly exposed to atmospheric oxygen. Also, if you use an older UV-only lamp with modern LED-specific resin, it won't harden properly.First, check if your lamp's wavelength matches your resin's requirements. If the specs match but it's still tacky, don't just keep adding time under the light. Instead, apply a thin coat of specialized resin gloss/sealant and re-cure, or place a clear plastic film over the wet surface to block air before curing for 1 minute. It will turn silky smooth instantly!
Q2: I wanted to make sure my resin was completely solid, so I left it under the lamp for 10 minutes. Now my piece looks yellowish!A2: This is caused by overcuring, which cooks and degrades the resin matrix. While UV light provides the energy to harden resin, excessive exposure breaks down the polymer structures, leading to severe yellowing. Longer isn't always better! Stick to recommended cure times (3 to 5 minutes total across both sides). If a piece feels soft, try letting it cool, pouring thinner layers, or curing from the back instead of blasting it continuously.
Q3: While curing, smoke-like vapor came out of my mold and the finished piece turned out warped. Why?A3: That vapor was heat caused by an intense exothermic reaction. As resin cures, it releases energy as heat. Pouring too much resin at once creates extreme thermal spikes—sometimes reaching nearly 100°C (212°F)! This heat deforms silicone molds and warps the resin itself.To prevent this, pour in smaller, thinner layers. If using a high-wattage lamp (like 48W+), elevate the lamp slightly further away from the piece to reduce light intensity.
Q4: My lamp used to harden resin instantly, but lately it seems to take much longer. Is my resin bad?A4: Your lamp's light source (UV bulbs or LED chips) is likely degrading. Traditional UV fluorescent bulbs lose UV intensity over time and should be replaced every 6 months with regular use. LED chips also gradually lose irradiance after long-term use. If your resin stops setting firmly despite using proper techniques, it’s a sign to replace your light bulbs or upgrade your lamp. Recognizing tool lifespan is part of mastering the craft!
Resin curing time isn't just a random number on a timer. It’s a logical, delicate balance between three core elements: layer thickness, added pigments or charms, and your lamp's wavelength and power output.
Keep these absolute rules in mind:
Once you internalize these fundamentals, sticky surfaces and ruined slushy centers will become a thing of the past!
There’s nothing quite like the magic of watching liquid resin transform instantly into a crystal-clear, gem-like piece. Master this process, and turn your best creative ideas into flawless, sparkling works of art. I'm cheering you on!
If you found this guide helpful, please share it with your crafty friends or on social media—it means the world to me and keeps me inspired! Until next time, happy crafting! This was Yassy from Crafters!



For example, if you are looking for articles about mizuhiki, try searching for "mizuhiki"; if you are interested in tools, try keywords like "nippers" or "pliers."
