Essential Japanese Needle Felting Tools for Beginners: How to Choose Without Mistakes
yassy
Crafters!

Hello, everyone! This is Yassy from Crafters! (・∀・)
With just a bit of fluffy wool and a special barbed needle, you can poke your way into creating adorable animal figures, miniature sweets, and so much more. That is the magic of wool felting. Many people come across these delightful creations in Japanese handmade craft shops or on social media and think, "I’d love to try making that myself!"
Personally, I absolutely love making wool felt pieces, admiring the delicate work of other felt artists, and decorating my room with cute needle-felted mascots. I truly believe it is a wonderful craft where a single needle and a bundle of wool can unlock endless possibilities for three-dimensional sculpting.
However, when beginners think about jumping into wool felting, I often hear concerns like:
In this guide, I will walk you through the essential foundations of wool felting—from how it works scientifically to the types of items you can create, actual difficulty levels, workspace setup, and overall costs. By the end of this article, all your hesitations will vanish, and you will be ready to pick up a felting needle. Let’s dive in!
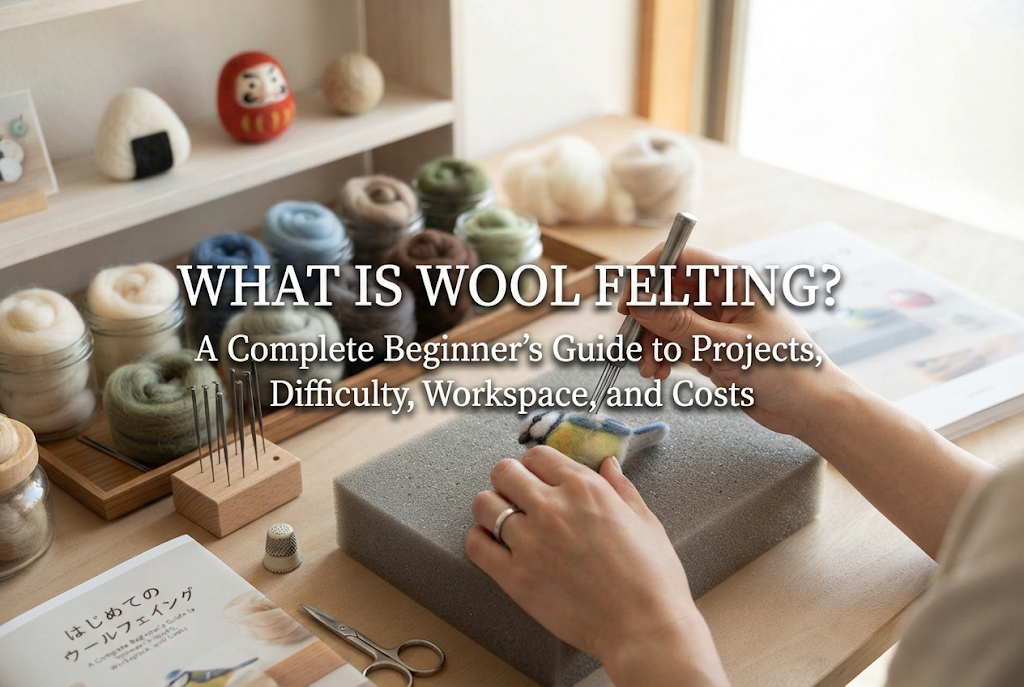
Wool felting is a craft technique that uses raw, carded sheep's wool (batting or roving) to create various three-dimensional sculptures and flat decorative pieces. Unlike knitting or crochet, which work by looping yarn, or sewing, which joins woven fabrics together, felting works by consolidating and hardening the raw fiber itself into whatever shape you desire.
Wool felting is broadly divided into two main methods: needle felting and wet felting. Before choosing which path to take, it helps to understand why and how fluffy wool solidifies in the first place.
The surface of sheep’s wool fiber is covered with microscopic, overlapping fish-scale-like structures called scales. When stimulated from the outside, these scales lift open and catch onto one another.
When you poke wool with a specialized felting needle, the tiny barbs along the needle's tip catch the wool fibers and push them back and forth. Poking repeatedly causes the fibers to tangle intricately, locking the scales tightly together and compacting the mass into a dense, solid form.
This means you can sculpt sturdy three-dimensional objects entirely through physical friction and entanglement, without needing a single drop of glue or thread. The more times you poke the wool, the firmer and smaller it becomes. Once you grasp this simple mechanism, you can control shapes freely.
When starting out, understanding the distinction between these two primary felting techniques is essential. While needle felting is by far the most popular in the everyday handmade craft community, let’s compare both:
If you are a beginner looking to pick up wool felting, starting with needle felting is by far the easiest and most accessible route to creating charming 3D shapes with minimal tools.
The greatest charm of wool felting is its limitless freedom—with a little imagination, you can sculpt almost anything. Here are some of the most popular project styles to help you envision what you would like to make.
The classic signature of wool felting is the rounded, lovable animal mascot or character doll. Bears, bunnies, cats, penguins—you can shape any creature you adore.
Unlike plush toys made from sewn fabrics, needle felting requires no flat patterns. You can directly translate the form you picture in your head straight into the wool. By creating simple building blocks like spheres and ovals and joining them together, even total beginners can quickly produce delightful results.
If full 3D sculpting feels intimidating at first, flat and semi-3D relief pieces are a fantastic alternative. Using a sheet of commercial flat felt fabric as a canvas, you simply needle-felt colored wool onto the surface, much like painting with wool fiber.
By felting floral or botanical motifs onto a backing and attaching a pin on the reverse side, you can craft lovely brooches. Creating "frame art" by felting landscapes or portraits within an embroidery hoop or picture frame has also become a hugely popular interior decor craft. These projects take less time than full 3D figures and don't require balancing complex dimensions, making them perfect for building quick confidence.
Using the wet felting technique, you can create durable, seamless pouches and small textile goods. By wrapping wool around a flat resist template and vigorously working it with soapy water, you can magically form an integrated, seamless container or bag.
These pieces offer the natural warmth of wool combined with impressive heat insulation and durability. As long as you have access to a sink or kitchen area with running water, you can craft stylish, functional everyday items.
At an advanced level, needle felting can achieve lifelike animal portraits that rival taxidermy in detail. After sculpting a firm core body, multiple shades of fine wool fibers are rooted into the surface one small tuft at a time—a technique known as fur planting (flocking).
Realistic miniature replicas of beloved pet dogs and cats are in high demand in the Japanese and global handmade art markets, often commanding premium prices as fine art. While this level requires great patience, infusing that sense of life into your own creation is deeply rewarding.
People often worry: "Does needle felting take too much skill? Will my piece turn into an unrecognizable monster?" In short, the general difficulty of wool felting is low to medium. As long as you understand the core mechanics, anyone can shape wool successfully.
However, diving in entirely blindly can lead to common stumbling blocks. Here is how to navigate past them smoothly.
Compared to sewing or knitting, wool felting requires almost zero technical prerequisite knowledge. As long as you learn how to hold and guide the needle, you can begin sculpting on day one.
Because there are no strict rules or stitch counts, however, developing a feel for when a piece is "done" and how to keep proportions symmetrical takes a little practice. Start with simple round balls; by your second or third piece, you will easily be able to assemble sweet character mascots. Think of it as a craft that feels very similar to sculpting with clay, combined with the calm persistence of repeated needle-stabbing.
Two frequent mistakes beginners encounter are pieces that remain soft and collapse when touched, or pieces that get over-poked until they are tiny and rock-hard.
A good golden rule for optimal firmness is aiming for the density of a firm bouncy rubber ball.
The primary concern for most beginners is accidentally stabbing their fingers with the sharp needle. Because felting needles feature jagged barbs along their tips, an accidental prick hurts much more than a standard sewing needle.
In virtually 100% of cases, finger injuries happen when you hold the wool piece directly in your hand and point the needle toward your fingers. To craft completely safely, follow two absolute rules:
Uneven ear sizes or a lopsided face are common frustrations. This happens when you stare at the piece from a single fixed angle for too long. If your focus is glued strictly to the contact point of the needle, you will miss the overall balance drifting out of alignment.
To prevent this, make a habit of holding the piece away from your face every five minutes and rotating it 360 degrees to inspect it from all angles. In addition, when making matching parts like two ears or eyes, do not finish one completely before starting the second. Poke both pieces side by side in parallel so you can match their dimensions step by step.
When starting a new hobby, how much living space it occupies is a vital question. One of the greatest advantages of wool felting is that it requires less space than almost any other craft genre.
Believe it or not, an area the size of a single sheet of A4 printer paper is all you need for needle felting! You do not need heavy machinery, electrical outlets, or running water.
A kitchen dining table, a small computer desk, or even a hard tray placed on your lap is plenty of room to work. It is ideally suited for compact apartments and crafters without a dedicated studio room. Placing a craft tray or desk mat underneath your workspace makes clean-up almost instantaneous by catching loose flyaway fibers.
During the felting process, tiny wool dust particles and loose fibers will inevitably shed around your seat. If you wear dark clothing while felting, fibers will naturally cling to your fabric.
The ultimate secret to keeping your space clean is keeping an adhesive lint roller right beside your chair. With a single lint roller, you can sweep your tabletop and clothes clean in ten seconds flat once your session is finished.
To keep unused wool clean and free of ambient household dust, store wool colors separately in clear zip-top plastic bags. It keeps your stash organized, visible, and protected.
Once you enter a focused felting zone, it is easy to lose track of time and poke away for hours. Without proper habits, this can quickly lead to neck and shoulder strain or eye fatigue.
Always set up a direct desk lamp to illuminate your hands brightly. Working in dim lighting not only tires your eyes but also increases the risk of misjudging needle depth and hitting your fingers. To protect your neck and back, avoid slouching forward over the table; elevate your elbows slightly and bring your gaze upward while working.
One of the biggest questions for any beginner is: "How much will it cost to get completely set up?" You will be glad to know that wool felting has one of the lowest barriers to entry in the entire craft world.
If you just want to try making a single cute project first, an all-in-one starter kit typically costs between $10 and $20 (around 1,000 to 2,000 JPY in Japan). These kits usually include the pre-measured wool fibers, dedicated needles, a small felting mat, and illustrated instructions. You can open the package and finish a project that very day.
While ultra-budget kits exist at 100-yen discount shops, their needles tend to snap easily and the wool can feel coarse or stiff. For an enjoyable, stress-free first experience, choosing a craft-brand kit from an established supplier is well worth the modest price difference.
If you prefer to skip pre-packaged kits and gather your own custom tools and wool palette from the start, here is a typical breakdown:
Even buying proper individual tools, your upfront investment stays around $20 to $30. Unlike resin casting, pottery, or leatherworking, there are no expensive specialty machines or curing lamps required.
As you continue crafting, your ongoing expenses are limited to occasional needle replacements and replenishing wool. Felting needles can break if bent awkwardly, but replacements cost only a couple of dollars each. Wool roving is also quite inexpensive, and a single palm-sized mascot only consumes a few grams of wool. The cost of materials per project often comes out to just a dollar or two, making needle felting an exceptionally wallet-friendly, sustainable hobby.
Drawing from my own years of crafting, studying artisans' works, and collecting needle-felted pieces, here are two foundational tips to ensure your pieces turn out firm, smooth, and beautifully sculpted.
Using expensive, brightly dyed colored wool for the entire inside of a sculpture is one of the most common mistakes beginners make—both financially and structurally.
The secret to efficient, firm sculpting is to use an affordable, quick-felting base wool (often sold as needle felting core batting or watatama/core wool) for the internal structure. Sculpt the firm foundational shape using this base wool first, then wrap a thin layer of your chosen colored wool over the surface and felt it down smoothly.
This two-step approach offers two huge benefits:
Whenever you poke your needle into the wool, always pull it out at the exact same angle it entered. If you lever, bend, or twist the needle while the tip is buried inside the dense fiber, the delicate tempered tip will snap off inside your piece.
Additionally, adjust your penetration depth according to the phase of sculpting:
Mastering this shift between deep core poking and shallow surface refining is the key to banishing lumpy textures and creating a smooth, professional finish.
Wool felting requires no bulky machinery, no loud tools, and only a tiny corner of your desk. With a modest budget and a handful of soft fibers, you can embark on an incredibly creative journey.
Watching loose, airy cloud-like wool gradually take form under your needle into a sweet, expressive little figure brings a sense of mindful relaxation and creative accomplishment that few other crafts can match. Even if your first attempt ends up a little crooked, wool felting is remarkably forgiving—you can always add a pinch more wool to adjust the shape and keep going!
Pick up a starter kit, feel the rhythm of the needle, and enjoy the soothing world of wool craft. I can’t wait to see the unique characters you bring to life!
If you enjoyed this guide, please share it with your fellow crafters. Until next time—happy crafting from Yassy!




For example, if you are looking for articles about mizuhiki, try searching for "mizuhiki"; if you are interested in tools, try keywords like "nippers" or "pliers."
