Professional Sewing Techniques for a Flawless Finish: From Fabric Prep to Final Pressing
yassy
Crafters!

Hello, everyone! It's Yassy from Crafters! (・∀・)
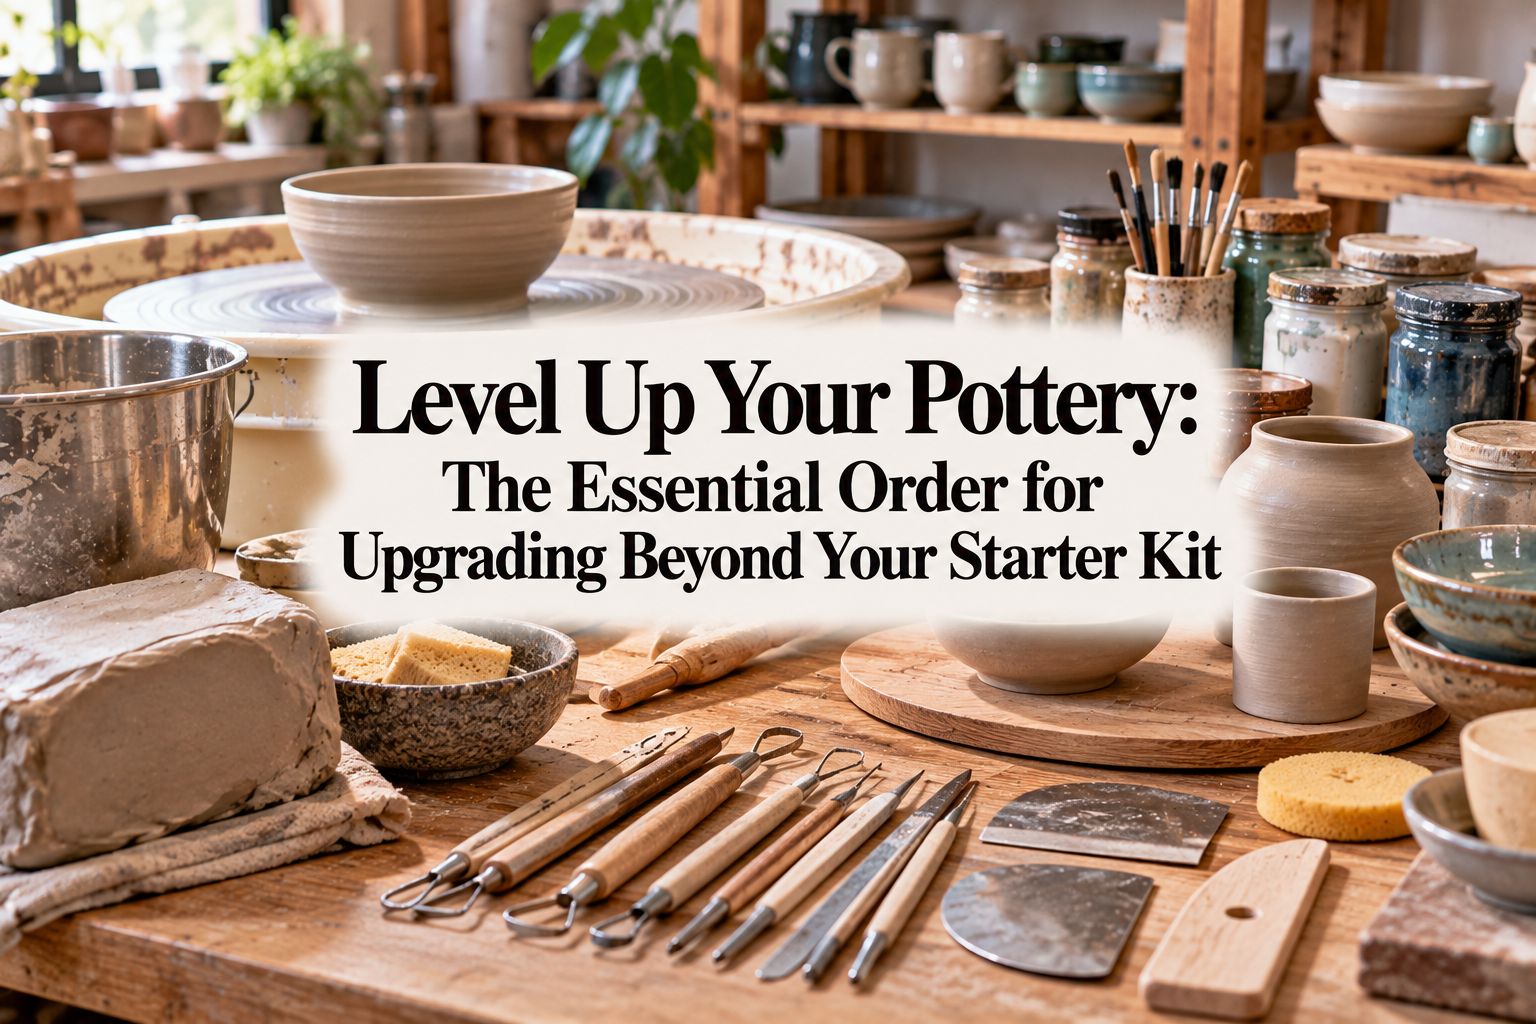
Kneading clay and shaping your very own tableware is an endlessly deep and fascinating world. In my daily life, I love making all kinds of handmade crafts, visiting galleries, and collecting pieces from my favorite ceramic artists. Pottery possesses an overwhelming warmth and distinct presence that you simply don't find in other crafts.
When you first began working with ceramics, you likely enjoyed discovering the feel of clay using a beginner starter kit packed with basic essentials. However, after finishing a few pieces, common challenges often begin to surface: the trimmed lines around the base feel wobbly, the banding wheel doesn't spin smoothly—leading to uneven wall thickness—or the drinking rim feels uncomfortably rough to the lips.
These issues are not due to a lack of skill on your part. The primary culprit is the basic, simplified tools typically included in introductory starter kits.
Pottery is a craft where the precision, balance, and sharpness of your tools directly reflect upon the finished piece. By graduating from kit-grade implements and upgrading to high-quality tools in the right order, the quality of your work will improve dramatically.
In this guide, I will walk you through the definitive order for upgrading your pottery tools, helping you move past the beginner plateau and create beautifully refined, professional-grade pieces!
Pottery starter kits are fantastic for keeping initial costs low and letting you experience working with clay without intimidation. However, the items inside are designed primarily to prioritize low manufacturing costs and simple handling.
As your technique improves and your eye becomes more discerning, you reach a physical barrier where starter tools simply cannot deliver. Let's first clarify why relying on kit-grade tools holds back the quality of your finished work.
Trimming tools (kanna) and scrapers included in entry kits are usually made of thin stainless steel or soft metals. These flexible blades tend to bend and vibrate against the resistance of the clay, causing unwanted ridges and rippled surfaces.
Leather-hard clay offers surprisingly stiff resistance. When you trim with a dull tool, instead of slicing cleanly through the clay, it scrapes and tears the surface. This leaves the clay around the foot ring (kodai) fuzzy, ragged, and uneven.
Lightweight hand turntables (banding wheels) made of plastic or thin metal often feature low-precision bearings. They tend to wobble or hitch every time you turn them. Furthermore, because the base lacks sufficient weight, the wheel itself slips when you apply hand pressure to shape the clay.
To achieve uniform wall thickness and keep a clean, circular shape, weight and momentum—a wheel that spins continuously and steadily with a single push—are essential. As long as you use an overly light banding wheel, pulling perfectly centered, balanced circular vessels remains exceedingly difficult.
The first impression of a cup or bowl is decided by the rim: how smooth it feels against the lips and hand. The thin synthetic sponges or basic cloths included in starter kits cannot compress and smooth the rough grog (chamotte) particles back into the clay body, leaving behind a gritty texture.
The reason artisan vessels feel so comforting and smooth against your lips is that potters carefully finish and compress the rim using high-grade chamois leather (nameshi-gawa). A single finishing tool can mean the difference between a refined piece and one that feels unintentionally rough.
You don't need to replace every tool at once. The smartest approach is to upgrade in the order that makes the biggest impact on your results, allowing you to clearly feel your technique advance.
Here is my strongly recommended upgrade sequence:
In Japanese ceramics, there is a saying that a piece's quality is decided by its trimming (kizuri). The process of carving the foot ring is crucial. Without question, the very first tool you should retire from your starter kit is your trimming loop.
Professional pottery trimming tools are made from dedicated cutlery steel that has undergone proper heat treatment (quenching and tempering). They offer exceptional hardness and razor-sharp edges, gliding through firm, leather-hard clay as smoothly as slicing tofu with a sharp kitchen knife.
When your tool cuts cleanly, the clay peels away in continuous, paper-thin ribbons, creating a smooth, mirror-like finish on the foot ring. Because the rigid blade does not flex under pressure, you can control base thickness down to the millimeter.
When selecting a trimming tool, look for labels indicating hardened steel (yakiire-kō) or high-carbon tool steel. Steer clear of stamped pieces made from bent sheet metal.
For your initial shape, choose either a double-ended flat tool featuring both a rounded and a square edge, or a sturdy loop tool crafted from hardened spring steel band (obi-kō). Having just one reliable, rigid trimming tool will immediately elevate the underside of your vessels to gallery-level polish.
Next on your list should be your working foundation: the hand turntable (banding wheel, or te-rokuro). Whether you focus primarily on hand-building (te-hineri) without an electric wheel, or use a turntable for pre-shaping, carving, and trimming, a solid banding wheel is an indispensable partner.
Professional-grade banding wheels are cast from solid iron. Fitted with high-precision ball bearings inside, a single gentle push sends them spinning silently and steadily for an extended period.
This smooth, uninterrupted rotation is the secret to building symmetrical pieces. Because your hands do not bounce and you can apply steady, uniform pressure, the thickness of your walls remains consistent from the base upward, allowing you to create undistorted, clean cylinders and bowls.
When shopping for a banding wheel, always check the tabletop diameter and overall weight. A diameter of 20 cm to 25 cm (roughly 8 to 10 inches) and a weight of at least 5 kg (around 11 lbs) is ideal.
Lightweight options are cheap, but they shift across your table when tapping or carving clay on top. A sturdy, heavy cast wheel will last virtually a lifetime, making it an upgrade well worth the investment.
Once your trimming blade and forming base are secure, shift focus to surface refining and contour details. This is where the quality of your finishing leather (nameshi-gawa) and bamboo shaping tools (take-hera) creates a clear distinction.
Using synthetic leather scraps, rough sponges, or kitchen cloths from cheap sets will drag across the clay rim and leave fine grooves. Instead, moisten a piece of genuine natural deerskin chamois (shika sému-gawa) with water, drape it over the rim, and compress gently as the wheel turns.
The microscopic fibers of natural chamois push coarser sand and grog inward, smoothing the surface paste over the edge. This small extra step makes mugs, tea bowls, and soup bowls infinitely more comfortable against the lips.
Starter kit plastic modeling tools often have rough molding seams or bend excessively, making it difficult to score sharp, defined contours into the clay. Instead, opt for proper bamboo modeling ribs carved from seasoned, dense bamboo.
Bamboo glides effortlessly across moist clay. Used with a little water, it shapes crisp waist angles and cleanly undercuts the foot ring without tearing or dragging. Having a few distinct bamboo profiles tailored to your grip allows you to accurately realize the exact curves you envision.
To finalize your toolkit upgrade, modernize your preparation and release implements. Upgrading these auxiliary items eliminates frustrating accidents during delicate stages of production.
When severing a finished vessel from the wheel head or board, thick nylon cords exert excessive drag, distorting the base and warping the rim. Upgrade to an ultra-fine stainless steel wire or a professional twisted piano wire/traditional cut-off string (kiri-ito).
A thin wire glides through the clay with minimal resistance, releasing your piece cleanly without pulling it out of round. It leaves a neat pattern on the base and allows you to transition smoothly to leather-hard trimming.
When hand-building plates or square dishes using the slab method (tatara-zukuri), inconsistent thickness causes warping or cracking in the kiln. Invest in paired rolling slats of precise thicknesses (such as 5 mm, 7 mm, and 10 mm) and roll your clay over heavy-duty canvas fabric.
A quality canvas surface prevents clay from sticking to your tabletop and relieves surface tension, dramatically reducing distortion during the bisque and glaze firings.
When acquiring better tools, knowing the mistakes beginner potters often make helps ensure you get the absolute most from your investment.
High-carbon hardened steel blades offer unmatched cutting performance, but they are prone to oxidation. Leaving a damp steel kanna on your bench overnight can coat the cutting edge in red rust, quickly dulling the fine edge.
After every studio session, rinse off all clay slurry, dry the blade thoroughly with a clean cloth, and apply a thin film of protective oil (such as camellia oil or light machine oil) before storing. This simple habit keeps pro-grade cutting edges sharp for years.
Pottery supply catalogs and shops display countless specialized rib shapes and exotic trimming loops. It is tempting to buy a massive bundle, but acquiring too many tools at once makes it difficult to understand which tool serves which specific purpose, leading to hesitation at the wheel.
Follow the sequence outlined above: master one versatile, high-quality trimming kanna, a piece of genuine chamois, and a heavy banding wheel first. Once your personal aesthetic and vessel forms become clear, you can select specialized modeling tools with intention.
As someone who treasures craft gear, I am passionate about tool maintenance! Tools cared for with attention will always reward you by helping you create better work.
Here are two maintenance routines I personally follow:
Repeated cycles of soaking and drying cause natural bamboo to dry out, lose its luster, and eventually split. After washing and drying your bamboo tools, periodically rub a small amount of walnut oil or olive oil into the grain.
The oil penetrates the wood, repelling excess water and improving how slickly it glides over moist clay. Over months of use, your bamboo ribs will develop a deep, amber patina, becoming trusted companions unique to your studio.
If clay slip (dobe) dries into the pores of your chamois, the leather stiffens and loses its pliability. After trimming and smoothing, massage the chamois gently in lukewarm water to wash away all clay residue.
Avoid drying it in direct sunlight, which shrinks and hardens the leather. Hang it in a shaded, well-ventilated spot to air-dry. Once dry, knead it lightly between your fingers, and it will return to its supple, cloud-soft state.
If you have worked through your starter kit and discovered the joy of making pottery, you will immediately feel the difference high-quality tools provide. Switching to professional-grade tools is not an indulgence—it is a vital step toward freeing your expressive technique and elevating the quality of your ceramics.
To recap, here is your essential upgrade roadmap:
Once you experience the effortless slice of a hardened-steel blade through leather-hard clay and the silent, grounded glide of a cast banding wheel, there is no looking back. Quality tools turn your time with clay into an even deeper, more rewarding creative journey.
Pick up your upgraded studio essentials and start creating pottery you will be truly proud to share and display!
If you found this guide helpful, please share it with your fellow pottery friends and craft community. See you in the next article! This was Yassy from Crafters!

For example, if you are looking for articles about mizuhiki, try searching for "mizuhiki"; if you are interested in tools, try keywords like "nippers" or "pliers."
