What Is Glass Fusing Glass? Differences from Regular Glass & Beginner’s Guide
yassy
Crafters!

Hello, everyone! It’s Yassy from Crafters! (・∀・)
Welcome to the wonderful world of handmade crafting! There is truly nothing quite like the excitement of wearing accessories you made yourself, decorating your room with your favorite creations, or browsing craft markets to discover works poured over with love by passionate artisans. Personally, I love it all—making crafts, admiring lovely creations, and collecting handcrafted pieces that showcase an artist’s dedication!
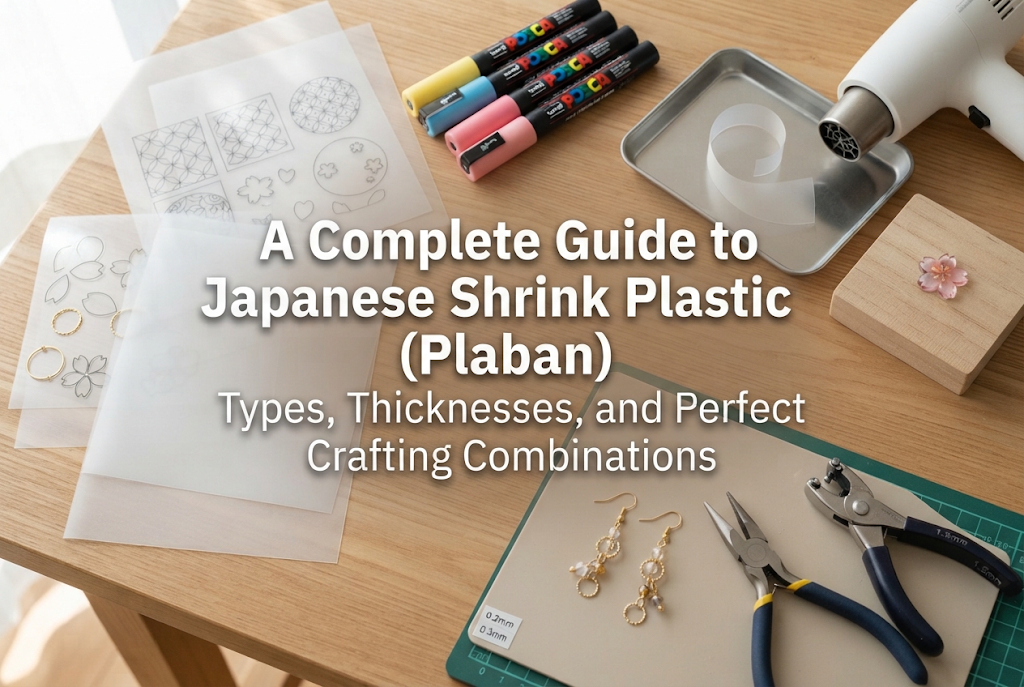
Today, I want to dive deep into a medium that is wildly popular among Japanese crafters, from beginners to seasoned artists: shrink plastic, widely known in Japan as plaban (short for "plastic ban" / plastic board).
You might be thinking, "Isn't shrink plastic just a craft toy for children? Can you really make sophisticated, adult jewelry with it?" Or perhaps you have walked into a craft store or a 100-yen shop in Japan, stared at the massive wall of different sheets, and wondered which one on earth to choose.
In reality, the finished quality of your shrink plastic art changes drastically depending on the type of sheet, its thickness, and the coloring tools you pair with it. If you choose the wrong combination, you might run into frustrating setbacks—like your piece curling up into a hopeless, crumpled ball inside the toaster oven, or colored pencils simply sliding right off without depositing any color at all.
In this guide, I will share all the knowledge and hands-on techniques I have developed over the years. We will cover the basic mechanics of shrink plastic, how to choose the right thickness, ideal coloring pairings, troubleshooting common baking mistakes, and pro-level finishing methods. By the time you finish reading, you will know exactly how to pick the perfect materials for your dream project!
The standard material used for craft shrink plastic is polystyrene (PS). Polystyrene has a fascinating physical property: when exposed to heat, it contracts, thickens, and hardens. Most craft shrink plastic sheets shrink down to roughly 1/4 to 1/6 of their original surface area when heated in a toaster oven, while increasing in thickness by approximately 5 to 6 times.
The greatest charm of shrink plastic craft is watching a thin, flexible plastic sheet transform under heat into a dense, rigid piece that feels almost like a molded acrylic cabochon or glass charm.
In modern Japanese craft culture, plaban has evolved far beyond a simple childhood pastime. It is celebrated as a versatile, high-end medium for pierced earrings, clip-on earrings, brooches, keychains, and breathtaking three-dimensional floral sculptures. Because the sheets are affordable and can be cut and shaped using basic household scissors and a toaster oven—without requiring heavy-duty workshop machinery—it is hands down my top recommendation for anyone starting their handmade jewelry journey.
When picking out shrink plastic, the very first specification you should check on the packaging is the thickness. In Japan, sheets are typically labeled in millimeters: 0.2mm, 0.3mm, 0.4mm, or 0.5mm. That fraction of a millimeter creates a massive difference in how easily the plastic cuts with scissors, how rigid it becomes after baking, and whether you can mold it into 3D shapes.
Here is a breakdown of each thickness and what it does best:
At 0.2mm, the sheet is very thin, allowing scissors or craft knives to glide through it effortlessly without requiring hand strength. It is the best choice if you are cutting out intricate silhouettes or detailed serrated outlines.
Its biggest strength is pliability. In Japanese rittai plaban (3D shrink plastic floral crafting), crafters mold the hot plastic immediately after pulling it from the toaster oven. In those precious few seconds before it cools, 0.2mm plastic can be bent, twisted, and curled smoothly using your fingers or embossing tools. If you want to shape lifelike flower petals or delicate ribbon ruffles, 0.2mm is an absolute must.
Keep in mind, however, that because it starts thin, its post-bake thickness is only around 1mm. If you try to make large keychains out of 0.2mm sheets, they may lack structural integrity and snap under pressure. Save this thickness for small earrings, delicate charms, and layered 3D components.
If you ask me which thickness I recommend most and use most frequently in my own work, it is definitely 0.3mm! It offers the ultimate golden balance of workability and durability.
It cuts cleanly with household scissors without cracking along the edges. After baking, it reaches a sturdy thickness of about 1.5mm to 1.8mm, providing plenty of strength for everyday jewelry, keychains, and charms. It resists extreme warping during heating and flattens out beautifully when pressed. If you are unsure what to buy, pick 0.3mm—you cannot go wrong.
Sheets measuring 0.4mm or 0.5mm feel noticeably thick and sturdy from the start. Once baked, they expand to over 2mm thick, yielding a satisfying heft and substantial feel identical to commercially manufactured acrylic merchandise.
Because the resulting strength is so high, this thickness is fantastic for bag charms, keyrings, and items that undergo daily handling and friction.
There are a few caveats, however. Due to its density, cutting 0.4mm or 0.5mm plastic requires significant hand strength. Forcing your way through with standard scissors can cause edge cracks or hand strain. Instead, score your cutlines multiple times with a sharp craft knife before snapping the edges cleanly, or use heavy-duty craft shears. Additionally, thick sheets tend to warp more drastically during baking, requiring precise oven temperature management and swift pressing technique.
Shrink plastic sheets also come with different surface textures and base opacities. Choosing the right surface is critical to matching your design style and coloring mediums.
This is the most standard, widely available transparent plastic sheet. It features a smooth, glossy surface that remains crystal-clear when baked.
Clear sheets are perfect for crisp line art drawn with permanent markers, or designs where you color the backside with acrylic paint or paint pens. Choose clear sheets if you want to achieve a stained-glass effect, transparent motifs, or sleek, glass-like accessories.
Frosted sheets come with one or both sides finely textured at the factory, giving them a translucent, frosted-glass appearance.
I strongly recommend frosted sheets to beginners! This pre-sanded surface allows dry, powdery coloring mediums like colored pencils and soft pastels to grab onto the plastic directly—no manual sanding required. You can effortlessly produce soft, airy shades and seamless gradient blends.
When baked, the cloudy white cast mellows into a refined, semi-translucent sheen reminiscent of fine ceramic or sea glass.
These sheets are manufactured with solid pigment built right into the plastic. White shrink plastic is especially useful in handmade projects.
With clear sheets, if you want your illustration to have an opaque white background, you must meticulously paint the entire backside with white paint. With white sheets, the plastic is already an opaque canvas, completely eliminating that step! Illustrations appear vivid and bright, making white sheets ideal for character-style charms and bold pop art.
Black sheets, on the other hand, provide an elegant, striking base for chic masculine jewelry, night-sky motifs, or designs inspired by intricate papercut art (kiri-e).
If you don't feel confident drawing freehand, inkjet-printable shrink plastic is a game-changer! You can print digital illustrations, typography, logos, or pet photographs directly from your home printer onto the sheet, cut them out, and bake them to create shop-quality merchandise.
Printable sheets come in clear and opaque white varieties. If you are printing detailed photographs, choose the white type so the colors stay vibrant. For transparent window effects, use the clear type. Remember: the ink will be wet right out of the printer, so let it dry completely before handling or cutting.
The most common beginner roadblock is coloring tool incompatibility—like pigment beading up or smearing off the plastic surface. Here is a handy compatibility breakdown:
A match made in heaven. Permanent markers adhere cleanly to smooth, untextured plastic. They are unbeatable for snappy line art and crisp outlines.
Tip: Filling large areas with permanent markers can leave visible streak lines. To minimize streaks, color in steady, parallel strokes in a single direction rather than scribbling back and forth.
If you want a soft, watercolor-like aesthetic or delicate gradient work, always pair colored pencils or pastels with frosted shrink plastic.
Smooth clear plastic provides no tooth, so pencil leads simply slide across without marking. But on a frosted sheet—or a clear sheet hand-sanded evenly with 400 to 600 grit sandpaper—the pigment grips beautifully.
When using pastels, scrape a small amount of pigment into powder using a fine tea strainer, then gently buff it into the sanded surface using a cotton pad, cotton swab, or your fingertip. As the piece shrinks in the oven, the colors condense, making the final result noticeably darker and more vibrant than when you drew it. A great rule of thumb is to color your design slightly lighter than your target shade.
To give line art a solid, vibrant background, try back-painting with acrylic paint or opaque water-based paint markers like Uni Posca.
Draw your crisp outlines on the front surface with a permanent marker, then paint your colors onto the reverse side. When viewed from the front, the lines remain crisp, protected, and scratch-free, resembling classic animation cell art.
Crucial Rule: Ensure water-based paints are 100% dry before placing the plastic in the oven. If you heat wet paint, moisture trapped inside will boil and blister, ruining the smooth surface.
Glitter nail polishes and gel coats are wonderful for adding shimmer and dimension to your finished pieces.
However, never apply nail polish or gel before baking. Putting polish into a hot toaster oven releases noxious fumes and smoke, which is extremely dangerous. Always bake and fully cool your shrink plastic before painting it with nail products.
Every crafter runs into a few baking hiccups at first. Knowing what causes them will save you precious time and materials!
As shrink plastic heats up, it naturally curls, twists, and occasionally looks like it will stick to itself. This is normal, but if it stays curled, the cause is usually excessive heat or uneven temperature distribution.
Solution: Never place your plastic directly onto a flat sheet of aluminum foil. Instead, take a sheet of foil, crumple it up tightly into a ball, gently smooth it back out, and place that inside the toaster. The textured ridges minimize contact points between the foil and the plastic, distributing heat evenly and preventing sticking. Using a sheet of parchment paper (baking paper) is also fantastic.
Furthermore, always preheat your toaster oven for 2 to 3 minutes. Putting plastic into a cold oven causes erratic, uneven shrinking. Once inside, watch closely: the plastic will contort, then flatten out on its own. Wait until all movement stops completely before taking it out.
Once removed from the oven, shrink plastic remains soft for only a few seconds. If you don't flatten it during this brief cooling window, it sets with an uneven, wavy surface.
Solution: Prepare your pressing station before you even turn on the oven.
Set out two sheets of smooth parchment paper and have a heavy, flat-bottomed object ready—such as a thick hardcover book, dictionary, or heavy acrylic pressing block. As soon as the plastic stops moving in the oven, quickly transfer it between the parchment sheets, set the heavy book on top, and press down firmly with your body weight for about 5 seconds.
Warning: Do not use paper towels or cloth napkins to press your piece; the paper fibers or fabric weave will emboss themselves permanently into the hot plastic.
A classic beginner mistake is punching a hole before baking, only to find after shrinking that the jump ring or jewelry hardware can no longer fit through it.
Solution: Remember that just like the sheet itself, your punched hole will shrink down to roughly 1/4 of its diameter.
A standard 6mm office hole punch will shrink down to a neat, perfectly proportioned hole measuring roughly 1.5mm to 2mm—just right for standard jewelry jump rings. If you use a micro-punch, the hole will shrink into a tiny pinprick that fits nothing. Stick with a standard 6mm punch. Also, punch at least 3mm to 5mm inward from the outer edge to prevent the plastic border from tearing during shrinkage.
Want to make your finished shrink plastic jewelry look like high-end boutique merchandise? The secret lies in a topcoat finish.
Left raw, pencil and marker work can wear down over time from friction, moisture, or oils from your hands. Applying a protective seal makes all the difference.
Coating your baked pieces with clear UV or UV/LED craft resin creates a glossy, domed, glass-like finish that instantly elevates the perceived quality of your accessory. It locks in the color, adds scratch resistance, and gives the piece a luscious, dimensional depth.
Place a small pool of clear resin in the center of your piece, guide it gently to the edges using a toothpick or silicone brush, let any bubbles pop, and cure it under a UV/LED nail or craft lamp.
Tip: Certain marker inks can bleed when brought into direct contact with wet resin. If you are concerned about smudging, brush on a thin barrier layer of water-based craft varnish or acrylic topcoat, let it dry completely, and then apply your UV resin dome.
To help you pick the right gear at the craft store, here are three foolproof project formulas based on the techniques we’ve discussed:
Shrink plastic is a remarkably versatile craft medium. A simple shift in thickness, surface finish, or coloring tool opens up an entirely new creative horizon. Starting with affordable sheets from a 100-yen shop or local craft supplier is a wonderful way to begin. Once you get the hang of it, exploring specialty frosted sheets and fine art markers will take your creations to an entirely new level!
Testing how different thicknesses cut, experimenting with color blends, and watching your designs transform in the oven is the true joy of handmade crafting. I hope this guide gives you the confidence to dive in, experiment, and create one-of-a-kind wearable art. I would be thrilled if my tips help make your crafting journey even more rewarding!
Until next time, happy crafting! This has been Yassy from Crafters!

For example, if you are looking for articles about mizuhiki, try searching for "mizuhiki"; if you are interested in tools, try keywords like "nippers" or "pliers."
