How to Choose Irons and Mini Irons for Handmade Crafts: Tips from a Japanese Crafter
yassy
Crafters!

Hello, everyone! It’s Yassy from Crafters! (・∀・)
When working on handmade projects, have you ever thought, "I want to create a smoother, more natural color gradient," or "I want a flawless, brushstroke-free finish that looks truly professional"? In my own journey of crafting, as well as admiring and collecting works from talented artisans, I have realized that the quality of the surface finish dramatically defines the overall value of a piece.
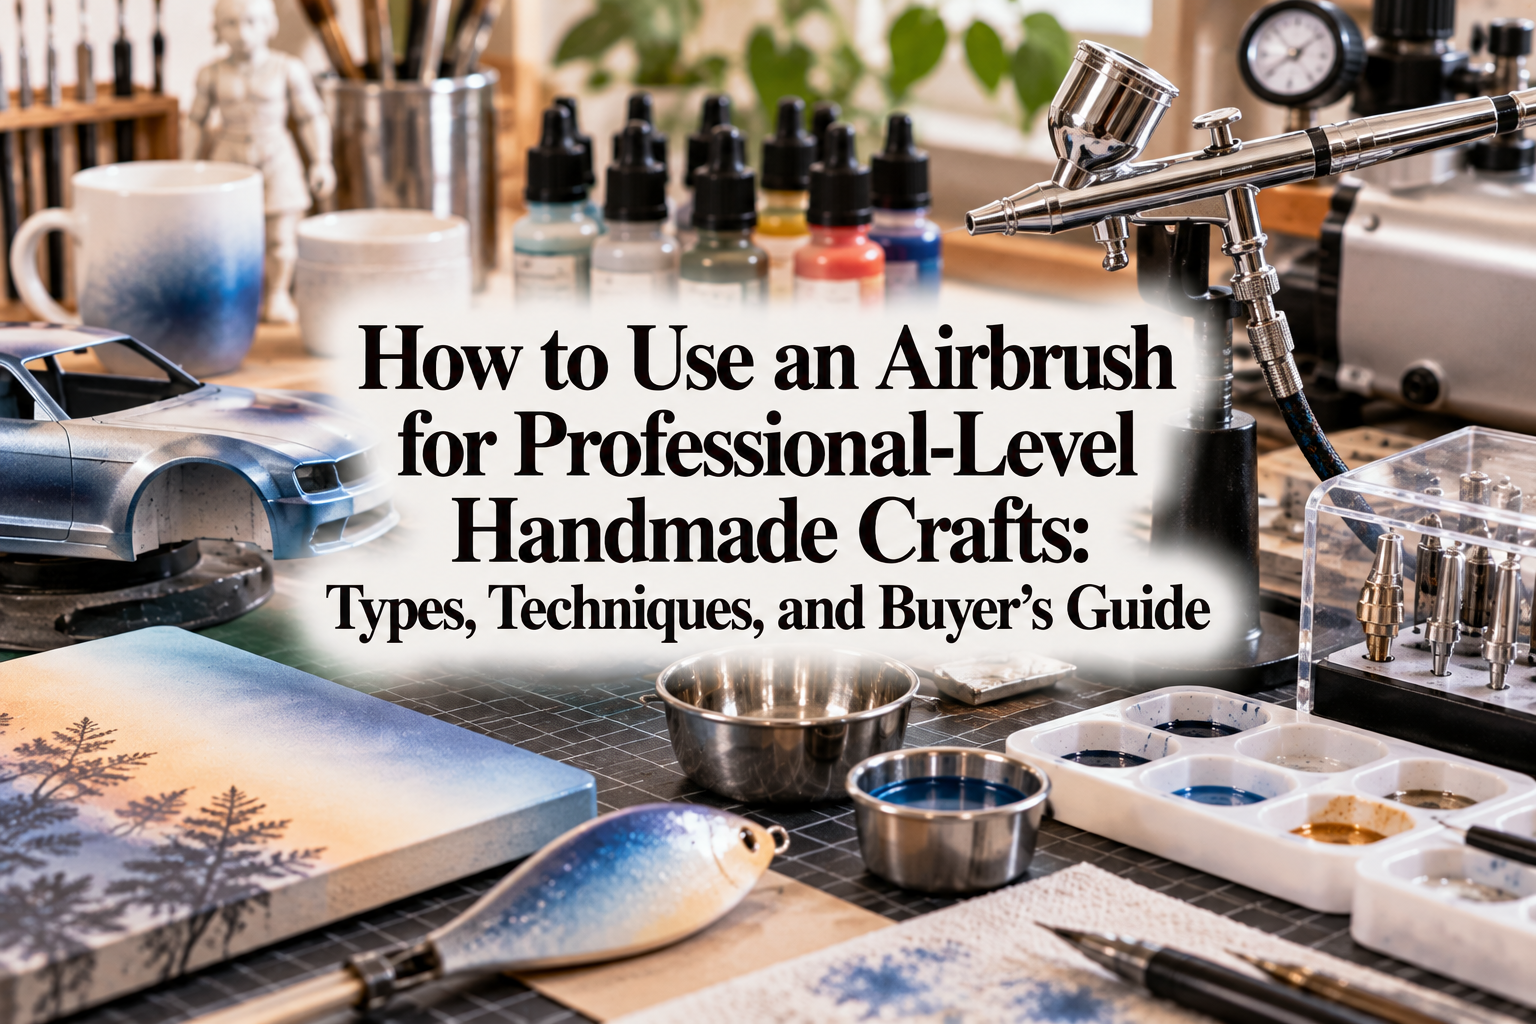
The ultimate tool that solves these challenges in one go is the airbrush. Many crafters assume that an airbrush is an intimidating tool reserved strictly for scale models or high-end figure painting. In reality, it works absolute wonders in everyday crafting—from resin art and clay miniatures to fake sweets and custom doll makeup.
In this guide, I will break down everything you need to know: the fundamental benefits of airbrushing, practical craft applications, equipment types, how to choose your first setup without mistakes, proper techniques, and essential safety tips. Let’s make the airbrush your greatest crafting ally and take your creations to the next level!
An airbrush is a painting tool that uses compressed air to atomize liquid paint into a fine, delicate mist. Unlike brushes or sponges that apply paint directly onto a surface, an airbrush deposits pigment in microscopic, semi-transparent layers.
Introducing an airbrush into your workflow expands your creative possibilities exponentially. Here are three key reasons why it elevates craft quality so dramatically:
When painting with a traditional brush, leaving brushstrokes or uneven thicknesses is almost inevitable, especially over larger areas or glossy surfaces. Achieving a truly flat, glass-like finish with a hand brush requires master-level technique.
Because an airbrush deposits atomized paint particles evenly, it leaves zero brush marks. The surface turns out astonishingly smooth, rivaling the factory finish of a commercial product. Furthermore, the fine mist easily penetrates crevices and textured surfaces, preventing missed spots on intricate 3D pieces.
The greatest strength of an airbrush is its ability to produce soft, feather-light gradients. Blending colors with a sponge or brush often results in muddy transitions or harsh visible lines.
With an airbrush, you control the paint output and airflow directly at your fingertips. By misting microscopic layers of pigment, you can blend colors with a softness that human hands simply cannot replicate with traditional tools. From vibrant sunset transitions to the subtle blush on a delicate flower petal, natural shading becomes effortless.
Heavy coats of paint can quickly obscure delicate clay textures, intricate engravings, or miniature details. Because an airbrush atomizes paint so finely, you can color your pieces without filling in or softening fine sculpts.
Despite being ultra-thin, the resulting color is vibrant. Moreover, thin coats dry remarkably fast, cutting down waiting times between color layers and significantly boosting your overall crafting efficiency.
You might wonder, "Does an airbrush really fit my specific craft?" Here are several popular craft genres where airbrushing shines brightest:
If you create clay bread, pastries, or fruits, an airbrush is practically indispensable. Misting realistic baked tones, golden-brown crusts, or gentle cookie edge browning instantly transforms clay into mouthwatering realism.
While dabbing paint with a cosmetic sponge is a common beginner technique, misting gradual layers of ochre and brown via airbrush adds a depth of color that sponges simply cannot match.
Airbrushes are fantastic for tinting cured resin surfaces or coating the interior of silicone molds before pouring. By applying thin coats of translucent clear paints, you preserve the natural clarity of resin while introducing ethereal, glowing color schemes—perfect for galaxy themes, ocean art, or fantasy jewelry pieces.
In doll customization and original garage kit figures, an airbrush brings faces to life. The soft rosy tint on cheeks, gentle eyeshadow, and natural body contouring all demand the subtle touch of an airbrush.
Powder blushes applied with makeup brushes can look chalky or rub off, but an airbrushed blush appears as though warm color is naturally glowing from beneath the skin.
Airbrushes work brilliantly with papercrafts, textiles, and leathercraft. By placing a cut stencil sheet over your material and spraying lightly over it, you achieve sharp, crisp graphics without paint bleeding underneath the stencil edges. Shading darker at the center and lighter toward the perimeter creates a dimensional, embossed visual effect.
Shopping for an airbrush can feel overwhelming due to the variety of shapes, mechanisms, and accessories. An airbrush setup primarily consists of a handpiece (the spraying pen) and a compressor (the air supply). Let’s look at the key differences.
Handpieces feature either gravity feed (cup mounted on top) or suction feed (bottle attached underneath).
For crafting, gravity feed is by far the superior choice. Paint flows down naturally via gravity, allowing you to spray tiny amounts of paint without waste, and cleanups are quick. You can choose between an integrated cup (molded directly into the body) and a detachable cup. Detachable cups are versatile for deep cleaning or swapping sizes, while integrated cups offer a seamless interior with fewer crevices where dried paint can hide.
You might wonder, "Can't I just stick to spray cans, hand brushes, or paint markers?" Here is how airbrushes compare against traditional tools:
Spray cans also produce even finishes, but they lack pressure and volume control. Aerosol cans blast out a heavy, high-pressure spray that can easily blow tiny craft pieces across your desk or cause paint pooling and drips. Furthermore, you are limited to premixed commercial can colors. An airbrush allows you to dial down air pressure to a whisper and spray custom-mixed pigments precisely onto fingertip-sized charms.
Brushes and sponges physically touch the craft surface. That physical contact inevitably introduces texture variations, brush marks, and potential friction. If an underlying paint layer is not 100% dry, brushing over it can reactivate and muddy the base color. Airbrushing is completely non-contact; it gently layers mist without disturbing underlying work.
Some tools allow you to insert an alcohol marker or acrylic pen into a nozzle to blow spray. While convenient with zero cleanup, their spray particles are coarse, and flow control is minimal. A dedicated airbrush using fluid paint produces incomparably finer atomization, essential for true professional-grade gradients.
To avoid getting lost in technical spec sheets, keep these practical guidelines in mind when choosing your first setup:
The hole diameter at the tip of the handpiece is the nozzle size, commonly available in 0.2 mm, 0.3 mm, and 0.5 mm.
For general handmade crafting, 0.3 mm is the absolute sweet spot. It is versatile enough to paint fine millimeter-wide gradients while comfortably handling overall base coats on medium-sized crafts. A 0.2 mm nozzle clogs easily with craft pigments, while a 0.5 mm nozzle produces a wider, coarser spray better suited for large canvases. Start with 0.3 mm.
Compressor motors vibrate and hum during operation. If you craft in an apartment or late at night, sound level is a critical metric. Look for compressors rated at 45 dB or lower, which is roughly equivalent to quiet conversation in a library. If you have a dedicated craft desk, a compact desktop compressor is ideal; if you craft on a dining table and pack away afterward, a handheld cordless unit fits best.
If I were starting from scratch today as a craft beginner, I would purchase an all-in-one starter kit featuring a quiet desktop compressor (or a reliable cordless unit) paired with a 0.3 mm double-action handpiece. Complete kits on Amazon or crafting retailers typically run around $70 to $150 (roughly 10,000 to 20,000 JPY in Japan). Buying an integrated bundle ensures that all hoses, adaptors, and fittings match perfectly right out of the box.
Once you understand the basic workflow, handling an airbrush is far simpler than it looks.
The single most common beginner hurdle is nozzle clogging. Roughly 99% of clogging issues stem from paint that is simply too thick.
Whether using acrylics, craft enamels, or hobby paints, always dilute paint with appropriate thinner (acrylic medium, airbrush thinner, or water) before spraying. Aim for the viscosity of whole milk. When swirled in the cup, the paint should glide cleanly down the side walls without clinging heavily. If in doubt, slightly thinner is always safer than too thick.
With a double-action handpiece, commit this finger sequence to memory:
Never release the button while it is pulled back! If you cut the air before cutting the paint, leftover droplets pool at the nozzle tip and splatter onto your next project. For broad coverage, hold the handpiece 10 to 15 cm (4–6 in) away; for tight detail, move in to 2 to 5 cm (1–2 in).
Whenever switching colors or wrapping up a session, perform a quick "backflush" rinse (known in Japan as ugai, or gargling) to flush out internal pigment:
Because airbrushes disperse atomized particles into the air, personal safety and workspace ventilation must never be compromised.
While an airbrush can seem intimidating at first glance, it is truly one of the most transformative tools an artisan can own. The lifelike baked crusts on miniature pastries, glowing transitions on resin charms, and velvety skin tones on custom dolls simply cannot be replicated with conventional brushes.
Grab an approachable 0.3 mm double-action starter set, grab some scrap materials for practice, and pull the trigger. The very first time you watch a smooth, cloud-like gradient bloom across your work, you will never look back!
If you found this guide helpful, please share it with your fellow makers on social media. Happy crafting, and see you in the next guide! This has been Yassy from Crafters! (・∀・)





For example, if you are looking for articles about mizuhiki, try searching for "mizuhiki"; if you are interested in tools, try keywords like "nippers" or "pliers."
