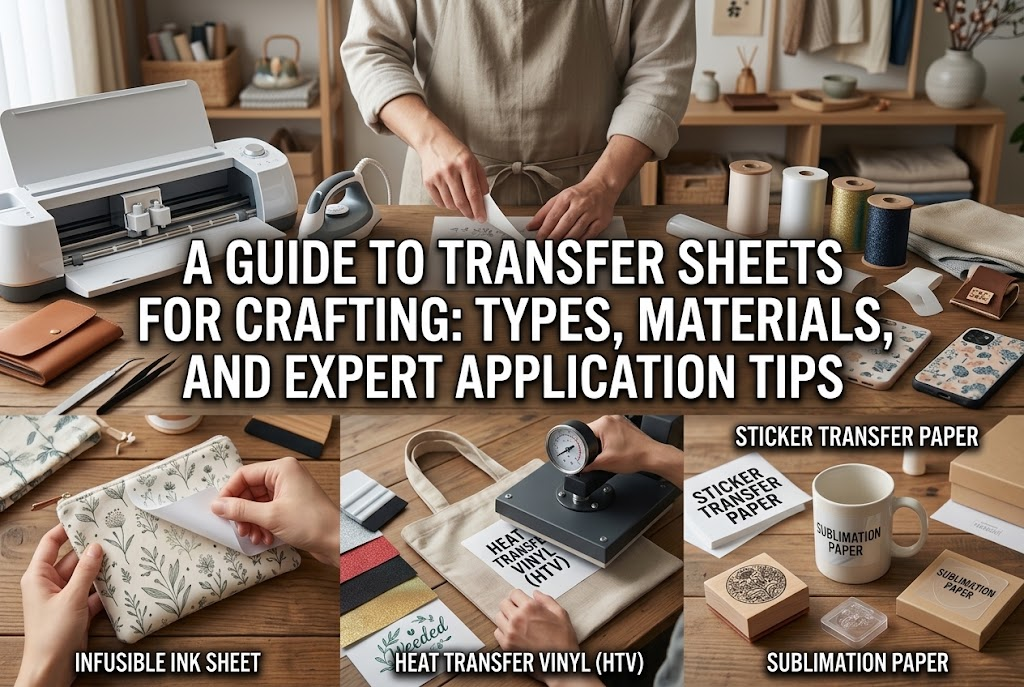
A Guide to Transfer Sheets for Crafting: Types, Materials, and Expert Application Tips
yassy
Crafters!


Hello, everyone! It’s Yassy from Crafters! (・∀・)
When starting leathercraft, the very first major hurdle almost everyone encounters is cutting the leather.
While paper or fabric can be easily snipped with scissors, leather is a completely different story—it is thick, resilient, and elastic. Many beginners struggle with common issues: "I can't cut a straight line," "The cut edge turns out slanted and crooked," or "Whenever I try to cut curves, the edges end up jagged."
When I first started leathercraft, I didn't fully realize how vital cutting precision really was. I used to casually cut out leather parts with a utility knife, only to find millimeter-level discrepancies when assembling them, resulting in warped, distorted finished pieces every single time.
Let me put it plainly: In leathercraft, cutting precision determines 80% of your finished project's quality. If your cuts are clean and accurate, all subsequent steps—stitching, edge burnishing, and assembly—will go unbelievably smoothly.
In this guide, I will thoroughly explain the fundamental cutting techniques every leathercraft beginner should master to achieve clean, straight cuts, alongside practical tool usage to prevent mistakes. I've packed this article with my own personal experiences and tips, so read through to the end and master the art of leather cutting!
The single biggest difference between leathercraft and papercraft or sewing is that the raw cut edge (called koba in Japanese) remains exposed on the finished item.
With fabric sewing, raw edges are typically folded inward and stitched, so minor cutting imperfections are hidden inside. In leathercraft, however, cut edges are directly stacked, flush-aligned, and burnished or polished for the final finish.
If your cut edge isn't perfectly perpendicular (vertical) or if the line wobbles, stacking parts will create gaps or uneven steps along the edge. Once these steps are created, no amount of sanding later will completely fix them.
Furthermore, leather stretches. If you pull too hard or apply excessive force while cutting, the leather will spring back after the blade passes, leaving you with pieces that don't match your pattern dimensions.
Mastering accurate cutting techniques is a non-negotiable prerequisite for crafting beautiful leather goods.
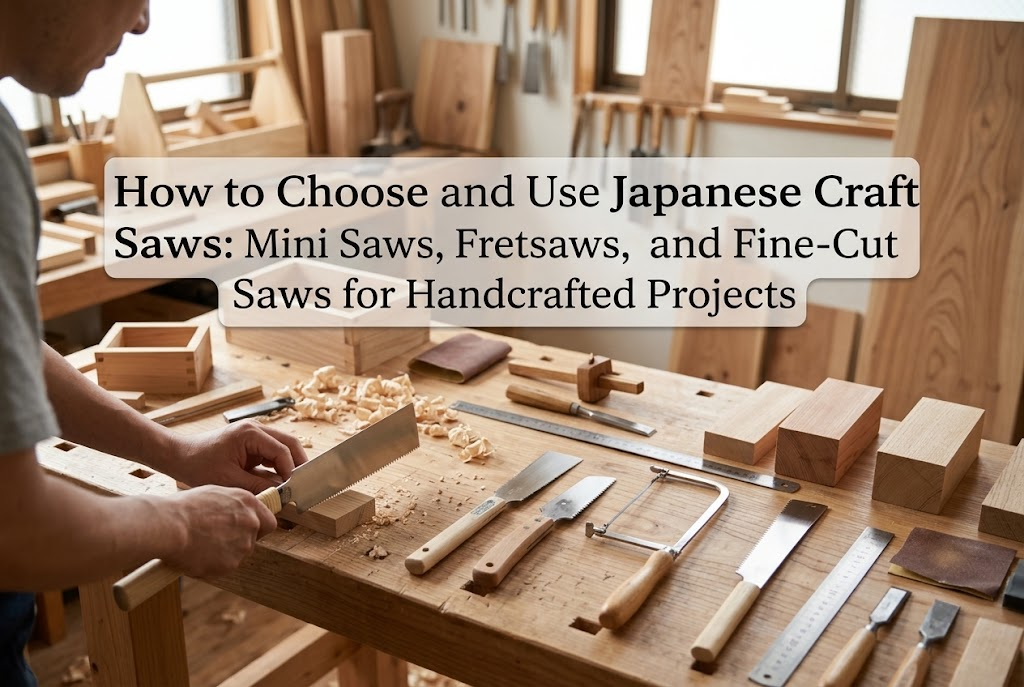
To cut leather cleanly, you must first gather the proper tools. If you compromise on your tool selection, even the best technique won't yield clean cuts. Make sure to prepare the following items.
For beginners, my top recommendation is a standard utility knife (snap-off cutter).
While you might associate leathercraft with traditional Japanese leather knives (kawabōchō), a leather knife only displays its true value when properly sharpened and maintained. If a beginner uses an unsharpened or dull leather knife, they will end up forcing the cut, which leads to slipping, ruined leather, or accidents.
When using a utility knife, always fit it with high-sharpness replacement blades, such as Japanese extra-sharp black blades (tokusen kuro-ba). These blades are angled more sharply than standard office utility blades and can slice cleanly through tough leather fibers. Angle-cutter knives with 30-degree blades are also exceptionally easy to maneuver for delicate curves.
If you prefer using a Japanese leather knife, select a straight-blade leather knife that comes sharp out of the box, and always strop the blade edge on a leather strop before starting work.
A cutting mat is essential not only to protect your workbench but also to preserve your blade's edge.
Be sure to use a large, sufficiently thick, and firm cutting mat designed for leathercraft or garment making. I advise against small or thin mats from dollar stores, as they tend to shift during work or allow the blade to puncture through, creating safety hazards.
Choose a mat that is at least A3 size or larger so you can work comfortably on bigger pieces of leather without stress.
The ruler you use for cutting leather must be made of metal.
Plastic or acrylic transparent rulers should never be used; the blade will bite into the plastic and shave off bits of the ruler. This damages the ruler, distorts your straight lines, and risks allowing the blade to jump over the edge and injure your fingers.
A stainless steel or aluminum ruler with non-slip rubber backing is ideal. If your metal ruler lacks non-slip backing, apply masking tape or thin double-sided tape to the underside to prevent slipping.
When placing a pattern and ruler onto leather for cutting, pressing down with only your hand can cause the setup to slide.
Having 2 to 3 leathercraft pattern weights (round weights or brass paperweights) on hand keeps the leather and pattern securely in place, allowing you to use both hands safely and effectively.
Once your tools are ready, don't rush straight into cutting. Always perform thorough prep work first. Good preparation completely changes how smoothly your cutting goes.
Leather has directions in which it stretches easily and directions where it barely stretches at all. Areas along an animal's spine resist stretching, whereas areas near the belly or flanks are soft and stretch significantly.
For parts that must retain their structure—like card pockets in a long wallet—align them along the low-stretch direction. For parts that need flexibility, such as bag gussets, align them along the stretchy direction. Get into the habit of gently tugging the leather in different directions to feel the grain before placing your pattern.
Place your pattern onto the grain side (the smooth top surface) of the leather.
To keep the pattern from shifting, place weights on top or use repositionable masking tape rolled into loops underneath the pattern. If you use overly sticky tape, it can peel off the delicate leather grain, so touch the tape against your clothes or skin first to reduce its tackiness before applying it to the leather.
Trace along the edges of your pattern by lightly pressing the tip of a scratch awl (round awl) against the leather to leave a thin line.
Drawing lines with a pen can leave unsightly ink marks after cutting. Scoring a shallow scratch line (scribing line) with an awl is the cleanest and most accurate method.
For straight sections, place your metal ruler directly over the paper pattern and trace along it with the awl—it will never go crooked. For dark leathers where scratch lines are hard to see, use a silver leather pen (a silver ballpoint pen formulated for leathercraft that can be wiped away with a leather cleaner or silver pen eraser).
With prep complete, it's time to cut! Let's start by mastering the ultimate foundation: straight cuts.
To execute a flawless straight cut, understand physical mechanics and proper body alignment rather than relying on brute force.
The single biggest mistake beginners make is attempting to slice through thick leather in one heavy pass.
Applying excessive force to cut all the way through at once causes the blade tip to ride away from the ruler, slipping the ruler out of position. It also tilts the blade, resulting in a slanted cross-section.
The ironclad rule of leather cutting is: Make 3 to 5 light passes along the exact same line.
Simply adhering to this multi-pass rule will eliminate 90% of your cutting blunders.
When holding your utility knife, keep the blade strictly perpendicular (90 degrees) to the leather surface. Check that the blade isn't tilting left or right from both the front and side views.
Extend only one snap-off segment of the blade (about 5 mm to 1 cm). If the blade is extended too far, pressure will cause the blade to flex, producing a slanted cut edge.
Position your body so that your chest is directly centered with the line you are cutting. Cutting from an angled side posture skews your line of sight and pulls the blade away from the ruler.
Instead of pulling the knife using only your fingers or wrist, lock your shoulder and elbow, pulling back with your whole upper body to draw a straight, wobble-free line.
How you hold the ruler with your non-dominant hand is equally critical.
If you only press down on one end of the ruler, the opposite end will shift as the blade advances. Spread your fingers wide across the ruler and press firmly straight down near the center.
As your cutter moves along the line, shift your non-dominant hand along the ruler as well. Keeping your holding hand close to the moving blade is the secret to keeping the ruler locked down.
Be extremely careful that your fingertips never extend past the edge of the metal ruler to prevent injuries if the knife happens to slip.
Once you can execute clean straight lines, tackle curved cuts (R-corners). Curved cuts appear frequently in leathercraft, such as rounded wallet corners or coin pouch flaps.
Curves seem challenging because rulers can't be used, but by following proper techniques, anyone can cut them neatly.
For sweeping, large-radius curves, use your utility knife.
The secret here is: Do not turn the knife; turn the leather instead.
Keep the knife angle fixed in your dominant hand, and use your other hand to slowly rotate the leather (or the entire cutting mat) as you advance the blade. This avoids awkward wrist twisting and creates a smooth, continuous arc.
Using a narrow 30-degree utility blade provides excellent maneuverability for smooth turns.
Trying to cut small tight corners (like a 5 mm to 10 mm corner radius) by dragging a knife blade often leaves jagged, blocky edges.
Try one of these three reliable methods for small corners:
Method 1: Nibble Cutting (Press Cutting)Along the curved line, press the tip of the cutter blade vertically downward in small, overlapping, incremental chops. Rather than slicing through, you are stamping the curve into small connected segments.
Method 2: Square Off, Then ChamferInstead of cutting the curve immediately, cut the corner off at a sharp 90-degree angle first. Next, chop off the sharp tip at a 45-degree angle (forming an octagonal corner). Gently shave down the remaining tiny corners step by step, and finish by smoothing the arc with sandpaper.
Method 3: Corner Chisels or Hole PunchesThe easiest and most foolproof technique is using specialized tools like a corner punch chisel, a round gouge, or a standard hole punch (drive punch). Punch a clean round hole at the corner first, then execute straight cuts that connect seamlessly into the hole, creating a perfectly radius corner every time.
When cutting inside corners where lines meet inside the leather boundary, beginners frequently over-cut past the corner vertex and ruin the piece.
To prevent over-cutting, use a scratch awl to punch a tiny hole right at the vertex point of the corner beforehand, or pierce the blade tip vertically right at that spot.
Cut your straight lines from both outer sides toward this vertex point. The blade will stop cleanly right at the hole, completely avoiding over-cutting accidents.
Here are typical cutting mistakes and quick solutions to resolve them instantly.
Cause: Your wrist was tilted while pulling the knife, or the blade was extended too far out. Pressing too hard in a single pass also causes the blade to wander sideways.
Solution: Limit blade extension to a single segment. Before cutting, visually check that the blade is at a true 90-degree angle from both front and side angles. Rely on the blade's sharpness and make multiple shallow passes rather than forcing it down.
Cause: Insufficient downward pressure from your holding hand, or pressing the knife blade too hard sideways against the ruler.
Solution: Apply masking tape underneath the ruler to boost grip. When pulling the cutter, gently guide the side of the blade against the ruler rather than pushing hard into it. Focus your pulling force backward along the line of cut rather than sideways against the ruler.
Cause: 100% dull blade edge. Unlike paper, leather consists of dense, tough fibers. When a blade loses its razor edge, it stops cutting cleanly and begins tearing through fibers instead.
Solution: Snap off the blade segment immediately to reveal a fresh, sharp tip. Even if the blade feels usable, professional crafters refresh their blade segment after cutting every major piece. Saving a few cents on blade refills will cost you far more in ruined leather.
Here are a few handy tips I practice daily in my workshop to boost cutting accuracy and efficiency.
The greatest advantage of a utility knife is that you can restore factory-sharp performance in seconds.
The moment you feel even slight resistance or need extra force, snap the blade without hesitation. With a razor-sharp blade, cutting leather feels smooth and effortless. Working with minimal pressure dramatically reduces the risk of ruler slippage and accidental cuts.
Keeping your blade razor-sharp at all times is a core safety rule in leatherwork.
When cutting chrome-tanned leather or soft vegetable-tanned leather, the flesh side (back side) fibers can fray or drag, leaving messy edges.
To solve this, apply a light coat of a flesh-side finishing agent like Tokonole to the back side of the leather before cutting, slicking down the loose fibers with a glass burnisher, and letting it dry. The fibers will consolidate tightly, allowing the blade to slice through cleanly and leave a remarkably smooth edge.
Workspace setup is often overlooked.
If your workspace is dim, scored scratch lines become difficult to see, making it hard to notice when your blade strays off line. Use a dedicated desk lamp to illuminate your hands clearly.
Also, sitting deep in a chair makes it difficult to apply vertical weight down onto your ruler. Stand up while cutting or raise your posture. Looking straight down over your work makes it far easier to maintain a true vertical blade angle.
In this article, we covered fundamental leather cutting techniques and practical solutions to avoid mistakes.
Let's review the key takeaways:
Cutting is the foundational step that supports every subsequent stage of leathercraft. Take it slow in the beginning. Focus on precise movements, and with practice, you'll produce crisp, beautifully square edges every time!
When your cuts are spot-on, assembling parts and polishing edges becomes immensely enjoyable.
If you found this article helpful, please share it with your fellow craft lovers on social media or messaging apps! Thank you so much, and see you in the next article! This was Yassy from Crafters!




For example, if you are looking for articles about mizuhiki, try searching for "mizuhiki"; if you are interested in tools, try keywords like "nippers" or "pliers."
