A Guide to 5 Essential Craft Needles: Differences and How to Choose for Sewing, Embroidery, Leather, and Knitting
yassy
Crafters!

Hello, this is Yassy from Crafters! (・∀・)
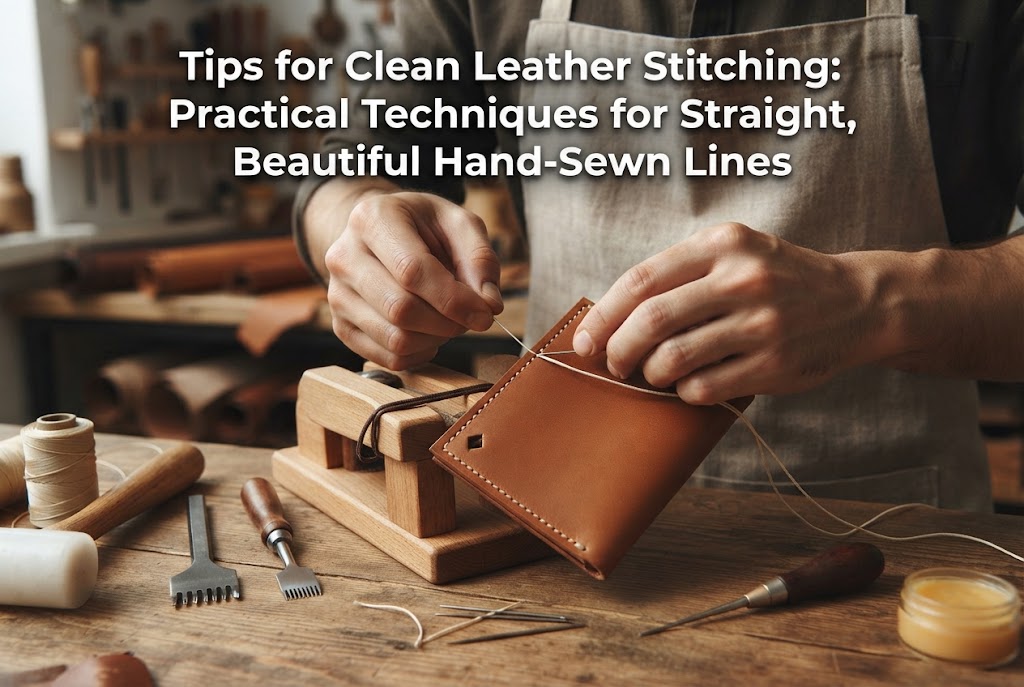
When working on leathercraft projects, almost every crafter runs into the same struggle at least once: the beauty of the stitches. Even when using the exact same leather and thread, stitches can easily veer off track or tilt at uneven angles, resulting in a wobbly, irregular stitch line.
Unlike machine sewing, traditional hand-stitching (saddle stitching) offers a unique handcrafted warmth and unmatched durability. Furthermore, neat, impeccably aligned stitches instantly elevate the entire quality of your work to a professional, retail-ready level.
There is absolutely no need to give up and assume you just aren't dexterous enough! There are clear, specific reasons why leather stitches turn out uneven. Once you understand these root causes and know how to address them, anyone—even beginners—can create remarkably neat, beautiful stitches.
In this guide, I will thoroughly explain the essential tips for keeping your leather stitches straight and cleanly angled, covering everything from surface preparation and hole punching to precise needlework!
Let's start by looking at why stitches become irregular in the first place. Uneven hand stitching usually comes down to four fundamental causes:
If the guide line drawn along the edge of the leather is wavy before you punch your holes, your stitching will never be straight, no matter how carefully you sew. Even a tiny, barely noticeable wobble caused by an unsteady hand or a slipping ruler becomes glaringly obvious the moment thread passes through it.
In Japanese leathercraft, stitching holes are typically punched using multi-prong diamond chisels known as hishime-uchi. If you hold the chisel tilted or drive it to varying depths from hole to hole, the exit points on the back will not align with the entry points on the front. This is the single biggest cause of messy stitching on the backside of your work.
Saddle stitching involves crossing two needles through a single hole from opposite sides. If you change your routine halfway through—such as switching which needle goes above or below, or which needle enters the hole first—the slanted angle of the stitches will alternate randomly between tilting upward to the right and upward to the left, making the line look disjointed.
Pulling the thread too tightly or too loosely from stitch to stitch causes the profile of each stitch to look inconsistent. When your tension fluctuates—especially toward the end of a long seam as fatigue sets in, or when turning corners—the uniform rhythm of the seam is lost.
The preparation stage before you pick up your needle and thread has a massive impact on the final result. Refusing to cut corners here is the fastest way to achieve high-quality craftsmanship.
When joining two or more layers of leather, they must be firmly fixed in place. If they shift during punching or stitching, your holes will be misaligned. Apply leathercraft adhesive (such as water-based craft glue or rubber cement) evenly all the way to the edges, and press down firmly using a roller or a mallet.
Weak adhesion leaves tiny gaps between layers, causing the leather to pull and distort the holes when you pull out the chisel. Ensuring a flat, solid bond without any steps or shifting is fundamental.
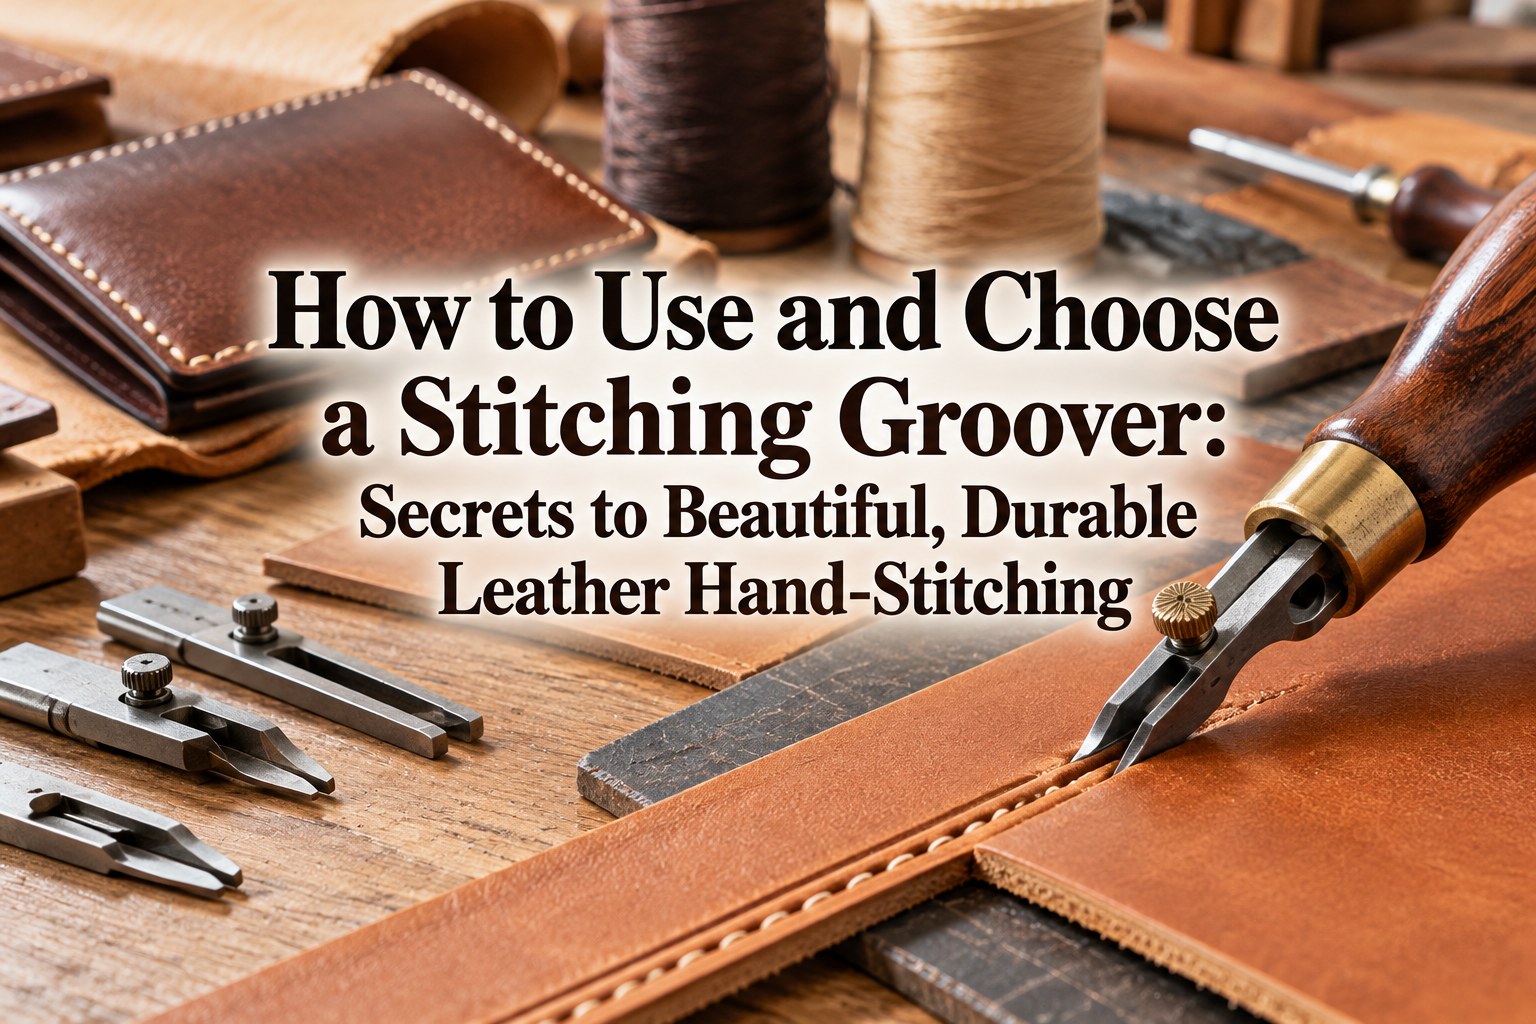
Always use a wing divider or a stitching groover to mark your stitch lines, rather than relying on visual estimation or standard rulers.
While the exact placement depends on the size of the piece and how you finish your edges (koba), a distance of roughly 3 mm to 4 mm from the edge generally produces the most balanced look. Rest one leg of the divider firmly against the edge of the leather and score a steady, smooth line with consistent pressure and angle to create a perfectly parallel guide line.
Once your leather is prepped and marked, it is time to punch the holes. How you handle your diamond chisels will completely transform your stitch quality.
The most crucial rule is to hold your diamond chisel completely perpendicular (90 degrees) to the leather from all viewpoints. If the chisel tilts forward, backward, or sideways, the holes exiting on the backside will deviate significantly from your intended line.
A tool might look vertical from your perspective in front, but it is often tilted when viewed from the side. Make it a habit to check your angle from the side and diagonally to verify that the tool remains completely upright.
If you hit the chisel too softly and only insert the tip, the hole will be too tight, making it difficult to pass needles and thread through. Conversely, driving the tool too deep widens the holes excessively, making them stand out awkwardly around the thread.
As a rule of thumb, drive the chisel just until the diamond-shaped profile slightly emerges through the back of the leather (where the width of the blade becomes uniform). Aim for the same feel and the same number of mallet strikes for every punch to ensure consistent depth throughout.
Use 4-prong or 6-prong chisels for straight sections to work efficiently. When moving forward, always place the first prong into the very last hole of the previous punch before striking. This overlaps the pitch accurately and maintains an even spacing between all holes.
When working on curved sections, never force a multi-prong tool; always switch to a 2-prong chisel. By adjusting your angle slightly along the radius of the curve with each punch, you can create a smooth, flowing stitch line without harsh, angular transitions.
With clean holes punched, you are ready to stitch. In traditional leather saddle stitching, standardizing your hand movements into an exact, repeatable routine is the key to success.
Here is a standard saddle stitching routine for right-handed crafters to produce a consistent slant:
Maintain this exact sequence—which needle enters first, whether it crosses over or under, and which direction you pull—from the very first stitch to the last. Making a single mistake with needle placement will flip the slant of that individual stitch, making it stick out noticeably.
To achieve clean, uniform stitches, I strongly recommend using a stitching pony (lacing pony) to clamp and hold your workpiece.
Holding the leather in your hands while stitching leads to an unstable posture, causing the pulling angle and tension to fluctuate with every stitch. Securing your project in a pony frees both hands completely, allowing you to maintain balanced tension and execute a smooth, symmetrical routine.
Even with cleanly punched holes and the correct sequence, inconsistent tension will prevent your stitches from looking their best.
Pulling thread too tightly puckers the leather, causing the edge to ripple or tearing the hole edges. Pulling too loosely leaves slack thread sitting on the surface, which looks untidy and reduces durability.
Aim for a tension where the thread sits flush with or slightly recessed into the leather's surface. Rather than yanking with full strength, focus on giving a light, controlled pull at the end of each motion to firmly lock the stitch in place.
When drawing the threads tight, pull consistently in the same directions—for instance, pulling your right hand slightly forward and down while your left hand pulls slightly backward and up. Varying the pulling angle shifts where the thread settles inside the diamond hole, resulting in mismatched stitch angles.
Here are practical answers to common questions and challenges that beginners frequently encounter.
A frequent dilemma is pairing the right tool spacing with the right thread size. If the thread is too thick for your hole pitch, the seam looks heavy and cluttered; if it is too thin, the gaps stand out, making the seam look sparse.
If you are unsure where to start, pairing a 4 mm pitch diamond chisel with Vinymo #8 thread (or a comparable medium-fine poly thread) is a reliable combination that consistently produces an elegant, clean stitch line.
This is a major obstacle that almost every leathercrafter encounters. The primary reason the back looks uneven is that driving the chisel all the way through forcefully blows out and enlarges the holes on the backside.
To keep the backside just as neat as the front, stop driving the diamond chisel just as the tips barely peek through the back. Then, finish piercing each hole cleanly through to the back using a diamond awl (hishigiri).
While this adds an extra step, carefully opening each hole with a diamond awl preserves the clean diamond profile on the reverse side, resulting in remarkably straight, uniform stitches on both faces.
If you want to improve quickly, I recommend holding off on making a full project right away. Instead, take scrap leather and repeatedly practice stitching a single 10 cm straight line.
Score a 10 cm line, punch the holes, and stitch with a steady rhythm. Once finished, turn the piece over to inspect your work. Look closely to see where your needle sequence might have swapped or where you pulled too hard. Objectively identifying your own stitching habits is the fastest route to improvement.
After finishing your stitch line and securing your thread ends (by melting with a lighter or securing with glue), your work is not quite complete! Adding a final settling step makes a dramatic difference in achieving a professional finish.
Place a protective scrap piece of leather (or thick cloth) over the stitched line, and gently tap along the seam with a wooden mallet or flat-faced hammer.
This settles any raised thread neatly into the punched holes, flattening the seam into the leather. It also evens out the roundness of each stitch and helps mask minor inconsistencies. Never strike the leather directly with a bare metal hammer to avoid leaving tool marks; always protect the surface with scrap leather or a wooden slicker.
In addition to gentle tapping, rolling a leather roller or rubbing the groove of a wooden slicker along the seam is very effective. This smooths down any surface fuzz on the thread and produces a sleek, refined luster.
Let's review the essential points for achieving clean, even leather stitches:
Clean, aligned stitches transform everyday leather goods into exquisite, high-end pieces. Take your time at first, checking each stitch step by step. As your hands memorize the correct routine, creating straight, beautiful stitches will become second nature!
If you found this guide helpful, sharing it with your fellow crafters on social media would mean a lot to me! See you in the next article—this was Yassy from Crafters!




For example, if you are looking for articles about mizuhiki, try searching for "mizuhiki"; if you are interested in tools, try keywords like "nippers" or "pliers."
