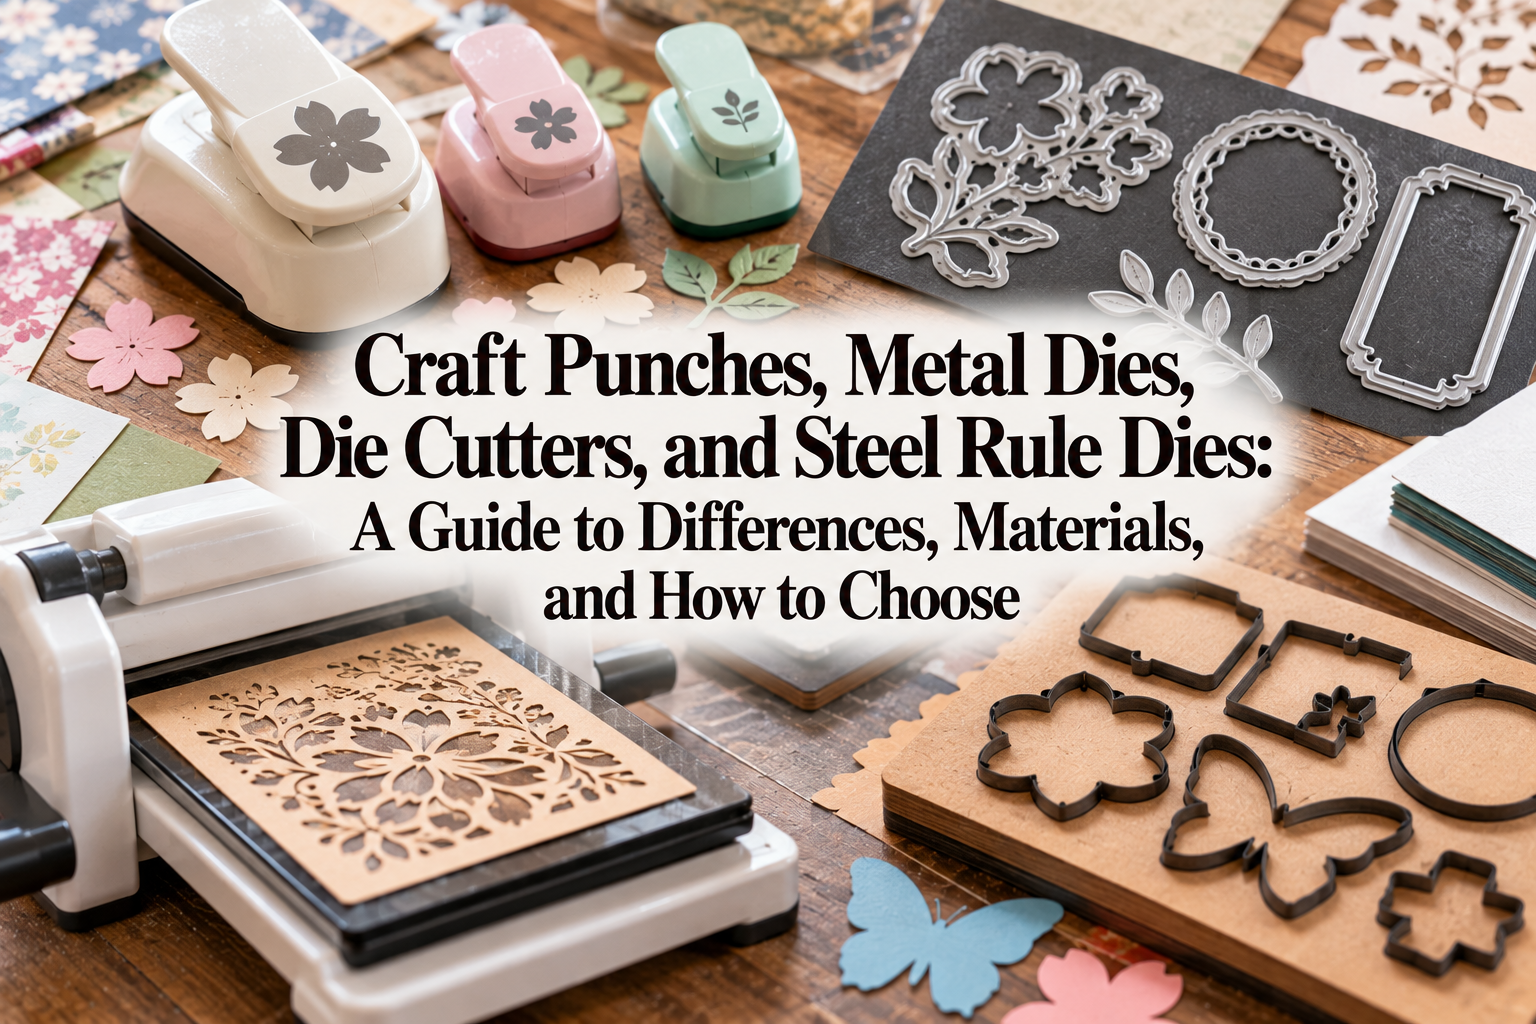
Craft Punches, Metal Dies, Die Cutters, and Steel Rule Dies: A Guide to Differences, Materials, and How to Choose
yassy
Crafters!

Hello, this is Yassy from Crafters! (・∀・)
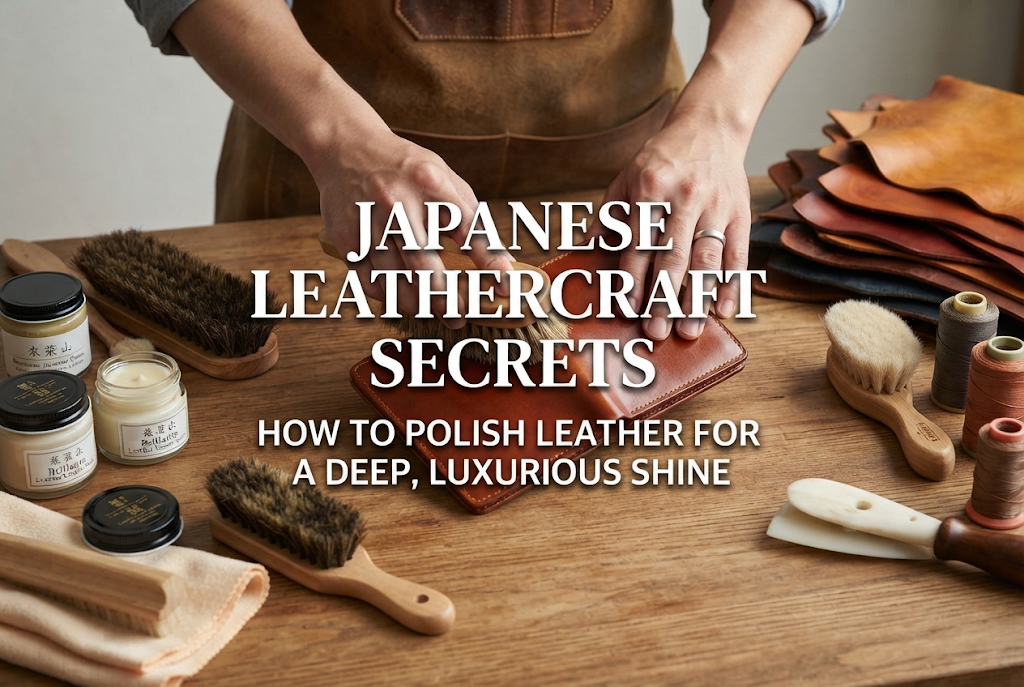
Have you ever completed a handmade leather item or looked at a favorite leather piece and thought, "I want to bring out a deeper, more beautiful shine"? Leather crafting doesn't end when you finish assembling a piece. By carefully polishing it with the right techniques, you can unlock a extraordinary radiance and deep clarity reminiscent of high-end luxury goods.
I love crafting leather items myself, and whenever I spot leather goods in town that have developed a beautiful patina over time, I can't help but observe them closely. I'm deeply passionate about leather luster! That moment when the grain surface of the leather gently reflects light is the absolute best, most exciting part of leathercraft.
However, many beginners mistakenly believe that simply applying leather cream and rubbing it with a rag will create shine, resulting in stained leather or a sticky surface that attracts dust. Leather polishing relies on clear principles and exact steps.
In this guide, I'll thoroughly explain the complete know-how for polishing leather surfaces to produce a supreme shine! From tool selection to the secrets of utilizing friction heat, as well as proven techniques to prevent failure, I won't hold anything back. Read through to the end and give your projects the ultimate finish!
Why does raw leather transform into something that emits a captivating, deep gloss through polishing? Understanding this fundamental principle is the first step toward successful leather polishing.
Leather polishing boils down to two things: aligning the oils inside the leather and smoothing out microscopic surface irregularities. The surface of real leather has fine fiber fuzz and tiny unevenness invisible to the naked eye. By supplying appropriate oil or wax to this surface and polishing it while applying pressure with a brush or cloth, friction heat is generated.
This friction heat melts and smoothly disperses the oil and wax applied to the surface and inside the leather. Once the smoothed surface reflects light at a uniform angle, our eyes perceive it as a "deep, translucent shine."
In short, forcibly rubbing leather with a hard object will not produce a beautiful shine. The absolute mechanism behind an exquisite luster is the combination of "moderate oil content" and "friction heat."
Before you start polishing, there is a super important precaution you must check: Not all leather in the world will shine when polished. If you don't understand this, no matter how much time you spend polishing, your efforts will be in vain.
The leather that gains a dramatic shine the more you polish it is vegetable-tanned leather (such as Nume leather), which is tanned using plant tannins. Vegetable-tanned leather features tightly packed fibers, and its shape stabilizes easily under heat and pressure.
Additionally, because it holds oil well inside, polishing causes the internal oils to seep to the surface, creating a unique, deep luster. If you want to enjoy the joy of nurturing leather in handmade crafts, always choose vegetable-tanned leather. You'll be able to fully enjoy the transformation brought by deep polishing.
On the other hand, chrome-tanned leather (tanned with synthetic chemicals) and pigment-finished (painted) leather with thick coatings will not gain shine through polishing. Chrome-tanned leather has soft, stretchy fibers, making it difficult to smooth out the surface even with friction heat.
Pigment-finished leather has its surface covered by a resin film, so oils cannot penetrate inside. Polishing merely slips on the surface without changing the luster. Leather that feels smooth, uniform in color, or soft and stretchy is chrome-tanned or pigment-finished. Applying oil and polishing these types will only make the surface sticky and cause dirt to stick. Vegetable-tanned leather is your only choice for polishing.
To give your leather a supreme glow, tool selection is extremely important. Using improper tools can scratch the leather or cause an uneven finish. Here are the five essential tools that I have used extensively and am convinced are absolute must-haves:
Used in the very first step of leather polishing, a soft horsehair brush with long bristles removes fine dust trapped in pores and stitching. If you apply oil and polish without removing dust, the dust will scratch the leather. It's an absolute necessity for preparation.
A pig bristle brush has stiffer bristles and more backbone than horsehair. It is used to spread applied leather cream evenly over the entire surface and generate friction heat through rapid brushing. The stiff bristles push the cream into microscopic surface unevenness and level the surface. Since horsehair and pig bristle brushes have completely different roles, make sure to get both.
A cream that adds moisture and oil to leather. Beginners should always choose a neutral/clear emulsified cream with a balanced mixture of water and oil. 100% oil products like mink oil are tricky to gauge and carry the risk of making leather far too soft. Using a balanced conditioning cream is the ironclad rule for achieving both firmness and shine.
While cream alone produces shine, leather wax is used when you want a mirror-like, sharp gloss. Choose products made primarily of carnauba wax or beeswax. By creating a thin wax film on the surface, it dramatically increases light reflectivity.
This cloth is used for the final buffing. A strip from an old 100% cotton T-shirt is fine, but avoid synthetic fibers at all costs. Synthetic fibers risk scratching the leather surface due to friction heat. Using soft flannel cloth makes it easy to bring out a supreme luster.
Once you have your tools ready, it's time to polish! Here are the 5 reliable steps practiced by professionals. Do not skip or omit any steps—follow them in order.
Lightly and briskly brush the entire leather surface with a horsehair brush. Focus on areas where dust accumulates easily, such as stitch gaps, overlapping parts, and near edges (koba). No force is needed. Flex the tips of the bristles and rhythmically flick away the dust. Neglecting this step will drastically reduce clarity in the later shining phase.
If you polish hard while the leather is dry, friction will wear away the grain surface. This is where leather cream comes in.
The amount needed depends on the item size, but for something like a coin purse, an amount the size of 1–2 grains of rice is plenty. Beginners almost always apply too much cream. An amount that feels "maybe a bit too little" is just right.
Take a tiny amount of cream on your fingertip or a soft cloth, blend it on the back of your hand, and quickly spread it over the leather in circular motions. Applying a clump in one spot causes stains, so spreading it thin and fast over the whole area is the golden rule.
Once the cream is spread evenly, immediately bring out the pig bristle brush! This is the main highlight of the shining process.
Grip the stiff pig bristle brush firmly, snap your wrist, and brush the leather surface at high speed. Use broad strokes with enough speed to create a pleasant swishing sound.
This rapid brushing generates powerful friction heat, allowing the cream applied in Step 2 to penetrate deep into the leather while evening out any excess cream remaining on the surface. You'll visibly see the leather surface start to gleam like wax as the brush moves.
Once brushing is done, resist the urge to wipe it right away and let the leather rest for 5 to 10 minutes. This pause allows the absorbed oils and ingredients to settle inside the leather, while the surface wax component hardens into a state that easily reflects light.
Rushing to the next step will wipe away the oils you just applied. This brief waiting period is a hidden pro trick that dramatically improves how long the shine lasts.
Finally, wrap a 100% cotton cloth (flannel, etc.) tightly around your finger. While wiping off the tiny amount of excess cream left on the surface, perform the final friction buffing.
Lightly press the cloth against the leather and rub back and forth in quick, straight motions rather than circles. Applying too much pressure will stretch the leather, so move quickly with a delicate touch—slightly stronger than a gentle stroke, but without crushing it.
A clear, mirror-like gloss that bounces back light will emerge right where you slide the cloth! When the surface feels smooth to the touch and has a moist, rich glow, your polishing is complete!
Polishing leather is fun and easy to get lost in, but well-intentioned actions can ruin your project. Here are typical failure patterns beginners fall into and rules to prevent them.
There is an endless stream of people who slather heavy amounts of cream or oil onto leather in hopes of getting shine. Leather has a limit to how much oil it can hold. Exceeding its capacity puts the leather into an "over-nourished" state, making it limp and causing it to lose shape.
Furthermore, excess oil remaining on the surface strongly attracts airborne dust, which eventually oxidizes, causing dark stains and mold. Always add oil or cream in "rice-grain units" and add more only if needed.
Believing that "the harder I rub, the brighter it shines," some people lean in and scrub with all their strength. Vegetable-tanned leather stretches and deforms under heavy pressure. Scrubbing too hard distorts the shape of your item and can tear the grain surface, leaving permanent scratches.
What you need is "speed," not "pressure"! Always keep in mind that you should increase movement speed to generate friction heat rather than applying brute force.
As a writer who has polished numerous leather projects, here are my personal signature techniques! Give them a try if you want to achieve a higher-level finish.
After finishing the cloth buffing, perform a final "hand polish" using your own palms. Human hands possess subtle natural oils and gentle body warmth.
Glide your clean, dry palm (like the fleshy base of your thumb) softly over the leather surface. Body warmth gently melts and blends the microscopic wax particles on the surface, creating a "warm, deep translucency" that artificial tools can never replicate. This tool-free final step breathes life into your work.
This technique involves rubbing a tiny amount of solid beeswax directly onto specific accent areas where you want light to stand out—such as the corners of a wallet or the flap of a key case.
After applying a thin layer of beeswax, perform high-speed friction polishing with a cloth containing just a microscopic drop of water (not a soaked rag!). Combining the cooling effect of moisture with the hard film of beeswax makes that specific spot radiate a sharp, glass-like shine. Creating a contrast between a moist overall sheen and super-glossy accents instantly skyrockets the luxury feel of your handmade pieces!
Polishing leather to bring out a luster is not just a routine task; it is a supreme process of communicating with a living material and drawing out its full potential.
Let's review the ironclad rules introduced today:
Properly polished leather items change expression every time light hits them, gaining deeper affection with every use. Try polishing your cherished leathercraft projects or beloved leather items using these steps. You'll surely be thrilled by the breathtaking radiance!
Take your time, enjoy step-by-step thorough polishing, and create your own exquisite shine!
If you share this article with your friends on social media or messaging apps, I'd be super happy and encouraged! See you in the next article! This was Yassy from Crafters!



For example, if you are looking for articles about mizuhiki, try searching for "mizuhiki"; if you are interested in tools, try keywords like "nippers" or "pliers."
