Rivet Setters vs. Snap Setters: How to Choose and Use Japanese Hardware Setting Tools
yassy
Crafters!

Hello, everyone! This is Yassy from Crafters! (・∀・)
Have you been making a few leather projects lately and finding yourself frustrated, thinking, "Why does my work still look so amateurish?" or "Why can't I get that sleek, store-bought finish?" Let me reassure you right away: it is not due to a lack of skill. It is almost certainly the limitation of the tools you are using.
Cheap starter kits easily bought online or at craft shops are fantastic for getting a complete overview of leathercraft. I started out with a beginner kit myself, and I still remember the excitement of opening a full set of tools for the first time. However, the tools included in starter kits are ultimately just entry-level items meant for trying out the craft.
To create crisp, beautiful leather goods that cross the line into professional quality, upgrading your tools is essential. Changing just a single tool can dramatically transform the neatness of your stitching and the smoothness of your leather edges, giving your work an unmistakable upgrade.
As someone who loves all kinds of handmade crafts and has tested countless leathercraft tools over the years, I will thoroughly explain the absolute priority order for upgrading your tools to boost your work's quality. Follow this roadmap to avoid wasteful spending and take the shortest route to elevating your leathercraft!
No matter how meticulously you work, using only starter kit tools often leaves behind an unrefined, novice feel. The primary reason for this lies in the precision and factory blade edges of the kit tools.
Leathercraft relies even more heavily on tool precision than many other craft genres. Because you are working with a tough, durable material like leather, if a tool is dull or imprecise, it will ruin the natural appeal of the material.
There are three main reasons why starter kit tools hold back the quality of your work:
To solve these issues, you need to systematically replace your kit tools with high-quality tools from specialized manufacturers, prioritizing the ones that directly affect quality.
When upgrading your tools, buying whatever catches your eye first is a mistake. Leathercraft follows a strict sequence of steps, and the result of a previous step dictates the quality of the next.
Here is the golden order for upgrading your leathercraft tools:
By upgrading in this exact sequence, you can reliably elevate the quality of your finished pieces step by step without wasting money. Let’s look closely at why each tool matters and how to choose the right one.
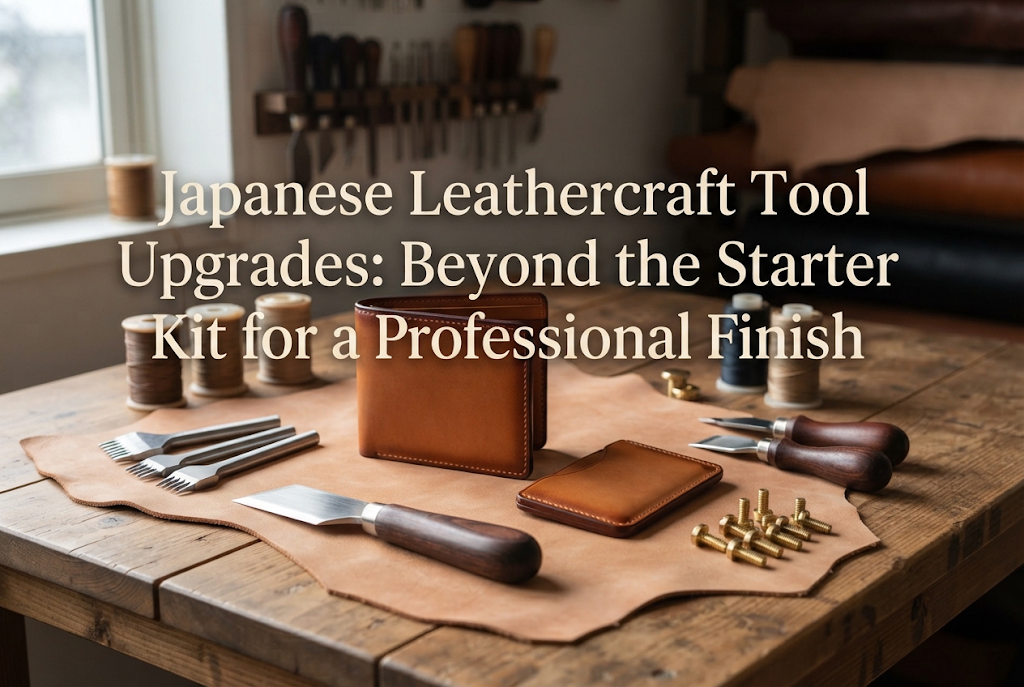
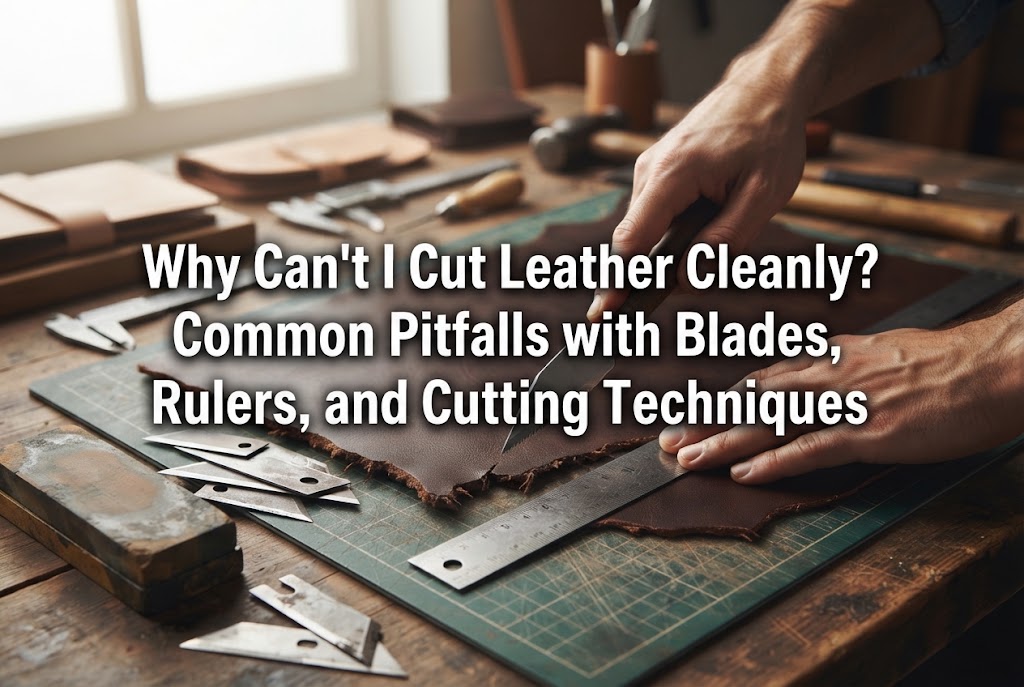
The absolute first tool you must replace is your cutting blade. If your pattern pieces are cut crookedly, no amount of neat stitching or burnishing will make the final product look beautiful.
Accurate cuts with clean, perpendicular edges are a non-negotiable requirement for high-end leathercraft. Slicing leather with a dull blade compresses the material, creating angled cuts and causing assembled parts to misalign.
When upgrading your cutting tool, you have three primary options:
My strongest recommendation is a specialized Japanese leather knife (kawabōchō, around 36mm in width). A Japanese leather knife makes it easy to cut straight lines and smooth curves, and it is essential for skiving (suki) to thin down leather edges. Japanese knives made from high-grade steels like High-Speed Steel (HSS) or Aogami (Blue Paper Steel) glide effortlessly through leather, leaving a crisp, sharp cut edge.
If you find sharpening a blade intimidating, opt for a Japanese craft utility knife with replaceable blades or a professional utility cutter fitted with black blades (such as Olfa Speed Blades). Switching from a standard office cutter to a heavy-duty professional knife with zero blade wobble will immediately boost your cutting accuracy.
The moment you switch blades, you will be amazed at how effortlessly the knife glides through leather. Achieving this precision cut is your very first step in moving beyond the beginner stage.
After upgrading your cutting tools, the next focus is your pricking irons or diamond chisels (hishime-uchi). Perfectly aligned, beautiful stitches create the strongest first impression on hand-sewn leather goods.
Starter kit diamond chisels feature thick, bulky prongs that punch oversized holes. Large holes leave too much room for the thread, causing the stitches to shift up, down, left, and right.
High-quality hole-punching tools made by specialized craft toolmakers (craftsman-finished diamond chisels or French-style pricking irons) feature remarkably thin, finely polished tips.
Sharp tips pierce the leather cleanly without aggressively tearing the fibers, creating small, tidy holes. Threading your wax cord snugly through smaller holes creates orderly, beautifully slanted stitches reminiscent of fine machine sewing.
Furthermore, if you want to craft sleek, sophisticated items, upgrading to French-style pricking irons is extraordinarily effective. The fine, angled stitches created by French irons lend your work an elegant, luxury-brand aesthetic.
When selecting chisels, pay close attention to the prong pitch (spacing):
Simply equipping yourself with precise chisels will instantly elevate your hand-stitching to a professional standard.
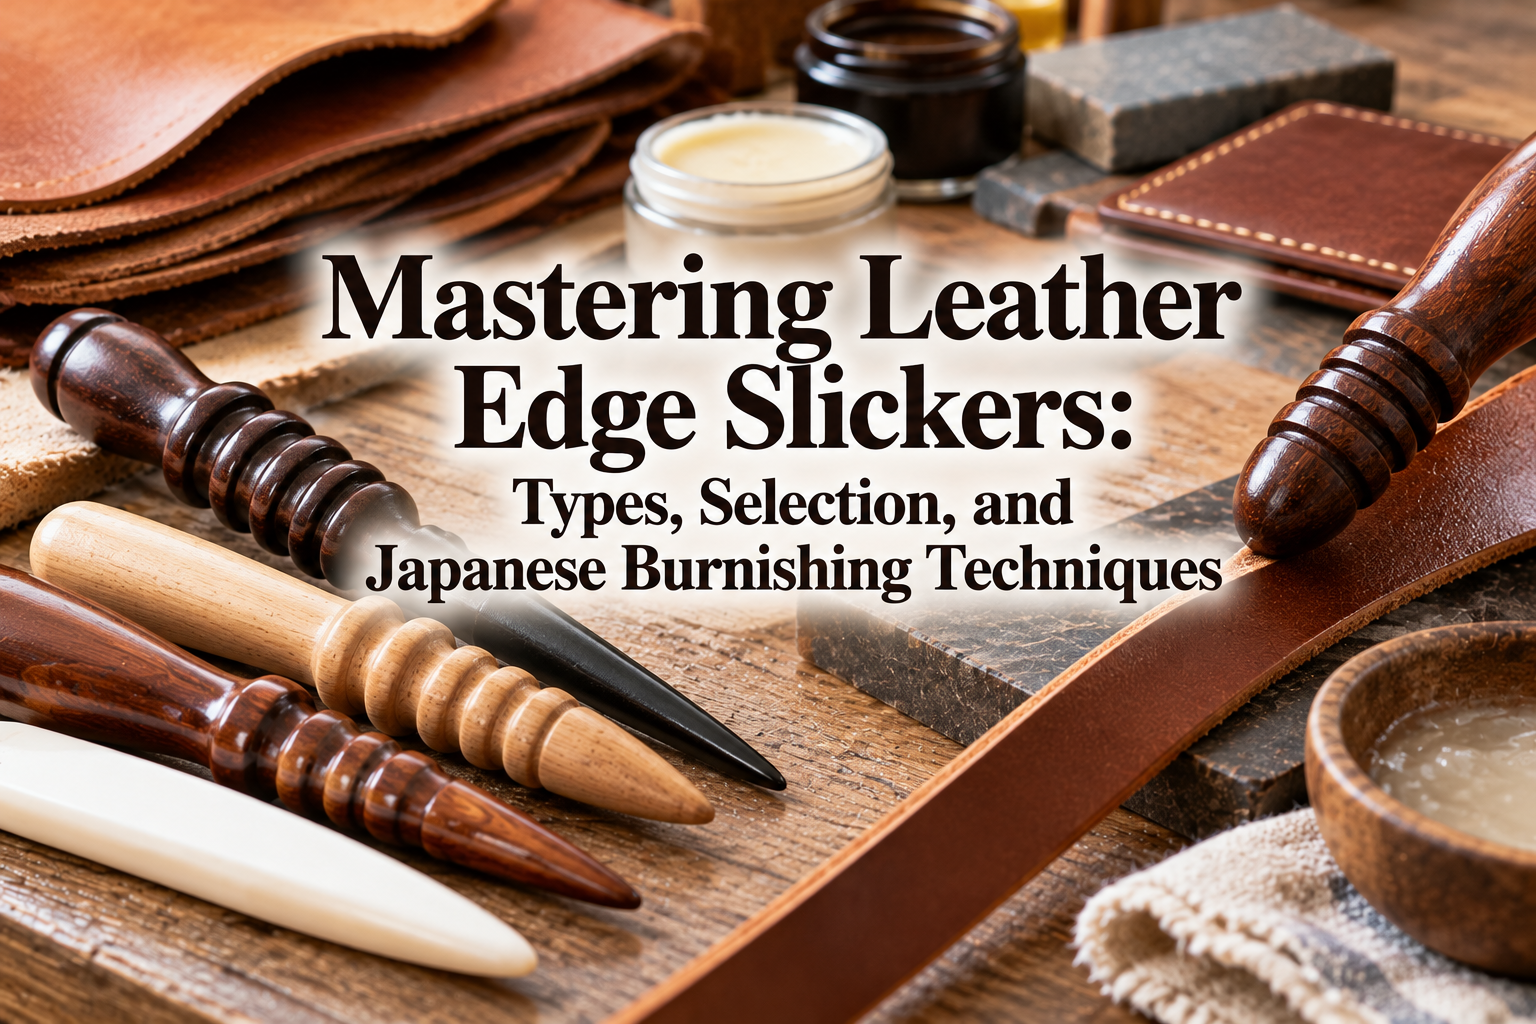
Once cutting and punching are sorted, turn your attention to edge finishing (koba-shori). The single biggest line dividing amateur handmade items from refined goods is the beauty of the leather edges.
Fuzzy, sharp, or squashed edges instantly broadcast a cheap handmade feel. Rounded, smooth, and glossy burnished edges dramatically increase the perceived value of your work.
The first and most critical step in edge finishing is beveling the sharp corners of the cut edge using an edge beveler (heri-otoshi).
Starter kit edge bevelers lack a sharp edge; instead of slicing off a clean corner, they tend to pull and tear the leather. This leaves ragged edges that cannot be polished smooth regardless of how much you burnish them.
A razor-sharp, professional edge beveler (pre-sharpened or made of premium steel) shaves off a thin, continuous string of leather smoothly. A clean bevel creates the foundation for an incredible burnished finish.
Pair your beveler with a glass burnishing plate and an edge finishing agent such as Tokonole. Apply Tokonole to the flesh side or edges, then rub with the glass plate using even pressure. The flat, hard surface of the glass produces a smooth, mirror-like gloss that a simple wooden slicker cannot achieve alone.
With cutting, punching, and edge tools upgraded, your next investment should improve sewing speed and consistency. Here, you should upgrade to a stitching pony (racing pony) and specialized leather sewing needles.
Holding your leather project in your hands while sewing is not only slow, but it also causes inconsistent thread tension, leaving your stitches uneven.
A stitching pony is a wooden clamp that holds your leather securely in place. By clamping your work, both hands remain free to pull two needles through at the exact same angle and tension every single time.
Maintaining consistent thread tension ensures that not only your front stitches look neat, but your backside stitches match perfectly as well. Additionally, your sewing speed will easily double.
At the same time, upgrade your needles to round-point leathercraft needles (harness needles). Needles with blunted tips prevent accidental piercing of the leather fibers or your thread. Choosing high-quality needles with small, smooth eyes eliminates the frustration of knots getting stuck when pulling thread through the holes.
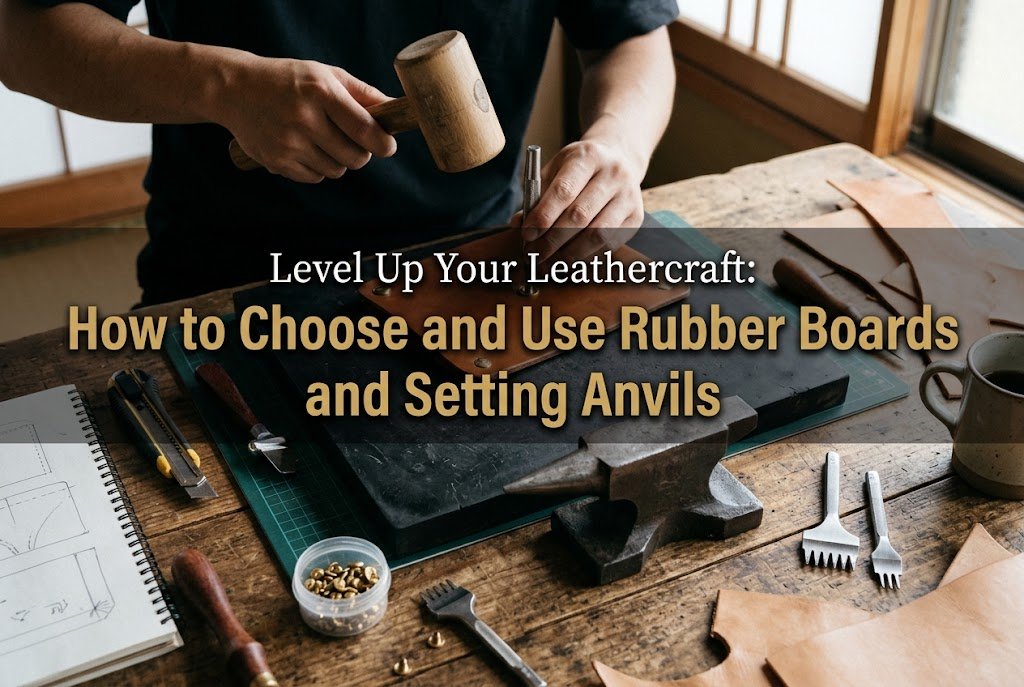
The final tools to upgrade are your striking tools and punching base used for punching holes and setting hardware. Though often overlooked, a stable base directly impacts punch accuracy and noise level.
Thin rubber mats and lightweight plastic hammers included in starter kits fail to absorb impact, causing the hammer to bounce back. This bounce leads to crooked chisel holes and forces you to strike repeatedly, generating excessive noise.
When upgrading your striking setup, pick up these two items:
Solidifying your workstation foundation significantly reduces crafting fatigue, allowing you to maintain high precision even during long sessions.
When stepping up your tool kit, it is easy to fall into a few common traps. Keep these three points in mind to protect your time and money:
The most common mistake after using a starter kit is purchasing another medium-grade kit online (like a "20-piece tool set for $40"). While it looks like a bargain, set tools are generally the same quality as your starter kit. Avoid buying sets; instead, purchase single, high-quality tools one by one from reputable leathercraft brands.
Traditional Japanese leather knives made from carbon steel (like Aogami steel) cut amazingly well. However, carbon steel rusts very quickly if not oiled regularly. If you aren't ready to maintain carbon steel, start with stainless steel leather knives, specialized snap-off craft knives, or professional utility cutters.
Excited to upgrade, some crafters buy extremely fine pricking irons (such as a 2.5mm pitch). However, ultra-fine pitch tools make it difficult to pass needles through thicker leathers and vastly increase sewing time, leading to frustration. A 3.5mm pitch 4-prong chisel is the most versatile choice for your first serious punch.
You don't need to buy every single tool at once. Upgrading gradually according to your budget is the key to enjoying the journey. Here are recommended upgrade plans:
Focus entirely on cutting and edge preparation, which have the largest immediate impact on your work:
Replacing these three items immediately sharpens your cuts and elevates your edge finishes, removing that raw handmade look.
With this budget, you can cover hole-punching tools to dramatically improve your sewing:
Precise chisels and dedicated needles produce neat, uniform stitches suitable for selling at craft markets or gifting to friends.
A $140 budget completes a professional-grade workspace built for speed, precision, and low noise:
This setup eliminates tool-related frustrations, giving you a setup comparable to professional crafters so you can build your brand with confidence.
If you've already explored the basics with a starter kit and fell in love with leathercraft, you will feel the difference the moment you hold a genuine craft tool.
There is no need to rush into buying everything at once. Start by upgrading just one tool corresponding to your biggest frustration—a blade if your cuts wobble, or a chisel if your stitches look untidy.
Quality craft tools feel natural in the hand, grow dearer with every use, and multiply your skills. Investing in your tools is directly investing in the beauty and value of your work.
Upgrade your toolkit and enjoy the next level of your leathercraft journey!
If you found this article helpful, please share it with your fellow crafter friends on social media or messaging apps! See you in the next article! This was Yassy from Crafters!


For example, if you are looking for articles about mizuhiki, try searching for "mizuhiki"; if you are interested in tools, try keywords like "nippers" or "pliers."
