Beginner’s Guide to Japanese Sashiko and Cross-Stitch: How to Start Needlework Today with Starter Kits
yassy
Crafters!

Hello everyone, this is Yassy from Crafters! (・∀・)
High-end handmade goods made from genuine leather are truly wonderful, aren't they? Whenever I spot a cute leather pouch or card case in a shop, I always find myself picking it up to admire it. I'm sure many of you have dreamed of making stylish leather accessories like that with your own hands.
At the same time, though, you might be holding back because of common worries: "Doesn't leatherworking require hammering with a wooden mallet and making loud noises?" or "Don't I need a huge collection of specialized hole punches and heavy-duty stitching threads?" or "I live in an apartment, so the noise would definitely be a problem."
If these concerns sound familiar, "Light Leather Craft"—a trend gaining major traction among craft lovers in Japan—is the perfect solution!
Light Leather Craft dramatically lowers the barrier to entry for traditional leatherworking. It allows you to create authentic leather items quietly and enjoyable in a small corner of your apartment, even late at night.
As someone who loves making, viewing, and shopping for handmade crafts and has tried countless DIY techniques, I'm excited to share this complete guide to Light Leather Craft! We will cover the basic concept, projects you can create, difficulty level, product care, workspace setup, and initial costs.
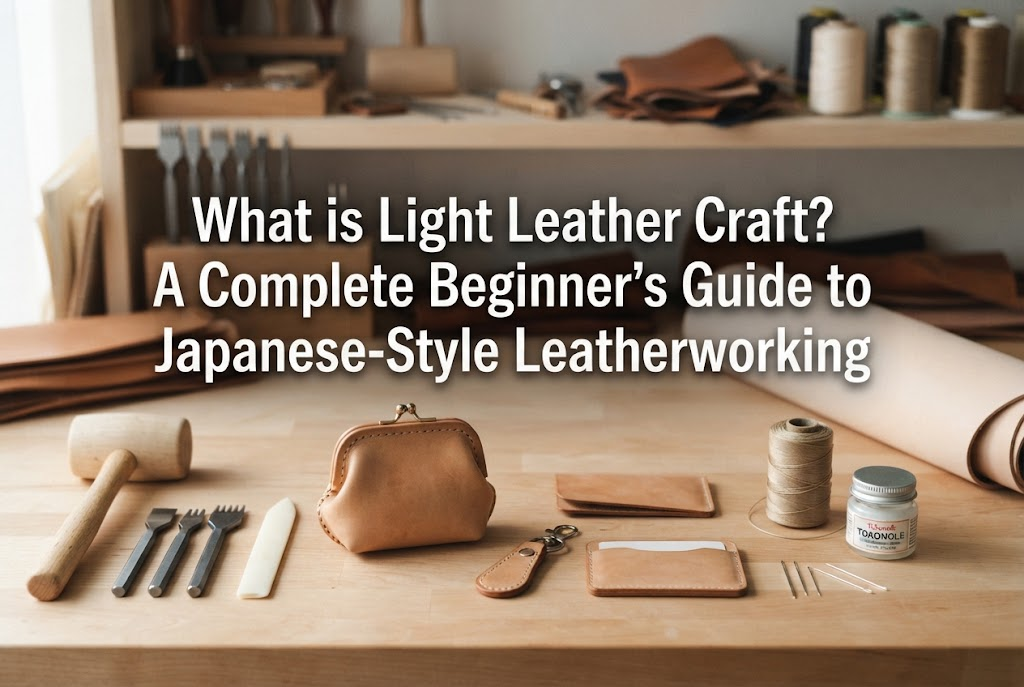
Light Leather Craft is a modern crafting approach that strips away noisy steps and overly complex technical methods from traditional, heavy-duty leatherworking, allowing craft enthusiasts to enjoy the charm of genuine leather much more casually.
The main difference between traditional leathercraft and Light Leather Craft lies in the production process and tools involved. Once you understand this distinction, it becomes crystal clear why so many handmade craft beginners are embracing this technique.
Here is a quick comparison table to summarize the key differences:
In traditional leathercraft, when creating stitching holes, crafters place a chisel (meuchi) onto the leather and strike it firmly with a mallet, producing a sharp hammering sound. This noise deters many people who worry about disturbing neighbors or waking sleeping children.
In contrast, Light Leather Craft avoids this hammering process entirely. Instead, items are joined using hardware like rivets (kashime) and snaps, secured with heavy-duty leather adhesives, or punched quietly using tools like screw punches. As a result, it requires very little physical strength, generates almost no noise, and allows anyone to craft smoothly.
Because it has "Light" in its name, people often assume, "Can you only make simple keychains?" But that is a misconception!
As long as you select the right leather and hardware, you can craft stylish, high-looking, practical items that look like they came straight out of a boutique. Here are some popular items you can make with Light Leather Craft:
Smartphone shoulder straps are wildly popular across all generations right now and make one of the best starter items! By simply cutting a rectangle of leather and securing both sides with rivets—or using a pre-cut project kit—you can assemble a sophisticated leather shoulder bag in about 30 minutes.
Using soft, supple leather yields an elegant bag that fits comfortably against the body. Unifying your hardware in polished gold or silver gives it a high-end finish that hardly looks handmade.
Everyday essentials are another specialty of Light Leather Craft. Folding a single piece of leather and attaching snap fasteners creates a tri-fold key case in no time.
An IC card or transit pass holder can easily be crafted by layering leather with a clear film sheet and securing the edges with rivets. These make gorgeous bag charms for your daily commute and are immensely popular as gifts.
You can even make no-sew coin purses using an "origami" folding technique! This design involves making a few precise cuts on a single piece of leather, folding it into a triangle or square, and fastening it with snaps.
Without stitching lines, the natural soft curves of the leather are highlighted, resulting in an endearing finish. These palm-sized pouches are fun to assemble using remnant leather scraps in a short amount of time.
By using light, soft leather or suede rather than thick, rigid leather, you can create tasteful accessories suitable for everyday wear.
Cutting leather into flower motifs or leaf shapes and attaching jump rings or earring hooks allows you to make surprisingly lightweight earrings. The warm texture of leather brings a unique charm that differs from metal or resin, making these pieces ideal for autumn and winter outfits.
Overall, the difficulty level of Light Leather Craft is low to medium (about a 2 out of 5 stars rating in the crafting world).
Unlike general sewing, it does not require advanced skills like fitting complex paper patterns and sewing fabrics together with a sewing machine. The work centers on simple, straightforward tasks: cleanly cutting leather with a utility knife or scissors, aligning parts, and setting hardware in place.
Even though the difficulty is low, beginners sometimes run into three common stumbling blocks. Knowing these causes and solutions beforehand will help you achieve a polished result on your very first try!
Unlike woven fabrics, leather has thickness and elasticity. Attempting to cut it with household scissors or a dull blade will result in rough, uneven edges.
Solution: Always use a sharp utility knife (such as an OLFA knife) with a fresh blade segment snapped off. Do not try to cut through the leather in a single heavy pass. Hold a metal ruler down firmly and make 3 to 4 light, steady strokes along the line. Avoid plastic rulers, as blades can easily slice into them.
When bonding pieces together, applying too much adhesive causes glue to squeeze out onto the finished leather surface when pressed. Adhesive stains can be difficult to remove once dry.
Solution: Instead of applying a thick layer down the middle, use a spatula or toothpick to spread a thin, even layer about 2 to 3 mm inside the edge. If glue happens to seep out, immediately wipe it away with a tightly wrung damp cloth before it dries.
When striking rivets with a setting punch, holding the tool at an angle can cause the hardware to warp, fail to catch properly, or get scratched on top.
Solution: Place your base (a small rubber board or mini anvil) on a completely flat surface, and hold the setting tool vertically at a precise 90-degree angle to the leather. Instead of hitting it once with heavy force, tap it lightly and evenly several times from straight above to secure it neatly.
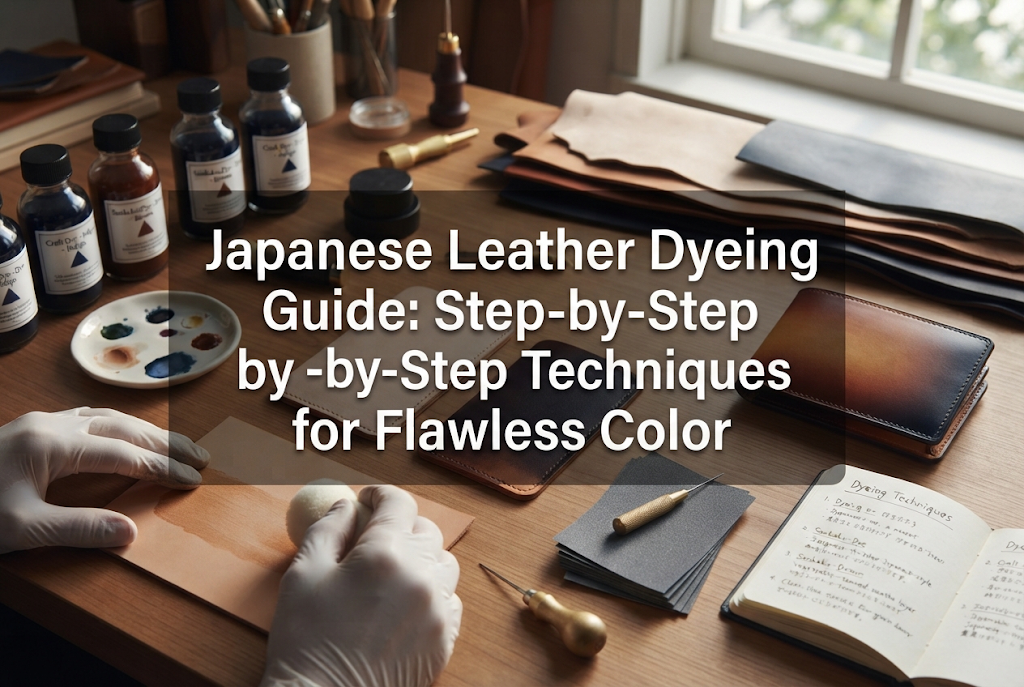
Once you've made a custom leather piece, you'll want to enjoy it for a long time. You might wonder: "Is genuine leather or synthetic leather difficult to maintain?"
The answer is that as long as you perform one simple step at the beginning, daily care is not difficult at all! Here are the essential rules for keeping your items beautiful:
As soon as your genuine leather project is complete, give it a light coat of specialized leather waterproofing spray before using it.
Genuine leather easily absorbs water droplets, creating water spots, and can absorb oil stains from hands. Coating it beforehand repels water drops and prevents dirt from adhering, dramatically improving its longevity.
There is no need to apply leather oils frequently. For daily care, simply wiping your item gently with a soft cloth (such as a microfiber glasses cloth) after use is plenty.
If the leather begins to feel dry or looks dull after several months, apply a very thin coat of natural leather conditioning cream. This will restore its natural luster and allow you to enjoy a beautiful patina as it ages over time.
If your leather item gets caught in the rain, never dry it quickly with a hot hairdryer! Rapidly evaporating moisture causes the internal fibers of the leather to shrink and harden, leading to cracks.
If it gets wet, immediately pat away moisture gently with a dry towel or tissue, then allow it to dry naturally in a well-ventilated, shaded area away from direct sunlight.
When starting a new craft, having to clear a massive table or set up a dedicated workspace can feel daunting.
However, the space needed for Light Leather Craft is minimal—a single corner of a dining table (about A4 to A3 size) is completely sufficient! No dedicated workshop room is needed.
To enjoy smooth, stress-free crafting, set up these basic items on your desk:
Because Light Leather Craft eliminates heavy hammering noises, it is ideal for apartment dwellers, busy parents, or anyone who can only craft late in the evening.
When picking up a new hobby, startup expenses are a key consideration.
Setting up for traditional leatherworking can run anywhere from 10,000 to 20,000 JPY (approx. $70–$140 USD) for tools alone. With Light Leather Craft, however, you can start comfortably for around 3,000 to 5,000 JPY (approx. $20–$35 USD)!
For your very first attempt, purchasing an all-in-one Light Leather Craft starter kit (containing pre-cut leather, hardware, and instructions) is often the most cost-effective route. Kits typically cost around 1,500 to 3,000 JPY, letting you complete a handsome project without buying extra materials upfront.
Having experienced many types of craft techniques over the years, if I were to start Light Leather Craft from scratch today, this is the exact 3-step route I would follow for a 100% enjoyable, frustration-free experience!
Avoid buying large leather hides or complicated paper patterns right at the start! Instead, order a beginner kit online that comes with pre-cut leather pieces and matching hardware.
Completing a kit gives you an instant feel for the texture of leather, the tactile feedback of setting rivets, and the general assembly order. Since you don't have to draft a pattern from scratch, you get to enjoy the pure accomplishment of finishing a piece with zero fuss!
Once you understand how the kit pieces fit together, buy an inexpensive pack of genuine leather remnants.
Trace the leather shapes from your first kit onto paper (or use the unstitched leather pieces as templates) and cut out new pieces from your scrap leather using your utility knife.
Even using the exact same design, switching to dusty pink, natural beige, or chic navy leather completely alters the personality of the item—and watching your customized creations take shape is incredibly fun!
Once you're confident with cutting and setting hardware, start pairing leather with other materials!
For example, you can attach a leather flap to a canvas pouch or rivet leather handles onto a hand-crocheted tote bag. Mixing textures instantly elevates handmade items to a store-bought level of quality.
In this guide, we explored Light Leather Craft—a quiet, accessible way to enjoy creating authentic leather goods at home, covering everything from beginner projects and difficulty levels to workspace setup and budget planning.
If you've ever thought, "Leatherworking seems too complex" or "I can't make noise in my home," Light Leather Craft is the perfect gateway into the world of leather.
You don't need expensive heavy machinery or a noisy mallet. With just a corner of your living room table and a few basic hand tools, you can start crafting genuine leather items this weekend.
Carrying a leather smartphone pouch or key case you made yourself brings a wonderful sense of joy to everyday outings. Give Light Leather Craft a try, and enjoy crafting your very own custom leather pieces!
If you found this article helpful, please feel free to share it with your craft-loving friends on social media! See you in the next post! This was Yassy from Crafters!


For example, if you are looking for articles about mizuhiki, try searching for "mizuhiki"; if you are interested in tools, try keywords like "nippers" or "pliers."
