Moving Beyond the Beginner Stage in Japanese Shrink Plastic Crafts: The Golden Order for Upgrading Your Tools
yassy
Crafters!
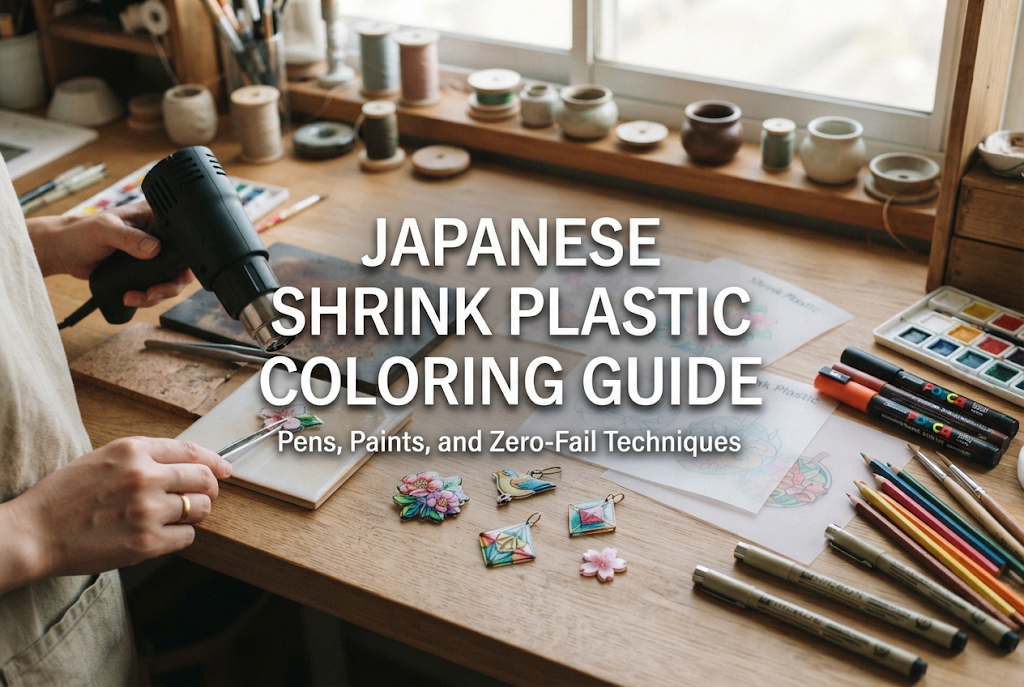

Hello everyone, it's Yassy from Crafters! (・∀・)
When embarking on a shrink plastic (often called puraban in Japan) craft project, almost everyone runs into the same big wall: choosing the right coloring tools to achieve the exact shade and finish they envisioned.
Have you ever watched your piece curl up inside a toaster oven, snap back flat, and then felt a wave of disappointment upon pulling it out because the colors looked completely wrong? Colors turning muddy and dark, pen ink repelling into patchy spots, or fine lines bleeding into a ruined mess when applying resin—these common failures happen simply because we don't fully understand how different art materials behave on plastic.
Depending on whether you use permanent markers, acrylics, or specialized inks, the color vibrancy, transparency, and ease of use change dramatically. In this ultimate guide, I will break down every type of coloring medium used in Japanese shrink plastic crafts, explain how colors transform before and after baking, and share professional coating secrets to guarantee zero bleeding!
To succeed with shrink plastic, you must first understand the physical changes the material undergoes when heated. Without knowing these basic rules, hitting your target color is virtually impossible.
When heated in a toaster oven, shrink plastic shrinks to roughly 1/4 to 1/6 of its original surface area, while its thickness increases by about 4 to 6 times. The absolute golden rule to remember here is: As shrink plastic contracts, the density of the applied pigment increases exponentially, making the color significantly darker.
A shade that looks slightly pale or almost too light before baking will transform into a crisp, vibrant, and perfectly balanced hue after heating. If your coloring looks "just right" before baking, the post-heating color will end up oversaturated, muddy, or almost black. The golden rule of shrink plastic coloring is simple: Always apply your colors lighter than your desired final result.
Here is a quick overview of how common art supplies change after baking:
Standard clear plastic sheets sold for crafting have a slick, smooth surface. Because smooth plastic repels water and oil, your choice of coloring tools is extremely limited. Aside from permanent markers and certain quick-drying solvent inks, most mediums will bead up or wipe right off a smooth sheet.
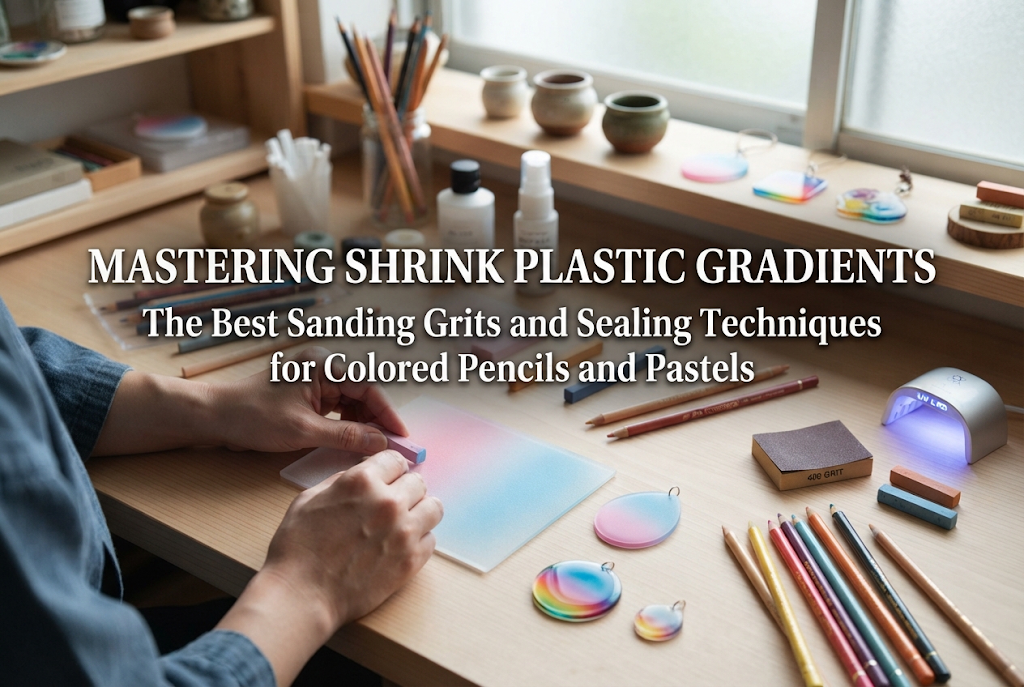
If you want to use soft, delicate tools like watercolor, colored pencils, or pastels, you must prep the surface by lightly rubbing it with sandpaper to create microscopic grooves. These tiny scratches capture and hold the pigment particles that would otherwise slip off.
You can purchase pre-frosted plastic sheets (often called frost shrink plastic) or sand clear sheets yourself depending on the artistic effect you want to achieve.
One of the greatest joys of shrink plastic art is utilizing both the front and back surfaces. Assigning different roles to each side of a single piece adds incredible dimension and depth to what would otherwise be a flat craft.
My go-to technique is drawing the line art on the front and applying color on the back. Draw crisp outlines on the front surface using a permanent marker or POSCA, then flips the sheet over to apply acrylic paint or pastels on the reverse side.
This allows the colors on the back to shine through the smooth plastic layer on the front, producing a shiny, glass-like finish reminiscent of animation cells or stained glass. Because the line art and color exist on separate layers, you also eliminate the risk of smudging your outlines while coloring!
Let's take a closer look at the most accessible coloring tools: pens, markers, and colored pencils.
Permanent markers (such as Japanese McKee or Hi-McKee markers) are the most basic tool because they can write directly onto smooth plastic. Their standout feature is high transparency, allowing light to pass through even after drying.
If you want to create suncatchers, stained-glass motifs, or items that play with light, permanent markers are your best choice. They also offer reliable line work that won't fade during heating.
However, permanent markers can easily leave visible streak marks when filling large areas. Going back and forth over a spot lifts dried ink and creates dark, uneven lines. To minimize streaks on large sections, glide the marker tip quickly in a single direction. Alternatively, you can embrace a slightly loose coloring style, knowing that the shrinking process will condense and blend the streaks together naturally.
Water-based pigment markers, best represented by POSCA, are essential powerhouses in shrink plastic crafts. Once dry, they adhere securely to plastic surfaces and offer excellent water resistance.
POSCA's greatest strength lies in its intense opacity and bright pigmentation. Unlike permanent markers, they do not show the background through the color, making them perfect for clean, solid fills. Furthermore, if you want to apply white or pastel details over dark or black plastic, POSCA is practically the only tool for the job.
The crucial rule when using POSCA is to let the ink dry completely before heating. If wet ink goes into the toaster oven, the heat causes the trapped water to evaporate rapidly, resulting in bubbled, blistered, or peeling paint film. Always wait until the surface is completely matte and dry to the touch.
Standard colored pencils will simply slip off smooth plastic without leaving a mark. However, on a sanded frosted surface, colored pencils shine brightly.
The main advantage of colored pencils is their ability to produce soft, delicate gradients and a warm, hand-drawn aesthetic that markers cannot match. They are perfect for Nordic-style illustrations, floral motifs, and gentle nature designs.
While both oil-based and water-soluble colored pencils can be used, standard oil-based colored pencils tend to grip the sanded grooves better, yielding more consistent color. When baked, the loose pencil grains compress tightly, producing an elegant, porcelain-like matte finish.
To create professional-grade crafts or store-quality accessories, mastering different paints is a game-changer.
Acrylic paint dries to a fully waterproof finish with powerful adhesion to plastic. It is one of the most reliable mediums for shrink plastic, consistently delivering professional results.
While acrylics can be applied directly to smooth surfaces, applying them to a sanded surface or on the backside yields the best durability against peeling. The secret to flawless acrylic application is dab-painting with a sponge.
Applying acrylic paint with a brush often leaves noticeable brushstrokes that become exaggerated after shrinking. Instead, cut a small piece of kitchen sponge or makeup sponge, pick up a tiny amount of paint, dab off the excess on a palette, and gently tap the color onto the back of your plastic piece.
Sponge-dabbing effortlessly creates seamless flat coats or soft, dreamy background gradients. Keep water usage to a minimum (just enough to dampen your tool); over-diluting the paint can cause it to bead up or crack upon heating.
Transparent watercolors work exclusively on sanded, frosted surfaces; they will bead up and fail completely on smooth plastic.
When painted onto a sanded texture, the watery pigment seeps into the micro-grooves, creating soft bleeds and delicate, watercolor-style washes. This effect is lovely for traditional Japanese motifs, soft hydrangea petals, or subtle sky gradients.
Because watercolors remain water-soluble even after drying, you must handle the baked piece carefully to avoid moisture exposure. Sealing the final piece with a water-based varnish or UV resin is mandatory.
Glass paint and stained-glass contour paints (available at craft stores) pair beautifully with shrink plastic. They dry into a translucent, glossy, slightly raised layer.
The best way to use glass paint is applying it after baking as a top layer. Applying thick glass paint before baking poses a fire and mess risk, as the heat can cause the paint to expand excessively or drip onto the toaster oven tray.
Squeezing glass paint inside the baked outlines creates a raised, crystal-clear sheen that mirrors genuine stained glass.
When crafting sophisticated, modern jewelry or delicate nuanced designs, specialty inks and pastels offer unique artistic options.
Pastels consist of compressed powdered pigments. Like colored pencils, they require a sanded plastic surface.
To apply pastels, scrape a small amount of powder off the side of a stick using a craft knife. Pick up the powder with a cotton swab, cotton pad, or your fingertip, and gently rub it into the sanded sheet. Pastels blend even more smoothly than colored pencils, making them the absolute easiest way to add soft pink cheeks to characters or render sunset sky gradients.
Because loose pastel powder sits on the surface, gently blow off any excess dust before heating. During baking, the plastic's grooves shrink around the pigment particles, locking them in much more securely than before heating.
Using rubber or clear acrylic stamps to transfer intricate patterns onto shrink plastic is a popular technique. When picking stamp inks, choosing the correct type is critical:
Stamping black or gold designs onto clear plastic with StazOn ink, then coloring the back with colored pencils or paints, is my top recommendation for making boutique-quality pieces quickly!
Alcohol ink art has taken the handmade craft world by storm, and it translates wonderfully to shrink plastic. These inks consist of dye dissolved in fluid alcohol, offering high transparency and fluid movement.
Drop a few drops of alcohol ink onto a smooth clear plastic sheet, add isopropyl alcohol or blending solution, and spread the color using a light breeze (like a hair dryer on cool). As the colors swirl together, mesmerizing marble textures form instantly.
Alcohol inks dry quickly, so work fast! Because these colors also intensify during baking, spread a light application before heating. Mixing in a drop of metallic gold or silver ink creates gorgeous, luxurious accent pieces once shrunk.
The most common fatal mistake beginners make is applying tools at the wrong stage. Certain materials must be applied before baking, while others must only be applied after baking.
Mixing these up can release unpleasant fumes, melt your artwork into a sticky mess, or create smoke in your toaster oven. Keep these categories in mind:
These materials shrink and lock in alongside the plastic sheet. They are ideal for precise line art and smooth base coats.
These materials degrade, blister, discolor, or off-gas when exposed to high heat. Apply them only after the plastic has been baked, flattened, and fully cooled.
You've colored your sheet, baked it successfully, and pulled out a gorgeous piece. Stopping there is a mistake! Unprotected color layers are vulnerable to scratches, water damage, and friction peeling. However, applying protective coats comes with its own major pitfall.
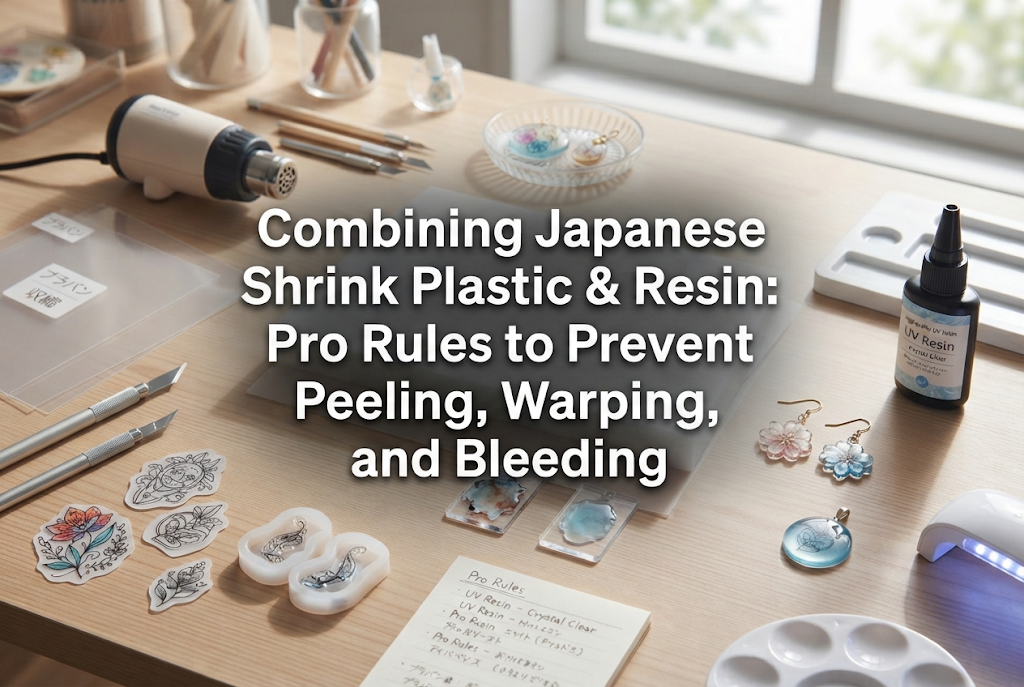
A classic tragedy for beginners is applying UV resin directly over permanent marker lines to create a domed finish, only to watch the ink dissolve and bleed across the entire piece under the UV light.
This happens because uncured chemical solvents in UV resin react with and dissolve permanent marker ink. Even POSCA lines or acrylic paint can smudge if resin is brushed on aggressively.
The professional solution to prevent bleeding 100% of the time is the Water-Based Acrylic Varnish Barrier Method.
This simple extra step seals your ink completely, keeping your linework perfectly crisp under clear resin!
When prepping plastic for pencils or pastels, the grit (number) of your sandpaper shapes your final finish:
When sanding, rub evenly in multiple directions—vertical, horizontal, diagonal, and circular motions. Once finished, thoroughly wipe away all plastic dust with a damp cloth or wet wipe; leftover dust prevents paint from adhering properly!
To help you choose the best tools for your desired project style, here are four proven combinations:
Shrink plastic crafting goes far beyond standard permanent markers. By understanding how POSCA, colored pencils, acrylics, pastels, and specialty inks react before and after heating, your creative possibilities become truly limitless.
Will you go for clear, light-catching stained-glass motifs on smooth plastic? Soft, cozy, hand-drawn pastel textures on sanded surfaces? Or rich, opaque solid fills using acrylic sponge-dabbing?
As long as you respect the timing of pre-bake vs. post-bake mediums and apply the water-based varnish barrier trick before resin coating, you can say goodbye to smudges, peeling, and ruined projects forever.
Start by taking a few scrap pieces of shrink plastic, testing your favorite pens and paints, and observing how they transform after baking. Once you master how these tools behave, the quality of your handcrafted shrink plastic creations will reach a whole new level!
If you found this article helpful, please share it with your fellow craft lovers on social media! See you in the next guide—this was Yassy from Crafters!


For example, if you are looking for articles about mizuhiki, try searching for "mizuhiki"; if you are interested in tools, try keywords like "nippers" or "pliers."
