A Crafter’s Guide to Wood Adhesives: Types, Characteristics, and Pro Clamping Techniques
yassy
Crafters!

Hello! I'm Yassy from Crafters! (・∀・)
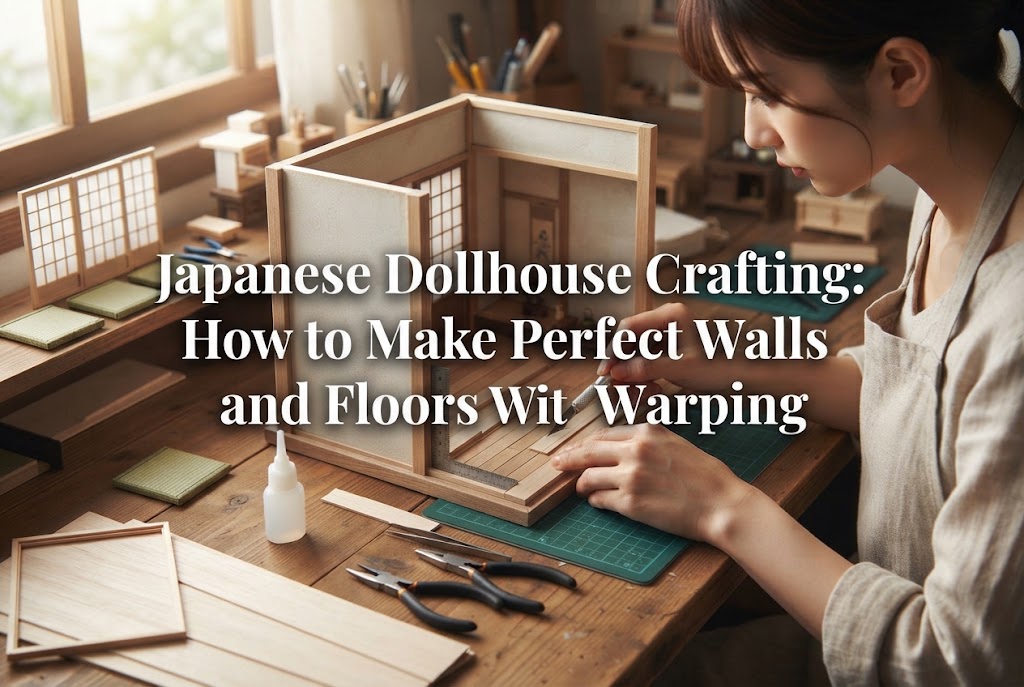
When starting a dollhouse project, one of the most exciting parts is creating the walls and floors that define the room's atmosphere. They serve as the essential background for arranging your favorite miniature furniture and displaying tiny dolls.
However, when putting it into practice, many crafters run into frustrating problems: gaps forming between the walls and floor, wallpaper wrinkling on the surface, or the base warping after completion. If the underlying walls and floors are distorted, even the finest miniature furniture and accessories will look misaligned and uneven.
In this article, I will explain specific techniques for crafting straight, beautiful dollhouse walls and floors, along with practical tips to prevent failure. Let's walk through the process step by step, from material selection and square cutting to applying wallpaper and flooring flawlessly!
When walls and floors do not turn out neatly, the cause almost always lies in the assembly sequence or how the materials were handled. First, let's look at why these distortions and flaws occur in the first place.
In the world of miniatures and dollhouses, a tiny discrepancy of just 0.5 mm can distort the entire structure. Just like in real architecture, the accuracy of your base preparation and construction directly determines how beautiful the final result will be.
The very first step toward clean walls and floors is choosing the right board materials (sub-base) and cutting them accurately. If you skip careful preparation here, no amount of decorative work later will fix the alignment.
The most common base materials used in dollhouse construction are MDF, basswood or agathis plywood, and foam board (styrene board). Understanding the pros and cons of each will help you select the right one.
I strongly recommend using MDF (5.5 mm to 9 mm thick) as your primary base because it is sturdy, flat, and warp-resistant. A great strategy is to use MDF for floors and back walls that require structural strength, while reserving lightweight foam board for temporary photography backdrops.
When cutting board materials, how you position your ruler and apply your blade is crucial. Follow these essential rules to get clean straight lines and accurate 90-degree corners by hand:
If you force the cut with too much pressure, the blade can slip off the ruler or cut at an angle. Angled cuts create triangular gaps between the wall and floor during assembly.
Assembling the cut wall and floor boards is often the most nerve-wracking stage of dollhouse building. If the right angles slip here, ceiling panels won't fit, and furniture will sit awkwardly away from the wall.
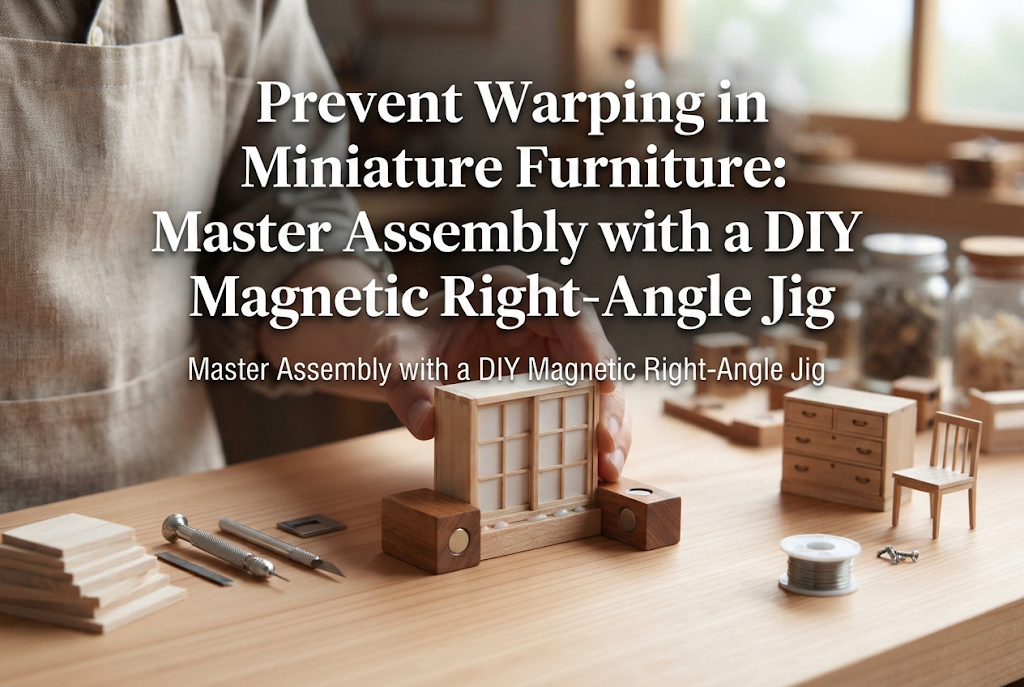
It is virtually impossible to hold boards at a precise 90-degree angle by hand while waiting for glue to dry. You should always rely on fixing tools:
As soon as you apply glue, attach your corner clamps and check the angle with a try square from both the inside and outside. Taking this quick extra step is the secret to building straight, professional-looking walls.
For bonding wood, quick-drying wood glue (heavy-duty PVA) works best. However, applying glue only to the narrow edge (end grain) of a board may not provide enough strength to withstand accidental impacts later.
I recommend reinforcing joints by gluing triangular wood strips or square dowels into the inside corners or along the hidden back edges.
Attach 5 mm to 10 mm square wooden strips along unseen areas (such as the backside or bottom edge), or inside corners that will later be hidden by baseboards or moldings. This dramatically increases the surface area for bonding and completely eliminates wobbling.
Floors set the tone for the entire miniature room. Here are techniques for laying down beautiful wood plank flooring or realistic tiled floors.
When placing individual wooden strips (such as thin cypress or balsa planks) to create hardwood floors, keeping the seams tidy is key.
If you use pre-printed wood paper sheets or self-adhesive wood sheets, adding a bit of multi-purpose glue or strong double-sided tape will keep the edges from peeling over time.
For kitchen, bathroom, or entryway tiled floors, you can use thin plastic sheets, air-dry clay, or commercial miniature tiles.
Before laying tiles, draw a precise grid on the base with a pencil. Work from one side to the other, placing toothpick tips or thin spacers between tiles to keep grout lines uniform (around 0.5 mm to 1 mm wide).
For the grout itself, spread a thin layer of real tile grout or lightweight spackle over the surface, then gently wipe away the excess with a damp sponge. This yields a amazingly realistic texture!
When finishing walls, the two main choices are applying wallpaper (paper or fabric) or painting. Here is how to achieve a smooth finish with either method.
The most common mistake when applying patterned paper or printed wallpaper is paper stretching and wrinkling caused by excess water in the glue. Applying high-moisture PVA glue directly causes the paper to absorb water and buckle.
Here is the golden rule for wrinkle-free wallpaper application:
If you cut wallpaper while the glue is still damp, the paper will tear and leave ragged edges. Waiting for complete drying is an absolute rule for a clean finish.
When painting walls, water-based acrylics or milk paints are popular choices. However, applying paint directly onto bare MDF or plywood causes the wood to absorb moisture unevenly, resulting in patchiness and raised wood grain.
To prevent this, always apply gesso (primer) or a wood sealer first. Once dry, sand the surface smoothly with fine sandpaper (#400 grit or higher).
Instead of one thick coat, apply 2 to 3 thin coats using a brush or sponge. If you want a plaster, stucco, or brick texture, mix a little baking soda or modeling paste into your paint and apply it with a palette knife for realistic 3D depth.
Even after assembling walls and floors cleanly, a room might still look somewhat homemade. What elevates a build to professional quality is how you finish the edges and cover tiny gaps.
In real homes, baseboards cover the seam where walls meet the floor, and crown moldings finish the junction between walls and ceiling.
In dollhouses, gluing thin wooden strips (1 mm to 2 mm thick, 5 mm to 10 mm wide) along the bottom of the walls creates an instant transformation.
Baseboards completely hide minor gaps or uneven cuts where the wallpaper meets the floor, instantly giving the room a crisp, polished appearance. Cutting corner joints at a 45-degree angle produces a truly authentic look.
If small gaps remain at the vertical wall corners, don't worry—you can easily repair them.
Apply a tiny amount of wood filler, acrylic caulk, or spackle into the gap using the tip of a toothpick. While it's half-dry, gently wipe off the excess with a damp cotton swab or fingertip.
Once fully dry, paint over the filler in the same color as the wall, and the gap will vanish completely!
When I first started crafting dollhouses, I made plenty of mistakes myself. One particular memory stands out: building a large backdrop set using thin plywood.
I was so eager to see the wallpaper on that I rushed through it, applying paper with water-based glue without letting the base cure properly. By the next morning, the entire wooden board had warped into a dramatic curve, leaving a gap of over 1 cm between the wall and the floor! Trying to bend it back only cracked the board, and I had to start over from scratch.
That failure taught me two essential lessons: never rush drying and clamping times, and always use a base material thick enough not to warp.
In miniature crafting, the time spent waiting for glues and paints to dry is just as important as the time spent actively working. Letting each stage dry thoroughly and checking for alignment along the way may feel like a detour, but it is actually the shortest path to a stunning dollhouse!
Let's recap the key points for crafting clean, warp-free dollhouse walls and floors:
When walls and floors join at crisp right angles, framed by flat wallpaper and beautiful flooring, the overall quality and elegance of your miniature creation will skyrocket.
I recommend starting with a small one-room box layout first. Take your time, enjoy the process, and build your very own dream miniature space!
If you found this guide helpful, sharing it with your crafting friends on social media would mean the world to me! Until next time, happy crafting from Yassy at Crafters!




For example, if you are looking for articles about mizuhiki, try searching for "mizuhiki"; if you are interested in tools, try keywords like "nippers" or "pliers."
