Upgrade Your Japanese Mizuhiki Craft: The Essential 4-Step Tool Order Beyond Starter Kits
yassy
Crafters!
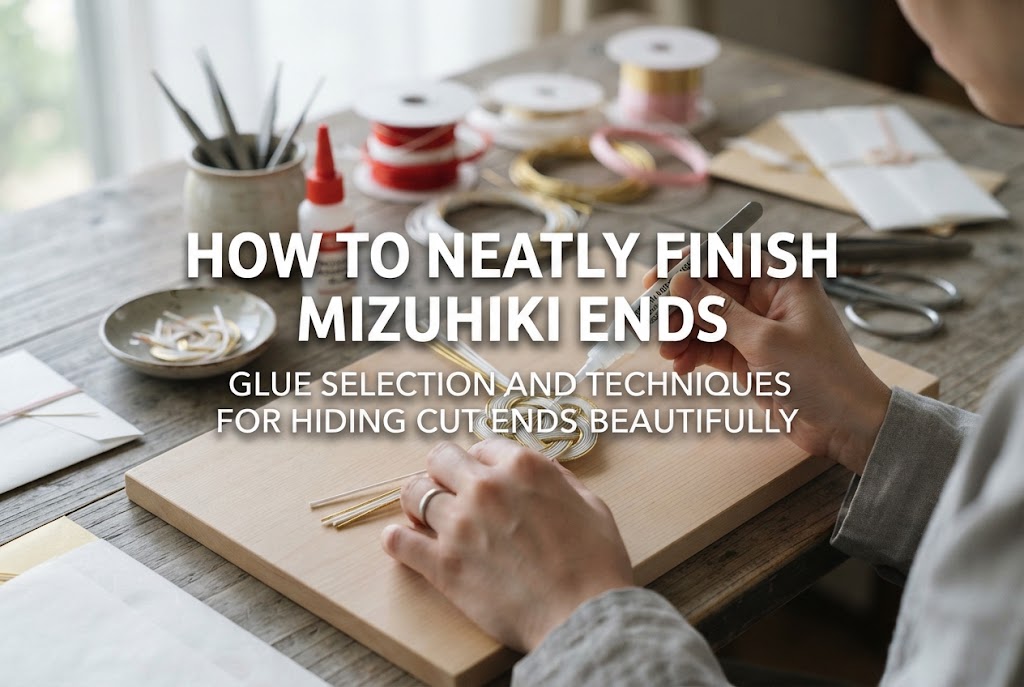

Hello, this is Yassy from Crafters! (・∀・)
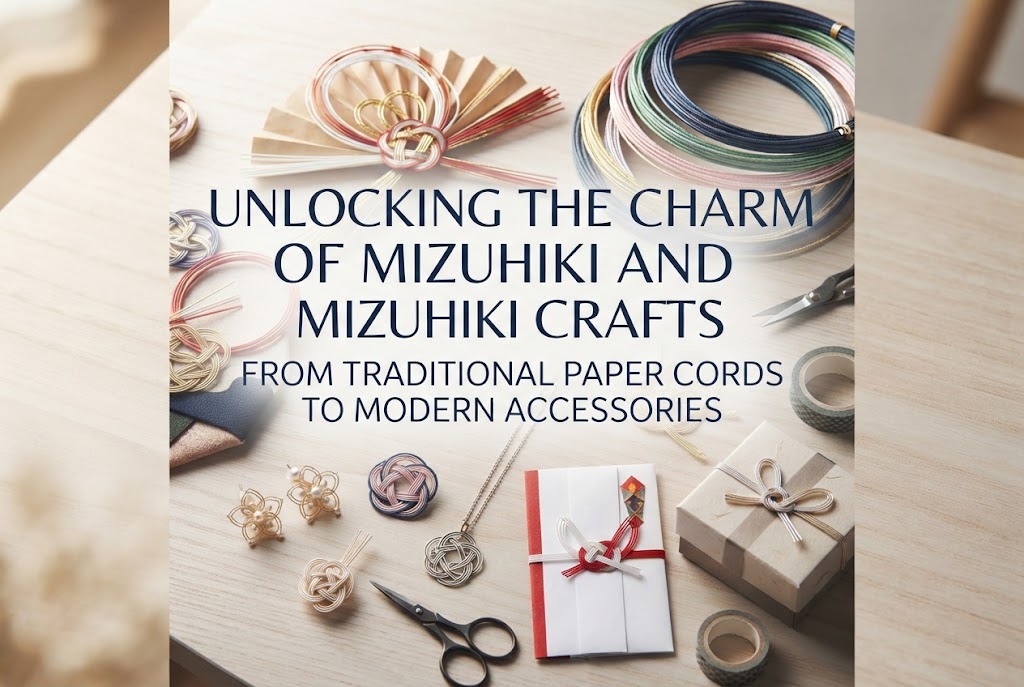
Crafting items using traditional, beautiful Mizuhiki cord—such as earrings, pony hooks, or decorative accents on small gift envelopes (pochi-bukuro)—is truly fun. The moment you complete a beautiful knot gives such a wonderful sense of achievement.
However, have you ever struggled with how to deal with the ends of the Mizuhiki once you finish tying? Many crafters experience problems like the cut ends fraying into fuzzy threads or exposing the inner paper core, glued ends on the back looking bulky and unappealing, or glue leaking out and drying into noticeable white spots.
No matter how beautifully the knot on the front is tied, if the treatment of the ends is messy, the entire piece can end up looking amateurish, or the knot might even unravel during use. On the flip side, once you master the art of finishing the ends, the overall quality of your work will improve dramatically!
In this guide, I will thoroughly explain everything from the fundamental knowledge of neatly finishing Mizuhiki ends, how to choose tools and adhesives for different situations, practical techniques for hiding cut ends on the back, and how to troubleshoot common mistakes.
In Mizuhiki crafting, finishing the ends is not just a matter of cutting off extra cord and sticking it down. It is the final refining step that defines the appearance of your work, as well as a crucial process to ensure durability.
When you finish tying Mizuhiki and cut off the excess, you might notice fine threads fraying out from the cut surface or the inner core exposed and falling apart. The main reasons for this lie in the internal structure of Mizuhiki, the sharpness of your scissors, and how you shape the cord before cutting.
Mizuhiki is constructed by wrapping fine silk thread, rayon thread, or ultra-thin synthetic film (such as Kyokko or Hagoromo) around a core made of tightly rolled Japanese Washi paper. Because of this layered structure, if you snip the cord without any reinforcement, the pressure of the cut pushes out the outer surface threads, causing them to fray.
Furthermore, if your scissors are dull or if you are using general household utility scissors not designed for paper and textiles, the blades can catch on the wrapping thread, tearing the cut surface and making the fraying much more pronounced.
When the back of your piece and the cut surfaces of the ends are crisp and tidy, it gives anyone holding your work a clear impression of careful, high-quality craftsmanship. For wearable accessories, a smooth back feels pleasant against the skin and eliminates concerns about snagging on clothing fibers.
Moreover, securely fixing the ends prevents the knot from loosening or coming undone under daily friction. Mastering proper end finishing is truly the first step toward moving beyond beginner-level work, both aesthetically and functionally.
To achieve clean end finishing, it is important to prepare the right tools for the job and understand the characteristics of the cut ends.
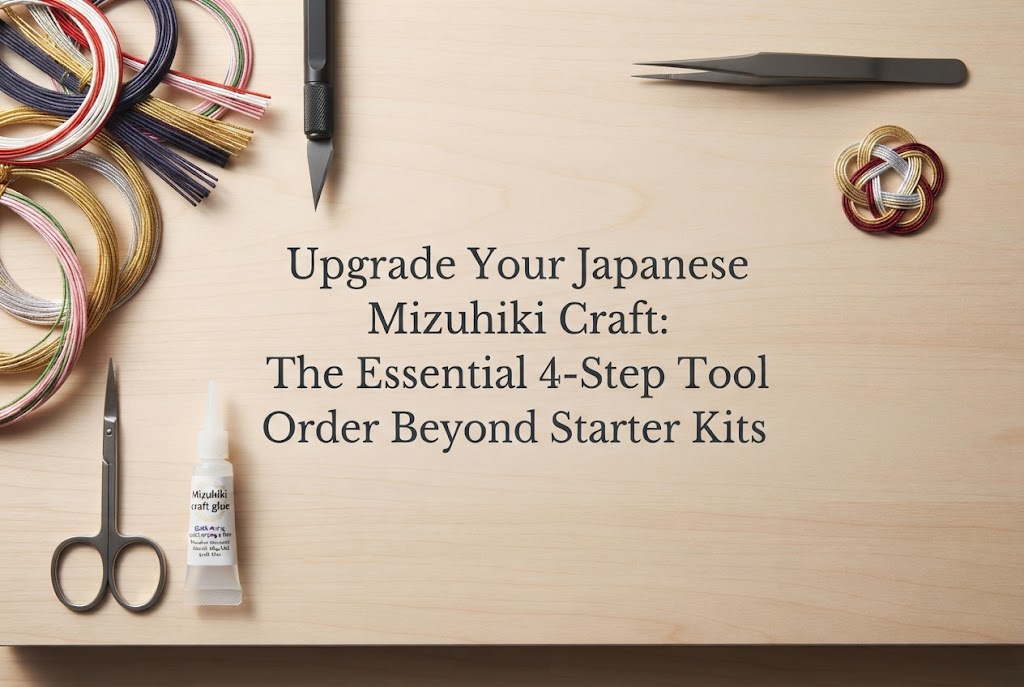
Instead of everyday stationery scissors, choose fine-tipped, extremely sharp scissors, such as those made for needlework or patchwork. Using scissors with a fine tip allows you to insert the blades precisely into narrow spaces or onto the back of knots, cutting exactly at your target spot.
I personally recommend stainless steel precision scissors with short blades and pointed tips. Even when cutting a bundle of thick Mizuhiki cords, the tip remains stable and cuts cleanly through without crushing the cross-section. Glue residue or debris on the blades will dull their cutting performance, so make it a habit to wipe them clean regularly after use.
When cutting Mizuhiki, changing the angle at which you insert the blades alters both the look of the cut surface and how easy it is to manage.
The secret is to adapt your cutting angle according to your goal—whether you plan to paste the cut end onto the back, tuck it into a gap, or deliberately leave it visible on the front.
The most common area for failure in end finishing is selecting the wrong adhesive. Using an adhesive unsuitable for Mizuhiki materials can take too long to set, causing the shape to collapse, or turn white and hard after drying, making it stand out unpleasantly. Choose the right adhesive for each situation.
Here is a summary of the characteristics of key adhesives and craft chemicals used for Mizuhiki end treatment:
In my daily practice, I mainly use quick-drying wood glue for basic end processing. Rather than applying glue directly from the nozzle onto the Mizuhiki, the absolute rule for a clean finish is to take a tiny amount on the tip of a toothpick or a scrap piece of wire and apply it with pinpoint precision!
In addition to adhesive, another tool you should keep handy is a pair of precision tweezers. If you try to push the cut Mizuhiki ends into the back or press glued sections together using your fingers, glue will smudge onto surrounding areas and mess up the piece.
With a single pair of fine-tipped metal tweezers that can grip firmly, you will be able to position and secure ends exactly where you want them, even behind tiny knots.
Now let us look at specific end-finishing techniques you can apply to actual craft projects, categorized by scenario. Try the method that best matches the shape of the work you are creating.
This is the most standard method, where you fold the ends of the Mizuhiki to the back of knots like the Awaji knot or Ume (plum blossom) knot and fix them in place.
For 3D brooches or projects where you want the back to look just as pristine (such as chopstick rests or phone straps), tucking and hiding the ends inside the loops or lines of the knot is very effective.
Before cutting, trim the end diagonally at a sharp angle. This narrows the tip, making it much easier to pass through tiny gaps between combined Mizuhiki cords. Apply a tiny dot of glue inside the gap where you plan to insert the tip, then use tweezers to smoothly slide the tip deep inside.
Once fully inserted, check that no excess cord sticks out, then pinch the gap shut with your fingers. This allows the end to assimilate completely with the surrounding cords, creating a seamless finish where nobody can tell where the cord ends!
In designs that take advantage of Mizuhiki's flowing lines or where ends hang down like tassels, the cut cross-sections remain exposed. Treating these raw cut ends cleanly is where the difference between a professional and a beginner really shows.
When leaving edges raw, apply a thin coat of clear-drying fray check liquid or thinly spread wood glue all around the cord just a few millimeters above where you plan to cut (on the side that will remain). Allow this to dry completely before cutting cleanly through in a single motion with sharp precision scissors.
Because the Washi paper core and surface wrapping threads are already locked together by the dried glue, the cross-section will not collapse at the moment of cutting. The cut edge will look as crisp as if drawn with a ruler, giving a refined, modern impression.
When turning Mizuhiki into jewelry, you can use the processed ends on the back directly as a bonding surface for hardware components.
After folding the ends to the back flatly and gluing them down, trim them neat while leaving a little length. Then, cover the area by gluing on a filigree piece, flat-pad earring post, or a small circular piece of felt or leather.
Attaching a base component directly over the processed ends physically prevents the ends from coming loose, dramatically increasing durability. The appearance is also exceptionally tidy, making this an approach you should definitely adopt when creating wearable items.
No matter how careful you are, problems can occasionally occur during end processing. Here are common causes of failure and practical solutions to prevent them.
"I wanted to secure the ends firmly, so I applied plenty of glue, but it seeped to the front and dried into white marks…" This is a misstep almost every crafter makes at least once.
Because Mizuhiki is made of paper and thread, it easily absorbs liquid adhesives. To prevent seepage, my go-to solution is applying glue in micro-dots and wiping away moisture before it dries.
Never apply glue directly from the tube. Always squeeze a little onto a craft tray or paper first, then pick up a tiny amount—about the size of a single sesame seed—using the tip of a toothpick to apply it. If it accidentally leaks through, use the tip of a cotton swab dampened with water and squeezed firm to gently dab and absorb the excess glue before it dries.
Just as you finish tying your Mizuhiki and think, "Time to cut the ends!" the tension of the knot is lost the moment you cut, and the whole knot unravels. This happens because the intersection points of the knot were not temporarily secured prior to cutting.
Before trimming the ends with scissors, I always apply a small drop of glue to the center of the back side of the knot (where the Mizuhiki cords overlap each other) to lock it in place.
As long as the center of the knot is securely bonded, the overall shape will never collapse, no matter where you trim the ends. Simply sticking to the order of "securing the center before cutting" will prevent 90% of end-finishing mistakes!
In projects tied with multiple strands of Mizuhiki bundled together (such as a 5-strand or 7-strand Ume knot), folding all the ends to the back creates a thick, bulky mound in the center.
A thick back makes earring components or kimono sash clip (obi-dome) hardware wobbly when glued on, reducing the contact area and making them prone to falling off.
To prevent this, use the technique of "graduated cutting" (slanted step cutting). Instead of cutting all bundled ends at the exact same length, cut them at staggered lengths—inner cords shorter, outer cords slightly longer.
When folded over, the cut cross-sections do not stack on top of one another at a single point, resulting in a gentle, almost flat back finish. This technique is especially effective for pieces that will have hardware attached.
Let us talk about the final check after finishing the ends and a few tricks to ensure your creations last a long time in daily use.
Because Mizuhiki is made of paper, it is sensitive to moisture and water. The cut ends are particularly delicate because the inner Washi paper core is exposed, making it prone to absorbing moisture.
If you want your Mizuhiki crafts to last, I recommend applying a very thin coat of water-based acrylic varnish or spray varnish for crafts over the entire piece or specifically over the end-processed back after the glue has dried completely.
Creating a thin protective film on the surface not only repels water droplets, but also prevents the glued surfaces at the ends from peeling off, significantly boosting overall durability.
For pieces that come into contact with skin or clothing—such as earrings, ear clips, or brooches—always gently run your finger over the back end processing after completion to check the texture.
If you feel that the hard corners of dried glue poke you or that the cut ends of the Mizuhiki feel slightly scratchy, use a fingernail file or precision file to lightly rub and round off the sharp corners.
Taking this extra moment dramatically improves comfort during wear, raising the level of completion as a handmade product.
In this guide, we have thoroughly covered techniques for neatly finishing Mizuhiki ends to dramatically elevate the quality of your craft projects.
Let's review the key points for successful Mizuhiki end treatment:
At first, processing the back of small knots might feel a bit tricky, but by using the right tools and following these steps, anyone can achieve beautifully finished ends.
A Mizuhiki piece with crisp, tidy finishing all the way to the back and cut edges carries a clean, high-end feel just like a professional item. Try incorporating these techniques into your next project and enjoy creating next-level Mizuhiki crafts!
If you found this article helpful, I would be so happy and encouraged if you shared it on social media or sent it to your craft friends!
Well then, see you in the next article! This was Yassy from Crafters!

For example, if you are looking for articles about mizuhiki, try searching for "mizuhiki"; if you are interested in tools, try keywords like "nippers" or "pliers."
