What Is Amigurumi? A Complete Guide to Japanese 3D Crochet: Projects, Care, Difficulty, and Budget
yassy
Crafters!

Hello, this is Yassy from Crafters! (・∀・)
As someone who absolutely loves making, looking at, and buying handmade crafts, one of the genres I am most passionate about right now is Mizuhiki crafts!
When people think of Mizuhiki, many envision the beautiful decorative knotted cords tied around celebratory gift envelopes (shugi-bukuro) in Japan. Today, however, Mizuhiki crafts have evolved far beyond the boundaries of traditional Japanese goods into sophisticated modern accessories and home decor that blend seamlessly into everyday life.
Ever since I first spotted delicate Mizuhiki earrings in a lifestyle boutique and thought in amazement, “Can something this lightweight and cute really be made from paper cords?!”, I have been thoroughly hooked—crafting them myself and collecting pieces from wonderful artisans.
Many crafters hesitate to dive in because of concerns like: “It looks like a difficult traditional craft,” “Can you only make traditional Japanese-style items?” or “Isn't paper hard to maintain and handle?”
In this guide, I will cover everything a beginner needs to know: what you can make, difficulty levels, proper care, workspace needs, and costs. Read on, and all your questions and concerns about Mizuhiki craft will be resolved!
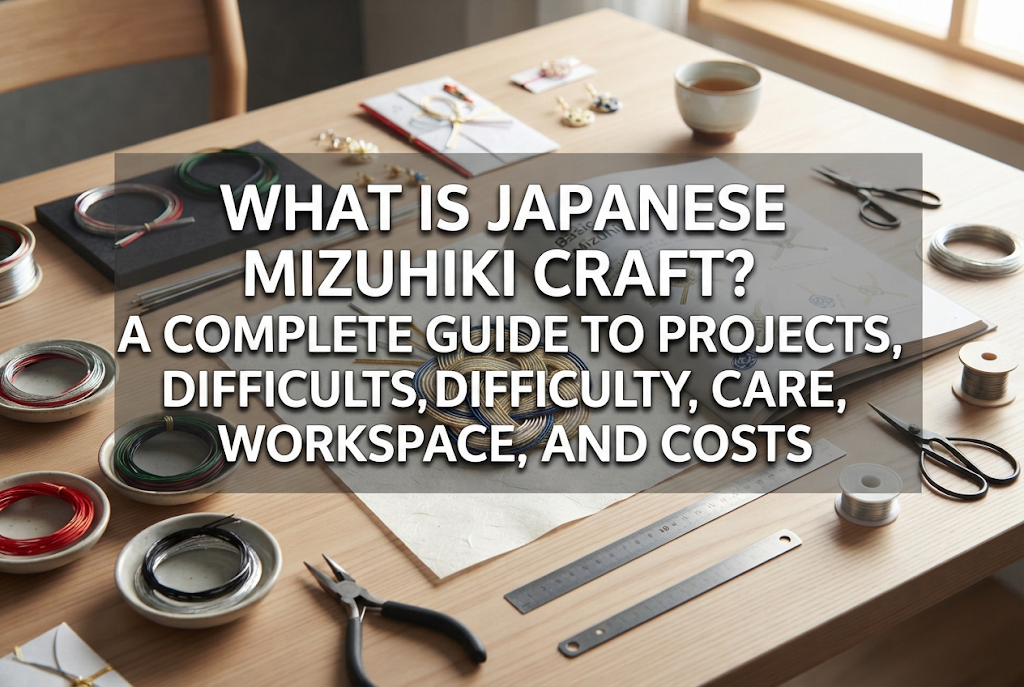
Mizuhiki is a traditional Japanese decorative cord made from tightly twisted strips of washi paper as its core, wrapped with colored thread or metallic film. Cultivated over centuries in Japan as a way to adorn gifts, Mizuhiki is now wildly popular in the handmade community thanks to its beauty and versatility.
The greatest charm of Mizuhiki lies in its ability to transform a single slender cord into three-dimensional sculptural forms, along with an incredible spectrum of colors created by silk and metallic foils. Beyond classic red-white and gold-silver, modern cords come in trendy dusty pastels, vibrant shades, and elegant gradients that complement contemporary fashion.
Because paper cords weigh next to nothing, even large statement jewelry will not weigh down your ears or neck. Combining a distinct warmth with dignified grace unlike metal or glass, Mizuhiki is a truly unique handmade genre.
Mizuhiki projects are not limited to gift envelopes. With a little creativity, you can craft everything from daily wear essentials to festive seasonal decorations. Here are some of the most popular items beginners can create:
Jewelry is by far the most popular category in modern Mizuhiki crafts. Because the knots themselves serve as stunning motifs, a petite plum blossom knot (ume-musubi) makes a versatile stud or dangle earring that suits any style.
Larger swaying earrings combining multiple knots, pony hooks, and barrettes are also extremely popular. For practical household goods, Mizuhiki chopstick rests (hashi-oki) bring immediate elegance to your dining table, perfect for both everyday meals and entertaining guests.
Creating shugi-bukuro (celebratory money envelopes) and pochi-bukuro (petite gift envelopes)—the traditional home of Mizuhiki—remains a staple craft. Simply attaching a handmade Mizuhiki knot to an envelope turns it into a one-of-a-kind treasure.
Adding a small Mizuhiki accent to New Year envelopes, birthday gifts, or thank-you cards is also a stylish touch that imparts warmth and personality that store-bought packaging cannot match.
Mizuhiki also shines in interior styling. Classic seasonal examples include modern arrangements of Japanese New Year wreaths (shimenawa) and miniature pine ornaments (kadomatsu). By introducing modern color palettes to traditional designs, they complement Western-style interiors effortlessly.
There is also strong demand for bridal items, such as wedding welcome boards, boutonnieres, traditional hair ornaments (kanzashi), and bouquets. Lightweight and durable, Mizuhiki creations can be kept as cherished keepsakes long after the special day.
A common worry when making or using Mizuhiki is whether paper will quickly fall apart if exposed to water or lose its shape. Here is the truth and how to maintain your creations properly.
To be straightforward, because the core is washi paper, Mizuhiki is vulnerable to excess moisture. Being caught in heavy rain or soaking a piece in water can cause it to lose its form, bleed, or transfer color.
However, it is not fragile enough to fall apart from light sweat or normal ambient humidity. Because the paper core is tightly wrapped with thread or film, it possesses a fair amount of water resistance and tensile strength.
When wearing Mizuhiki accessories in hot weather, simply wipe them gently with a dry, soft cloth after use and store them in a low-humidity spot. If a piece ever gets wet, do not use a hairdryer or apply direct heat; reshape it carefully and let it dry naturally in a well-ventilated, shaded place.
There is an effective way to boost durability and protect against moisture: applying a Mizuhiki-specific coating agent or acrylic varnish spray. Lightly misting a finished piece with water-soluble acrylic varnish creates an invisible protective barrier.
This repels water and dirt while locking knots in place to prevent deformation. For everyday wear items like earrings and keychains that undergo friction or moisture, adding this protective topcoat is strongly recommended to dramatically improve longevity.
Many beginners wonder if tying cords can genuinely result in crisp, beautiful forms without advanced crafting skills. Here is the realistic answer.
You do not need exceptional manual dexterity to craft Mizuhiki. Unlike knitting or embroidery, it does not require repeating thousands of intricate stitches. All it takes is following the steps to guide the cords into specific fundamental knot patterns.
Mizuhiki cords have a natural firmness and springiness (hari and koshi), meaning once you shape them, they tend to stay in place rather than slipping around like soft yarn. Once your fingers get a feel for the cord tension, even complete craft novices can finish a sophisticated piece on their very first day.
If you are starting out, focus on mastering just these three knots. Understanding them allows you to create over 70% of the Mizuhiki pieces found on the market.
Mastering the Awaji and Plum Blossom knots first is your quickest path to becoming a proficient Mizuhiki crafter.
One major hurdle when starting any craft is whether you have room for a dedicated workspace. Mizuhiki offers an unmatched advantage here.
All you need to work with Mizuhiki is enough flat space to lay down an A4 cutting mat. Unlike resin casting or ceramics, there are no bulky machines, UV lamps, or special ventilation requirements. A corner of your dining table or a low coffee table is more than sufficient.
Setup and clean-up take barely a minute. By keeping your tools in a compact pouch or box, you can craft spontaneously whenever inspiration strikes in your living room or even at a café.
To get started, simply place an A4 cutting mat under good lighting. Since standard Mizuhiki cords are roughly 90 cm (about 35 inches) long, leave a little clear space directly in front of you so the cords do not catch on nearby objects as you manipulate them. Keep a small tray or bin nearby for trimmed cord scraps to keep your surface tidy.
Mizuhiki stands out among handmade disciplines for having an exceptionally low barrier to entry and minimal upkeep costs.
To begin, you only need a handful of basic tools:
Most of these items can be found affordably at 100-yen stores or discount craft retailers, keeping your total initial setup costs around ¥1,000 to ¥3,000 (roughly $10 to $25 USD). Without the need for expensive machinery, your upfront financial risk is practically zero.
The cords themselves are very budget-friendly. Standard Mizuhiki cords usually cost between ¥20 and ¥50 per 90 cm strand. Making a pair of small plum blossom earrings requires only 2 to 3 cords, meaning raw cord costs can be around ¥100 for a set. Even after factoring in earring posts and backing supports, the material cost per finished accessory often sits under ¥200 to ¥300.
Because mistakes carry almost no financial penalty, beginners can practice knots over and over without stress.
While Mizuhiki is accessible, there are three common stumbling blocks every beginner hits. Here are my tried-and-true solutions.
The biggest beginner mistake is trying to tie cords straight out of the packaging. When stiff, straight cords are forced into tight knots, they resist, spring back, and end up with harsh kinks instead of smooth circles.
Yassy’s Solution: Always perform shigoki (pre-softening / curving) before you knot! Pinch the cord gently between the pad of your thumb and your index finger, curving your hand to draw the cord through in a smooth arc a few times. This loosens the paper fibers so the cord glides into soft curves. Doing this prep step makes cords ten times easier to manage and yields noticeably cleaner results.
After weaving a knot, you must pull cords to adjust loop sizes. Pulling hard and fast often crushes the cords, creating unsightly kinks. Since Mizuhiki is paper-based, flattened creases cannot be undone.
Yassy’s Solution: Tighten gently, cord by cord, in proper sequence! Never yank all cords at once. Trace where each strand leads and adjust them one at a time from the inside out. Use an awl to hold intersections steady while easing the loops down to size. Take your time—patient handling is the key to balanced knots.
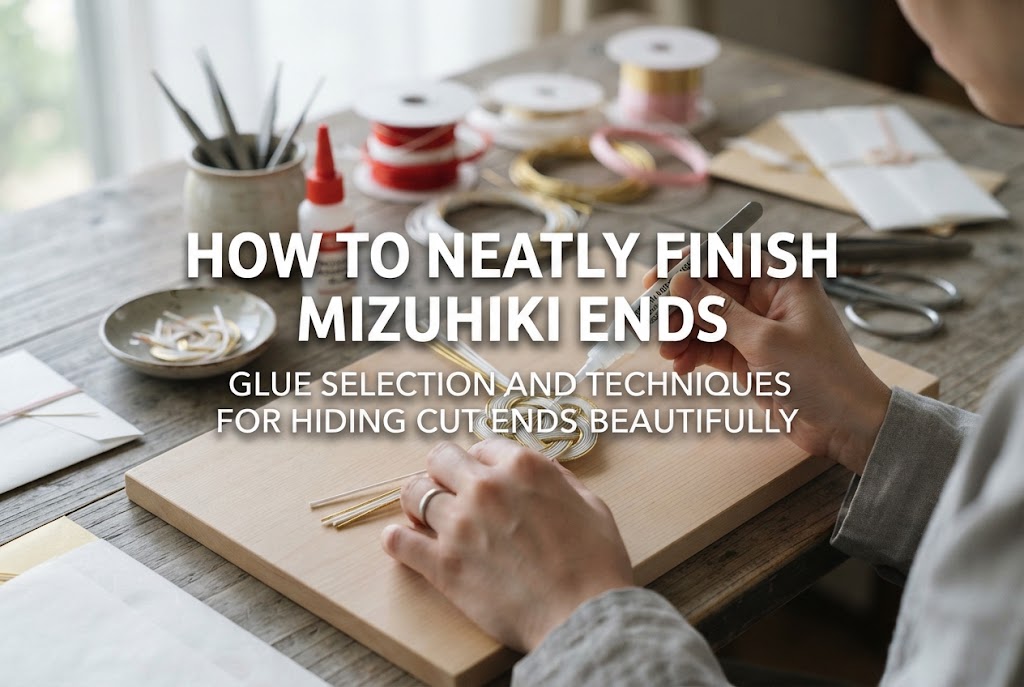
After knotting, trimming excess cord ends without proper gluing can cause the knot to loosen or the decorative outer film and thread to fray.
Yassy’s Solution: Glue securely on the reverse side before making your cuts! Once the knot is tied, apply tiny dabs of fast-drying craft glue to the intersections on the backside. Wait until the glue dries completely before snipping off the excess cord. Cut perpendicularly with sharp scissors, and apply a tiny dab of glue directly to the cut tips, smoothing with your finger to stop any fraying.
Mizuhiki crafting is one of the easiest handmade arts to pick up—requiring no bulky machinery, minimal space, and very little upfront expense. The tactile sensation of paper cords, the endless color possibilities, and the satisfaction of building intricate knots with your hands are truly addictive.
Lightweight, durable, and suitable for everything from everyday fashion to milestone celebrations, Mizuhiki gives you the joy of creating, wearing, and gifting handmade elegance.
Grab a pair of scissors and a few strands of your favorite colored Mizuhiki cords, and try your hand at the fundamental Awaji knot today!
If you enjoyed this guide, please share it on social media or with your fellow crafters. See you in the next post—this was Yassy from Crafters!

For example, if you are looking for articles about mizuhiki, try searching for "mizuhiki"; if you are interested in tools, try keywords like "nippers" or "pliers."
