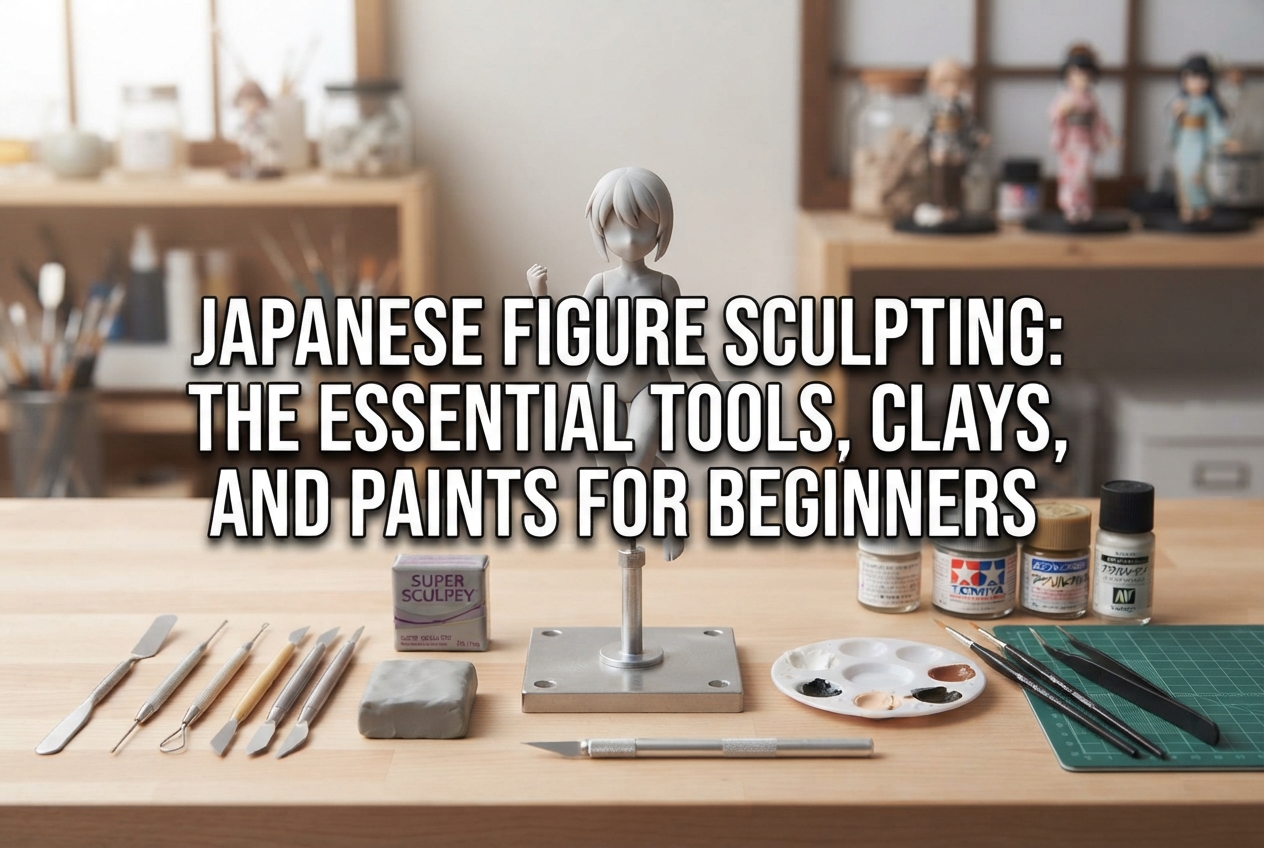
Japanese Figure Sculpting: The Essential Tools, Clays, and Paints for Beginners
yassy
Crafters!

Hello, everyone! This is Yassy from Crafters! (・∀・)
Sculpting your favorite characters or bringing original designs to life in 3D is one of the most rewarding and exciting areas of the handmade craft world. However, beginners working with clay often run into the same hurdles: "What should go inside the figure?" or "When I sculpt with clay alone, it gets too heavy and collapses!"
The secret to keeping your figure in the exact shape you want while ensuring structural integrity is what Japanese sculptors call the shinzai (芯材)—the armature and inner core. Once you understand how to choose and build an armature properly, your sculpting process will become dramatically smoother, and the quality of your finished work will level up significantly.
In this guide, I will walk you through the fundamentals of armatures in figure sculpting, the characteristics of common core materials, how to pair them with different types of clay, and practical troubleshooting tips for beginners based on my own experience!
In figure sculpting, an armature (or inner core) is the internal skeleton and foundation built before applying clay. Think of it like the bones and internal bulk of a human body, prepared beforehand out of separate materials.
Trying to sculpt an entire figure purely out of solid clay leads to multiple structural problems. Using an armature serves four crucial purposes:
Several standard materials are used for inner cores and armatures. Each has distinct strengths and weaknesses, so sculptors typically combine them depending on the part of the body and the clay being used.
Aluminum wire is the most widely used material for constructing a figure's structural skeleton. Its biggest advantage over iron or stainless steel wire is that it is soft and easy to bend and adjust by hand or with needle-nose pliers.
However, repeatedly bending the same spot can cause metal fatigue and cause it to snap. Diameters between 1.5 mm and 3.0 mm are generally the most versatile. A good rule of thumb is to use thicker 2.0 mm to 3.0 mm wire for the torso and legs to provide solid support, and thinner 1.0 mm to 1.5 mm wire for smaller areas such as fingers or hair strands.
Standard kitchen aluminum foil is an outstanding, cost-effective core material for figure sculpting. It is lightweight, budget-friendly, and can be shaped freely simply by crumpling and compressing it by hand.
Wrapping foil around wire armature is the ideal way to bulk out the rough shape of the torso and head. Furthermore, because foil is heat-resistant, it can be safely used with oven-bake polymer clays. The key when using foil is not to leave it loosely balled up—you must crush and compress it firmly with your fingers or pliers so it does not squish when pressing clay onto it.
Polystyrene foam is fantastic when building larger figures or spherical shapes. It is remarkably light and can be carved cleanly with a craft knife or hot wire foam cutter.
However, there are two crucial precautions: First, it has zero heat resistance. If you place foam inside an oven-bake polymer clay figure and heat it, the foam will melt and the entire sculpt will collapse. Second, polystyrene dissolves when exposed to lacquer-based solvents and certain adhesives. While it is an excellent core for water-based or stone powder clays, always check material compatibility before using it.
These metal rods are much stiffer and offer greater holding power than aluminum wire. Because they resist bending even at thin gauges, they are frequently used for reinforcing slender ankles or for pin-jointing (dowel pinning) separate modular parts together.
Since they are difficult to bend by hand, you will need sturdy pliers to work with them. Rather than building the entire skeleton from brass rod, use it strategically as targeted reinforcement in high-stress areas.
When sculpting mechanical elements, straight weapons, or display bases, hard wooden blocks (such as agathis wood used in Japanese model-making) or pre-cured blocks of polyester or epoxy putty make excellent cores. They are ideal when you need to maintain crisp, flat surfaces or leverage a rigid foundation.
Using the wrong core material with a specific type of clay can ruin your sculpt midway through the process. Here is how to match them correctly:
Stone powder clay (stone clay), which hardens into a dense, carvable texture similar to wood, is widely loved by Japanese sculptors.
The best combination here is Aluminum Wire + Aluminum Foil or Aluminum Wire + Polystyrene Foam. Because stone powder clay air-dries naturally at room temperature, heat-sensitive foam can be safely utilized. Keep in mind that stone powder clay shrinks slightly as it dries; if your inner core is packed too tightly without enough clay coverage, the surface can crack. Avoid laying the clay too thin—aim for a thickness of at least 2 mm to 3 mm over the core to prevent cracking.
Polymer clay remains workable indefinitely until baked in an oven, allowing for exceptionally detailed sculpting. It is a staple among professional prototype sculptors.
For polymer clay, your go-to setup is strictly Aluminum Wire + Aluminum Foil. Because polymer clay cures at temperatures around 120°C to 130°C (250°F to 275°F), every internal material must be heat-resistant. Never use polystyrene foam or low-melting-point plastics, as they will melt inside the oven and ruin your hard work. Additionally, polymer clay can suffer from incomplete curing if applied thicker than 1 cm (about 0.4 inches). Pack the foil tightly so you maintain an even clay thickness of roughly 5 mm across the entire figure.
Resin-based air-dry clay cures with a degree of flexibility and slight translucency, making it popular for small figures and miniature parts.
The recommended pairing is Aluminum Wire + Aluminum Foil. Resin clay shrinks more noticeably during drying than stone clay. If your core is soft, the shrinking force of the clay will distort the shape beneath it. Squeezing your foil core down into a rock-hard foundation prevents this shrinkage-induced deformation.
Building an armature sounds straightforward, but there are several subtle traps beginners often encounter. Here are four common mistakes from my own past experiences and how to solve them:
If you only lightly roll aluminum foil into shape, it will compress and dent when you press clay against it, ruining your control over the form. It can also create hollow gaps where the clay separates from the foil.
Solution: Press and roll the foil against a flat workbench, compressing it firmly with your fingers or pliers until it feels rock-hard. A dense core provides a solid foundation that supports firm clay application.
Placing wet clay directly onto slick aluminum wire or smooth foil often results in the clay sliding around, falling off, or peeling away after drying.
Solution: Wrap masking tape over the foil, or apply a thin coat of wood glue (PVA glue) to the core and let it dry before applying clay. Creating a slightly textured, tacky surface dramatically improves how well the clay grips (what Japanese sculptors refer to as kuitsuki or surface bite).
Relying solely on thin 1.0 mm aluminum wire for the entire frame because it is easy to bend will leave the figure unable to support the weight of the clay. The figure will wobble front-to-back while you try to sculpt fine details.
Solution: Use a thicker wire for the main spine and legs, or twist two to three strands of thinner wire together. Twisted wire not only increases structural strength, but the spiral ridges also give the clay something mechanical to grip onto—a win-win!
If you build your armature almost to the exact final dimensions of the figure, the internal wire or foil will quickly poke through to the surface when you start carving, sanding, or shaping details later on.
Solution: As a strict rule, build your inner core about one to two sizes smaller (roughly 80% of final volume) than the finished silhouette. Always leave a margin of roughly 3 mm to 5 mm for the clay layer surrounding the core.
Here is a reliable, standard 5-step workflow for constructing a figure armature. Following these steps helps even complete beginners create a steady, wobble-free core.
Before touching any wire, draw a full-scale illustration of your figure on paper, ideally showing front, side, and rear views. By placing your wire and foil directly over this drawing as you shape them, you can prevent proportion and scale discrepancies.
Bend your aluminum wire according to your reference drawing. Run a continuous central wire from the head through the spine and pelvis down into the legs. Cross and wrap a second wire at the shoulder level to form the arms. Leave extra length extending from the soles of the feet—this extra wire will be used to anchor the figure into a work base.
Tear off strips of aluminum foil and wrap them around the wire frame. Focus bulk on the head, chest, pelvis, thighs, and upper arms. Compress the foil tightly with your fingers with every wrap, building a firm, tapered rough shape.
Once the foil shaping is complete, wind masking tape around the entire foil core. This keeps the loose foil edges down and provides an ideal surface texture for clay adhesion.
Insert the excess wire extending from the bottom of the feet into a wooden block, plastic bottle cap, or pin vise/holding stand, securing it firmly. If you try to hold the armature directly in your hands while sculpting, the heat from your hands and the pressure of your fingers can accidentally bend the pose. Always work with the armature mounted securely to a base!
Here are a few clever items that I regularly rely on in my own sculpting studio to make armature building much smoother:
Armature building involves craft blades, heavy-duty pliers, adhesives, and ovens. Always prioritize safety while crafting:
While an armature is hidden inside the finished piece and invisible from the outside, it is the single most critical foundation determining the strength, lightness, and proportion of your figure. Building a solid core first makes applying clay and carving details easier, drastically lowering the risk of giving up halfway through a build.
If you are just starting out, aluminum craft wire and kitchen foil are the easiest and most accessible materials to experiment with. Tailor your armature setup to the size of your figure and the clay you plan to use, and give armature building a try!
If you found this guide helpful, please share it with your fellow makers on social media! It truly keeps me motivated.
Until next time, happy sculpting! This was Yassy from Crafters!



For example, if you are looking for articles about mizuhiki, try searching for "mizuhiki"; if you are interested in tools, try keywords like "nippers" or "pliers."
