Japanese Clay Craft Guide: How Long Does Clay Take to Dry? Drying Times and Rules for Perfect Results
yassy
Crafters!
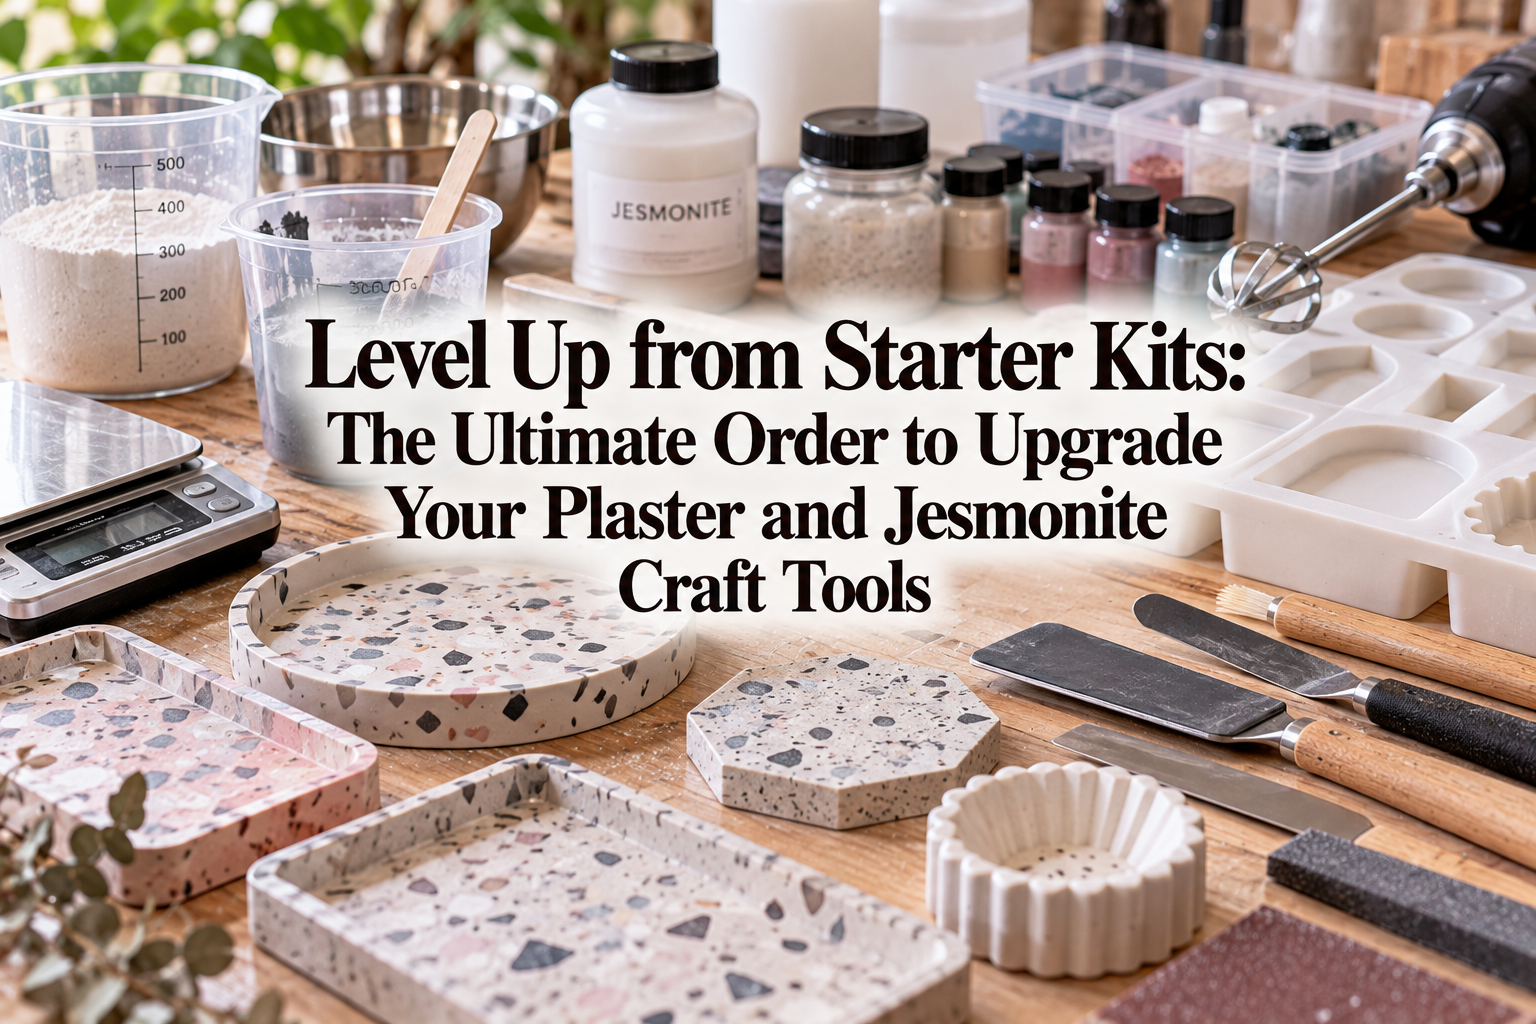

Hello, craft enthusiasts! It's Yassy from Crafters! (・∀・)
Whether I'm making handmade items myself, admiring inspiring artwork, or purchasing pieces from talented creators, I love all things craft. But recently, I have been especially captivated by working with plaster and Jesmonite!
That pleasant, solid weight in your hand, the cool and silky-smooth surface, and the sheer thrill of pulling a luxurious piece of home decor from a mold—once you experience it, it's completely addictive.
Many of you might have started by picking up a basic starter kit, mastering the mixing and casting steps, and are now thinking: "I want to create pieces with a much more polished finish!" or "I want to reach a level where I can sell my work at craft markets or in an online shop!"
Yet, this is precisely where many crafters hit an unexpected wall: reaching the quality ceiling caused by continuing to use starter kit tools.
The tools included in starter kits are designed primarily to let you try out the craft and learn the basic workflow at a low cost. To break through that ceiling and achieve a professional, studio-grade aesthetic, upgrading your tools is an absolute must.
Having crafted numerous pieces and tested a wide variety of tools along the way, I'm here to break down the essential order and criteria for upgrading your tools to dramatically elevate your plaster and Jesmonite creations!
You don't need to splurge on expensive, top-tier equipment all at once. The smartest, foolproof path to stepping up your work is to replace your equipment in order of what has the most direct impact on the finished product.
You might wonder, "If my kit tools are still usable, do I really need to replace them?" But once you understand the unique material characteristics of plaster and Jesmonite, it becomes crystal clear that your tool choices make or break the final result.
The measuring cups, plastic spreaders, wooden stir sticks, and thin silicone molds packed into starter kits are manufactured with cost reduction as the top priority. As you continue making pieces, relying on these budget tools leads to several frustrating issues:
These issues do not stem from a lack of creativity or skill on your part. They simply occur because you have hit the physical limits of your starter tools.
By upgrading your gear in the right order, air bubbles virtually disappear, edges turn sharp and crisp, and surfaces gain a silky, ceramic-like finish. Your workflow speeds up significantly, and crafting becomes far more enjoyable and stress-free.
Let's dive into the golden sequence of tool upgrades that directly boost your piece's quality, complete with the reasons and key selection criteria for each!
The single most important tool to upgrade first is, without question, your digital scale!
In both plaster and Jesmonite casting, the number one cause of failure is an incorrect liquid-to-powder ratio. Even a minor deviation can cause incomplete curing, brittle pieces that chip easily, or a thick mixture that traps air bubbles.
Most starter kits or everyday kitchen scales only measure in 1g increments. Worse yet, standard kitchen scales often have slow response times. When pouring liquid in tiny increments, the display lags behind—leading to an accidental overshoot of several grams before you even realize it.
When selecting a scale for casting, avoid standard kitchen units and choose a dedicated precision pocket or bench scale based on these four criteria:
The auto-off timer is the biggest trap of all. Few experiences are as frustrating as having your scale suddenly shut off while you are scooping powder, clearing your tare weight and forcing you to scrap the batch. Choosing a model with an adjustable or generous auto-shutoff time is non-negotiable.
Searching online marketplaces for a "0.01g precision digital scale" will yield excellent models in the reasonable price range of 2,000 to 4,000 yen (roughly $15–$30 USD). Upgrading this single tool will noticeably improve the density, strength, and finish of your cured pieces.
Once you can measure your ratios with pinpoint accuracy, the next upgrade should be your mixing setup.
Starter kits frequently rely on disposable paper cups, plastic cups, wooden craft sticks, or bamboo skewers. Unfortunately, these are primary culprits behind trapped bubbles and unmixed lumps.
Wooden stirrers have textured, porous surfaces that introduce micro-bubbles into the mixture. In addition, tiny wood fibers can scrape off into your slurry, showing up as unsightly dark specks on your finished surface. Paper cups also have creased bottom corners where dry powder easily gets trapped, leaving unblended clumps.
Switch immediately to a combination of a flexible silicone mixing cup and a stainless steel spatula (or a firm, wear-resistant silicone paddle).
Choose silicone cups with curved, rounded interior bottom edges. Without sharp corners, your spatula can sweep through every part of the cup, ensuring zero unmixed powder remains. Furthermore, cleanup is effortless: once leftover slurry cures, simply pop the flexible cup inside-out and peel the residue away—no messy sink washing required.
For your mixing tool, a stainless steel spatula with slight flexibility is ideal. It easily cuts through dense slurries and scrapes down the sides of the cup without bending out of shape. Keep the spatula flat against the bottom of the cup and stir in a calm figure-eight motion to blend thoroughly without whipping air into the mix.
Small artist palette knives or compact pastry spatulas from hardware or craft supply stores also work wonders. This simple upgrade costs very little, but the reduction in bubbles and the improvement in mix consistency are massive.
The third essential upgrade targets the tool that dictates the shape of your work: your silicone molds.
A common hurdle for beginners is ending up with wobbly coasters that don't sit flat on a table, or decorative trays whose straight edges bulge outward.
This is rarely caused by your technique; rather, it is because starter kit molds and bargain-bin silicone are far too soft. Plaster and Jesmonite have significant weight when poured into a cavity. Thin, soft silicone cannot withstand that hydrostatic pressure and bows outward under the weight.
To produce clean, crisp pieces, pay close attention to the following details when buying molds:
Using a mold with a mirror-smooth interior dramatically changes the sheen and touch of your piece straight out of the demolding process. It significantly cuts down on sanding time and gives your work an instantly premium feel.
Specialty craft suppliers, online craft shops, and artisan platforms like Japan's minne and Creema offer robust, creator-grade molds. When picking a design, prioritize mold thickness and rigidity over bargain pricing.
Once your piece is out of the mold, your post-processing setup is the fourth area to elevate.
Two subtle hallmarks that distinguish amateur work from professional pieces are a perfectly flat, stable base and beautifully finished edges. No matter how gorgeous the top surface looks, if the bottom wobbles or the edges have sharp flashing that is uncomfortable to handle, the perceived value drops sharply.
Starter kits typically include only a couple of coarse dry sandpaper sheets. Sanding manually with dry paper is exhausting, generates airborne dust, and easily creates an unintended tilt on your flat base.
To transform your finishing process, incorporate a compact cordless rotary tool alongside a progressive set of waterproof sandpaper.
A lightweight, pen-style rotary tool (such as a USB-rechargeable unit) is more than enough. Fitting it with diamond burr bits or small polishing buffs lets you bevel sharp edges and clean away flashing in seconds with uniform precision.
For flattening the bottom, use waterproof sandpaper on a flat reference surface—such as a piece of glass or a thick acrylic plate. Add a small pool of water and slide the piece across the abrasive sheet in a smooth figure-eight pattern. This method, known as wet sanding, keeps the base perfectly flat and traps loose dust in the water slurry.
Follow a progressive sanding grit sequence:
Moving from coarse dry scraping to wet sanding combined with a rotary tool gives your bases an ultra-stable, suction-like sit on tabletops, matching the quality of retail homeware.
Safety Note: Inhaling fine mineral dust is hazardous to your health. Always wear a well-fitted dust mask and safety glasses when sanding or grinding plaster and Jesmonite.
After your piece is shaped and polished, it's time to upgrade your sealing step.
Both plaster and Jesmonite are naturally porous materials. Left unsealed, they readily absorb water, oils, and grease, leading to stains and watermarks during everyday use.
Starter kits frequently come with basic craft varnishes or aerosol sealers that dry unevenly, leaving an artificial, glossy plastic look. The mark of true craftsmanship is achieving strong liquid resistance without destroying the organic, luxurious matte texture characteristic of composite stone.
Choose your sealant based on how the finished item will be used:
Official sealers formulated specifically for Jesmonite, as well as architectural-grade water-based penetrating sealers, offer remarkable performance. They soak into the pores, maintaining an organic matte texture while causing liquids to bead right off the surface.
When applying sealers, avoid cheap synthetic brushes that shed bristles onto your curing surface. Instead, use high-grade fine nylon application brushes or high-density foam applicator sponges to spread thin, streak-free coats.
Once you have upgraded tools one through five, your work will easily match retail boutique standards. However, if your goal is zero tolerance for micro-bubbles or achieving flawless terrazzo chip packing, there is one ultimate tool to consider: a vibrating table.
Normally, crafters tap the sides of the mold by hand after pouring to coax air bubbles to the surface. However, manual tapping cannot always dislodge micro-bubbles trapped in intricate corners, fine details, or underneath terrazzo chips.
Placing your filled mold onto a vibrating table sends fine, continuous micro-vibrations through the mixture, forcing trapped air bubbles to rise and pop on the surface effortlessly.
If you enjoy DIY projects, you can even construct a simple vibrating platform by mounting a small vibration motor or handheld massager underneath a wooden board. It eliminates tedious hand-tapping and virtually wipes out surface pinholes, making it a dream tool for high-volume makers and complex casts.
Having observed many craft journeys, I want to share a core perspective that I hold dear as Yassy.
Beginners often fall into the trap of thinking, "My pieces don't look professional because I lack artistic sense or manual skill." When it comes to plaster and Jesmonite, that is simply not the case!
Unlike UV resin casting or freehand sculpting, which demand intricate color blending and delicate hand coordination, mineral casting relies heavily on physical and chemical reproducibility.
In other words:
The more you rely on the precision built into quality tools, the more consistent and polished your results naturally become.
That is why I firmly believe that rather than spending hours trying to overcome tool flaws through sheer effort, your fastest route to improvement is upgrading the single biggest bottleneck in your kit.
When you consider the cost of wasted Jesmonite liquid and plaster powder from ruined batches, investing in dependable tools is actually the most economical path forward.
When I was still using wooden stirrers from my first kit, I spent countless hours fighting pinholes. The moment I switched to a stainless spatula and a 0.01g precision scale, those headaches vanished overnight. Leaning on great tools isn't cutting corners—it's showing genuine dedication to your craft and your future customers!
Here is a quick recap of the golden upgrade path for your plaster and Jesmonite workstation:
By upgrading your workshop step by step along this roadmap, your creations will take a massive leap in quality.
If you've been feeling held back by inconsistent results or want to start selling your designs with confidence, start by swapping out your scale. You'll be amazed by the immediate difference it makes!
Equip your studio with the right allies, and enjoy the rewarding process of creating plaster and Jesmonite pieces you can truly be proud of!
If you found this guide helpful, feel free to share it with your fellow makers. See you in the next craft article! This was Yassy from Crafters!

For example, if you are looking for articles about mizuhiki, try searching for "mizuhiki"; if you are interested in tools, try keywords like "nippers" or "pliers."
