Essential Guide to Mixing & Measuring Tools for Japanese Crafting: Precision Gear for Every Medium
yassy
Crafters!
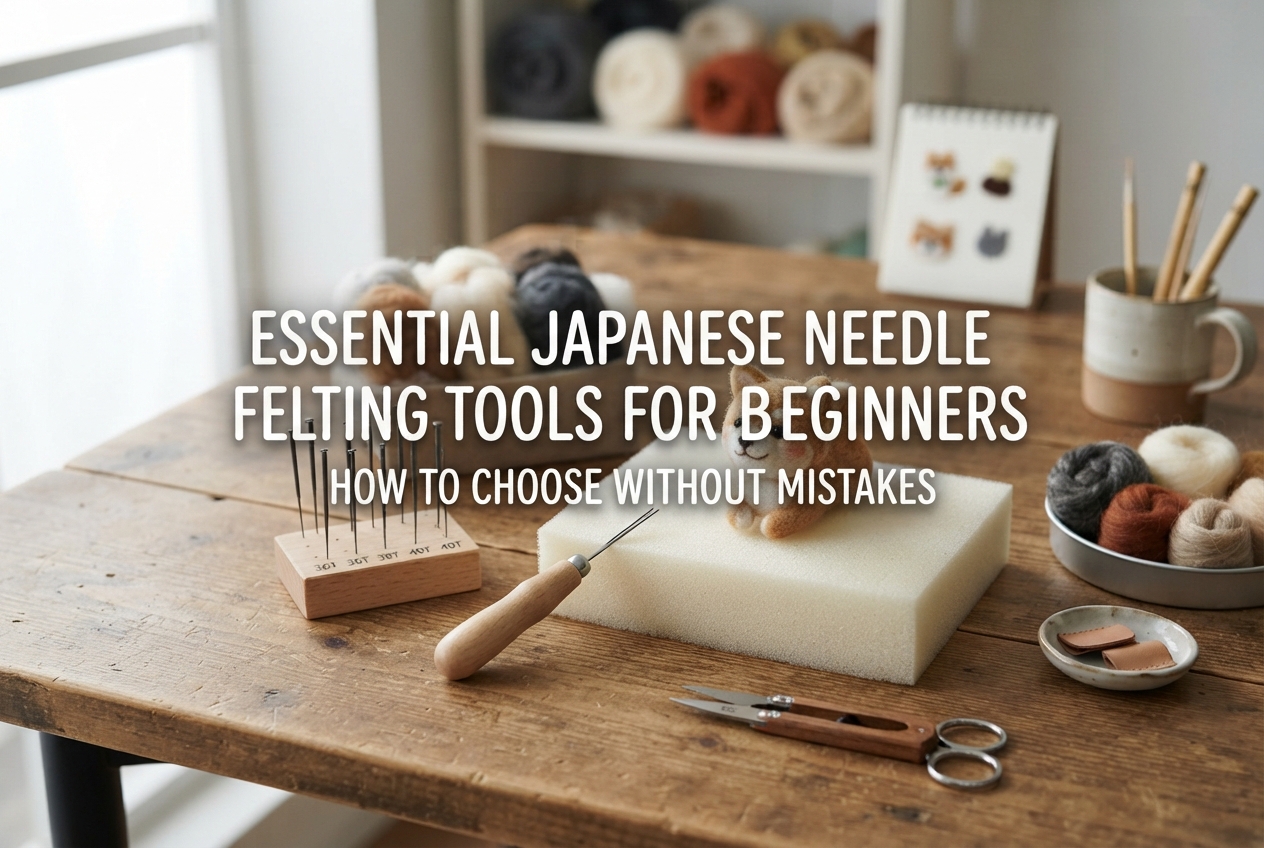

Hello, craft lovers! It’s Yassy from Crafters! (・∀・)
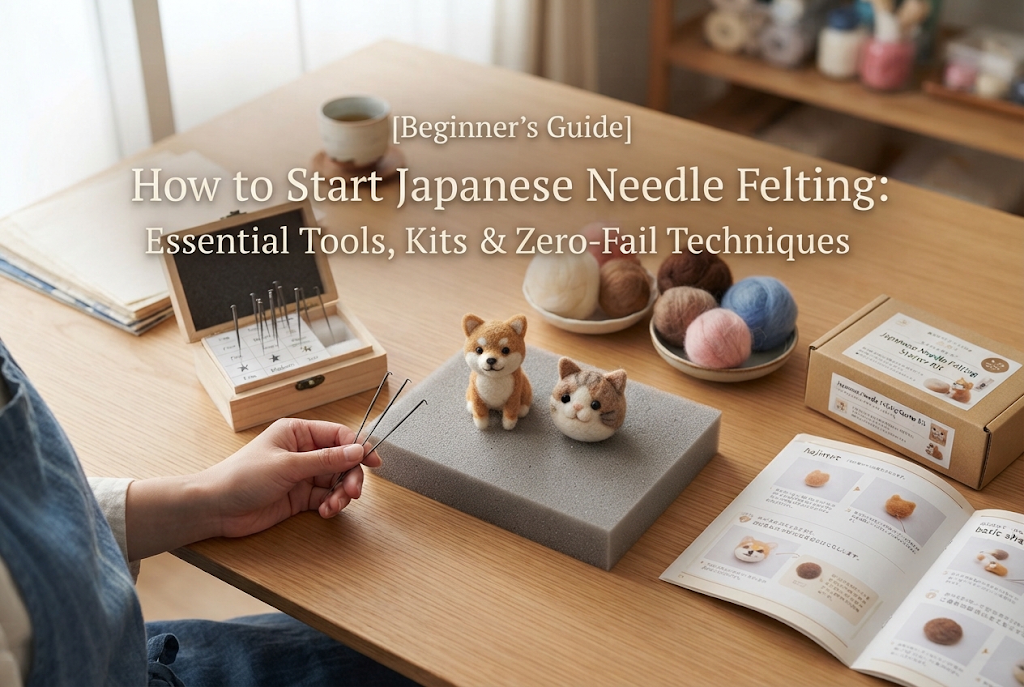
Needle felting is such a charming craft where you poke fluffy wool roving with a specialized needle to create adorable animals and 3D sculptures. Just browsing completed pieces in handmade shops or online market stalls makes your heart flutter, and the process of shaping something entirely from scratch with your own hands is immensely fun. I personally adore the warm, comforting atmosphere of needle felting—not only do I love making my own creations, but collecting lovely pieces from talented makers is also part of my daily routine!
When beginners decide to jump into the world of needle felting, the very first hurdle they hit is choosing the right tools. Walking into a craft shop or browsing online stores can feel overwhelming when you see so many varieties of felting needles, mats, and convenient gadgets. You might naturally wonder, “Which ones do I actually need?”
Let me say this clearly: if you pick your tools carelessly, you will run into issues where the wool refuses to firm up properly, or your needles keep snapping one after another, leading to frustration before you even finish your first project. The ultimate quality of your wool sculpture, your working speed, and above all, having a stress-free crafting experience, all depend on the initial tools you choose.
In this article, I’ll break down the essential basic tools needed to start needle felting, explaining their roles and the exact criteria for choosing them without making mistakes. If you want to avoid costly beginner missteps, read on to set up your perfect needle felting workbench!
The single most crucial tool in needle felting—its beating heart—is the felting needle (専用針). Felting needles are completely different in structure from regular sewing or embroidery needles. They feature tiny notches near the tip called barbs (バーブ). As you punch the needle into the wool, these barbs catch the wool fibers and tangle them together, gradually compacting soft, fluffy roving into a solid shape.
If you choose the wrong needle, the wool won't bind together no matter how many times you poke it, or the surface will end up full of noticeable puncture marks. Let's make sure you understand the key types and their distinct roles first.
Felting needles generally come in three main gauge thicknesses: coarse/heavy (太針), regular/medium-fine (レギュラー針/中細), and fine/extra-fine (極細針/細目). As a beginner, the two types you should purchase right away are regular needles and fine needles.
Regular needles are used for core building and general shaping. When you need to gather wool together, poke rapidly, and create a solid core quickly, the moderate thickness and strength of a regular needle are absolute must-haves. If you attempt to build the main core using only a fine needle, the inner fibers won't tangle properly, leaving your project soft, flimsy, and hollow inside.
On the other hand, fine needles are used for finishing touches, smoothing out surface textures, and attaching tiny details like eyes, ears, and noses. If you keep using a regular needle during the finishing stage, it leaves behind large needle holes, giving your piece a bumpy surface. Switching to a fine needle allows you to achieve a smooth, beautiful finish with virtually invisible poke marks.
As for how many to buy: considering that needles can break, starting with 2 to 3 regular needles and 2 to 3 fine needles (around 5 needles in total) is the safest choice.
Beyond standard single needles, there are specialized needles and helper tools designed to make your work easier. Two noteworthy items are speed needles (スピード針) and multi-needle holders (多本針ホルダー / punching tools).
Speed needles feature uniquely placed barbs that interlock fibers much faster than standard regular needles with far fewer pokes. They excel when building cores for larger pieces or working with stubborn wool fibers that are tricky to felt.
A multi-needle holder lets you set 2 to 5 needles into a single grip. When you need to felt a broad area evenly or construct the base of a large component, using a multi-needle tool solidifies the wool several times faster than a single needle.
If I were starting over from scratch today, I would definitely grab a 2-needle or 3-needle holder right away to boost efficiency. It dramatically reduces wrist fatigue and practically eliminates the risk of quitting due to sore hands!
These days, you can easily find needle felting supplies in the craft section of 100-yen shops (budget stores). While appealing for a quick trial, I strongly advise against using budget needles if you want to create quality pieces.
Budget store needles tend to lack flexibility in the metal. When angled pressure is applied, they suffer from metal fatigue and snap easily. If a needle tip breaks off inside your wool project, removing it is extremely difficult, and in the worst-case scenario, you might have to throw the entire project away.
Furthermore, because the barb cuts on cheap needles are rough, they create excessive resistance when poking, placing unnecessary strain on your wrist. In contrast, needles produced by long-established craft manufacturers and dedicated needle felting brands are crafted from special steel resistant to bending, with precisely calculated barb positions. The smooth poking feel and durability are completely superior, so always choose needles from reliable craft brands.
Just as important as your needles is the felting mat placed underneath your wool work. It catches the needle tip as it passes through the fiber, protecting your tabletop from scratches while preventing the needle tip from breaking or wearing down prematurely.
Picking the wrong mat can cause wool fibers to stick firmly to the mat surface or contaminate your craft with foam debris.
The most common mat option is a high-density sponge or polyethylene foam mat (発泡ポリエチレン). It offers comfortable cushioning and feedback, making it a favorite for beginners and seasoned crafters alike.
When selecting a foam mat, two factors you must never compromise on are thickness and density. Choose a mat with a thickness of at least 7 cm to 10 cm (approx. 2.7 to 4 inches). If you use a thin mat, forceful pokes will cause the needle tip to pierce straight through to the table, snapping the tip in an instant.
Also, avoid soft, porous sponges at all costs. Low-density foam sheds bits of foam every time you poke into it, tangling white foam crumbs into your wool and ruining your work. Look for a firm, heavy, high-density mat that resists indentations even when pressed hard with your finger.
If you want to avoid dealing with foam degradation and lingering debris, my personal recommendation is a felting brush mat (フェルティング用ブラシマット).
A brush mat consists of dense, stiff plastic bristles standing on a rigid base. Needles glide smoothly between the bristles, offering minimal resistance and significantly lowering the risk of needle breakage.
The greatest advantage of a brush mat is that it never degrades into foam crumbs. It also prevents wool fibers from embedding deeply into the base, meaning your partially felted parts won't lose their shape when lifted off the mat. While the initial cost is slightly higher than foam, it rarely needs replacing and provides long-term comfort, making it the most cost-effective choice in the long run.
If you prefer using a foam mat, one common frustration is wool fibers clinging stubbornly to the foam surface. Here is a handy trick to stop that completely!
Place a sheet of craft felt or a dedicated protective felting sheet over your foam mat while working. A sheet of stiff, washable felt works perfectly. Poke your wool on top of this layer.
This simple step shields the sponge mat entirely from stray wool fibers. When you finish, just peel off the top felt sheet! Your mat stays spotless and lasts much longer. Make sure to remember this protective sheet technique whenever you use a foam mat.
While needles and a mat are all you strictly need to shape wool, relying solely on them makes achieving professional-level quality difficult. Here are three auxiliary tools that eliminate crafting frustration and boost your work to a pro standard.
When making felted animals or mascots, attaching plastic craft eyes and noses is a key step. An awl (目打ち) is indispensable here.
If you try to force eye components into holes poked only with a felting needle, the wool fibers bounce back, preventing the eye stem from seating neatly. Forcing it will warp the face shape and make it look lopsided.
Choose an awl with a sturdy metal shaft and a smoothly tapered, sharp tip. A comfortable, thick wooden or resin handle that fits nicely in your hand is ideal. Using a good awl to pierce deep, clean guide holes allows eyes and nose parts to fit flush, instantly giving your animal expression crisp precision.
The biggest factor influencing the finished look of a wool sculpture is surface smoothness. No matter how meticulously you needle-felt, tiny loose fibers will always stick out when you finish shaping.
Do not use thick stationery scissors to trim this surface fuzz! Large, thick blades cannot follow the curves of your sculpture or target individual stray fibers.
Instead, choose fine-tipped, sharp craft scissors (or embroidery scissors). Precision tips allow you to snip away unwanted fuzzy fibers right at the base without gouging the sculpture's main surface. Curved-tip craft scissors are also fantastic for trimming rounded animal heads and body curves smoothly.
An accident almost every beginner experiences is poking their own fingers with a sharp felting needle. Because felting needles have barbs, a poke hurts far more than a standard sewing needle prick, and accidental bloodstains can ruin precious light-colored wool.
Fear of pricking your fingers unconsciously softens your poking strength, making it harder to felt the wool firm. To eliminate this fear completely, wear genuine leather finger guards (レザープロテクター).
Simply slipping leather thimbles over your thumb and index finger creates a reliable shield. Even if a needle strays, the tough leather catches it and prevents injury. Rubber or fabric guards can be easily pierced by felting needles, so make sure to select thick, genuine leather. Once fear is removed, you can poke rhythmically and firmly, dramatically improving the density and shape of your creations!
Now that we’ve covered the choices, you might wonder: “What is the single best way to buy everything I need from the start?”
Here is my practical strategy to minimize unnecessary spending while building a comfortable workspace right away.
Craft stores and online shops offer complete needle felting starter kits. They are attractive for beginners because you can start immediately upon opening the box.
If you choose to buy a starter kit, check the packaging or product listing against these three criteria:
Some budget imported starter kits include needles of only one thickness or flimsy mats that deteriorate instantly. Inspecting the kit contents carefully is the golden rule for avoiding disappointment.
If I were starting needle felting from scratch today with zero prior gear, I would buy the following items individually to build the ultimate stress-free crafting kit:
With this setup, you can follow any project tutorial or video lesson smoothly without being held back by subpar tools. Starting with quality tools is the fastest shortcut to improving your craft!
Once you gather your ideal tools, caring for them properly ensures they last for years. Needles and mats benefit tremendously from simple routine care.
Felting needles are precision steel items. Moisture from hands or room humidity can cause microscopic rust to form over time. Poke wool with a rusty needle, and it will drag terribly while leaving dark rust marks on your clean roving.
When finished crafting, wipe off skin oils with a soft, dry cloth and store needles in an airtight case or sealed bag. If storing them long-term, apply a micro-thin layer of sewing machine oil to the steel using a cloth to guarantee complete rust protection.
For mat care, wool fibers naturally build up on the surface over time. If left uncleaned, old fibers will mix into your next project, causing unwanted color bleeding.
Get into the habit of cleaning off wool fuzz using an awl tip or sticky tape after every crafting session. For brush mats, use a felt mat cleaner tool or a clean toothbrush to sweep out fibers between bristles, keeping the mat like new.
Needle felting is a wonderful craft where anyone can create gorgeous, expressive pieces once equipped with the right tools. Skimping on quality or choosing unsuitable gear is the main cause of beginner frustration.
Let’s review the key selection takeaways:
By keeping these points in mind when preparing your gear, your needle felting journey will be smooth, creative, and full of joy!
Watching fluffy wool gradually turn into your intended shape right before your eyes—and holding the finished piece in your hands—is a delight like no other. Grab your trusted tools and enjoy bringing your unique needle felted creations to life!
If you found this guide helpful, please share it with your crafty friends on social media or messaging apps—it truly means the world to me and keeps me inspired!
Until next time, happy crafting! This was Yassy from Crafters!


For example, if you are looking for articles about mizuhiki, try searching for "mizuhiki"; if you are interested in tools, try keywords like "nippers" or "pliers."
