Japanese Porcelarts for Beginners: What It Is, Essential Tools, and How to Get Started
yassy
Crafters!

Hello everyone, it's Yassy from Crafters! (・∀・)
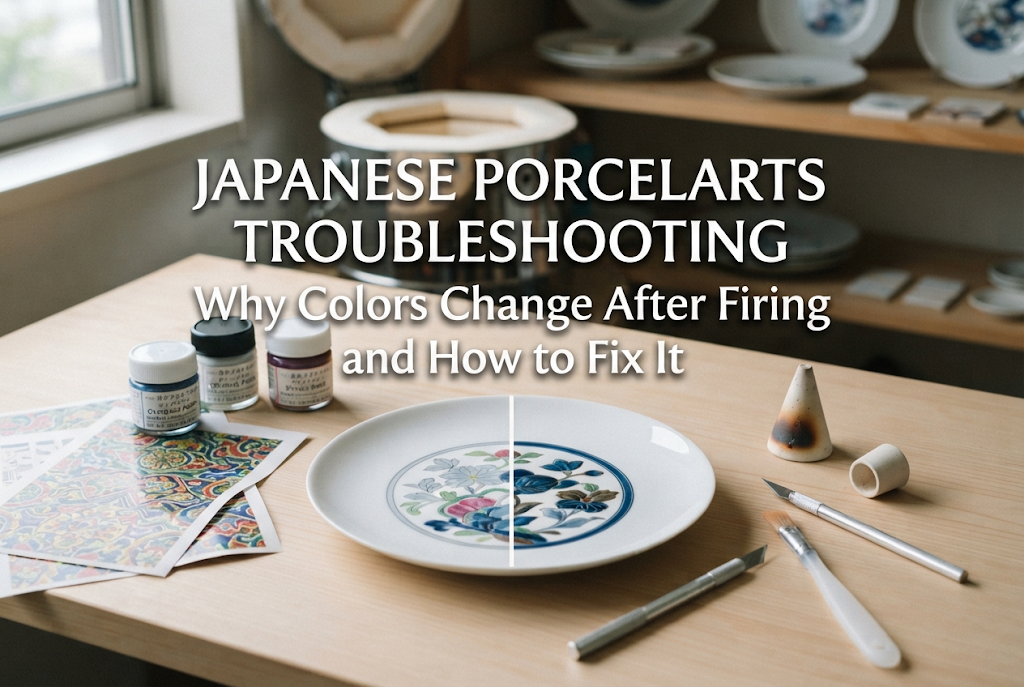
Porcelarts is a wonderful Japanese craft where you apply decal transfer sheets or hand-paint designs onto white porcelain blanks to create unique custom tableware and home decor. Planning your design and applying decals is such a fun, creative process! However, have you ever experienced that heartbreaking moment when you open the kiln door after firing and think: "Wait, this looks totally different from when I applied it!", "My vibrant pink turned a dull yellowish color!", or "The metallic gold detailing turned pitch black!"?
Discoloration and unexpected color changes after kiln firing are among the most common hurdles for beginners in Porcelarts. Because you put so much time and effort into your creations, you naturally want them to fire into the exact gorgeous shades you intended. In this guide, I will thoroughly explain the root causes of color changes in Porcelarts, highlight particularly heat-sensitive colors, and share practical firing techniques to ensure your colors come out beautiful and true every time!
Color changes during firing can be divided into two categories: normal structural changes that are meant to happen, and unwanted discoloration caused by operational errors or kiln environment issues. First, let's understand the fundamental chemistry behind how firing affects Porcelarts colors.
Porcelarts transfer sheets (decals) feature a protective film over the printed design called a covercoat. This film holds the printed ink together when soaked in water and slid onto white porcelain, keeping delicate graphics from tearing apart.
Manufacturers tint this covercoat film with visible shades like light pink, purple, or yellow so crafters can clearly see where the transfer is placed during application. If a decal sheet looks pinkish before firing, you are actually seeing this colored covercoat film. Inside the kiln, as heat rises toward 800°C (1,472°F), this film burns away completely and vaporizes. As a result, only the actual pigment layer beneath remains on the porcelain. This process is completely normal and means your piece is firing as intended!
Porcelarts overglaze paints and decal inks contain both color pigments and fine glass powder called frit. Around 800°C, the glaze layer on the surface of the porcelain softens, allowing the melted glass frit and pigments to fuse directly into it.
In raw powder or dried form, paint reflects light unevenly, making colors look slightly chalky or matte. Once the glass components melt and form a smooth protective coating, the finished piece acquires translucency, high gloss, and vibrant color depth. This increase in shine and intensity is also a natural, desired outcome of the firing process.
If your finished piece shows drastic color shifts, dark smudges, or faded spots rather than a glossy, intended finish, the cause lies in technique errors or incorrect kiln settings. Here are five common reasons beginners encounter firing issues:
The single most frequent cause is firing outside the recommended temperature range. Porcelarts transfer sheets and overglaze paints each have an optimal temperature band for accurate color reproduction. Standard porcelain transfer sheets are typically fired around 800°C.
When temperatures exceed 820°C or remain at peak heat for too long, heat-sensitive pigments breakdown and vaporize—a phenomenon known as "burning off." Reds, pinks, and purples are especially vulnerable, turning yellow, gray, or disappearing entirely. Conversely, if the temperature is too low, the glass frit fails to melt properly, resulting in a dull, matte finish with muddy colors.
During the early stage of firing, decal covercoats and paint mediums burn off and gas out inside the kiln. If there is insufficient fresh air, the kiln atmosphere enters a state called reduction firing.
Porcelarts requires an oxidation firing environment with ample oxygen. Lacking oxygen, organic matter burns incompletely, creating carbon monoxide and gases that react directly with the pigments and porcelain surface. This causes overall graying, yellowish clouding, or dark, smoky stains across your piece.
When applying decal sheets to porcelain, you use a squeegee or wiper tool to push out all water droplets and trapped air bubbles. If moisture or air remains sealed beneath the decal, it expands into steam as heat builds up.
Trapped water disrupts heat transfer, causing localized discoloration, decal popping/bursting, or unsightly burnt brown marks on the finished piece.
Applying overglaze paint too thick in an attempt to get a bolder color is a recipe for failure. Excessively thick paint prevents heat from penetrating evenly; the surface hardens first, trapping liquid mediums underneath, which leads to black charring, cracking, or blistering.
Caution is also required when mixing different paint shades. Overglaze colors are formulated from metallic oxides. Mixing chemically incompatible pigments (such as iron-rich reds with cobalt-based blues) triggers unpredictable chemical reactions at high heat, turning vibrant hues into a muddy gray or dull brown.
Metallic lusters like liquid gold or platinum add gorgeous luxury to porcelain, but they are also very sensitive. Before firing, gold luster appears dark brownish-black. Heat burns off organic solvents, leaving behind a thin, gleaming film of pure precious metal.
If gold accents turn pitch black, purple, or lose their shine after firing, common culprits include applying the liquid too thick, inadequate drying time, residual skin oils or fingerprints on the porcelain, or incorrect firing temperatures. Overly thick gold traps medium underneath and chars, while oily spots prevent gold from adhering, leaving blotchy discoloration.
Some colors used in Porcelarts are naturally less heat-resistant or more susceptible to atmospheric changes inside the kiln. Knowing their characteristics helps prevent surprises.
Vibrant pink and red overglaze pigments frequently rely on gold colloid formulations. These gold-based pigments are highly sensitive to heat.
If peak temperature climbs past 800°C, the gold component breaks down, causing brilliant pinks to fade into pale yellow or dull gray. When firing pieces featuring pink tones, carefully monitor your kiln's top temperature to prevent overheating.
Yellow pigments often incorporate cadmium or praseodymium, which can react easily when layered or mixed. When transfer sheets overlap, the yellow pigment may react with the underlying layer, turning brownish or muddy along the overlapping edges. To preserve bright yellows, trim decals so they fit neatly without heavy overlapping.
Large, solid-colored decal sheets feature a greater surface area of covercoat film compared to delicate patterned decals. This means they release a significantly larger volume of combustion gas during firing. Providing thorough kiln ventilation is especially critical when firing pieces covered in large solid decal blocks.
To avoid unexpected discoloration and achieve beautiful results matching your vision, incorporate these essential habits into your workflow:
Always follow manufacturer specifications for your materials and equipment. Check temperature guidelines for each decal sheet and paint line, as well as your specific electric kiln manual.
While porcelain transfers generally fire around 800°C, glass transfer sheets require much lower temperatures around 580°C–600°C. Applying a glass decal to porcelain and firing it at 800°C will completely burn off the design, while firing porcelain decals at low glass temperatures leaves them unbonded and discolored.
Operating the vent plugs (air holes) on your kiln directly affects final color quality. From room temperature up to approximately 400°C–600°C, decal covercoats and oil mediums burn off rapidly, generating fumes.
Keep air vents open during this initial stage to vent smoke and organic gases out of the chamber. Once heat passes 600°C and gases have cleared, close the vent plugs to maintain a clean oxidation atmosphere, guaranteeing clear, bright colors.
Avoid packing pieces tightly inside the kiln chamber to maximize space. Overcrowding blocks heat circulation, creating hot spots and cool zones inside the kiln.
Pieces near hot spots may suffer color burn-off, while pieces in cool zones remain dull from under-firing. Leave at least two fingers of space (about 2–3 cm / 1 inch) between pieces, utilizing kiln posts and shelves to maintain balanced airflow.
One method I strongly recommend for beginners is making a personal color chart sample plate. Apply small swatches of your decal sheets and mixed overglaze paints onto a porcelain test plate, fire it, and keep a record comparing raw state versus fired results.
Because raw decal colors look slightly different from their fired appearance, having a physical reference plate fired in your own kiln completely removes guesswork!
What if a piece still comes out faded or discolored despite your best efforts? Before giving up, check if it can be repaired!
One of the great features of Porcelarts is that you can apply additional transfer sheets or touch up paint directly over fired pieces and refire them multiple times.
If pink or red areas burned off and faded, let the piece cool completely, layer a fresh matching decal precisely over the faded area or touch up with paint, and refire at a slightly lower temperature (10°C–20°C lower than before) to restore rich color vibrancy.
Note: Charred gold or thick cracked paint cannot simply be covered over. In those cases, sand or polish the damaged surface smooth first, reapply the medium, and refire.
I have certainly had my share of surprises upon opening the kiln door! However, watching colors transform during firing is also part of the fascinating chemistry of ceramics.
Even if a color doesn't turn out as originally planned, you might discover it has taken on a lovely vintage tone or a charming muted nuance. Rather than writing it off as a failure, note down the settings: "Firing at this temperature creates a beautiful antique hue!" Turning unexpected results into new techniques will quickly expand your creative repertoire.
Understanding why colors change after firing allows you to take full control of your Porcelarts projects. While covercoat burnout and glaze fusion are normal, healthy transformations, issues like excessive heat, trapped moisture, heavy paint, or restricted airflow cause unwanted discoloration.
By checking manufacturer guidelines, managing kiln air vents, loading pieces with plenty of breathing room, and keeping accurate test charts, you can consistently achieve brilliant, glossy colors. Always prioritize safety and follow proper kiln operating procedures when working with high heat.
Once you understand the underlying mechanisms, opening your kiln becomes an exciting reveal rather than a stressful guess. Holding a glossy, beautifully fired piece you created with your own hands is truly unbeatable!
If you found this guide helpful, please share it with your fellow craft lovers on social media. Happy crafting, and see you in the next article! This was Yassy from Crafters!



For example, if you are looking for articles about mizuhiki, try searching for "mizuhiki"; if you are interested in tools, try keywords like "nippers" or "pliers."
