Japanese Porcelarts Troubleshooting: Why Colors Change After Firing and How to Fix It
yassy
Crafters!

Hello, this is Yassy from Crafters! (・∀・)
Eating meals or drinking tea with your favorite tableware always makes everyday moments feel a little more special. And if it is custom tableware you made yourself, you will feel even more attached to it.
"However, painting on tableware sounds difficult…" or "I don't have artistic talent, so I probably can't do it…" If you feel that way, there is a craft you definitely should know about: Porcelarts.
Porcelarts is an immensely popular craft genre originating in Japan that allows you to create high-quality custom tableware and home decor items that look as polished as store-bought products—even if you don't consider yourself artistic. In this article, I will explain the basics of Porcelarts, essential tools, step-by-step procedures, and key tips for a beautiful finish, specially tailored for beginners!
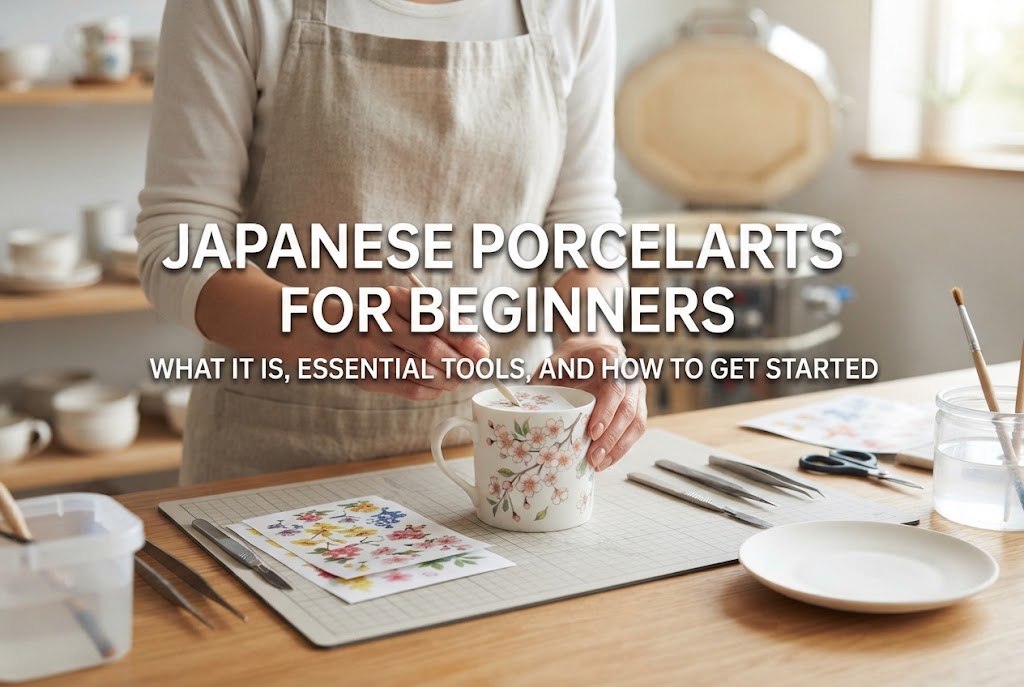
"Porcelarts" is a portmanteau coined by combining "porcelain" and "art." It is a craft where you apply specialized sticker-like sheets onto pure white porcelain (known as hakuji in Japan) and fire them in a high-temperature kiln to create your favorite customized tableware and goods.
Its biggest feature is that drawing skills are not required. Because you use water-applied design sheets called "transfer papers" (tenshashi or decal sheets), even people who aren't good at drawing can complete beautiful pieces that look professionally made simply by cutting and pasting.
Of course, once you get used to it, advanced techniques such as painting with specialized ceramic paints or adding gold and platinum accents are also possible. From beginners to advanced crafters, the endless design potential matched to your own skill level is one of the greatest attractions of Porcelarts.
When you hear terms like "pottery" or "porcelain painting," what kind of work do you imagine? Let's clarify how Porcelarts differs from other handmade crafts that are often confused with it.
In general pottery, you knead clay and form shapes from scratch using a pottery wheel or hand-building techniques. It requires many steps and a lot of time before completion, including drying, bisque firing, and glazing.
On the other hand, Porcelarts uses pre-made, blank white porcelain as its base. Since you don't need to form the shape from scratch, the usability and safety of the item as tableware are guaranteed right from the start.
Traditional porcelain painting (china painting) is a technique where delicate designs are painted directly onto white tableware using brushes and specialized paints. It requires strong drawing skills and brush control, requiring long practice to master.
Porcelarts was developed as a handicraft to lower the bar for traditional porcelain painting, allowing anyone to enjoy it casually. Because you arrange transfer sheets almost like stickers to compose a design, you can achieve a high-quality finished product right from your very first try without specialized technical skills.
Here are the fundamental materials and tools used to get started with Porcelarts. None of them are difficult to handle, but it is important to understand their specific roles.
Pure white porcelain used as the canvas for your designs. Options range from tableware like mugs, plates, bowls, and teacups to interior decorative items such as pen holders, soap dispensers, and photo frames.
Porcelain with a smooth, glossy surface is suitable. Earthenware is not suitable for Porcelarts because its surface has fine irregularities and high absorbency.
These are specialized sheets for Porcelarts with designs printed in special inks on backing paper. They come in an incredible variety of designs, including floral patterns, checks, stripes, animals, arabesques, and solid color sheets.
By soaking these transfer sheets in water, the pattern film slides off the backing paper, allowing you to adhere it onto the white porcelain surface.
A rubber or silicone spatula used to push out moisture and air bubbles trapped between the transfer paper and the porcelain. This is the single most important tool that determines the final quality of your Porcelarts project.
A specialized kiln used to bake the applied transfer sheets into the surface layer (glaze) of the porcelain. By firing at a high temperature of around 800°C (1472°F), the ink fuses with the glazed layer, turning it into durable tableware that won't wash off.
A standard home oven cannot reach anywhere near the required temperature, so it cannot be used for firing. It is common to either own a personal electric kiln or use firing services offered by craft studios or specialized providers.
Here is a 5-step explanation of the basic workflow behind making a Porcelarts piece.
First, imagine how you want to arrange the patterns according to the shape of your porcelain piece. Once you choose your transfer paper, cut out the necessary parts using scissors or a craft cutter.
You can cut precisely along the outline of the pattern, or cut larger pieces for each element to plan your layout.
Float the cut transfer paper in a bowl or tray filled with water for several to a dozen seconds. As the water soaks in, the patterned film will smoothly slide off the backing paper.
Slide the transfer film off the backing paper and place it in your target position on the porcelain piece. Once positioned, hold it gently with your fingertips while using a wipe-out tool to smooth from the center outward.
This step thoroughly removes all remaining moisture and trapped air between the transfer sheet and the porcelain. Doing this carefully is an absolute requirement for a beautiful finish.
After completing the application, gently wipe off any surface moisture with tissue paper or paper towels, and let it dry thoroughly in a well-ventilated area. Firing while moisture remains can cause issues during baking.
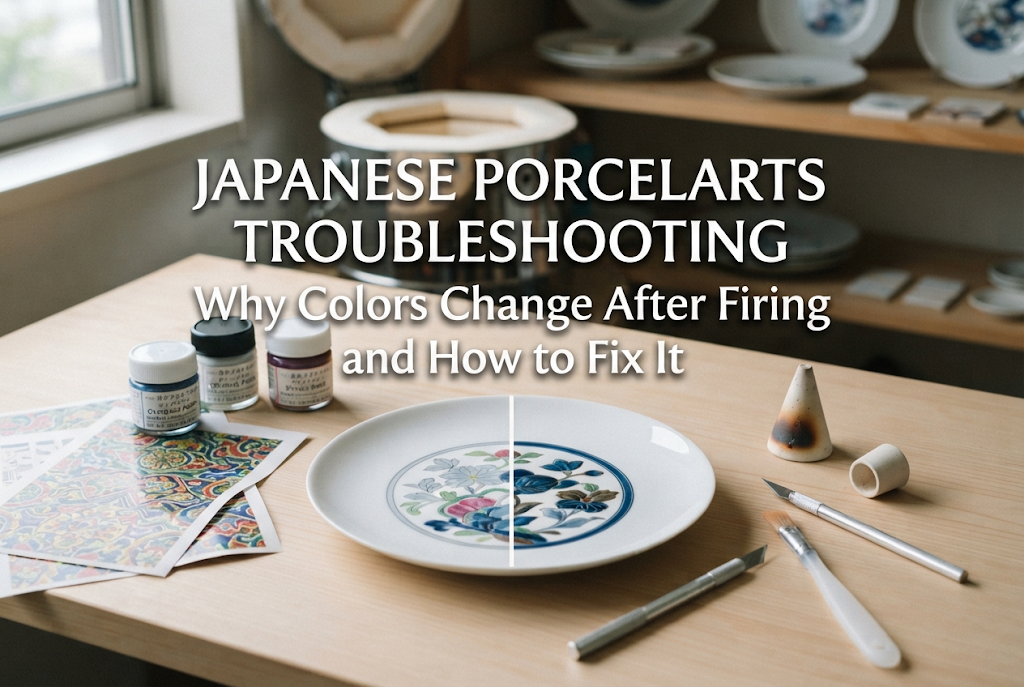
Place the completely dried piece into an electric kiln and bake it slowly over several hours at temperatures around 800°C. Once the kiln cools down and you take out the piece, the temporary cover film on the transfer sheet will have burned away, leaving only the brightly colored design permanently fused to the porcelain!
While Porcelarts is an accessible craft with few failures, neglecting key points can leave you disappointed when opening the kiln. Here are common misunderstandings beginners encounter and solutions to prevent mistakes.
The most common mistake is pinholes appearing or parts of the design popping or tearing open after firing.
This is caused by trapped air bubbles or water remaining between the transfer paper and the porcelain surface. When fired at high temperatures, the remaining air or steam expands and bursts through the transfer film.
Tip to prevent this: When using the wipe-out tool, shine light from an angle onto the piece and carefully inspect for trapped air. Looking from different angles will make tiny pockets of air or water show up as small bumps. Smooth the tool firmly from the center outward in a radial pattern to completely expel 100% of the water and air bubbles.
If you forcefully pull the transfer sheet after placing it on the porcelain, or rub it when the surface has dried, the delicate film can easily tear.
Tip to prevent this: If you want to adjust the position of a decal, don't pull it forcefully with your fingers; add a few drops of water to restore slipperiness before moving it gently. Also, when using the wipe-out tool, gliding it while the surface retains a little moisture will prevent tearing.
In Porcelarts, you can layer one pattern on top of another (layering technique). However, depending on the type of transfer paper, some cannot be layered in a single firing, or cover films might interfere with each other and cause shrinkage.
Generally, pattern transfers can be layered on top of solid color transfer sheets, but reverse patterns or combinations with special decals (like gold accents) have specific rules. As a beginner, keeping designs simple without extensive overlapping will keep your projects trouble-free.
If I were giving advice to a complete beginner, I would recommend: "Try starting with a flat plate for your very first project!"
Three-dimensional items like mugs or bowls have curves, which easily cause wrinkles in the transfer sheets and require a little practice to squeeze out water and air smoothly. Flat plates, on the other hand, rarely form wrinkles and are ideal for getting a feel for expelling water and air.
Learning the sensation of thoroughly squeegeeing out water and air on a flat plate first, before stepping up to mugs and curved items, is the fastest shortcut to improving without frustration.
If you feel inspired to try Porcelarts, you might wonder how best to begin. Here are the two main options and their features.
The best recommendation for beginners is to join a trial lesson at a local Porcelarts studio or craft workshop.
All necessary tools, porcelain pieces, and transfer papers are provided, so you can attend empty-handed. Most importantly, you don't need to purchase or house a large, expensive firing kiln; the instructor will fire your finished work for you. Being able to ask questions on the spot ensures you will take home a beautifully finished piece.
If you prefer to make things at your own pace at home, you can gather the required tools and materials from online specialty craft shops.
However, as mentioned earlier, completion requires an electric kiln capable of firing at approximately 800°C. You will need to either purchase a small home electric kiln or use a "firing service" offered by studios or shops where you send your creations for firing.
Note: When handling specialized equipment and materials like kilns, liquid gold, or ceramic paints, always carefully read manufacturer instructions and safety precautions to work in a safe environment.
In this guide, we explored the basics, appeal, essential tools, step-by-step process, and tips to avoid mistakes in Porcelarts—the craft of customizing white porcelain.
Porcelarts is a wonderful craft that allows anyone to easily create high-quality, professional-looking tableware using transfer sheets, even without drawing skills.
As long as you follow the golden rule of thoroughly removing air and moisture, you can enjoy stunning results comparable to high-end boutique brands. They are wonderful for your own everyday use, or personalized with names and initials as heartfelt gifts for loved ones, weddings, or baby showers.
If you're interested, be sure to check out local trial lessons or starter kits and experience the joy of Porcelarts!
If you enjoyed this post, I'd be so grateful and encouraged if you shared it with your friends on social media or messaging apps!
Well then, see you in the next article! This was Yassy from Crafters!

For example, if you are looking for articles about mizuhiki, try searching for "mizuhiki"; if you are interested in tools, try keywords like "nippers" or "pliers."
