Beyond the Starter Kit: The Golden Order for Upgrading Japanese Clay Craft Tools
yassy
Crafters!
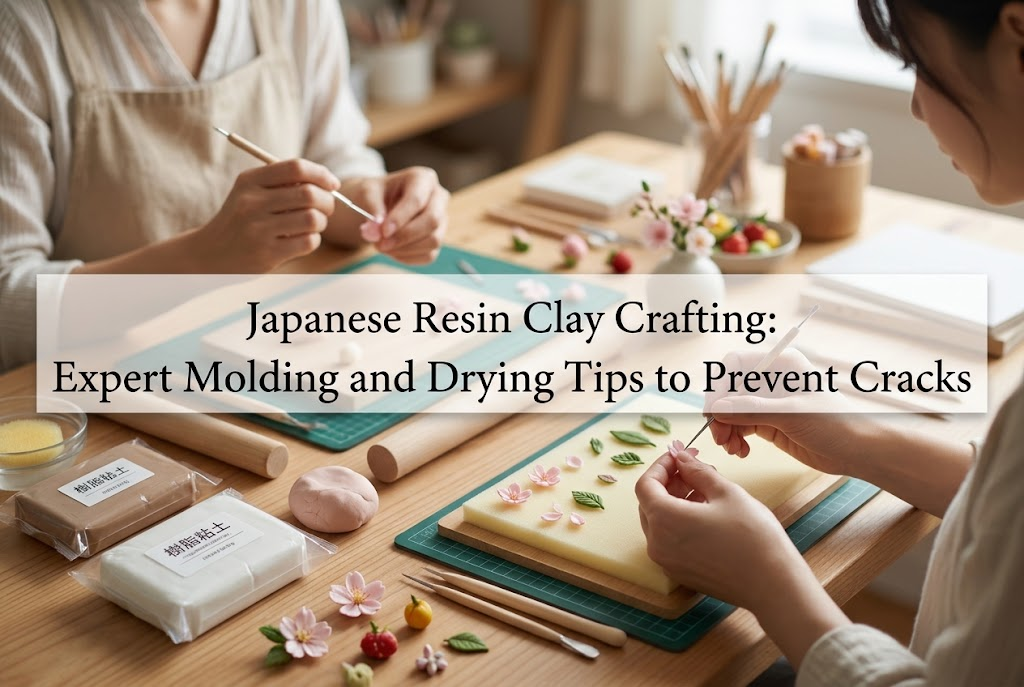

Resin clay is an absolute must-have material for creating realistic miniature sweets and exquisite jewelry pieces. I personally love everything about it—the subtle translucency after drying, the vivid color development, and its impressive durability. I enjoy working with it, admiring finished pieces, and buying gorgeous creations from fellow artisans!
However, beginner crafters working with resin clay almost always hit the same frustrating wall: cracking. After spending so much time carefully shaping a piece and waiting for it to dry, discovering fine surface lines or deep fissures running through your artwork can be heartbreaking.
Cracks in resin clay don't happen by chance or bad luck. There are clear, physical reasons behind them, and with the right knowledge and techniques, anyone can prevent them 100% of the time.
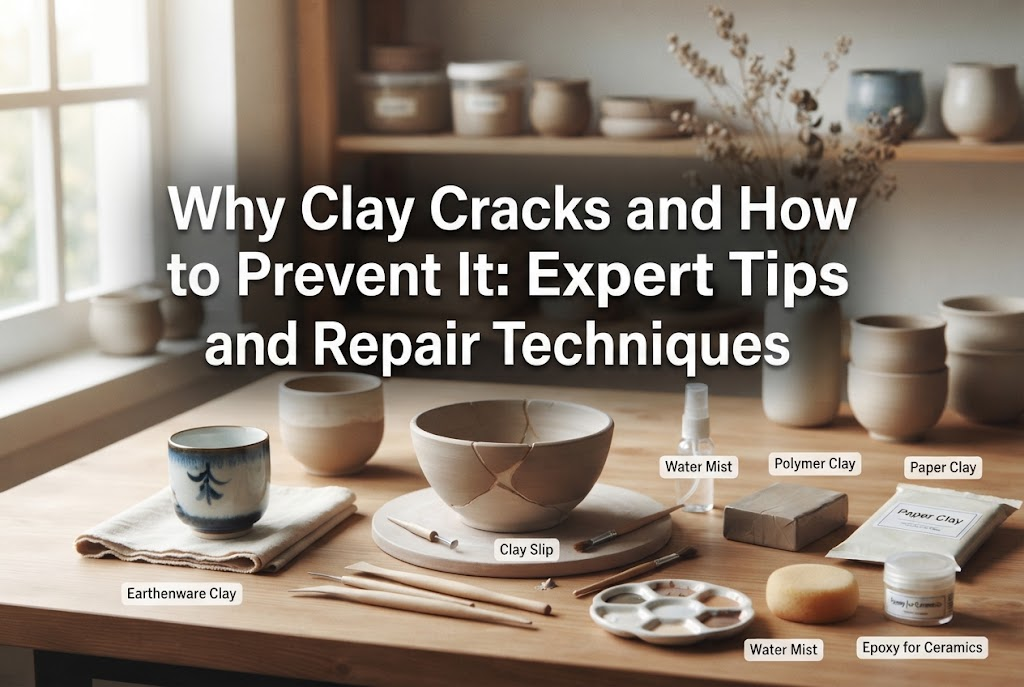
In this guide, I will draw on my hands-on experience to explain the root causes of clay cracking, share practical prevention techniques for molding and drying, and show you exact repair steps to fix cracked pieces seamlessly!
To prevent resin clay from cracking, it is essential to understand how it hardens and the structural reasons why cracks occur in the first place.
Resin clay is made by combining a resin emulsion (fine resin particles suspended in water) with organic powders. As the water evaporates, the resin particles bind together tightly, transforming into a hard, slightly translucent state.
This means resin clay always shrinks as it dries. When uneven forces develop inside or on the surface of the clay during this shrinkage process, cracks form. The primary causes can be summarized into four key points:
The single most common cause of cracks is a difference in drying speed between the outer layer and the inner core. If the surface dries and contracts rapidly while moisture remains trapped inside, the hardening outer skin cannot withstand the tension pulled by the shrinking interior, causing it to split open. You should never use hair dryers or direct fan airflow to speed up drying, as this rapidly dries only the surface.
If you take resin clay straight out of the package and start sculpting without kneading it thoroughly, it will almost certainly crack. Fresh out of the bag, moisture is not evenly distributed through the clay. Furthermore, if tiny air pockets are trapped during prep, those hollow voids become weak structural spots that turn into cracks as the clay contracts.
If small wrinkles, fold lines, or seams are left on the surface while shaping, drying shrinkage will pull those tiny grooves open into much deeper fissures. Even subtle lines that seem invisible when wet can turn into prominent cracks once dry.
Mixing large amounts of acrylic or watercolor paint directly into the clay, or adding too much water to soften stiff clay, breaks down its binding ability. Excess water or chemical additives interfere with the resin emulsion binder, causing the clay to become brittle and develop fine mesh-like cracks (crazing) upon drying.
Proper kneading before molding is the most crucial step in determining the strength and quality of your finished clay piece. Taking time here dramatically reduces the risk of cracking.
Here is my foolproof step-by-step kneading method to eliminate every single air bubble and distribute moisture evenly:
Once you remove the clay from its package, do not knead it using just your fingertips. Instead, press it firmly between your palms and use the heel of your palms (the fleshy base near your thumb) to press down hard. Flatten the clay, fold it over, rotate it, and press down again. Repeat this process at least 20 to 30 times.
This pressing action forces trapped, invisible air bubbles out of the clay. The warmth of your hands also improves clay elasticity, creating a uniform density and consistency throughout.
After flattening and folding, roll the clay into a compact shape without trapping air. My top recommendation is a simplified version of traditional Japanese pottery kneading called cone kneading (*ensui-neri*). Shape the clay into a tear-drop or cone form, then roll it along a clean surface from top to base with your palm to push all air outward.
When forming your final ball, press your palms tightly together and roll with firm pressure. Having a smooth sphere with absolutely no surface wrinkles or seams is your starting line.
If small scraps of clay left on your work table develop a dry outer skin, never knead them back into fresh clay out of thriftiness. Once resin clay dries on the surface, it will never blend seamlessly into fresh clay again. It stays inside as a hard lump and creates a guaranteed split line as the piece dries. Either discard dry scraps or set them aside to make repair paste later.
Once your clay is properly kneaded, it is time to shape your design. Paying attention to a few key details during molding makes a dramatic difference in the final finish.
Never leave fingerprints, minor bumps, or tiny surface lines on your clay before putting it out to dry. As a final finishing touch, apply a tiny amount (about half a grain of rice) of baby oil, petroleum jelly, or non-greasy hand cream to the pad of your finger and gently stroke the surface of your sculpture. The oil acts as a lubricant, effortlessly blending away micro-grooves without creating new wrinkles from friction. Use only a microscopic amount, as excess oil can cause stickiness or prevent paint from adhering later.
Connecting separate clay pieces—such as attaching a character's head to a body or adding decorations to miniature sweets—is where cracks and separation happen most. Simply pressing two pieces together with your fingers often leads to parts popping off or deep cracks developing along the seams after drying.
Always apply PVA wood glue or *Dobe* (a muddy liquid clay paste made by dissolving a small bit of resin clay in water) to the joining surfaces. Then, use a clay modeling tool or toothpick to blend the seam line completely away until the pieces merge seamlessly into one solid form.
When resin clay exceeds a thickness of 1 cm (about 0.4 inches), the interior takes significantly longer to dry than the surface, causing massive cracking due to uneven shrinkage. To craft volumetric pieces, professional crafters use lightweight core materials inside rather than solid resin clay.
Wrap a 2–3 mm layer of resin clay around cores made of hardened lightweight clay, crumpled aluminum foil, or styrofoam shapes. Maintaining a thin, uniform clay wall prevents moisture from getting trapped deep inside, lowering crack risks to zero.
Coloring clay is one of the most enjoyable parts of the craft, but using incorrect methods can destroy the clay's molecular structure, causing powdery surface cracks upon drying.
Acrylic paint is the easiest tinting medium to use, but adding too much paint to achieve dark shades is a mistake. Excess paint disrupts the balance between the acrylic paint resins and the clay's binder, resulting in a crumbly texture with poor stretch.
Keep added paint to 10% or less of the total clay volume. If you need intense, dark colors, tint the clay lightly first, let it dry completely, and paint the surface afterward.
To achieve rich colors directly inside the clay, use shaved powder from oil pastels or high-concentration liquid pigments specifically designed for resin clay. Because these tinting agents do not add excess water, they deliver vibrant color without throwing off the moisture balance. Knead thoroughly until the color is completely uniform; color streaks indicate uneven ingredients that can trigger cracks.
Even perfectly molded clay will crack if the drying environment is wrong. Assuming clay will dry nicely on its own is a common mistake. Here is how to create the ideal drying conditions:
The worst thing you can do is place drying clay in direct sunlight or directly in front of an air conditioner or fan. Rapid airflow and heat strip moisture from the surface instantly, causing deep splits. Choose a shaded, draft-free spot in your room.
I strongly recommend using a box-covered drying setup. Place an upside-down cardboard or plastic box over your drying piece, leaving a small crack at the bottom for ventilation. This blocks air currents and keeps moderate ambient humidity around the piece, allowing the inside and outside to dry slowly and evenly at the same rate.
Drying resin clay directly on plastic sheets or baking paper traps moisture at the bottom while the top surfaces exposed to air shrink quickly. This difference in shrinkage causes warping and cracking around the bottom edges.
Place your drying pieces on a fine-pored sponge or melamine foam block. Sponges allow air to circulate underneath the piece, ensuring uniform shrinkage from all directions while preventing your artwork from flattening under its own weight.
For larger pieces or slightly thicker shapes, use a controlled humidity container. Place a firmly wrung damp paper towel at the bottom of a plastic container, place a wire rack or sponge on top to elevate your artwork so it doesn't touch the wet tissue, and cover with the lid slightly open. Keep it in this high-humidity environment for the first 24 hours to let the surface set gradually before moving it out for regular drying. This phased drying eliminates internal tension.
If sudden changes in humidity or temperature cause a crack despite your best efforts, don't throw your piece away! Cracked resin clay can be repaired invisibly using the right steps:
Take a tiny piece of the same resin clay you used for the project and place it in a small dish. Add a few drops of water and crush/mix it thoroughly using a spatula or brush handle until it forms a smooth, creamy paste resembling cream cheese.
Brush away any dust from the crack. If the crack has jagged, raised edges, gently shave them into a slight "V" groove using a craft knife so the repair paste can penetrate deeply. Using a fine brush or toothpick, press the paste firmly deep into the bottom of the crack. Since the paste shrinks slightly as it dries, build it up slightly above the surface level.
Allow the repair paste to dry completely for a full day under a box cover. Once fully hardened, sand the area smooth with sandpaper. Start with a medium 400-grit paper to remove excess paste, move to 800-grit, and finish with a fine 1000-grit or higher paper. Wipe away sanding dust with a damp tissue to reveal a seamless surface.
Apply a thin layer of waterproof clay varnish or acrylic clear coat over the entire piece. A matte or gloss finish unifies the texture between the repaired area and original clay, making the fix completely invisible while strengthening the outer shell against future cracks.
Before leaving your clay to dry, run through my master craft workflow checklist:
Cracks in resin clay are caused by physical factors like drying shrinkage, rapid moisture loss, trapped air, and uneven seams. Because these causes are physical, following correct steps guarantees success!
Once you get used to these habits, they will become second nature! The extra care you put in will be rewarded with a smooth, gorgeous, shop-quality finish. Overcome the fear of cracking and enjoy crafting beautiful clay art!
If you found this guide helpful, please share it with your craft friends on social media! See you in the next article—Yassy out! (・∀・)





For example, if you are looking for articles about mizuhiki, try searching for "mizuhiki"; if you are interested in tools, try keywords like "nippers" or "pliers."
