Wool, Cotton, or Acrylic? A Japanese Crafter’s Guide to Choosing the Right Yarn
yassy
Crafters!

Hello, fellow makers! It’s Yassy from Crafters! (・∀・)
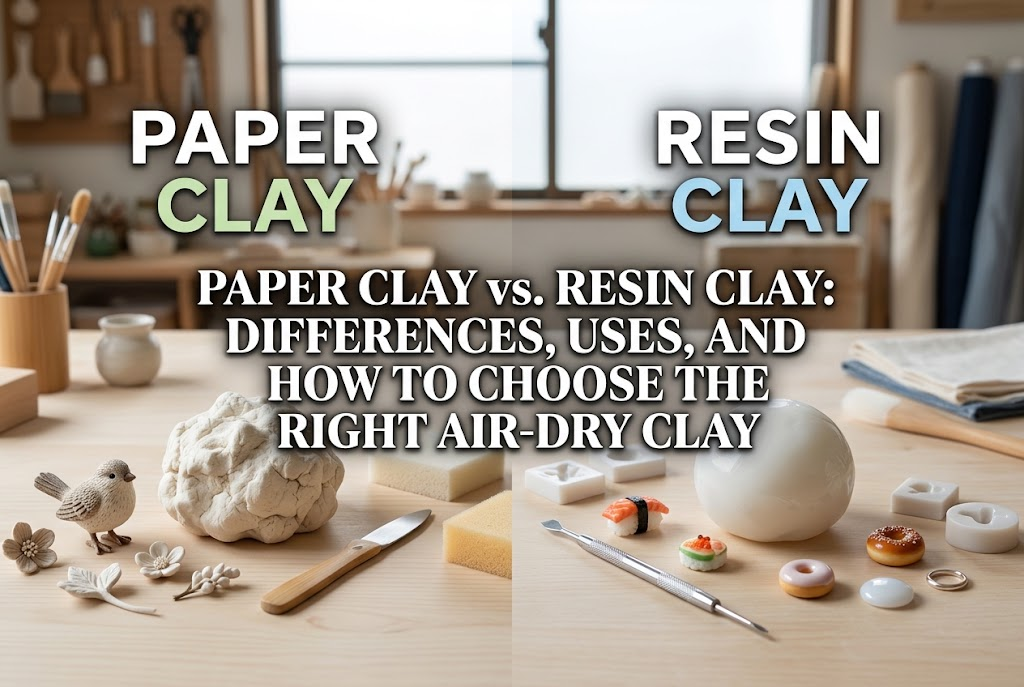
When you decide to dive into clay crafting, the very first question you encounter is almost always: "Which type of clay should I use?" Walking down the aisles of a craft shop or Japanese 100-yen store, you will see paper clay, resin clay, lightweight clay, and so many other varieties lined up side by side.
You might think, "They all look like white clay in the package—does it really matter which one I pick?" But if you choose blindly, your project might fail midway through, or worse, break apart right after it dries.
Over the years, I have kneaded countless blocks of both paper clay and resin clay to create all sorts of items. As someone who loves observing, buying, and making crafts, I can tell you with absolute certainty: paper clay and resin clay are entirely different materials.
Their ingredients, dry texture, durability, and handling properties are completely distinct. Starting a project without understanding these differences is a fast track to frustration.
In this guide, I will break down the essential differences between paper clay and resin clay. We will cover common beginner pitfalls, why certain mistakes happen, and how to choose the right medium for your specific project.
By the end of this article, you will know exactly which clay will bring your vision to life. Let’s equip you with the right knowledge and enjoy stress-free clay crafting!
From the moment you open the package, paper clay and resin clay feel different in weight and texture. What creates this stark contrast is their fundamental raw ingredients.
Understanding what goes into each clay explains why their properties diverge so dramatically once cured. Let's look closely at their core components.
The main ingredients in paper clay are paper pulp fibers, water, adhesives (binders), and mineral powders such as calcium carbonate. Most commercial paper clays sold in Japan today use highly refined pulp. Unlike the heavy, rough clay used in vintage elementary schools, modern "lightweight paper clays" (karuishi paper clay) are remarkably airy and smooth.
The defining feature of paper clay is that it does not easily stick to your hands and is exceptionally easy to shape. Because it contains ample moisture, it stays soft and requires very little pressure to manipulate.
As it cures, the moisture evaporates, causing it to harden. Once fully dry, it becomes extremely lightweight with a matte, rustic, unglazed appearance. The surface retains a faint fiber texture and powdery finish, giving projects a warm, organic feel.
In contrast, the main components of Japanese resin clay (an air-drying resin craft clay) are vinyl acetate emulsion (the core component of wood glue), acrylic resin, and starch powder. It contains absolutely zero paper pulp fibers. Its base consists of plastic-yielding resin compounds.
The biggest strengths of resin clay are its remarkable post-cure strength and excellent flexibility. When thoroughly dried, it hardens almost like solid plastic.
Another defining trait is that it shrinks slightly as it cures, gaining a subtle translucency. Its cured surface is remarkably smooth, glossy, and silky to the touch. Because it resists snapping even when rolled into thin sheets, it is the premier choice for delicate, intricate components.
To help you visualize these differences quickly, here is a direct side-by-side breakdown before you begin shaping your materials.
When handcrafting items for everyday use, durability and water resistance are paramount. This is where paper clay and resin clay diverge the most.
Even after paper clay has cured completely, introducing water will soften it back toward its malleable state. If exposed to moisture, the surface begins to melt and break down. Furthermore, sharp impacts will easily crack or shatter it. For these reasons, it is entirely unsuited for wearable jewelry or phone charms that endure regular handling.
Resin clay, on the other hand, bonds into a resilient polymer structure as it cures, making it naturally water-resistant. If an errant drop of water splashes onto it, a quick wipe will leave the piece unharmed. It also possesses enough elasticity and tensile strength to withstand being dropped onto hard surfaces. If you are crafting accessories or high-contact keychains, resin clay is undeniably the right choice.
There are also notable differences in how these two materials transform as they cure. Paper clay simply loses its moisture content, becoming featherlight with minimal dimensional change. It faithfully preserves the original scale you shaped with your fingers.
Resin clay, however, contracts tightly as moisture leaves and the resin polymers crosslink, causing the final piece to shrink by approximately 5% to 10%. Keep in mind that your finished item will emerge slightly smaller than what you shaped on your work mat.
In terms of heft, cured resin clay feels dense and substantial. And while paper clay mimics unglazed earthenware or papier-mâché, resin clay delivers a sleek, tactile, porcelain-like finish.
Coloring is one of the most rewarding steps in clay craft, and each material responds differently to pigments. Generally, there are two approaches: kneading pigment directly into wet clay (tinting) and painting the surface after the piece has dried.
Paper clay is intensely white and absorbs watercolor or acrylic paint like a sponge. Consequently, post-drying surface painting is effortless, yielding soft, pastel-toned hues. However, kneading paint directly into raw paper clay introduces extra moisture, which quickly turns the clay mushy and sticky. For paper clay, painting after curing works best.
Resin clay truly shines when pre-tinted. Blending just a tiny dot of acrylic or oil paint into raw resin clay disperses pigment evenly throughout the body. As it dries, the clay’s natural translucency creates rich, luminous depth. When making faux sweets, miniature fruit slices, or lifelike botanical petals, pre-tinting resin clay delivers breathtaking results.
Knowing their material specs is vital, but so is understanding how they behave in your hands. If we compare ease of handling, paper clay is far more forgiving for absolute beginners. Resin clay requires a bit of speed and practice.
To keep you from feeling rushed during your craft sessions, here is what you need to know about their working times and handling quirks.
Resin clay dries remarkably fast. The moment it meets open air, a fine skin begins to form across its surface.
If you leave small rolled balls of resin clay exposed on your desk for even a few minutes, a dry film will appear. Attempting to reshape them afterward creates unsightly wrinkles and cracks. Quick hands are essential. Always work with small pinches at a time, keeping the remainder wrapped tightly in a damp paper towel and sealed in plastic wrap.
Paper clay dries much more gradually. It grants you ample time to refine details, smooth contours, and start over if you make a mistake. For beginners who prefer a leisurely pace or need trial and error, paper clay provides a completely stress-free experience.
Due to its binder formulation, resin clay can be quite tacky, adhering stubbornly to fingers and sculpting tools. Any stray dust on your hands will embed itself straight into the clay, clouding your bright colors. My golden rule: wash your hands thoroughly before touching resin clay, and apply a faint trace of hand lotion to your palms to minimize tackiness.
Conversely, paper clay rarely feels sticky, but the warmth of your hands can sap its moisture as you knead it, leading to dry micro-fissures along the surface. If you see cracks starting while you sculpt, simply dip the very tip of your finger in clean water and smooth them away gently.
Few things are as disheartening as finding cracks on a piece after it has dried. But with the right repair techniques, there is no need to panic.
If your cured paper clay develops a crack, mix a tiny scrap of raw paper clay with water to create a slurry paste. Use a detail brush or your fingertip to press this paste firmly into the gap. Once dry, sand the area smooth with fine-grit sandpaper, and the flaw will disappear seamlessly.
With resin clay, attempting to slap wet clay onto a cured crack will fail because the new clay will not bond. The best remedy is prevention: thoroughly knead out air bubbles and smooth away surface creases before leaving the piece to cure. If hairline cracks or marks remain after curing, fill the seam with a dab of wood glue, or coat the entire piece with a thin layer of UV resin to seal and reinforce it.
"So, which one should I pick for the specific project in my head?"
The answer depends entirely on your piece’s purpose, dimensions, and desired finish. Here is my proven framework for pairing projects with the ideal medium.
If you are creating miniature sweets or fake food crafts, reach for resin clay without hesitation.
Nothing replicates the fine texture of miniature breads, cookies, cakes, and fruits quite like resin clay. Its soft translucency reproduces the luscious pulp of strawberries, kiwi slices, and citrus wedges with astonishing realism.
Furthermore, rolling it into paper-thin pastry crusts or delicate crepe layers won’t leave you with brittle edges once cured. Because it holds razor-sharp edges and intricate molded details, resin clay is the gold standard for miniature making.
For decorative tabletop items, pencil holders, baby handprint keepsakes, or crafting with children, paper clay is your best companion.
Sculpting large, voluminous items out of resin clay becomes prohibitively expensive and needlessly heavy. Moreover, thick blocks of resin clay take an eternity to cure all the way to their core, occasionally causing internal discoloration, uneven warping, or spoiling.
Paper clay is affordable in bulk and cures cleanly and evenly throughout. Its matte, warm aesthetic pairs beautifully with rustic, farmhouse, or Scandinavian-style interior accents.
For earrings, bag charms, keyrings, and any item meant to be worn or transported, always choose resin clay.
As emphasized earlier, jewelry made of paper clay will easily crush inside a handbag or soften when caught in humid, rainy weather. Whether you plan to sell your crafts or keep them for personal use, durability is non-negotiable.
With resin clay, metal findings (eye pins, headpins, jump rings) can be securely embedded into the clay body, producing wearable art that withstands everyday handling.
Here are three frequent misunderstandings that lead crafters astray. Knowing these early will save you time, effort, and materials.
A widespread assumption among beginners is: "If I coat my paper clay project with several layers of waterproof varnish, won't it be just as durable as resin clay?" Unfortunately, no.
Varnish serves strictly as a superficial protective film. The internal structure of cured paper clay remains porous and lightweight. Under sudden pressure or impact, the core clay will crumble from within, breaking the varnish shell along with it.
Even repeated coats of sealer cannot guarantee total waterproofing if submerged or heavily soaked. If your project demands high structural integrity and water resistance, rely on resin clay right from the start.
You can readily find colorful packs of resin clay at 100-yen stores. Are they truly that different from professional brands sold at specialty craft stores?
For practice runs, color mixing experiments, or quick prototypes, budget-friendly 100-yen store resin clays perform respectably well. However, if you are making pieces to sell or aiming for professional-grade finishes, I strongly recommend investing in specialized craft brand clays (such as Modena, Grace, or Cosmos).
Budget store clays tend to shrink more aggressively, produce rougher edges, and feel stiffer, making fine detailing prone to tearing. Professional craft clays offer superior elasticity, ultra-fine smoothness, exquisite cured translucency, and markedly higher durability.
Another common mistake is trying to paint everything onto the cured surface with acrylics. In resin clay crafting, if you want your pieces to capture natural translucency, pre-tinting the wet clay is mandatory.
Slathering heavy acrylic paint over dry resin clay conceals its luminous, semi-translucent quality, making the finished piece look like cheap, flat plastic.
The secret to high-end results is a two-step approach: tint the base clay with a tiny drop of color before sculpting, and once fully cured, apply washes of acrylic paint to add shading, toasted bread crust effects, or subtle highlights. This combination creates unmatched depth and realism.
Up to this point, we have compared paper clay and resin clay as rivals. But did you know they can be combined? Here are two insider techniques I use to boost quality while managing material costs.
Kneading the two clays directly together creates a wonderful hybrid medium. You get the lightweight workability of paper clay fused with the smoothness and resilience of resin clay.
For example, kneading paper clay and resin clay in a 1:1 ratio yields a custom "lightweight resin-style clay." This blend possesses respectable strength while remaining light and easy to form—ideal when you need a medium-sized motif that isn’t too heavy but won't shatter easily.
You can also use them structurally in layers. Build the internal core (an armature or base shape) out of budget-friendly, lightweight paper clay, and then wrap and detail the outer surface using resin clay. This saves substantial material cost while preserving a high-end, durable exterior.
How you store your materials directly dictates their lifespan. Resin clay, in particular, will quickly dry into an unusable rock once opened if not stored meticulously.
Here is my foolproof storage method: when wrapping unused clay, squeeze out all trapped air and wrap it snugly in plastic food wrap. Next, wrap that bundle in a tightly wrung, damp paper towel, and slide it into an airtight zipper bag. Finally, store that bag inside an airtight plastic container. This double-barrier system keeps opened resin clay fresh and workable for months.
As for tools, working atop a rigid clay board or a clear plastic document folder, combined with fine detailing ball stylus tools and modeling spatulas, transforms your crafting workflow. A clear plastic folder is especially handy—clay releases from it effortlessly, and you can pick up the entire sheet to rotate your project without touching the soft clay directly.
Choosing between paper clay and resin clay comes down to aligning their natural characteristics with what you want to build. Let’s recap the core takeaways:
Once you understand how these materials behave, you will never have to struggle with ruined shapes, mysterious fractures, or unexpected breakage. Use this knowledge to bring your creative concepts to life with total confidence.
Start with a simple shape or a small charm! Pick up your clay, feel its texture, and take that exciting first step into the world of clay crafting.
If you found this guide helpful, please share it with your fellow makers on social media! Until next time, happy crafting—this is Yassy from Crafters!


For example, if you are looking for articles about mizuhiki, try searching for "mizuhiki"; if you are interested in tools, try keywords like "nippers" or "pliers."
