Complete Guide to Crafting Artisan Bios and Shop Cards: Branding Rules to Win Loyal Handmade Fans
yassy
Crafters!
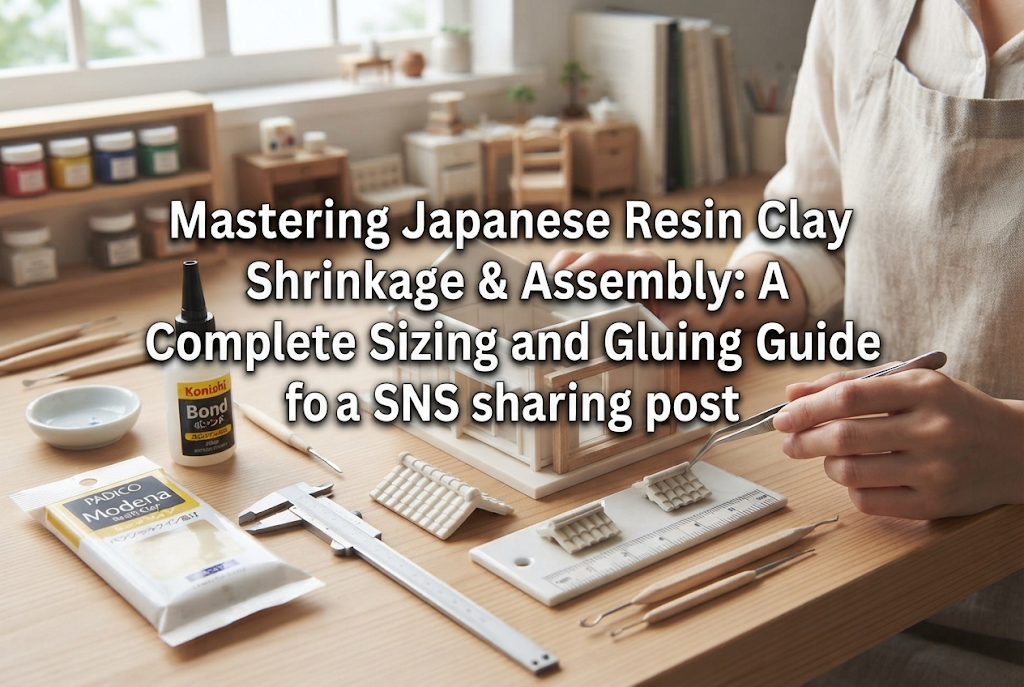

Hello, fellow makers! It’s Yassy from Crafters! (・∀・)
When working with air-dry resin clay (often called jushi nendo in Japan) to create miniatures, fake sweets, or accessories, have you ever run into these frustrating issues? You thought your piece was the perfect size, but it dried surprisingly small. Or maybe two parts you carefully joined ended up pulling apart, leaving an ugly gap.
As resin clay dries, water evaporates from the material, causing it to shrink by approximately 10% to 15% in dimension. If you create your pieces without factoring in this shrinkage, parts won't fit their designated settings, and glued joints can easily snap off.
In this guide, I'll dive deep into two essential techniques that will dramatically elevate the quality of your resin clay work: calculating shrinkage rates for accurate sizing and identifying the perfect timing for joining clay pieces. I will cover common pitfalls for beginners, real-life failure patterns, and professional tips I use in my own studio. Let’s make your crafting seamless!
Before jumping into formulas, let's understand what physically happens inside the clay during the drying process.
Air-dry resin clay is primarily composed of synthetic resin particles (such as vinyl acetate or acrylic resins), water, plasticizers, starches, and preservatives. When you open a fresh pack, the clay feels supple and soft because it contains a significant amount of moisture.
Once exposed to air, the water gradually evaporates. As these moisture pockets disappear, the synthetic resin particles pull together tightly and bind, curing the material. This physical compaction due to moisture loss is what causes drying shrinkage.
While it varies slightly across brands and types, standard Japanese resin clay typically shrinks by about 10% to 15% in length and outer dimensions.
The most common mistake beginners make is underestimating what "10% shrinkage" really looks like.
You might think, "A 10% reduction in size is barely noticeable." However, when applied to a three-dimensional object, a 10% linear shrink results in a dramatic loss of volume.
Let’s say you sculpt a cube measuring 10 mm on each side. If each axis (length, width, height) shrinks by 10% (becoming 0.9 times its original dimension), the finished piece measures 9 mm × 9 mm × 9 mm.
That is a volume reduction of roughly 27%!
If the shrinkage rate is 15%, each dimension becomes 0.85 of the original. The final volume drops to approximately 61.4% (0.85 × 0.85 × 0.85 ≈ 0.614), meaning the piece loses nearly 38.6% of its total bulk.
This is why dried resin clay looks significantly smaller and leaner than when it was freshly molded. When designing 3D sculptures, always anticipate this substantial reduction in overall presence.
If you want a finished cabochon to measure exactly 10 mm or need a piece to fit snugly into a metal bezel, you must sculpt it larger beforehand. Here is how to reverse-engineer your initial sculpting dimensions.
Use this basic formula to determine how large your wet clay piece or cutter needs to be:
Sculpting Size = Desired Finished Size ÷ (1 − Shrinkage Rate)*For a 10% rate, divide by 0.90 (1 − 0.10). For a 15% rate, divide by 0.85 (1 − 0.15).
Let's look at practical examples:
As your target size increases, the physical difference you need to add during sculpting grows noticeably larger.
To save you the math during production, keep this quick reference table handy:
For example, to fit a resin clay element into a 20 mm circular bezel using clay with a 10% shrinkage rate, cut or roll your wet clay to approximately 22.2 mm.
Even if the packaging states "approx. 10% shrinkage," the true rate shifts depending on the amount of colorant added (acrylic paint, Tamiya Color, chalk pastels), room temperature, humidity, and airflow.
Whenever precision is critical for a project, I always run a quick baseline test beforehand:
If a 50 mm strip shrinks to 44.5 mm, the difference is 5.5 mm. Calculating (5.5 ÷ 50) × 100 gives an 11% shrinkage rate. Once you record that number, you can size every piece from that clay batch with zero guesswork.
Shrinkage doesn't always happen evenly in every direction. Depending on the part’s geometry and drying conditions, localized tension can cause warping, bending, or surface splits.
When making flat shapes like cookies, decorative plates, or miniature architectural elements, the edges frequently lift, warping the piece into a boat-like curve.
This happens because of an uneven drying rate between the top surface and the bottom contact surface. The exposed top surface loses moisture rapidly and begins shrinking, while the underside resting on your work mat retains water. As the top contracts faster, it pulls on the moist bottom layer, curling the edges upward.
To keep flat pieces perfectly straight, follow these two practices:
For ultra-thin pieces prone to curling, dry them under a light weight (such as a heavy book lined with paper towels) once they are semi-set.
When sculpting thick spheres or solid pieces over 1 cm thick, the exterior cures into a firm skin while the core remains wet. As the outer shell shrinks against an unyielding, moist core, the surface develops deep cracks.
When making large components, always insert a core made from a lightweight polystyrene foam ball or crumpled aluminum foil, keeping the outer clay layer at a uniform thickness of 3 to 5 mm. This saves clay, balances drying rates, and completely prevents structural cracking.
Over 90% of failures where dried clay parts pop off unexpectedly stem from joining pieces at the wrong stage of drying.
Clay transitions through three distinct phases: Fresh (Wet), Semi-Dry (Skin formed), and Fully Cured (Hard). Here is how to handle each combination.
When both pieces are soft, you don't necessarily need strong adhesives. A touch of water or a dab of PVA wood glue (craft glue) is enough.
Lightly moisten the mating surfaces, press them together, and blend the seams with a clay modeling tool or your fingertips. The resin particles interlock, and the two parts cure into a single, seamless component.
Caveat: Applying too much pressure can distort delicate, pre-sculpted details. This method is best for basic shaping rather than assembling fine components.
This situation occurs when you attach wet clay to a piece you’ve already cured—for instance, scooping fresh clay ice cream into a rock-hard miniature cup.
This is where beginners encounter the most failures. The cured piece will not shrink any further, but the fresh clay will contract by 10% to 15%. If you glue them directly, the shrinking wet clay will pull away from the rigid cured piece, resulting in gaps or complete detachment.
Pro Technique: Apply vinyl acetate craft glue (wood glue) to the joint, but allow an "open time" of about 30 to 60 seconds before joining. Wait until the glue turns slightly translucent and tacky, then firmly press the fresh clay in place. For structural security, insert a short piece of wire or a trimmed toothpick into the joint as an internal anchor pin.
Letting every component dry completely before assembly is my personal recommendation for professional-grade miniatures. It guarantees that parts retain their exact sculpted shape without distortion.
Because both parts have already completed their 10% to 15% shrinkage, no subsequent tension or shrinkage gaps will develop between them.
Preparation & Adhesive Choice: Cured resin clay has a smooth, non-porous finish. If you apply glue directly, it won't hold under stress. Always scuff the mating surfaces lightly with sandpaper (240–400 grit) or the tip of a craft knife to create a tooth (mechanical anchor).
Use a two-part epoxy adhesive or a high-viscosity, multi-purpose cyanoacrylate (gel super glue). Standard thin wood glue does not have enough structural strength or gap-filling capacity for fully cured joints; epoxy provides the strongest, most permanent bond.
Inserting an eye pin straight into wet clay to make a charm often ends in disappointment when the pin pulls right out after the clay dries.
As the clay shrinks by 10% to 15%, it pulls away slightly from smooth metal, creating micro-clearances. Because resin clay does not inherently bond to metal, the pin stays loose.
The Fix:
If you pipe wet clay cream onto an uncured miniature tart base and let them dry together, the different thicknesses will dry at different speeds. The base will curl upward while the cream develops cracks.
Always employ a staged assembly process: sculpt and fully cure your structural foundation (the tart base) first. Once it has finished shrinking, apply the next decorative layer.
Here is my step-by-step thinking process for building a miniature ice cream sandwich with a target finished diameter of 15 mm and a thickness of 8 mm using resin clay with a 10% shrinkage rate.
With a target diameter of 15 mm and 10% shrinkage:15 mm ÷ 0.90 ≈ 16.66 mmI select a circular cutter with a diameter of roughly 16.7 mm (or 17 mm) and cut out two thin cookie wafers.
I place the two wafers on a diatomite mat and dry them for 3 days, flipping them periodically. They shrink cleanly to the desired 15 mm diameter without warping.
I roll a ball of fresh clay for the ice cream filling. On the cured base wafer, I apply craft glue and let it sit for 30 seconds to become tacky.
I place the fresh clay ball onto the base, place the top cured wafer over it, and gently compress the sandwich until the total thickness reads roughly 9 mm (anticipating that the wet filling will shrink down to 8 mm upon drying).
Because the top and bottom wafers have already shrunk, only the center filling contracts. The tacky glue keeps the connection tight, yielding an ice cream sandwich with clean, gap-free seams and exact dimensions.
Working successfully with Japanese resin clay comes down to respecting its drying physics:
Once you make these calculations second nature, you will eliminate ruined fittings and loose parts for good. I hope these tips help you take your miniature and jewelry projects to the next level!
Until next time, happy crafting! This has been Yassy from Crafters!



For example, if you are looking for articles about mizuhiki, try searching for "mizuhiki"; if you are interested in tools, try keywords like "nippers" or "pliers."
