Craft Rollers Explained: How to Choose and Use Clay Rolling Pins and Pressure Rollers for Flawless Results
yassy
Crafters!

Hello, this is Yassy from Crafters! (・∀・)
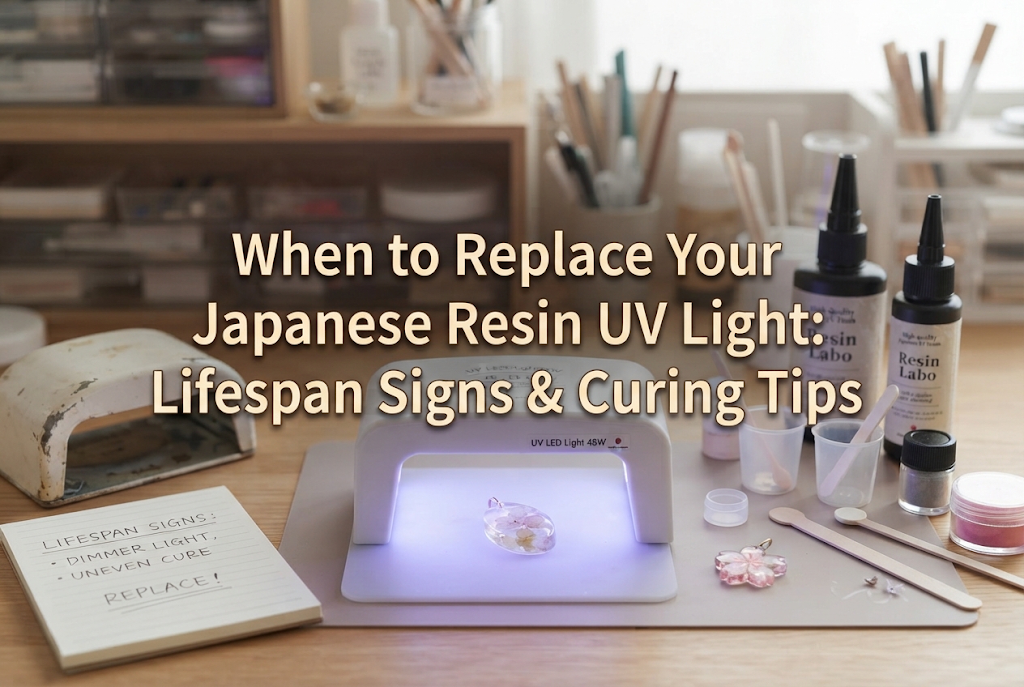
When crafting resin jewelry and crafts, a UV or UV-LED lamp is an absolutely essential tool. I personally love making resin accessories, as well as admiring and purchasing wonderful pieces created by other talented artists. Over the years, I have worked with countless resin tools and creations.
One common concern I often receive from fellow crafters is: "Lately, my resin isn't hardening properly," or "The surface remains sticky even though I'm using the exact same resin liquid as usual." While many people suspect the resin brand or layer thickness, the true culprit is often the lifespan of the curing light.
UV lamps do not last forever. Just because the light turns on does not mean it maintains the same output performance as when it was brand new. Understanding your lamp's lifespan and recognizing when to replace it is essential for ensuring both the quality and safety of your finished resin art.
In this guide, I'll thoroughly explain the average lifespan of resin UV lamps, 5 definitive signs that it's time for a replacement, and professional maintenance tips to keep your lamp working longer. Let's move away from guesswork and use clear knowledge to enjoy resin crafting with confidence!
In resin crafting, a lamp is not merely a device that shines light. It is the core heart of the process, emitting specific light wavelengths to trigger photoinitiators in the liquid resin, causing a chemical reaction that cures it rock-hard.
When a lamp degrades and its ultraviolet (UV) output drops, the resin cannot fully cure. Even if the surface appears set, the interior may remain gooey, or the surface might feel tacky to the touch. This incomplete cure is a dangerous state known as uncured resin.
Uncured resin pieces are fragile and easily broken due to lack of structural strength. More importantly, uncured resin coming into contact with skin poses a serious risk of triggering allergic reactions. Therefore, ignoring your lamp's lifespan compromises not only the appearance and durability of your work, but also your personal safety.
While taking care of your craft tools is wonderful, using a lamp past its lifespan offers zero benefits. Knowing when to replace your lamp is fundamental knowledge for any resin enthusiast or handmade artist.
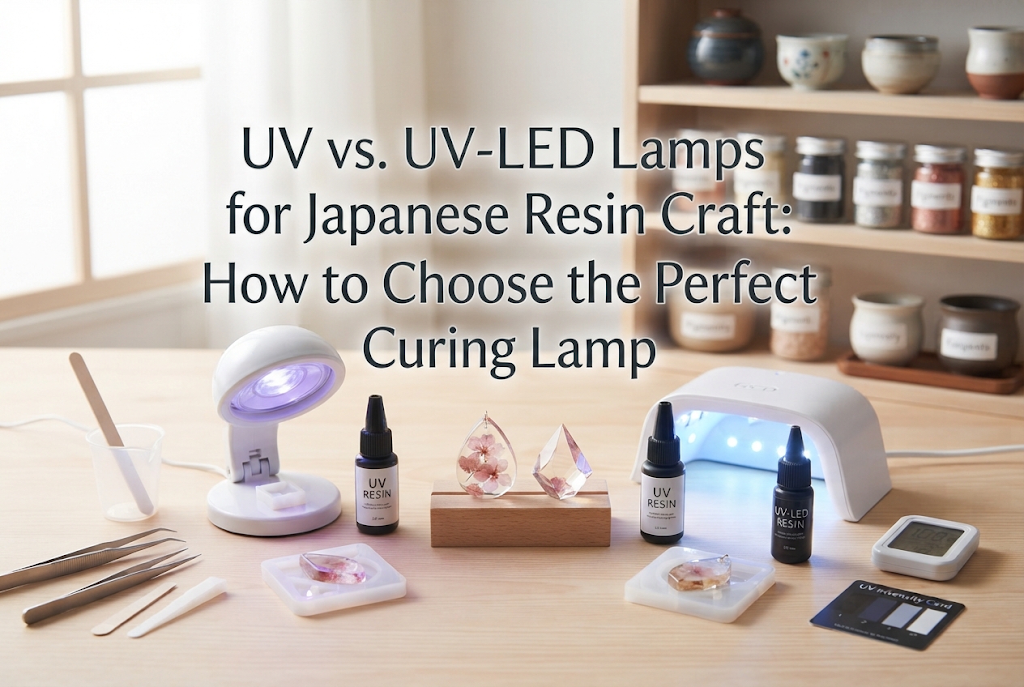
To understand a UV lamp's lifespan, you must first identify which type of lamp you own. In the handmade resin craft community, lamps generally fall into two main categories: traditional UV fluorescent tube lamps and modern UV-LED lamps. Their lifespans and maintenance methods differ completely.
These classic lamps use three or four thick glass UV bulb tubes. The operational lifespan of these fluorescent tubes is relatively short: approximately 100 to 300 hours of use.
If you use your lamp for 1 hour every day, it will reach the end of its effective lifespan in just 3 to 6 months. This may sound surprisingly short! With fluorescent lamps, the UV-emitting glass tubes degrade long before the main outer body breaks down.
The advantage, however, is that you can replace individual UV bulbs. You don't need to throw away the whole unit—simply purchase replacement UV bulbs, plug them in, and your lamp will regain its full original curing power.
These popular, lightweight lamps feature arrays of tiny LED chips. The lifespan of UV-LED lamps is impressively long, averaging 20,000 to 50,000 hours.
Compared to fluorescent models, UV-LED lamps offer exceptional durability. With 1 hour of daily use, a UV-LED unit can theoretically last several years to over a decade. The LED chips themselves are robust and maintain strong UV output for an extended period.
However, most UV-LED lamps are built as single integrated units, meaning individual LED chips cannot be replaced. Once the LED chips reach the end of their lifespan, or if the internal circuit board or power adapter fails, the entire unit must be replaced.
How can you tell if your lamp has reached the end of its useful life during actual use? Here are 5 clear signs. If you notice any of these, it's time to arrange for a replacement.
This is the most obvious indicator. If resin that previously hardened in 3 minutes still feels uncured after 5 or 10 minutes, the UV light output has significantly dropped.
Simply doubling the curing time is not a proper solution. Exposing resin to weak UV wavelengths for longer periods will not cure the inner layers properly. It wastes time and results in sub-par creations.
If your piece comes out of the lamp sticky, tacky, or cloudy rather than glossy and smooth, the light is not emitting enough UV radiation.
If you are using high-quality, reliable resin liquid and still experience tackiness, the lamp's weakened output is almost certainly to blame. If tackiness appears on projects that used to cure cleanly, replace your lamp or bulbs immediately.
You can often see signs of age on the lamp itself. On fluorescent lamps, if the ends of the glass tubes near the metal base turn black, internal materials have degraded. Blackened tubes produce very little UV radiation, even if they still glow.
For UV-LED lamps, check the inner LED grid. If any individual chips flickers or stays unlit, the overall balance of light distribution is compromised, leading to uneven curing across your resin piece.
If the lamp body or AC adapter becomes dangerously hot to touch, or if you smell burnt plastic or electrical odor during operation, the electrical components are failing.
This is not just a light output problem; it is a serious hazard that could lead to electrical fires or shocks. Stop using the device immediately, unplug it, and replace it with a new lamp.
If the digital timer fails to start, turns off randomly mid-countdown, or the motion sensor stops detecting your hands, the internal circuit board is reaching the end of its life.
Even if the LED chips appear intact, a faulty circuit board prevents consistent curing times. Because the reliability of the tool is compromised, it is time for a replacement.
A common misconception among beginner crafters is: "If I see a purplish-blue light in a dim room, the lamp must still be fine."
The visible purplish-blue light is actually visible light, whereas the light required to cure resin is ultraviolet (UV) light (specifically wavelengths like 365nm and 405nm), which is invisible to the human eye.
Over time, especially with fluorescent tubes, a lamp can continue to emit bright visible light while its UV output degrades to near zero. Assuming the lamp works simply because it lights up leads to unnoticed curing failures. Always remember: glowing visible light is entirely different from effective UV curing output.
While UV lamps are consumable tools, proper handling and care will help them maintain peak performance throughout their service life. Here are key practices I follow:
Heat is the biggest enemy of UV-LED chips. Prolonged high temperatures cause rapid component degradation, significantly shortening the lamp's lifespan.
When working on large projects or curing multiple pieces in succession, do not leave the lamp running continuously. After 5 to 10 minutes of active curing, turn the lamp off briefly to let heat dissipate.
Accidental resin splatters or sticky fingerprints on the inner reflective surfaces or LED lenses can block UV light if left to cure in place. Hardened resin spots act as shields that reduce light intensity, causing uneven curing that mimics a dead lamp. After crafting, wipe the inner surfaces clean using a cloth dampened with ethanol or resin cleaner.
When not in use, store your lamp in its box or cover it with a cloth. Dust accumulating on reflectors and LED lenses drastically reduces light diffusion efficiency. Keep the lamp away from direct sunlight, as external UV exposure degrades plastic casing and sensitive electronics.
Many lamps fail prematurely due to damaged power cords rather than dead LEDs. Avoid wrapping cords tightly around the unit or pulling hard on the cable when unplugging. Loosely coil the cord during storage to prevent internal wire breakage.
If you're unsure whether curing issues are caused by your lamp or your resin, perform this simple diagnostic test:
If pressing a fingernail into the resin leaves an impression, or if the underside feels tacky when removed from the mold, your lamp's UV output has degraded and requires replacement.
If your diagnostic test shows it's time for a new lamp, keep these criteria in mind when selecting your next unit:
Resin formulations generally fall into three categories: UV resin (cures at 365nm), LED resin (cures at 405nm), and UV-LED dual-cure resin. Selecting a dual-wavelength hybrid lamp emitting both 365nm and 405nm ensures compatibility with virtually all craft resins available today.
Wattage directly impacts curing speed and light intensity. Compact 6W–9W lamps are handy for temporary tack-curing, but main curing work requires a stronger output. A 36W to 48W unit provides thorough, even curing even for thicker or pigmented pieces.
A removable base plate simplifies larger 3D projects and makes cleaning internal resin splatters or dust vastly easier, helping maintain hygienic, long-lasting performance.
Like any crafting tool, resin curing lamps gradually degrade with use. By recognizing the subtle signs of output loss, maintaining clean equipment, and upgrading to a reliable dual-wavelength lamp when needed, you can consistently achieve rock-hard, crystal-clear resin finishes.
Keep your crafting tools in top shape and enjoy worry-free resin crafting! If you found this article helpful, please feel free to share it with your fellow crafters. See you in the next post—this was Yassy from Crafters!





For example, if you are looking for articles about mizuhiki, try searching for "mizuhiki"; if you are interested in tools, try keywords like "nippers" or "pliers."
