Japanese Resin Crafting Guide: How to Deburr and Smooth Sharp Edges for a Flawless Finish
yassy
Crafters!
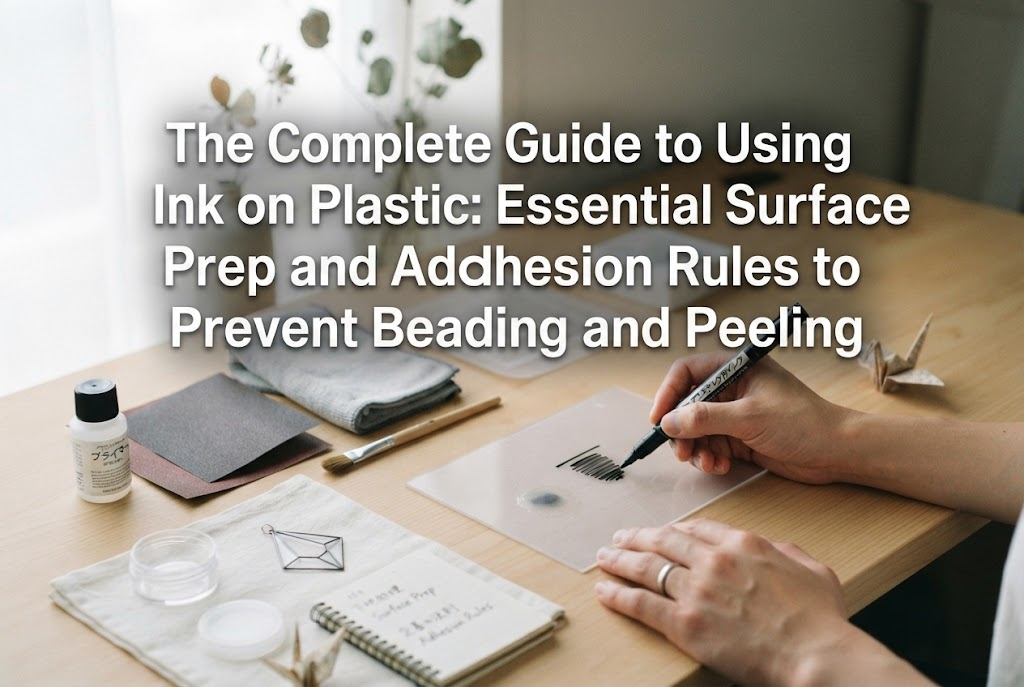

Hello, crafters! It’s Yassy from Crafters! (・∀・)
When making handmade accessories, small goods, and custom charms, there are countless occasions where you might want to stamp or color plastic surfaces. I absolutely love crafting with plastic myself, and I have made countless pieces over the years.
However, plastic behaves entirely differently from porous surfaces like paper or fabric. If you try using ink on plastic with the same mindset as paper, you run into frustrating failures: ink beading up into scattered droplets, smudging over your hands when you thought it was dry, or peeling away like a thin film with just a scratch of your fingernail.
These common beginner mishaps all boil down to two things: poor surface condition and choosing the wrong type of ink. Once you understand the physical properties of plastic, choose compatible inks, and perform the proper prep work, you can achieve a 100% success rate with your ink application.
In this guide, I will share the critical precautions you must know, the ultimate surface preparation techniques to prevent peeling, and the exact methods I personally rely on to elevate the durability and finish of your plastic craft projects.
The reason ink struggles to adhere to plastic isn't a matter of luck or intuition. It is purely physical and chemical. Understanding why plastic naturally rejects ink is the first step toward flawless results.
Materials like paper, wood, and cloth have tiny, invisible pores and fibers. When you apply ink, the liquid soaks into those gaps (absorption), and once dried, the ink and fibers lock together as one.
Plastic, on the other hand, is completely non-porous. Its surface is tightly sealed, offering zero absorption. When you apply high-water-content ink to plastic, the surface tension of the liquid forces it to bead up into little droplets rather than spreading smoothly.
This beading phenomenon is visual proof that the surface is rejecting the ink. Because the material will never absorb liquid, you cannot rely on inks designed to soak in; you must use inks formulated to physically grip and bond to the surface film.
Most plastic parts and blanks are manufactured by injection molding. During this process, an oily substance called a mold release agent is applied to ensure the piece easily pops out of the mold. If this oily residue remains on the surface when you apply ink, it repels the ink just like water on grease.
Furthermore, simply handling parts with bare hands leaves behind natural finger oils. Even when invisible to the eye, assume any plastic surface is coated in a microscopic barrier of oil.
Applying ink over this oil film means your ink is bonding to the oil, not the plastic itself. Once dry, the ink layer will effortlessly peel right off. Skipping the degreasing step invites failure from the very start.
Because plastic is an electrical insulator, it holds static electricity extremely easily. Pulling a blank out of its packaging or rubbing it with a dry cloth instantly creates static cling, pulling microscopic airborne dust straight onto the surface.
When you stamp or color over dust, particles become trapped between the ink and the plastic, drastically reducing the contact area. This causes spotty peeling and unsightly textured bumps. Taking precautions against static and dust before you begin coloring is essential for achieving a clean, professional finish.
Not all plastics behave the same. In the craft world, you will encounter several varieties, each with a completely different affinity for ink. Identifying what plastic you are working with is vital.
Among the most common materials in crafting are clear acrylic and polystyrene (PS)—the material used for shrink plastic (known as puraban in Japan). Fortunately, these are relatively ink-friendly compared to other plastics.
Acrylic and PS have high surface hardness. When paired with suitable solvent-based inks or acrylic paints, they adhere well even without aggressive prep. For shrink plastic crafts, PS allows for vivid and crisp stamping and marker application.
However, PS and acrylic can react to alcohol and strong solvents, which can cause clouding or micro-cracking (crazing). Be mindful of solvent concentration when working with these materials.
Often found in 100-yen shop organizer cases, soft squeeze bottles, and flexible craft parts, polypropylene (PP) and polyethylene (PE) are notorious hurdles for crafters.
PP and PE possess extremely low surface energy, meaning practically nothing wants to stick to them. Known as low-adhesion materials, standard paints and inks will almost certainly bead up or dry into a rubbery sheet that peels right off in one piece.
To get ink to stick to PP or PE, applying a specialized plastic adhesion primer or physically scuffing the surface to create mechanical grip is absolutely required. Trying to ink them straight out of the package will not work.
PET (used in clear bottles and transparent plastic sheets) and PVC (vinyl, common in flexible pouches and keychain charms) are also staple craft materials.
PET has properties similar to acrylic and accepts appropriate inks nicely. However, because its surface is glassy and slick, it is especially vulnerable to fingerprint oils; thorough degreasing is mandatory. PVC contains plasticizers to keep it flexible, which can chemically react with certain ink formulas and turn sticky over time. When working on PVC, stick to permanent solvent stamp inks or paint markers labeled as vinyl-safe.
Choosing the wrong ink guarantees failure before you even start. While stationery aisles and craft stores offer countless inks, only a select few function on plastic surfaces. Here are the types that consistently perform:
When it comes to stamping on plastic, fast-drying solvent-based ink is the undisputed king. Specially formulated multi-surface pads (such as Tsukineko's StazOn) fall into this category.
Instead of water, these inks use an organic solvent base. Once applied, the solvent rapidly evaporates, leaving behind a durable resin film that grips non-porous surfaces tightly. It transfers fine stamp lines and lettering cleanly without beading. If you are stamping plastic, this should always be your first choice.
Alcohol ink has exploded in popularity for creating ethereal fluid art and coloring shrink plastic. Made from dyes suspended in ethanol or isopropyl alcohol, it flows fluidly across plastic to create dreamy gradients.
Alcohol ink dries fast and bonds quickly to plastic surfaces, pairing wonderfully with acrylic sheets and shrink film where you want to highlight transparency. Keep in mind, however, that alcohol dyes are susceptible to UV fading and rub off easily with friction. A protective topcoat is always necessary once finished.
For opaque, vibrant coverage, acrylic-based inks and oil-based paint markers (including those used for scale modeling or industrial marking) are your best bet.
These provide exceptional opacity, showing vividly even over dark or black plastics. Once dry, they cure into a tough, water-resistant film. Because they lay down a thicker coating, they aren't ideal for delicate rubber stamping, but they are perfect for filling in illustrations, outlining edges, and hand-lettering.
One rule you must never break: standard water-based dye or pigment inks intended for paper will not work on plastic. When placed on plastic, water-based ink beads up into patchy droplets. Even if left to dry, it leaves behind only a powdery residue that wipes away completely with a gentle swipe of a finger. Don't compromise with regular office stamp pads; always use ink formulated for non-porous surfaces.
Even the finest solvent ink will fail if the plastic underneath is contaminated. Professional crafters spend more time preparing the surface than applying the color. Here are the three steps I use to guarantee solid adhesion:
The single most important step is degreasing. You cannot achieve reliable results if you skip this.
The process is straightforward: soak a lint-free wipe (such as Kimwipes) or a high-percentage alcohol prep pad with isopropyl or anhydrous alcohol, and thoroughly wipe every millimeter of the plastic. Once wiped, never touch the target area with bare fingers again. Use tweezers or wear disposable polyethylene gloves, as any touch transfers oils that instantly ruin adhesion.
When you need ink to stay bonded permanently under heavy handling, mechanical scuffing—known as ashitsuke in Japanese workshop practice—creates an unshakeable anchor. By lightly introducing micro-scratches onto the smooth plastic, you give the ink something physical to bite into.
Use fine wet/dry sandpaper, around 800 to 1000 grit. Gently stroke the surface in a consistent direction until the gloss turns slightly hazy and matte. This allows the ink to settle into the grooves and create an interlocking anchor effect that won't scratch away with your fingernail. Unless your piece requires crystal-clear transparency, this step provides maximum durability.
If you cannot sand your piece because you need to keep it transparent, or if you are working with stubborn PP or PE plastics, plastic primer spray is your lifesaver. Primer acts as a clear bonding bridge between the plastic and the ink.
Hold the spray can about 20 cm (8 inches) away and mist on a very light, even layer. Heavy spraying causes runs and bubbling that ruin the piece; apply it so lightly that you can barely tell it is there. Let it cure completely according to the manufacturer’s instructions before adding ink.
Here are five common pitfalls that can ruin your project in seconds. Check your workspace to make sure you aren't making these mistakes:
To preserve your artwork against moisture and everyday friction, applying the right topcoat is crucial. Be careful, however: mismatched sealants can dissolve your hard work.
The simplest, safest sealing method is misting on a water-based spray varnish (such as a water-based hobby topcoat). The key rule here is matching opposites: if you used oil-based or solvent-based ink, seal it with a water-based topcoat. If you spray a strong lacquer (solvent) clear coat over solvent ink, the spray solvent will liquefy the ink underneath and cause your lines to bleed instantly. Spray in two to three light passes rather than one heavy, wet coat.
Coating pieces with UV resin or two-part epoxy resin gives that popular, high-gloss domed look with maximum protection. However, liquid resin can cause alcohol ink and certain stamp inks to bleed outward over time.
To guarantee zero bleeding, apply a barrier layer of water-based clear varnish first. Let that coat dry completely before pouring your resin. The varnish acts as a shield, preventing the resin chemicals from interacting directly with the ink.
Keep completed plastic pieces out of prolonged direct sunlight, as UV rays break down dyes in alcohol and stamp inks over time. While water-resistant once sealed, never wipe finished pieces with alcohol wipes or sanitizing sprays, as alcohol can break down the varnish and ink beneath. Clean gently using a soft, dry cloth.
A: This is a sure sign of leftover oils or a surface that is simply too slick. Wipe the wet ink off completely using isopropyl alcohol to reset your piece. Degrease it thoroughly once more. If it still beads, scuff the surface lightly with 1000-grit sandpaper or apply a whisper-thin coat of plastic primer before trying again.
A: Bleeding happens when there is too much ink on the stamp pad or when you press down too hard. Unlike paper, plastic does not absorb excess ink, forcing it out sideways. Moisten the tip of a cotton swab with a tiny amount of alcohol to carefully clean away the smudged borders. On your next attempt, lightly tap your stamp onto the ink pad and stamp down with gentle, even pressure.
A: This indicates that the initial bond failed. For a small spot, lightly feather the edges with fine sandpaper to level the transition, then touch it up with ink and seal it. If large sections are lifting, peel off the loose ink entirely and start over from the prep stage (degreasing and priming). Applying resin directly over poorly adhered ink will simply cause the resin and ink to peel away together later.
Plastic is an unforgiving surface that leaves no room for shortcuts. Trying to use ordinary paper inks without surface preparation leads directly to beading and peeling.
Remember these five core rules:
Once you match your tools to the physics of the material, working with plastic becomes smooth, predictable, and incredibly fun. Try these prep steps on your next project and enjoy durable, vibrant results!
If you found this guide helpful, feel free to share it with your fellow crafters. See you in the next article! — Yassy




For example, if you are looking for articles about mizuhiki, try searching for "mizuhiki"; if you are interested in tools, try keywords like "nippers" or "pliers."
